Project Log: Wednesday, December 29, 2010
There was one more dirty task that I needed to take care
of before cleaning up and moving on to a different round
of work: the bottom.
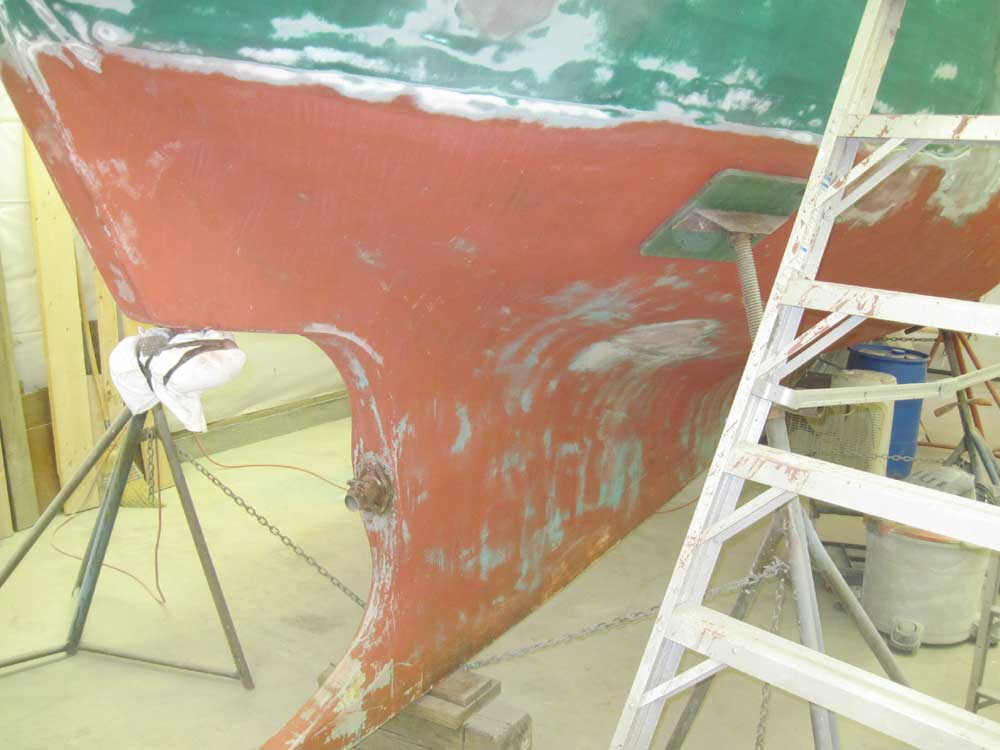
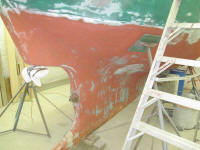
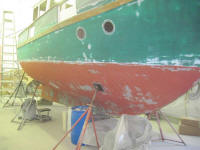
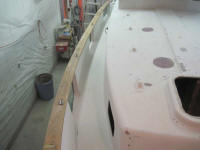
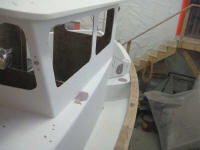
The existing paint was in generally good condition,
particularly on the starboard side. On the port
side, centered around the head area, the epoxy barrier
coat had failed in several areas, causing large areas to
chip and peel away in chunks. While I had no
intention of completely stripping the bottom, at least a
light sanding was required to prepare it for new paint
much later on, and I needed to clean up the barrier coat
mess on the port side. Sanding bottoms is a mess,
so it made sense to get this over with now.
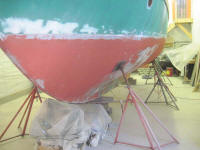
I sanded the bottom quickly with 80 grit paper on a 6"
random orbit finishing sander. This was just a quick
scuff to prep the surface, remove surface contaminants,
and feather the edges of any rough spots.
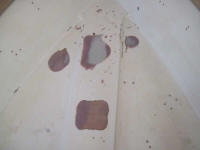
I used a scraper to remove the remaining loose barrier
coat on the port side as needed, then blended these
areas with the surrounding surface. I wasn't sure
why there was such a localized failure, but fortunately
the loose material was confined to this one area. |

 |
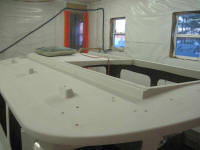
Afterwards, I spent a good portion of the day thoroughly
cleaning up the shop and the boat, both inside and out.
Though I'd mostly cleaned up incrementally throughout
the recent few weeks' surface prep efforts, now was the
time for a true cleaning as I shifted gears away from
bulk sanding and towards other sorts of work on the
boat.
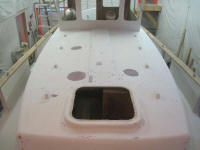
After sweeping up the shop and vacuuming the deck, hull,
and interior of the boat, I solvent-washed the decks so
I could get a detailed sense of their condition and
remove all traces of dust for the moment. I found
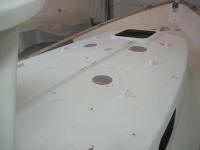
a few areas where I'd need to spot-fill, mostly small
gouges from the power planer and grinder I used as part
of the Treadmaster removal process earlier on. I'd
missed these areas during the earlier rounds of deck
work. |

 |
With the upcoming work focus belowdecks, I reconfigured
the interior work lighting and power cords on the boat,
moving as much of the cords and clutter abovedecks to
keep the interior free of unnecessary interference.
A newly-purchased extension cord featuring outlets
spaced evenly along its length (thanks BC for the idea)
helped better organize the lighting for more convenience
and less clutter below. |
 |
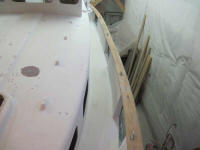
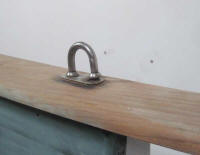
Later, I spent some time on board pondering some of the
jobs ahead. During some of my hull sanding, I'd
noticed that one of the U-bolts on the caprail (this one
for a genoa sheet lead, not a rigging wire) featured one
broken leg, so I knew that at a minimum I'd need to
remove and replace that one. Of course this called
into question the condition of the remaining U-bolts, so
I needed to figure out how to remove these (and, of
course, reinstall them), as well as the other remaining
hardware on the caprails, as I was considering trying to
remove and rebed the caprails. |
 |
Access to the U-bolts looked pretty feasible, other than
the pair just outboard of the cockpit, but the cleats
and chocks located near the end of the boat would be
quite challenging to remove (well, more specifically
would be challenging to reinstall) because of the
available access. This was a problem that had
bothered me from early in the project, during hardware
removal, and I'd yet to come up with the solution.
In any event, pondering imponderables was an important
step in the process, though it doesn't lend itself to
photo-documentation.
|
Total Time Today: 6.25 hours
|
<
Previous |
Next > |
|
|