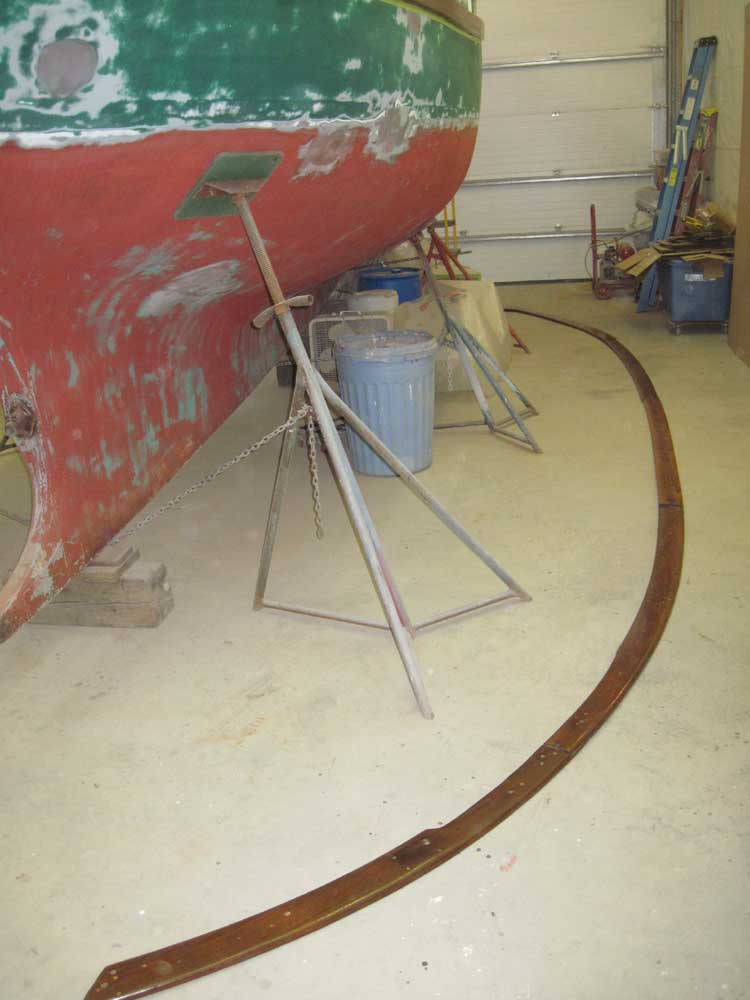
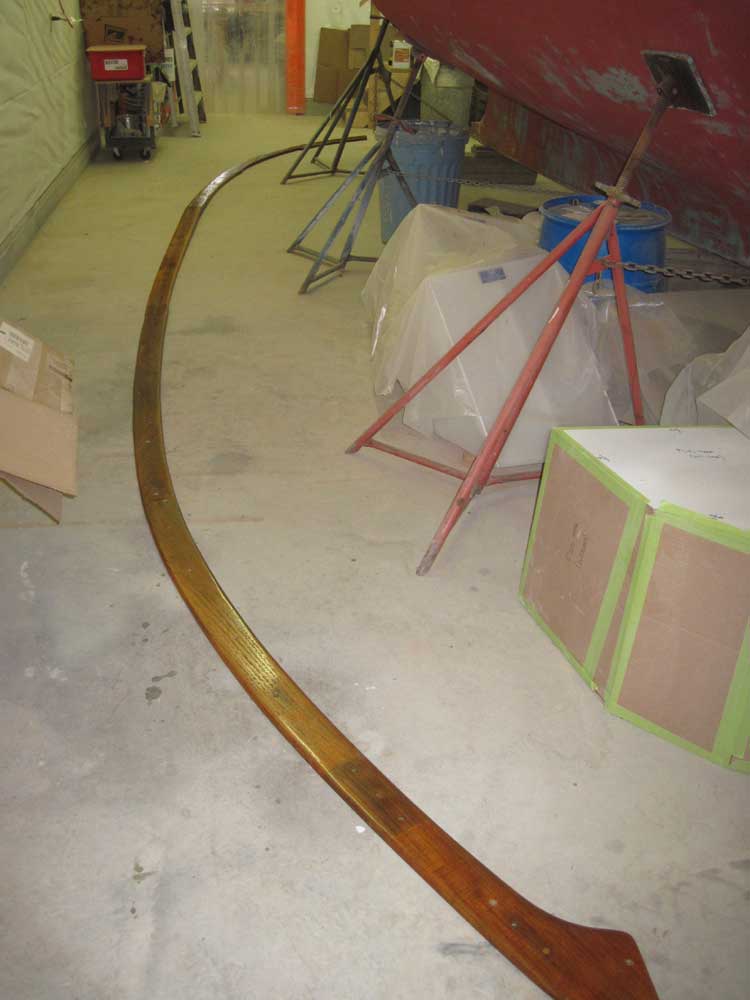
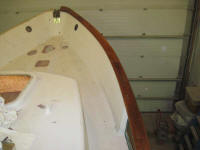
Project Log: Wednesday, January 26, 2011
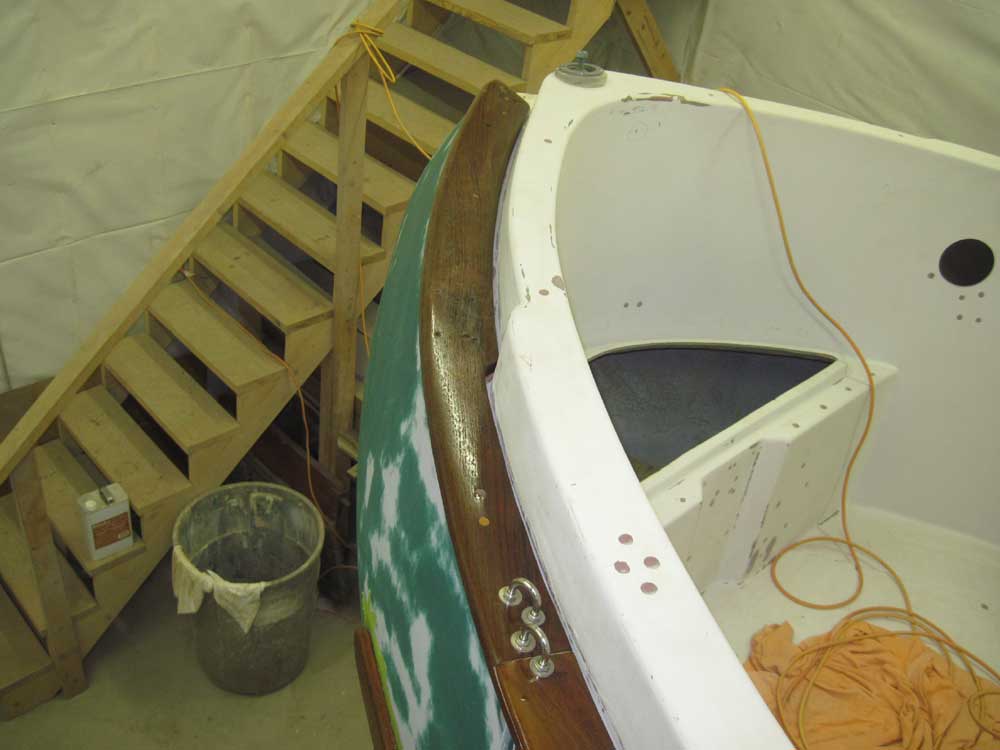
The preliminary varnish work on the caprails was
complete, so it was time to reinstall the rails.
To prepare for the installation--and while waiting for a
delivery of fasteners needed for the job--I checked out
all the caprail boards and redrilled holes and
counterbores as required where earlier repair efforts
had partially or completely filled them.
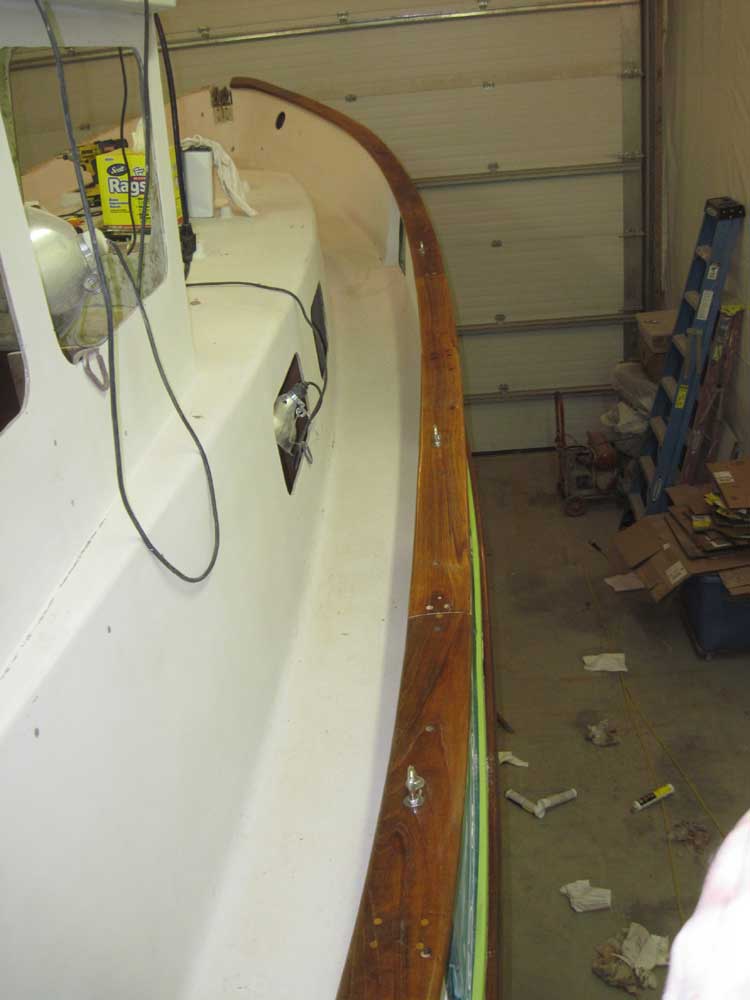
Though I'd marked each board with its position, the
markings had become obscured or difficult to read, so
before proceeding I took the time to lay out the entire
sections piece by piece to ensure I had the right
sections in the right places. |

 |
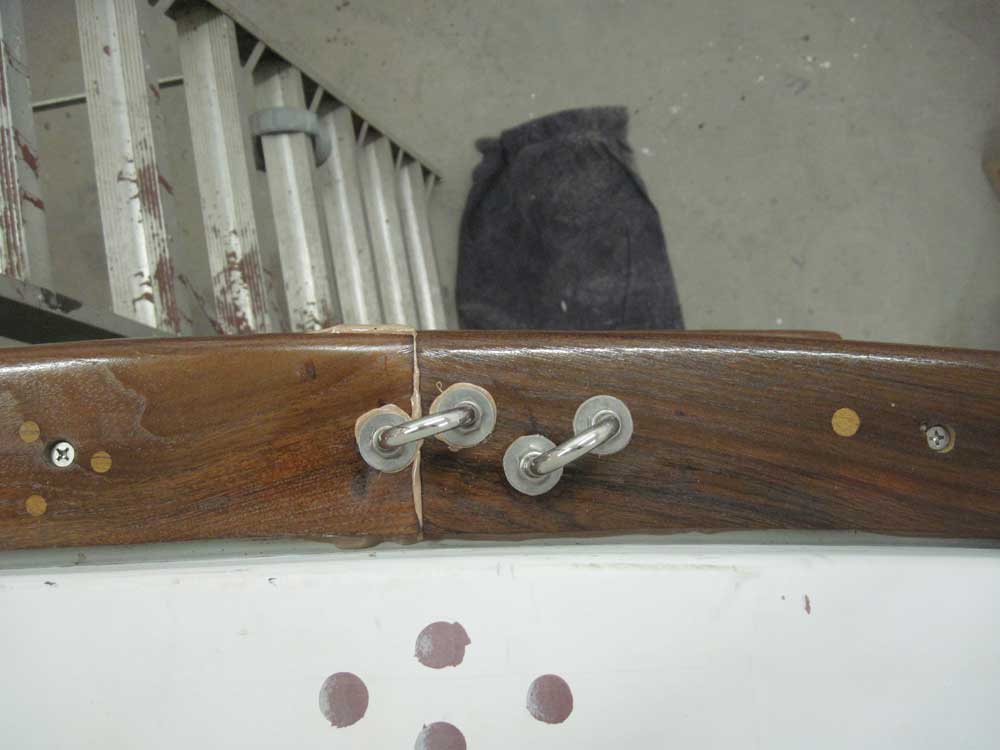
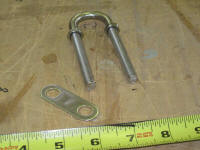
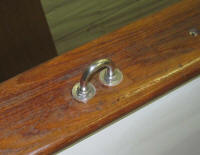
I'd been disappointed in the cover plates that came with
the new U-bolts that I'd acquired to replace the
originals. The original U-bolts featured
relatively thick, sturdy stainless steel cover plates
(many of which had been damaged during the stuck
U-bolts' removal earlier), but the new ones were cheesy,
stamped stainless steel with rough edges and of
questionable alloy. I didn't like the look of
these plates, so I ordered 1" stainless steel fender
washers to use instead. |
 |
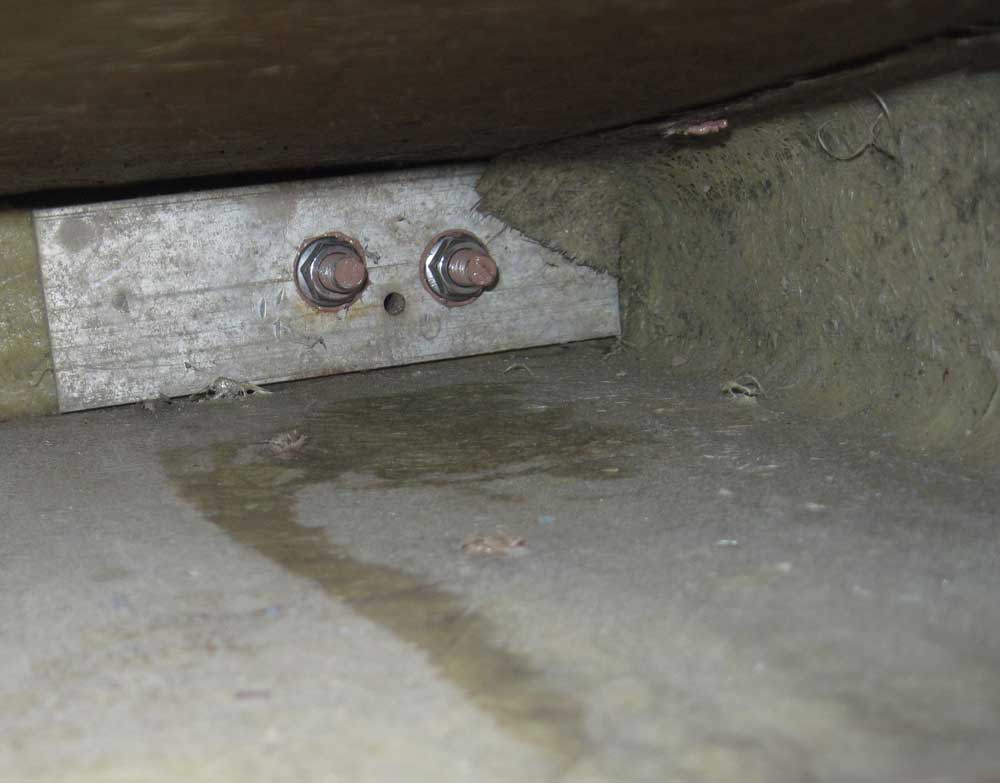
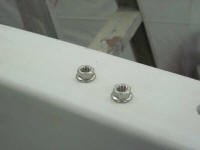
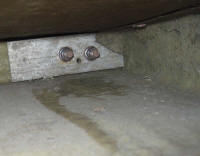
Even though the U-bolts passed through aluminum backing
plates inside the bulwarks, I thought it'd be nice if
the nuts had washers. In an ideal world, this
would be of no particular difficulty, but since the
insides of the bulwarks were too deep and narrow for me
to be able to adequately reach and maneuver around the
exposed studs (particularly the maneuverability, as
technically I could reach the studs in most cases), I
decided to purchase locking flange nuts, which
incorporated the wider bearing surface of a washer on
the nuts itself, in addition to being a locknut that
wouldn't vibrate loose.
These nuts had the added benefit of fitting nicely at
the end of a socket without slipping all the way to the
bottom of the socket's depth, so that would make holding
them with the socket and extensions--and threading them
onto the studs remotely--that much easier. |
 |
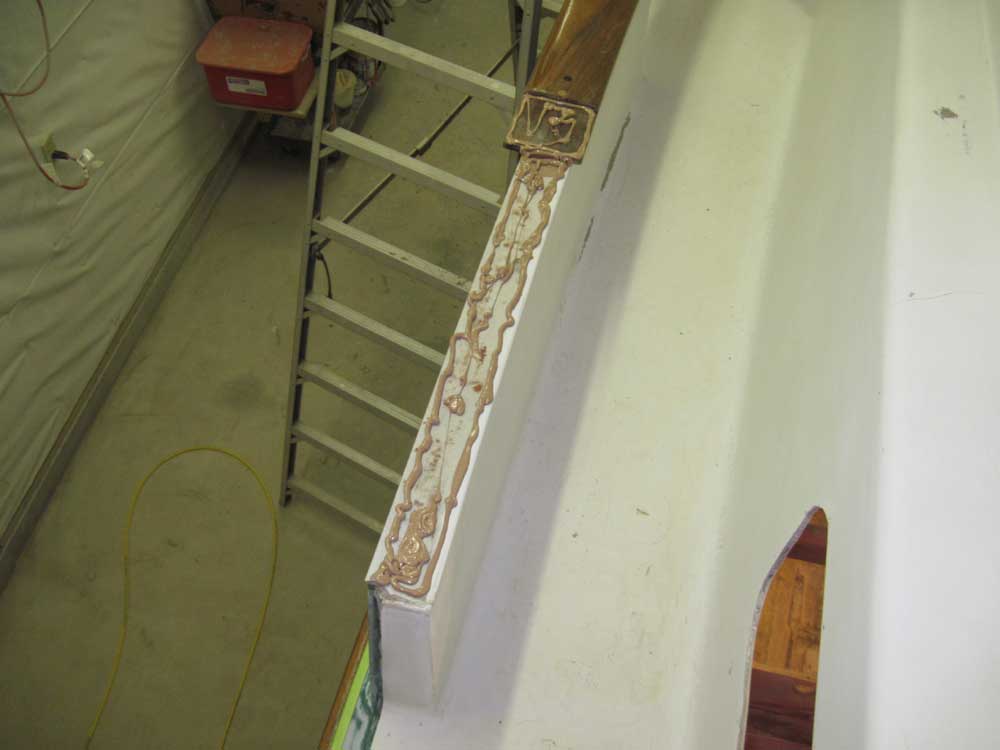
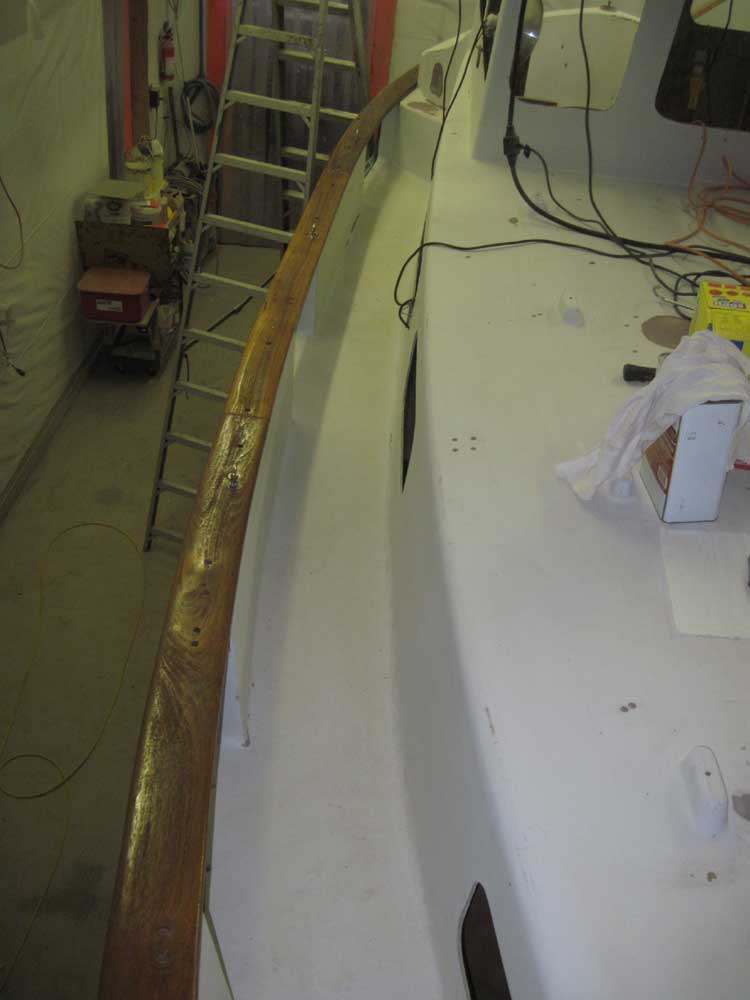
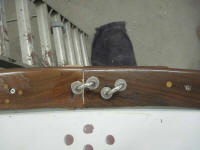
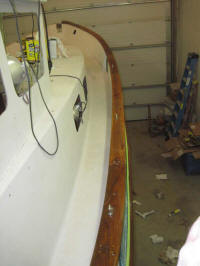
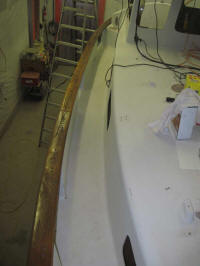
Once my new fasteners arrived--I'd forgotten to order
them till yesterday--I was ready to install the caprail.
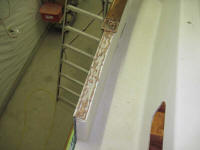
I randomly chose the starboard side to begin with and,
starting at the stern, installed the sections in a bed
of new sealant and with new stainless steel screws in
the original holes.
As I proceeded, I installed the various U-bolts along
the way, partly to get it over with and partly to ensure
the best seal between the various parts. |
 |
The forwardmost U-bolt on the starboard side, just
forward of the freeing port, proved difficult to get the
nuts started, since the angle of the hull and position
of the studs prevented me from getting a straight-enough
shot with the long extensions and sockets. I
fought this for some time, trying several different
methods, until I decided to give up on that single
U-bolt and attack it again fresh in the morning.
Annoyingly, several of my tubes of sealant--recently
purchased--were partially cured within, meaning that I
had to break into the supply intended for the port
caprail just to finish the starboard installation.
I'd figured three tubes per side, which would have
worked out well except for the semi-cured state of one
or two of the tubes, and now this meant I'd not have
enough of the sealant immediately on hand to complete
the port side. |
|
Total Time Today: 4.5 hours
|
<
Previous | Next > |
|
|