Project Log:
Friday, October 21, 2011
The galley was featured on my project list for the day,
with more work on the basic cabinetry ahead. I
thought several times that I seemed to have created an
insatiable monster in these cabinets; for each design
and construction step I completed, it seemed to demand
two additional ones.
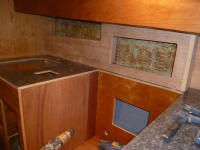
To begin, I cardboard-templated and ultimately cut
panels from 1/2" cherry plywood for the faces of the two
main sections of the upper cabinet: the smaller
aft section, hiding the wiring chase; and the long
forward section. |


 |
At the after end of the forward piece, I cut it a little
short and installed solid cherry trim so that the corner
could be flush with no protruding trim that might affect
operation of the recessed after panel over the wire
chase, which would have to pass by this corner with
potential regularity. |

 |
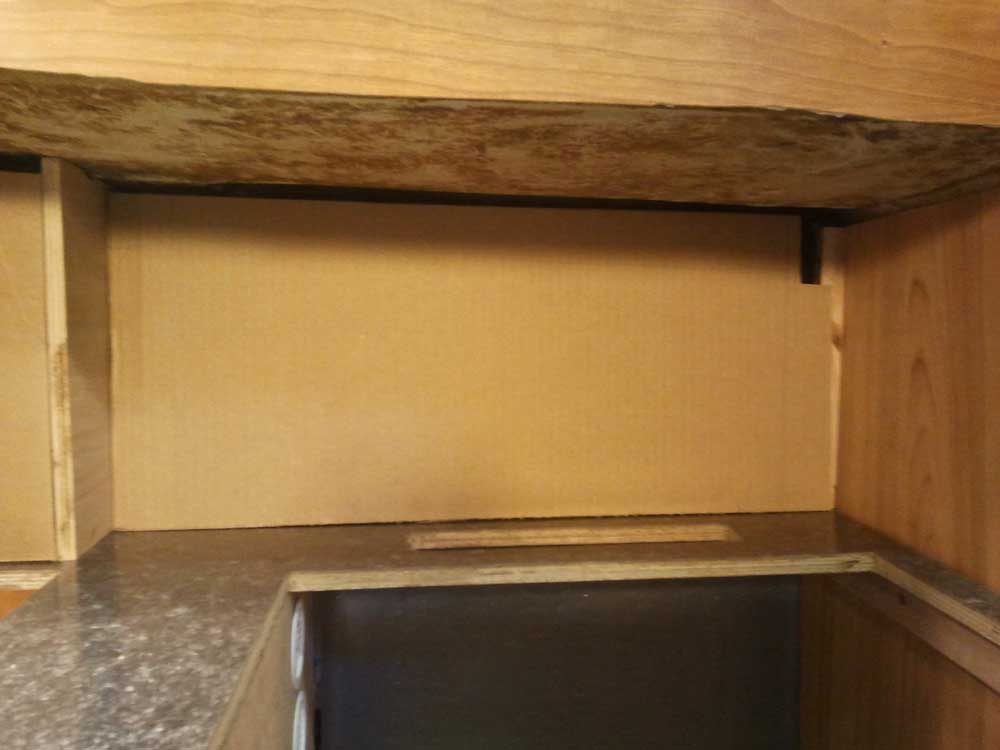
The aft panel needed to be removable for ready access to
the wire chase behind, and this posed an issue because
the space it was fitting in was a bit out of whack,
thanks to the curvy aft bulkhead--an original structure
to the boat. This made it difficult for a
full-sized panel to fit, as the recess where the panel
was happened to be narrower on the way in than where the
panel would ultimately end up. Additionally, a
lump on the overhead (underside of the sidedeck) was in
the way of the top of the panel, though again it didn't
obstruct the panel once in place.
Ultimately, I cut the panel a bit short on the aft and
top ends just so I could get it into the space.
I'd worry about trim details later. |
 |
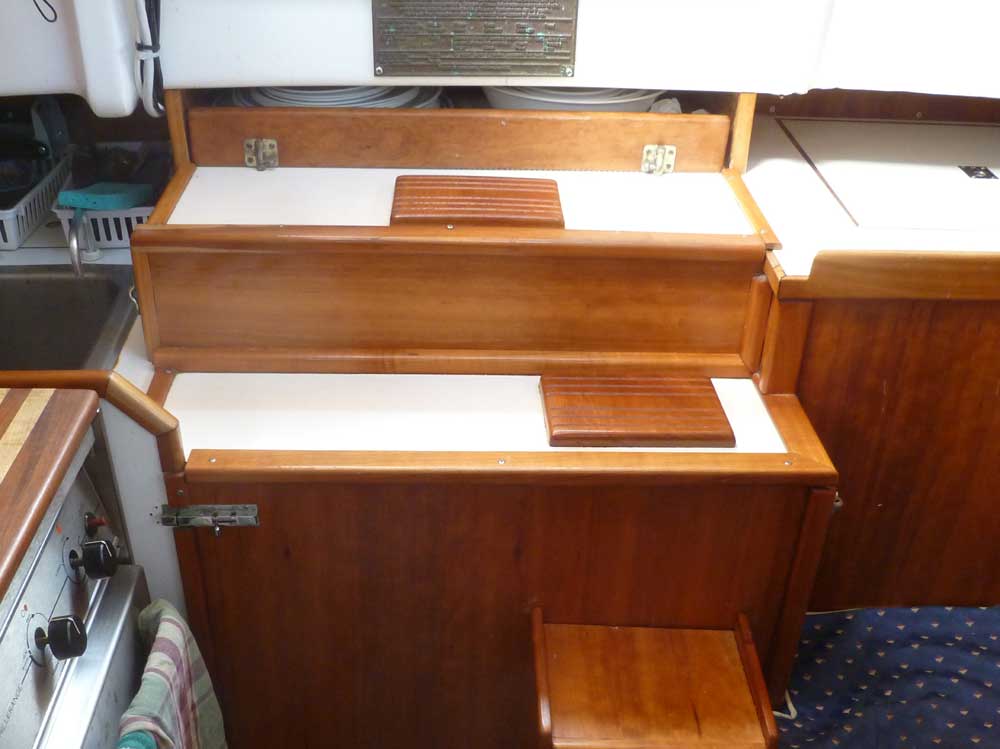
The complication with the forward panel related entirely
to my plan to build a plate rack in its forwardmost
upper section, outboard of the sink. On our last
boat, we lucked out with plate storage, as it wasn't
something that I ever factored in during construction.
But there turned out to be a perfect spot above the
engine box, tucked beneath the companionway, where we
stored the plates and related items for years. |
 |
While logic and symmetry (and, as always, various
limitations of the space itself) dictated the new layout
to a certain extent--I didn't want the plate rack to
extend past the leading edge of the stove, and it needed
to remain clear of normal operation of the sink and
faucets--the main design of the rack was driven by the
plates themselves. To this end, we'd purchased a
set of dishes during the week, so I could have the
actual plates on hand for laying out the storage area to
fit. As a starting point, this gave me a minimum
length and width for the plate rack--which worked out
well enough with the true limitations of the actual
space available.
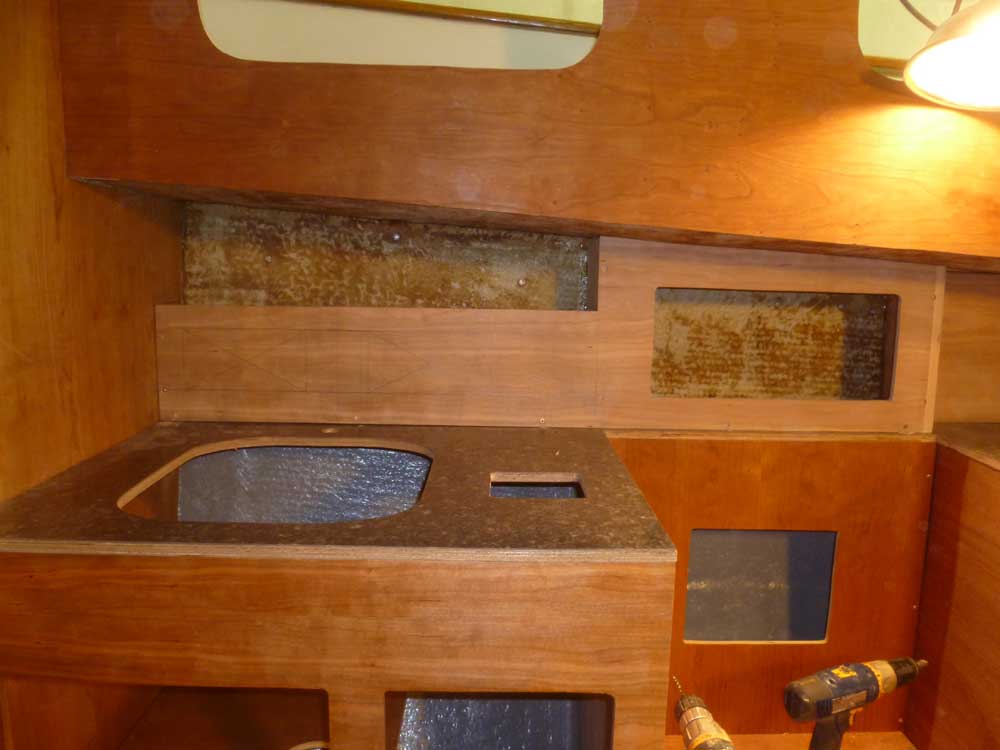
But before I could make any cuts and move forward with
construction, there were other considerations and
sub-installations, starting with a division to the long
cabinet itself, to separate the plate storage area from
the after section behind the stove. A small
bulkhead here would support the plate shelf, separate
the two areas, and provide additional support to the
cabinet front. And it also seemed that I needed a
small shelf in the after compartment, to make better use
of the tall but narrow space. And after that there'd be
insulation and panels...the insatiable monster remained
ravenous.
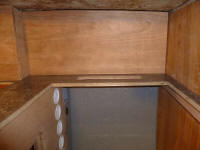
First things first: the small bulkhead. I
extended the line of the stove cutout across the
countertop, cleats, and to the hull itself, which I'd
determined earlier was the chosen location for reasons
of common sense and aesthetics. Then installed a support
cleat for the bottom of the bulkhead before templating
the little piece and cutting out the final result from
cherry plywood. I secured the mini bulkhead with
epoxy adhesive, clamping it to a temporary hot-glued
support block on the overhead while the adhesive set up. |

 |
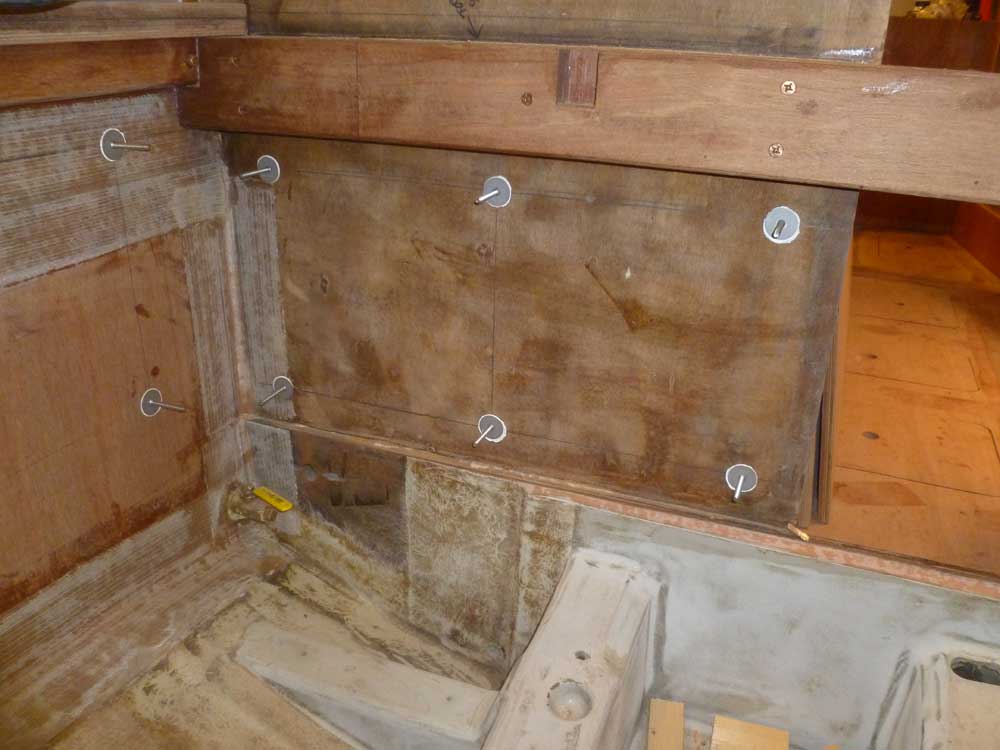
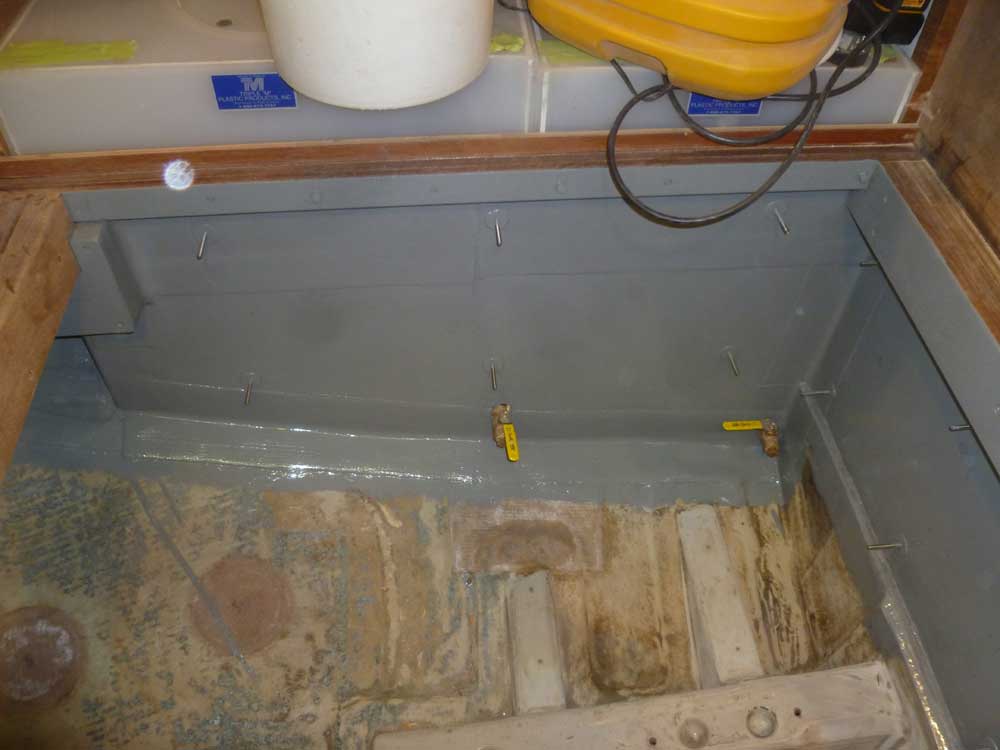
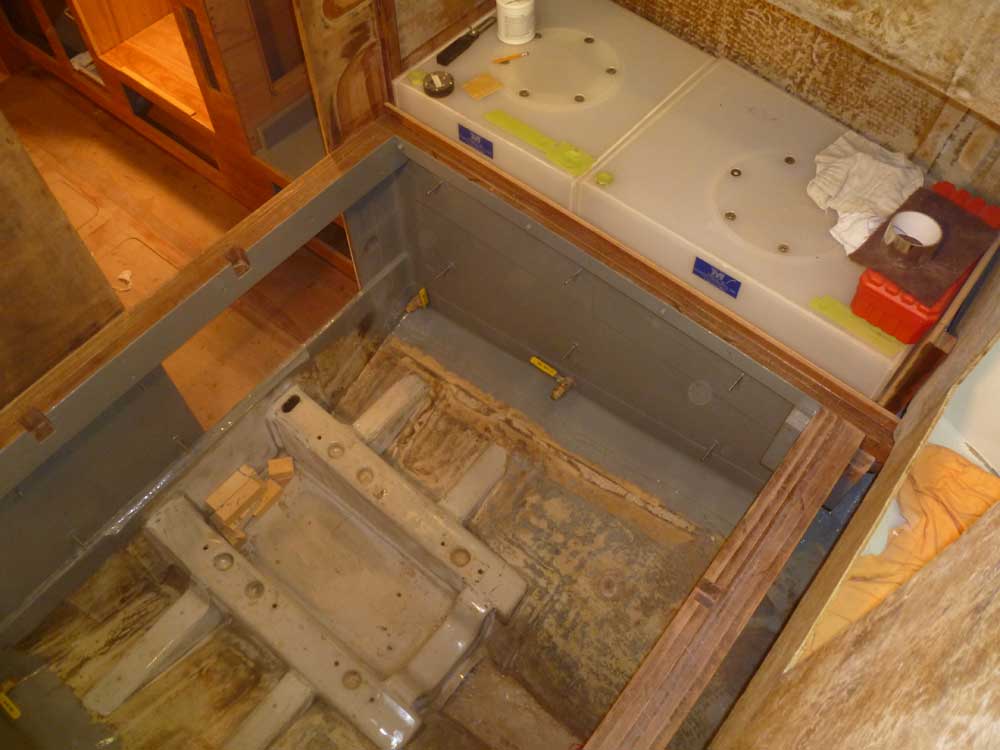
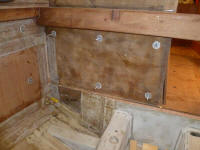
Taking a break from the galley, I used some time right
before lunch to lay out and install a series of
stainless steel studs in the engine room, on the two
side bulkheads and the forward bulkhead. These
studs would eventually support standoffs and plywood
panels on which I'd install various engine-related
components, like fuel filters, wiring, and the boat's
heating system.
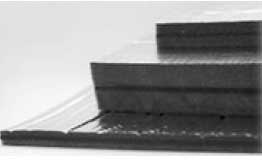
But allow me to back up a bit. Earlier, and after
plenty of off-hours research, I selected and purchased
sound-deadening foam for the engine room. I
selected 2" thick Soundown composite foam, featuring a 2
lb. MLV layer specified for diesel engine installations.
I planned to line the entire engine room, plus the
undersides of the pilothouse floorboards, and then
wherever else I could or felt I needed to. |
 |
The foam was essential, but its installation would
obviate use of the handy surfaces in the engine room for
critical installations. Which leads us back to the
stainless studs, the first step in the installation
process. The studs, and eventual standoffs, would
support plywood panels outside of the insulation,
without crushing or otherwise affecting the insulation,
and in addition to providing the necessary mounting
surfaces for whatever was needed, would also serve as
protection for the insulation itself.
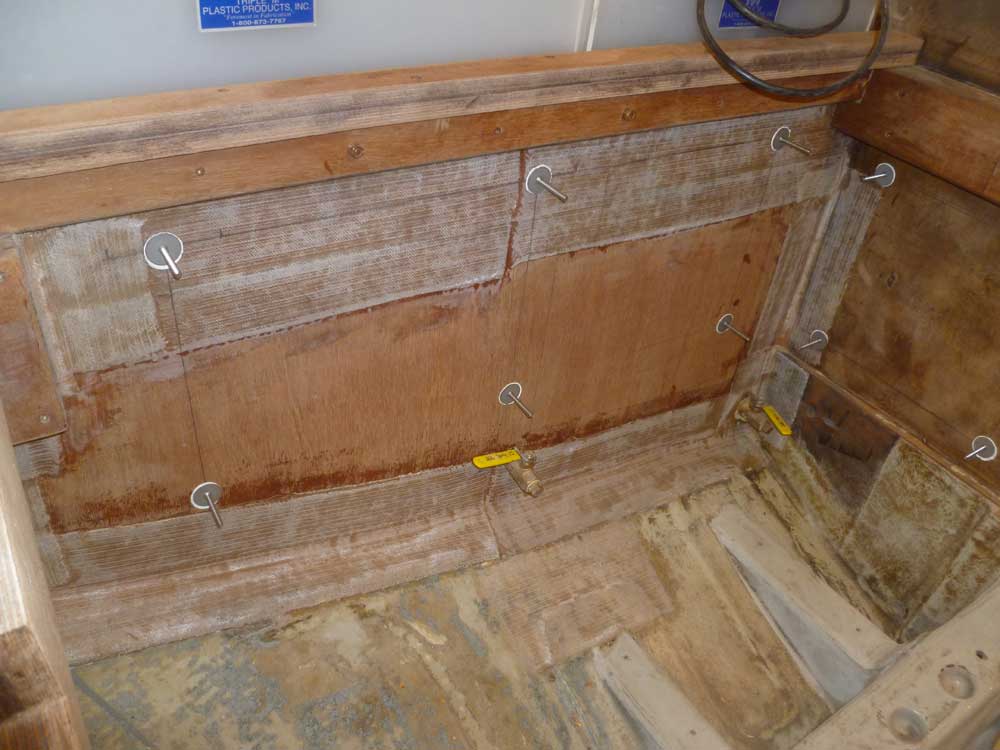
After working out a logical and easy-to-duplicate grid
layout for the mounting studs, I attached the 2" long
studs, a Weld-Mount product, with the appropriate
acrylic adhesive--six per panel, or 18 total. |
 |
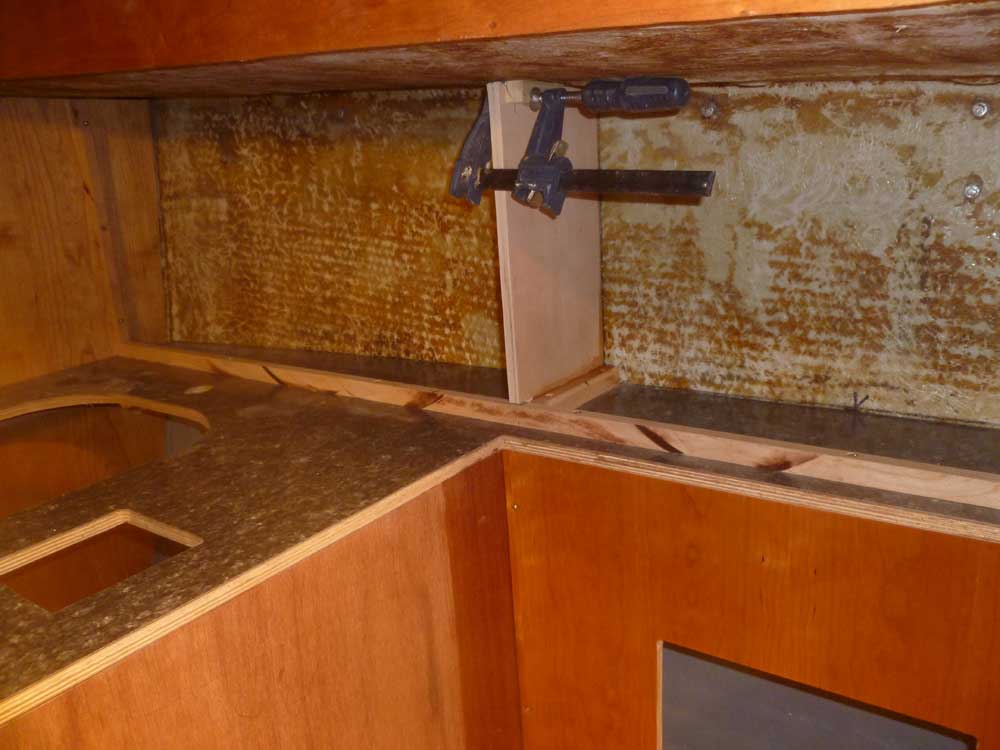
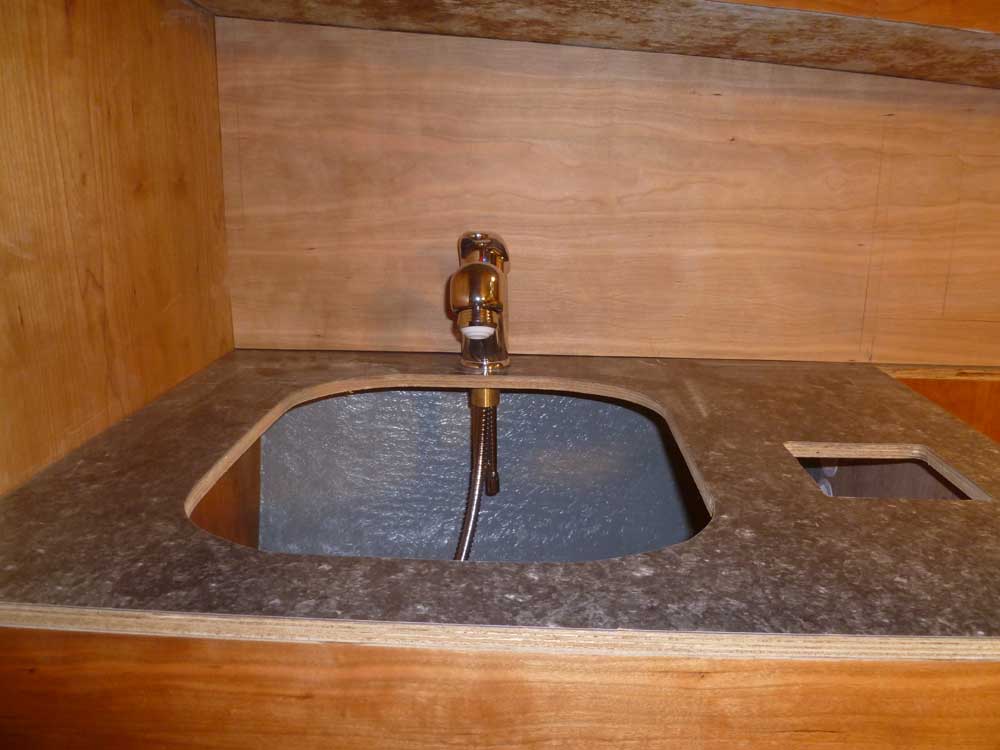
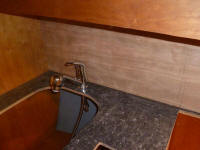
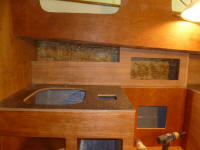
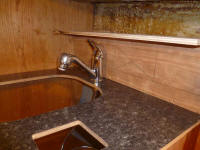
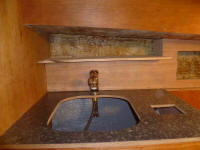
The galley faucet, and its convenient operation, was of
prime importance and factored heavily into the design of
the plate rack above. To be sure there'd be
clearance for the operation of the faucet, since I knew
the plate rack would cantilever over the faucet (at
least to some extent), I temporarily installed it and
made some reference marks on the cabinet face behind.
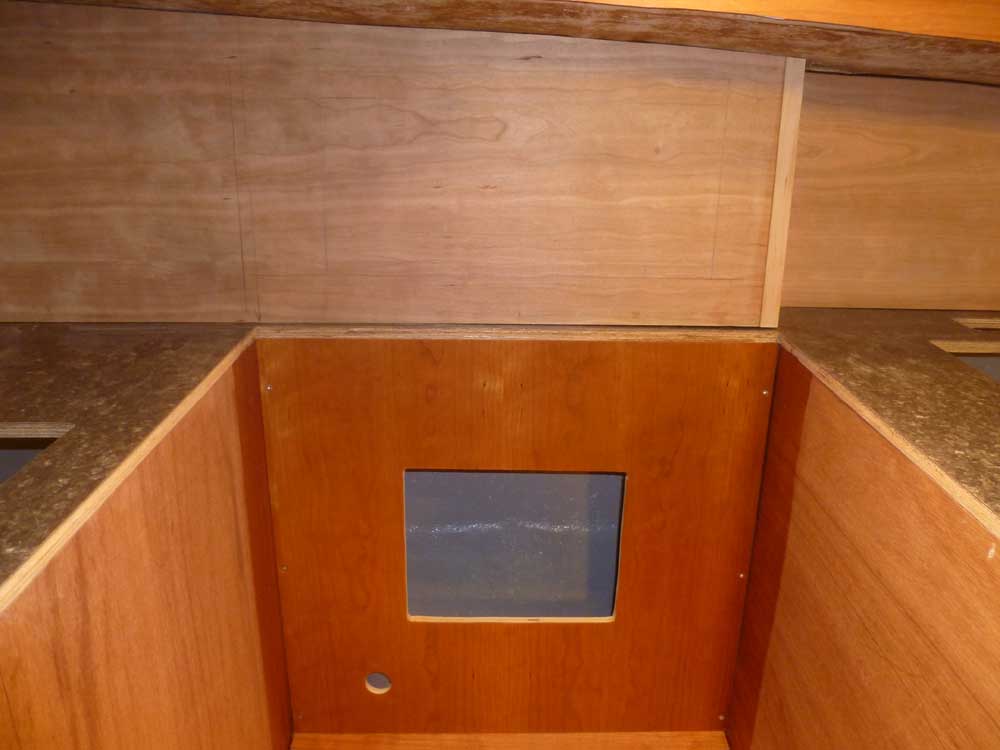
Meanwhile, I laid out and cut a locker door opening
centered behind the stove, for access to that portion of
the cabinet. |

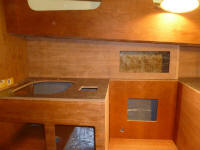 |
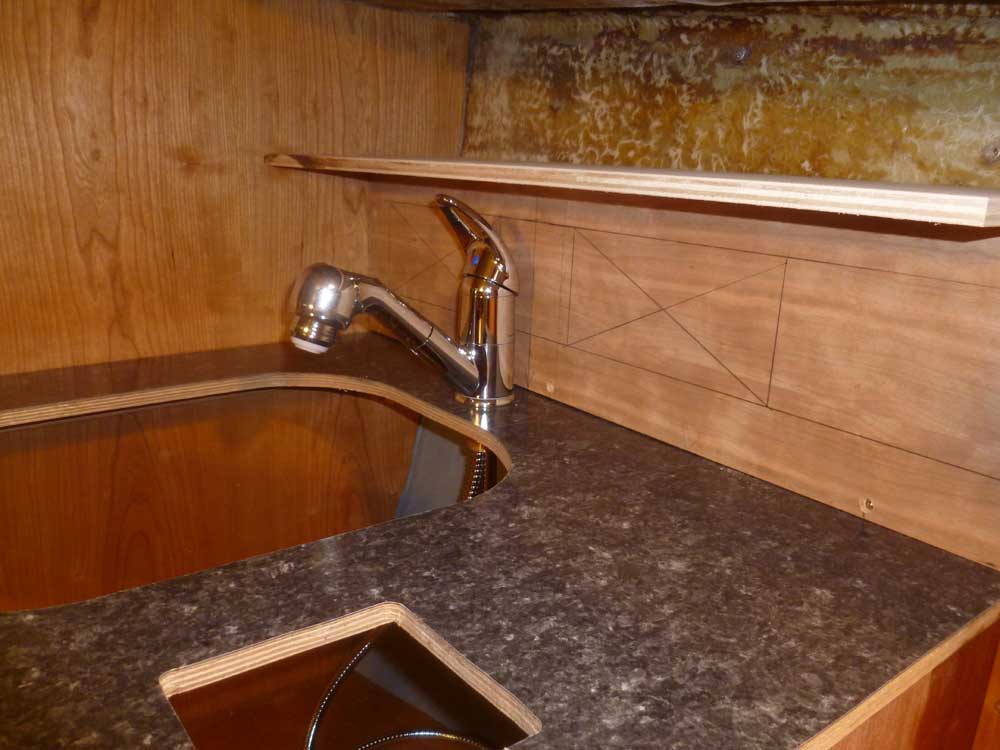
This information gave me the height of the plate rack
above the countertop, half of the information I needed
to make the cut in the cabinet face; the other half came
from the position of the now-well-secured-enough
bulkhead within the cabinet, which would form the after
end of the plate storage area. I made the
appropriate reference marks and cut out the section of
the cabinet face From here, I installed horizontal
cleats even with the cutout to support the new shelf. |
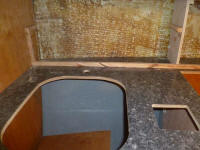 |
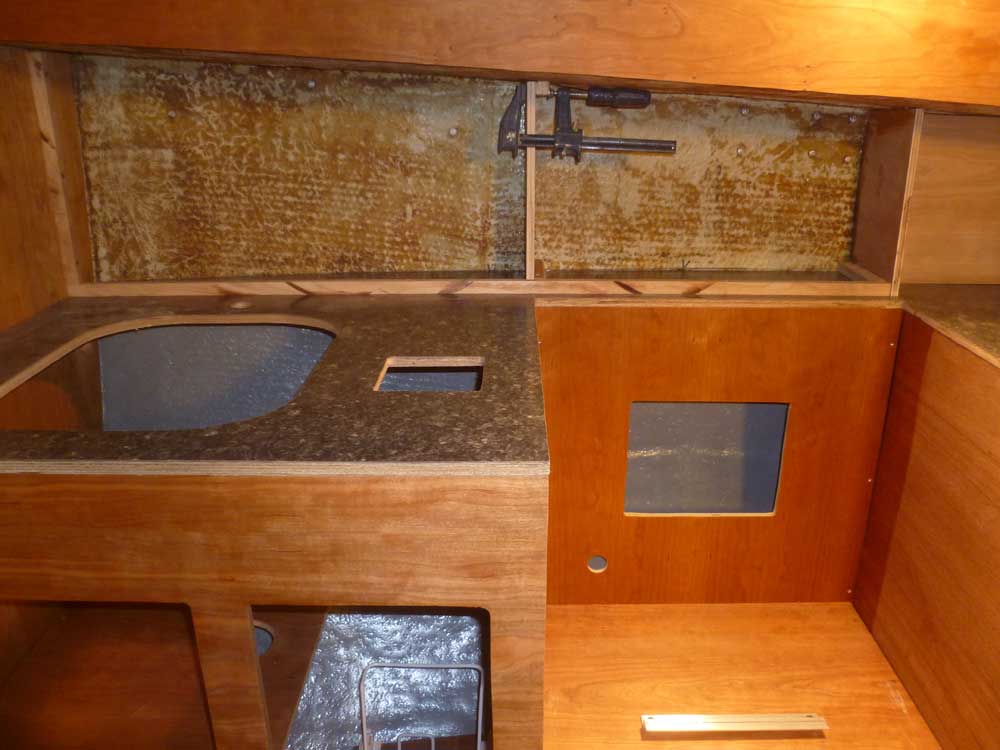
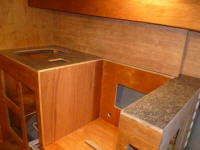
Next, I cut a plywood platform that would serve as the
base of the plate rack, and scribed its inside edge to
match the hull. Then, using one of the dinner
plates--the largest diameter I had to contend with--I
made a mark on the platform to define its width,
allowing some wiggle room and room for the trim, and cut
off the excess width.
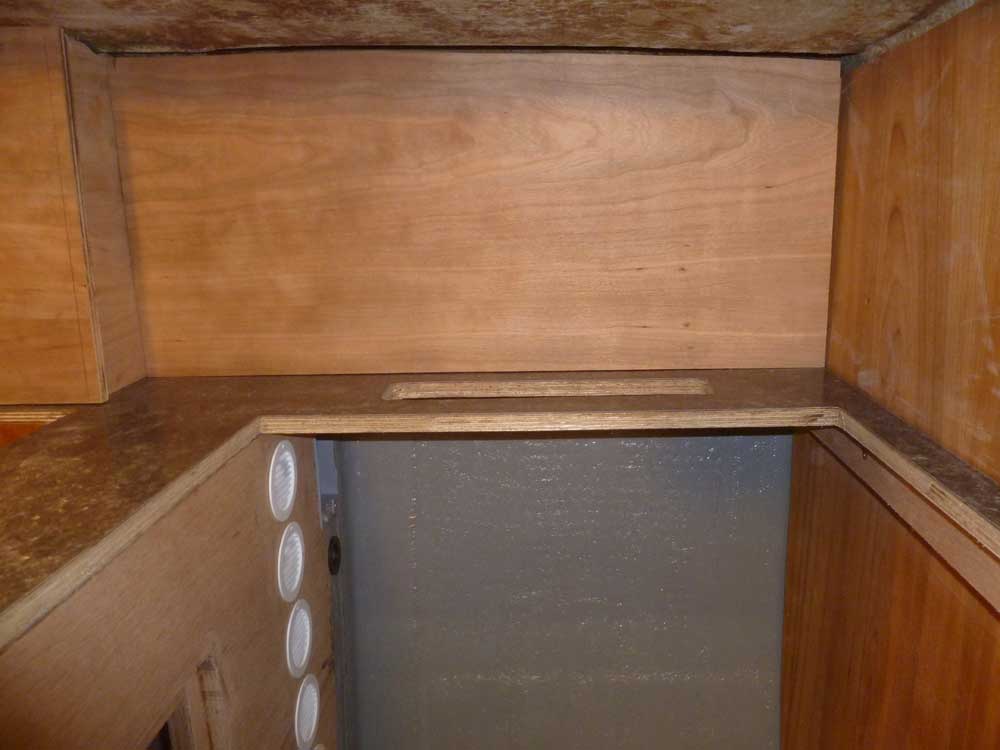
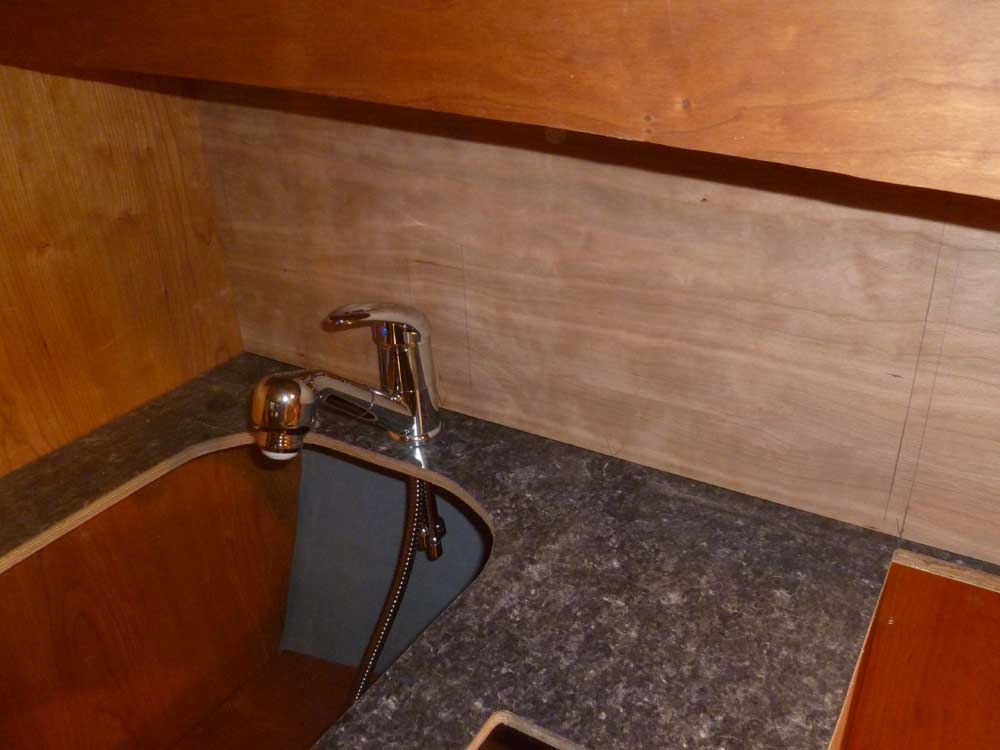
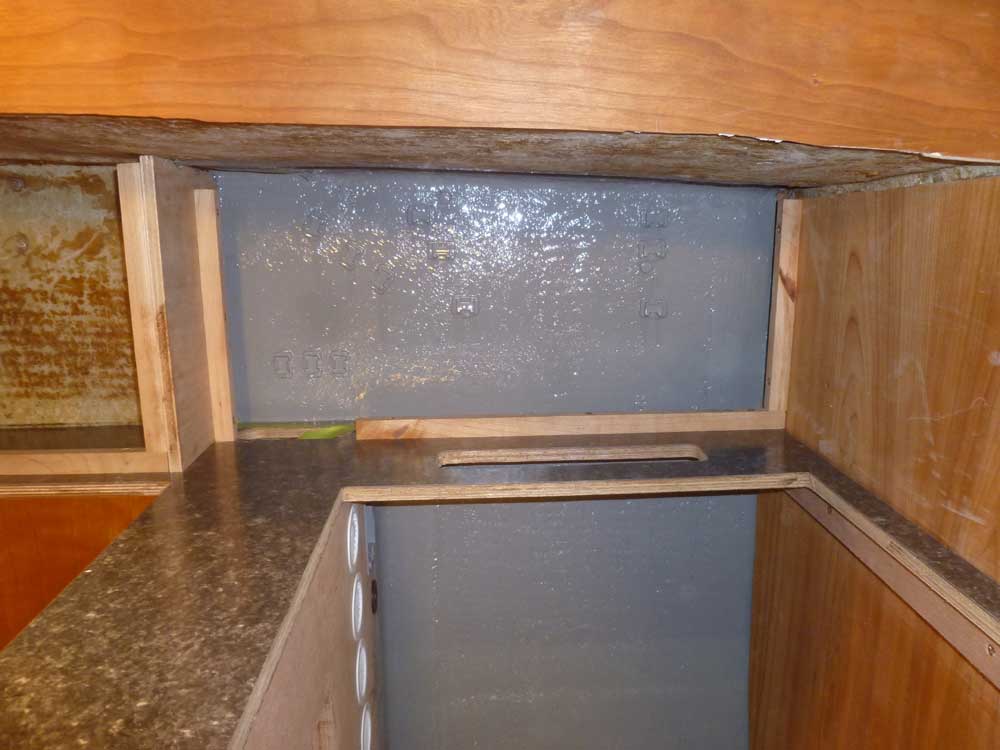
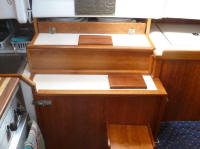
Though I'd known the shelf would overhang the sink and
counter, the overhang was a little more than I'd hoped
for. While there was room to operate the sink
faucet, as I'd carefully ensured, maybe it wasn't as
convenient as I wanted, so I didn't commit to anything
yet. It was nearing the end of the day, and it'd
be a good time to mull this overnight.
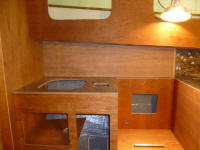
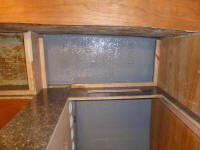
Note: in the first photo, the faucet control is
turned on to its maximum position (raised upwards); the
second photo shows it in its off position. |
 |
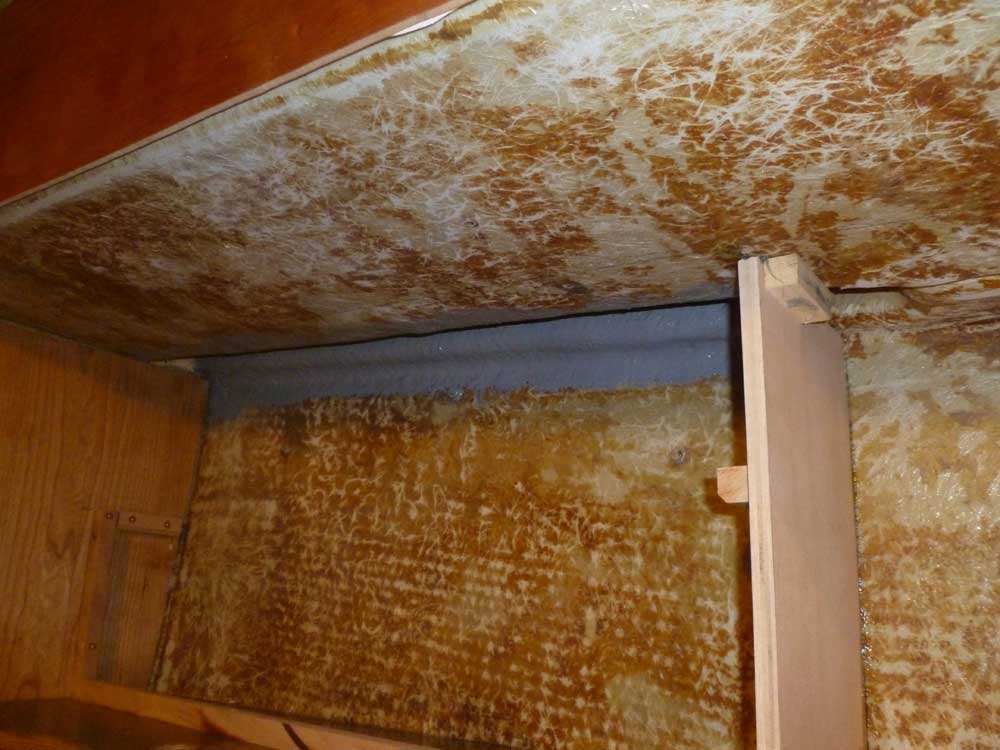
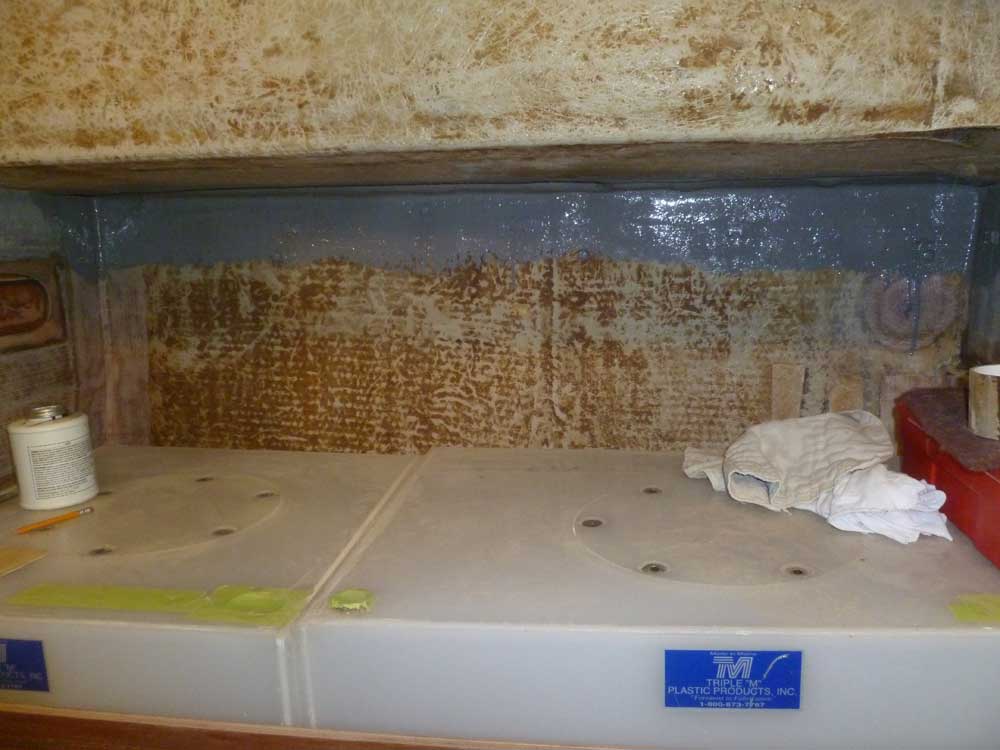
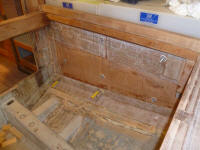
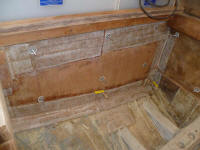
To round out the day, I painted the hull inside the wire
chase, which I'd intended to do sometime during the week
but never got around to it. The paint here would
allow me to begin some of the installations as needed.
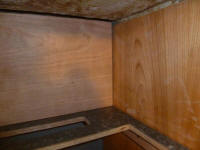
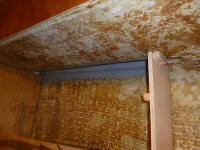
I also painted the outermost portion of the underside of
the deck here and above the plate storage area, where
the molded bulwarks opened up. The exposed
portions of the underside of the deck would eventually
be covered with cherry, but these open areas within the
cabinets would remain so, and a little paint now was
easier than doing it later. I never wanted to see
the ugly, mottled, glue-spotted hull in the future when
I looked into any locker anywhere on the boat. |
 |
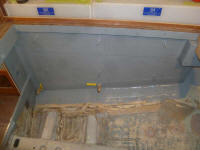
Finally, I painted part of the engine room: the
side and forward bulkheads, and enough adjacent areas to
allow the insulating foam to be installed. I'd
paint other areas later, but I needed to get some of the
insulation installed sooner than later lest it hold up
any important systems installations that I might want or
need to begin in the meantime. Although most of
these areas would be completely covered by insulation
and not be visible, I painted everything just because it
made me happier, and we must never forget that paint's
true purpose isn't aesthetic, but protection, and the
paint here would provide that layer of protection for
all this engine room wood. |

 |
In between all of this, on breaks and so forth, I worked
on compiling my order for the heating system. Over
the past few weeks, I'd been researching online and
elsewhere, and now wanted to figure out the myriad
components (this may be the most complicated
installation on the whole boat) and order them so I
could begin installation as I saw fit. More on
this later, but I started tracking the hours spent on
this process as part of my daily total.
|
Total Time Today: 8 hours
|
<
Previous |
Next > |
|
|