Project Log: Saturday,
September 17, 2011
It was time for me to nail down some of the larger
mechanical choices for the boat, beginning with the
engine. Earlier, I'd built a template for my
leading choice, the Beta 43, but before committing it
only seemed right to look at the alternatives.
While I'd not had time to do any work on the boat
recently, I'd been thinking of details constantly, and
had used many of my spare minutes researching various
systems installations to the best of my ability.
Once again, I set up the template in the engine room,
after first double-checking it's key measurements
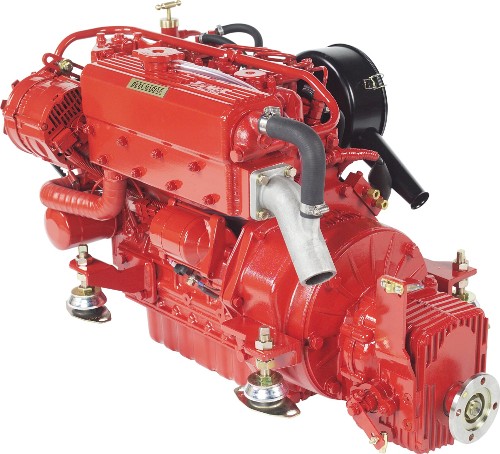
against the technical drawing. In hand I also had
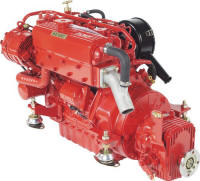
drawings for two additional engines, the Beta 38 (a
slightly smaller block than that of the 43), and the
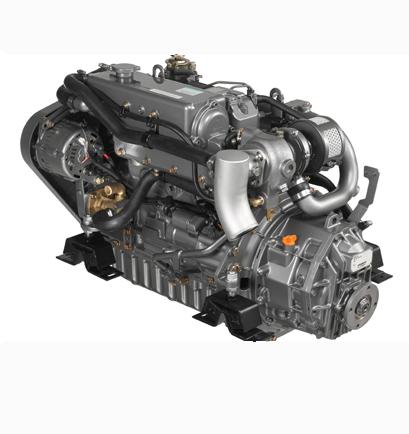
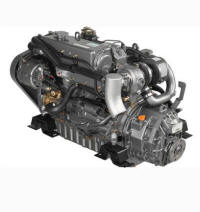
Yanmar 3JH5E (39 HP). Fortunately, the basic
measurements of all three engines were similar in that
their mounting flange centers all easily accommodated
the existing engine foundations, so no significant
modification to the foundations would be required.
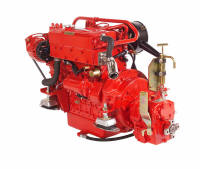
I really wasn't seriously considering the Yanmar,
despite my past excellent personal experience with the
brand, but wanted to have it in as a basis of comparison
anyway. |
Beta 43
Technical Drawing (PDF)
 |
Beta 38
Technical Drawing (PDF)
 |
Yanmar 3JH5E
Technical Drawing (PDF)
 |
Besides, who wants to say "3JH5E" when asked what their
engine is, anyway? I can't even remember it long
enough to write it here without looking it up again.
My earlier setup had shown that the overall height of
the Beta 43 was a close fit at the forward end of the
engine room, so confirming that measurement seemed to be
the key factor in the engine selection. I'd have
to raise the engine foundations somewhat to accommodate
any of the new engines I was considering, so that wasn't
an issue for me, but I had to be sure the engine
would fit.
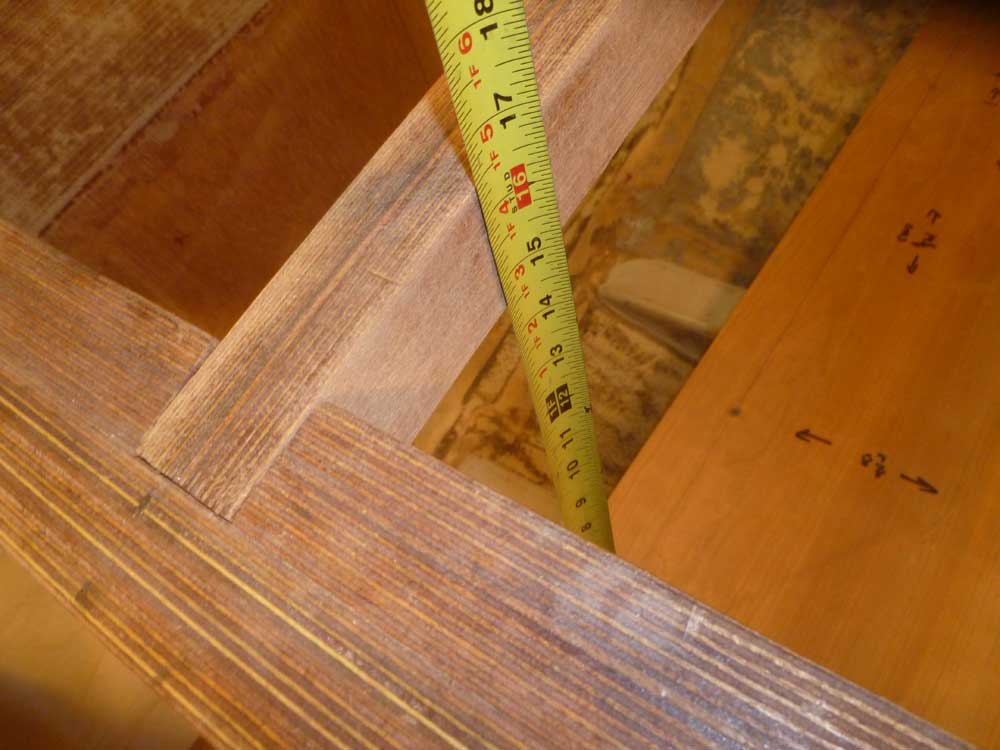
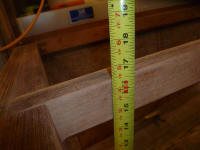
The engine required 16-3/16" clearance (maximum) above
the top of my template, this measurement adjusted from
the technical drawing according to the thickness of my
template and the reference criterion, which was the
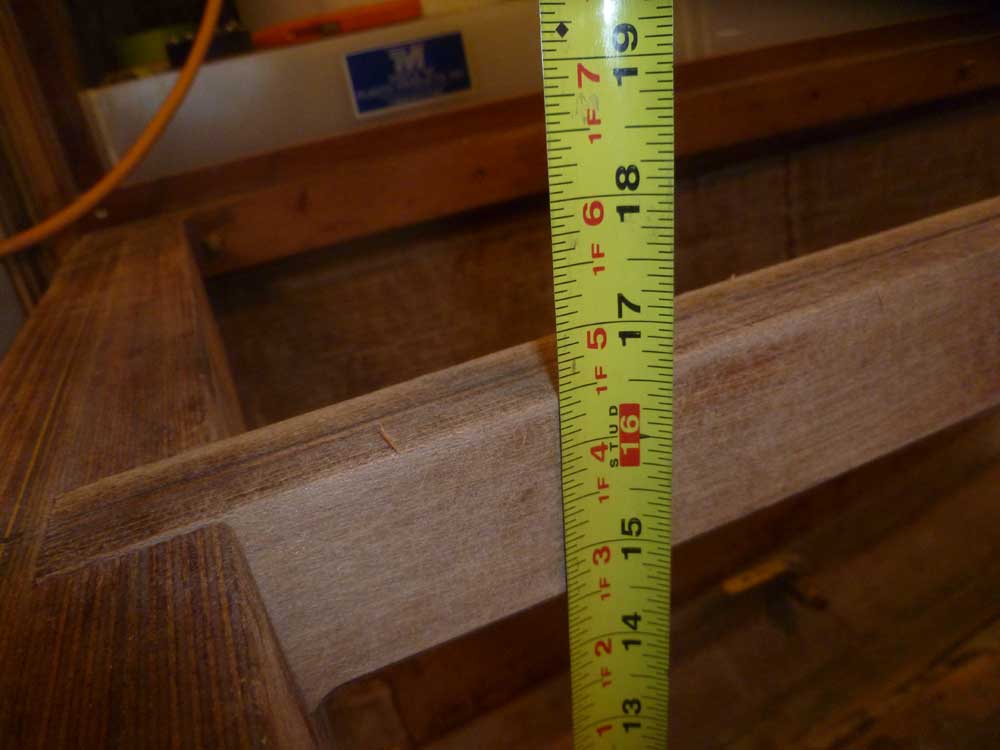
bottom surface of the plywood template. There was
16-3/8" height available (at the forward end; more aft,
thanks to the angle of the foundations) to the top of
the support beams, which corresponded to the underside
of the deck. Since I'd also want to add sound
insulation, which would take up an inch at least, this
was a bit closer than I wanted, though I could cheat up
the height of the platform fairly easily at this point
by simply adding cleats around the perimeter and all the
support beams; with ample headroom in the pilothouse,
this wouldn't pose any problems for me, and nothing was
yet tied into the existing height.
I'd the commonly-applied notion that I wanted extra,
rather than just enough, power for the boat, but would
the five horsepower make any practicable difference
(between the Beta 38, which would be an easy fit as it
was two inches less tall--and the Beta 43)? Would
this justify the extra size, weight, and cost of the
larger engine? Both engines featured four-cylinder
blocks, which I wanted regardless, and were otherwise
similar in many ways.
In the end, either the Beta 43 or 38 would fit, the 38
with less work. It came down to the importance, as
it were, of that extra five horsepower or not, and any
other salient engine features that might tilt the
balance one way or the other, which I'd now have to look
at in some detail. Since the original engine was
36 HP, either of the new choices would be a slight
upgrade. |


 |
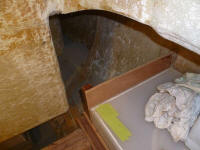
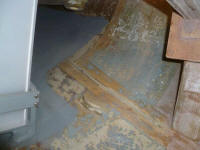
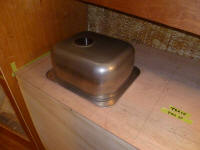
While in the engine room, I also confirmed some
measurements of the space where I intended to install a
domestic water heater, on the port side aft, outboard of
the centerline fuel tank. I'd not made the final
choice on the heater to use yet, so I printed out
specifications for the main choices under consideration
and checked them against the space. Any of the
tanks I was considering would fit, which kept the
options open for the moment. |
 |
At this stage, I was undecided whether or not to install
AC power on the boat. It certainly was not a
feature we needed to power anything on board; we don't
spend any time dockside, so from this perspective it was
clear we didn't need it since it wouldn't be used the
way we cruise. But this was no to say the day
might not come when the boat would spend time dockside,
so I was leaning towards installing a basic system since
it made sense to do so now rather than retrofit it
later.
Why mention this now? Well, it could play into the
type of water heater. Most domestic water heaters
are fired not only by engine coolant bypass, but also by
AC heating elements. These sorts of tanks are also
designed to store the hot water, which was a feature
that might be handy. We didn't necessarily need
the AC capability, as our plans for the boat would have
the water heater fired by the engine and also by a
diesel-fired hydronic boat heater, which was the
direction I was leaning towards at the moment.
(It's impossible to make one choice on board without it
also affecting 6 or 7 other things, it seems...)
The alternative was a tankless coil, which lacked not
only the AC element, but also the ability to store
heated water. Though at first this seemed of
interest, the more I thought about it the less
interesting it seemed, since storing hot water for later
use seemed a handy thing and I didn't necessarily want
to have to always run the diesel heater (or, worse, the
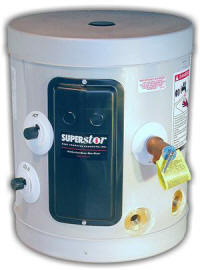
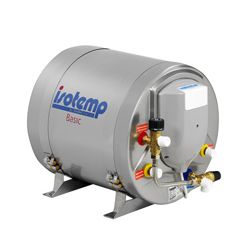
engine) to heat hot water. So I more or less took
this idea out of the running. This left the
Super Stor and Isotemp high-end 6-gallon water heaters
as my main choices. |
 |
With the theoretical part of the morning over with, I
moved on to some real work. Earlier, I'd finally
purchased the
more-complicated-than-I-wanted-but-had-no-other-practical-choice
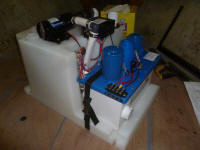
sanitation system, the Raritan Hold'n'Treat system,
which incorporated a 15-gallon holding tank along with
Raritan's Electro-Scan treatment system.
From the onset, we knew that a standard holding tank
getup was not practical, and although I looked carefully
into the composting toilets on the market, in the end I
couldn't quite make the leap.
I will not delve into my thoughts on the current state
of sanitation discharge laws in the US, and will say
only that the law requires either containment (in many
zero-discharge zones now becoming more and more common)
or appropriate treatment before discharge.
This system covered both possibilities, the only to do
so. I covered additional aspects of the reasoning
behind this option in an
earlier posting on the subject. Right or
wrong, this was the choice I decided worked for our
intended use and needs.
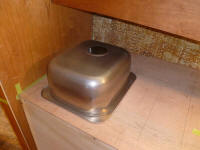
I'd constructed the space beneath the v-berth with this
system in mind, and with it now on hand I moved along
with the final steps leading up to its permanent
installation. First, I lowered it through the
forward hatch--it was too large to fit through the
doorway into the forward cabin (at least by measurement;
I didn't try it physically). |
 |
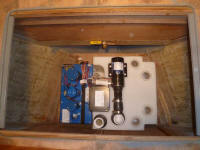
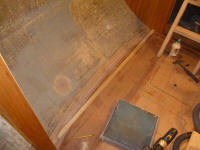
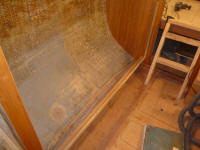
Then, I placed it in its designated spot beneath the
berth, and adjusted it around to be roughly on
centerline before making some reference marks around the
perimeter of the base and also the bolting locations. |
 |
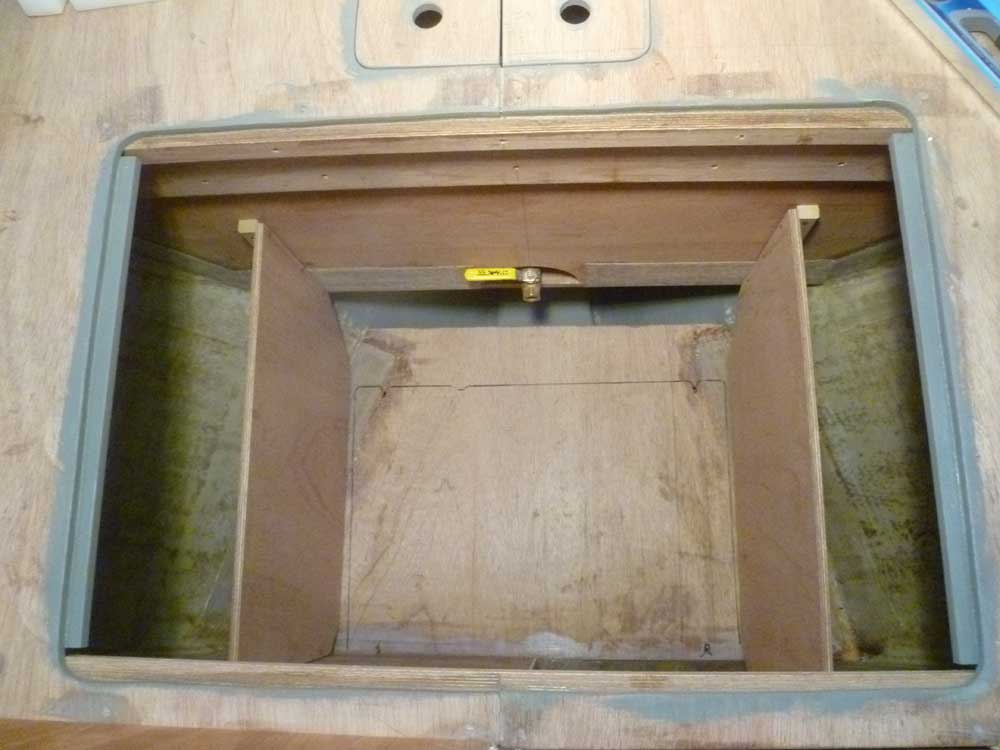
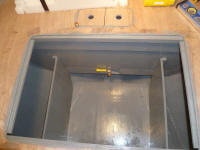
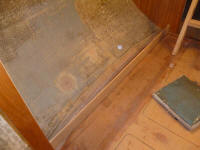
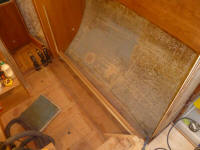
After removing the tank, I drilled and tapped the
platform for the 3/8" fasteners that would secure it.
Then, I built two simple plywood partitions, one on each
side, to block off bulk storage areas against the hull
outboard of the tank location. These partitions
were designed as dividers only, and served no structural
purpose in retaining the holding tank system. With
the dividers complete, I painted out the entire area
with my habitual gray Bilgekote. |

 |
With that out of the way, I returned to the galley
project. Having had a couple weeks to mull over the
existing prototype, it was clear that there were no
substantive changes requires, certainly not to the basic
position and shape of the cabinet. One minor
change I began to contemplate was the position and
orientation of the sink, which I'd originally laid out
in a longitudinal position (long axis parallel to the
centerline of the boat). |
 |
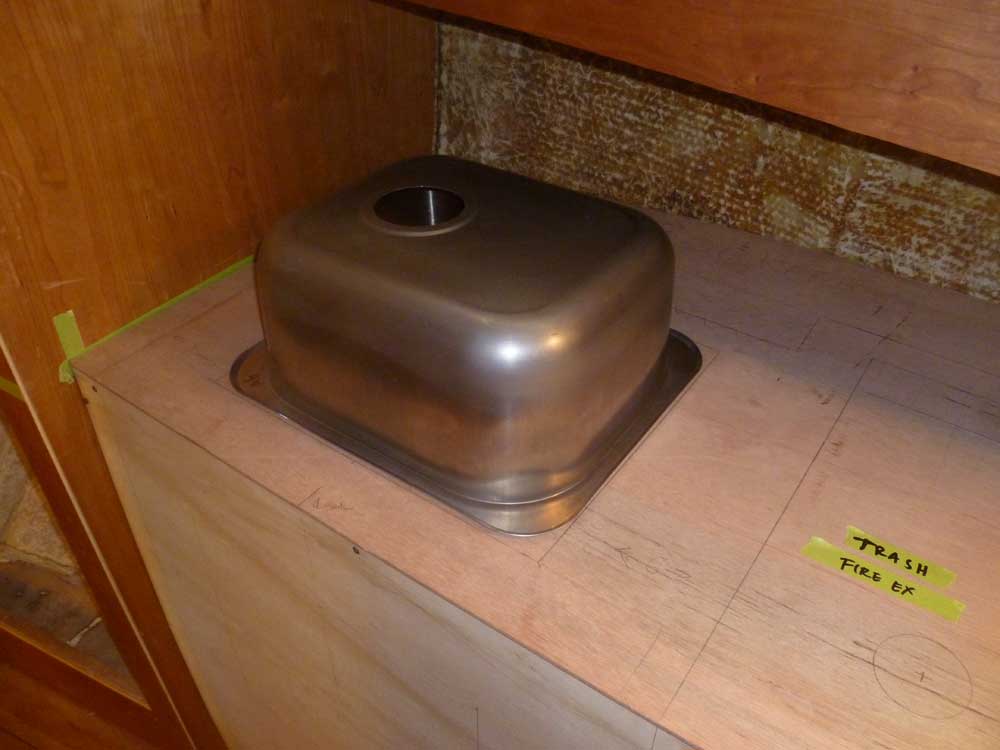
It occurred to me, however, that changing its
orientation to transverse (long axis perpendicular to
the boat's centerline) might work as well or better, as
it would allow more usable counterspace and also perhaps
more space to incorporate a hidden trash receptacle,
either through the countertop or in a locker
beneath. |
 |
This decision didn't need to be made immediately, but
after marking out the second position on the countertop
mockup, I dismantled the whole galley mockup so I could
begin constructing the real thing.
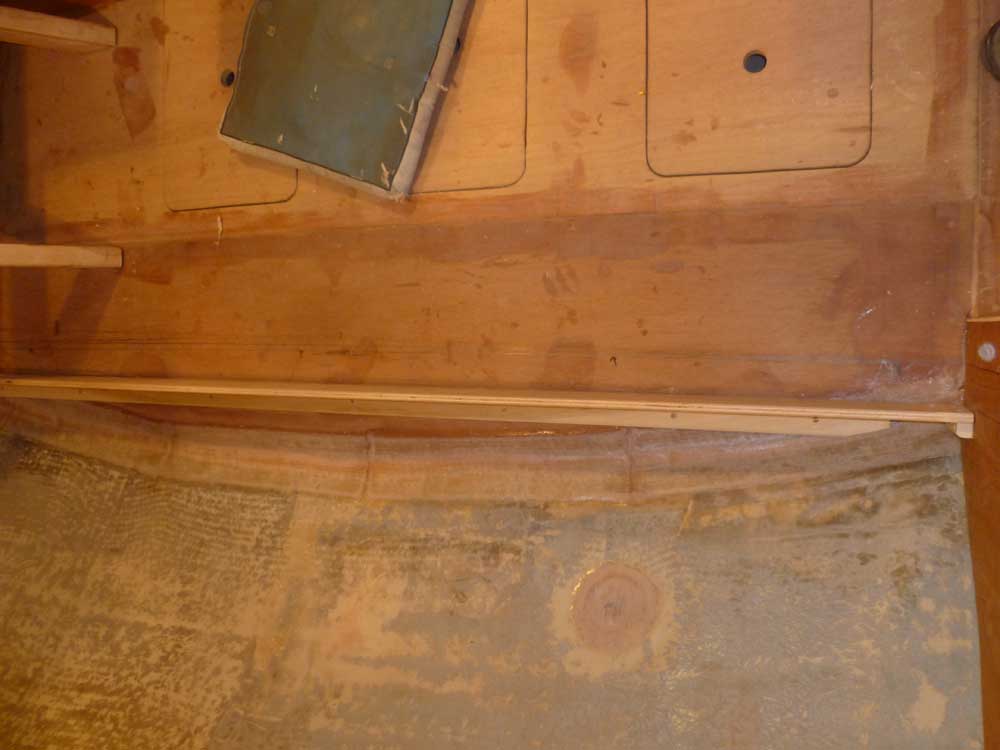
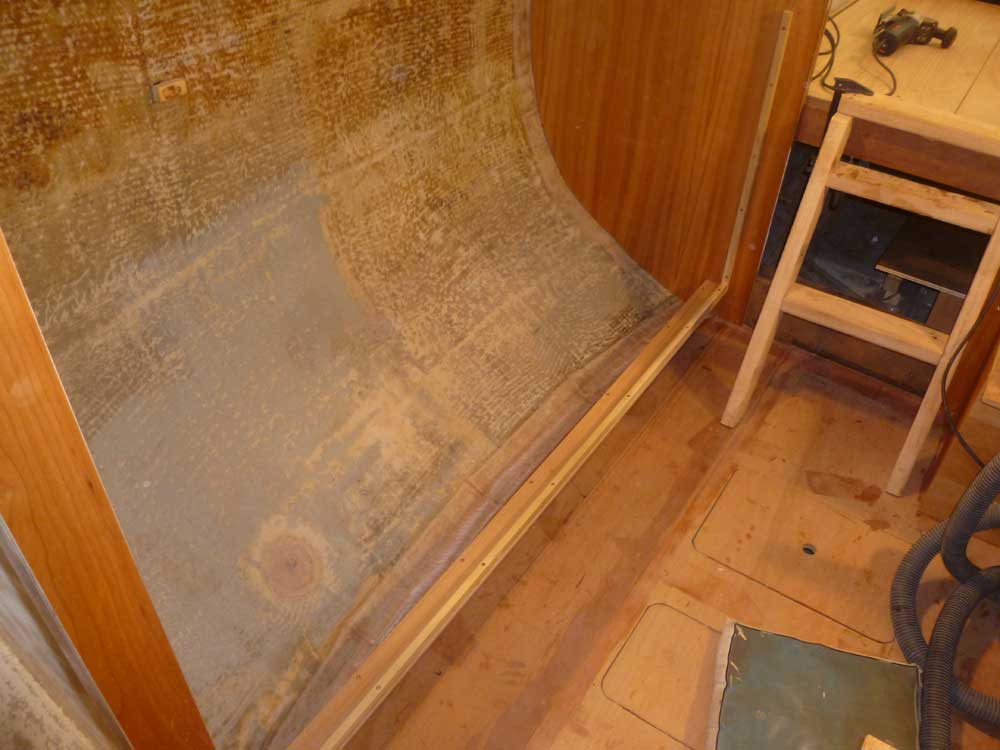
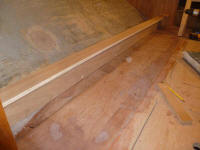
The first order of business was to mark off a new line,
offset from the original layout line on the cabin sole,
to demark the position of the back of the toekick, an
inset area at the base of the cabinet. I
compromised on a 2" deep toekick, which seemed ample
enough and avoided too much interference with the
curvature of the hull, which loomed just outboard of the
layout line.
Allowing for the 1/2" plywood thickness, I installed a
full-length hardwood cleat with glue and screws.
Then, I cut a 4" wide strip of cherry plywood for the
vertical face of the toekick, and installed it to the
cleat on the cabin sole, plus two short vertical cleats
at the ends. |
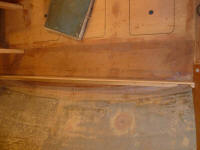 |
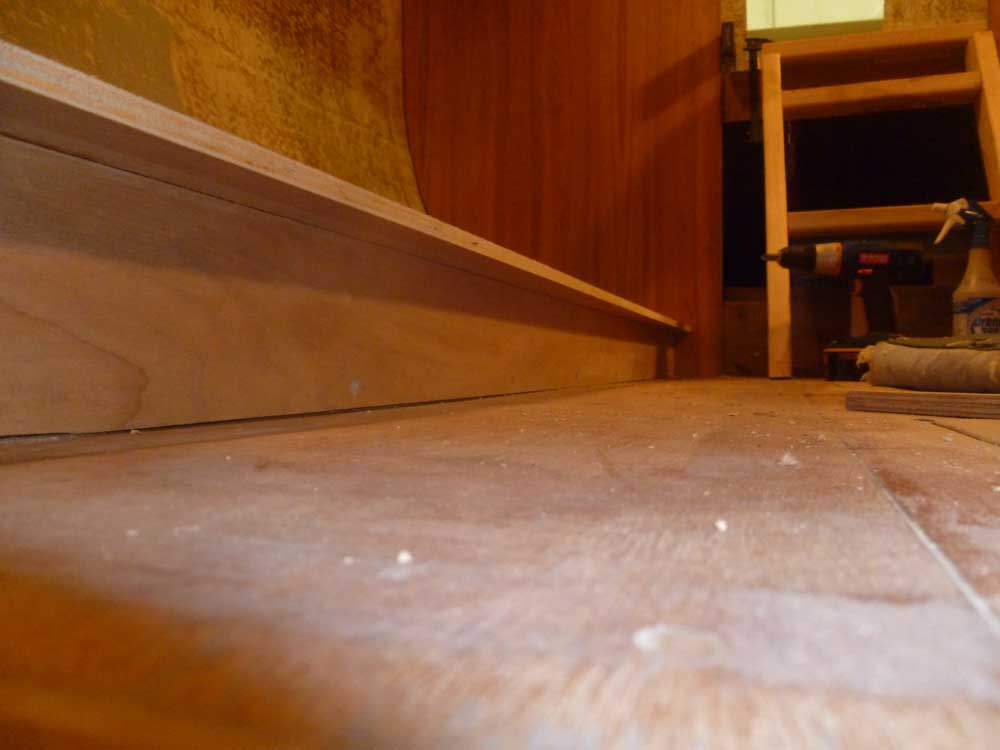
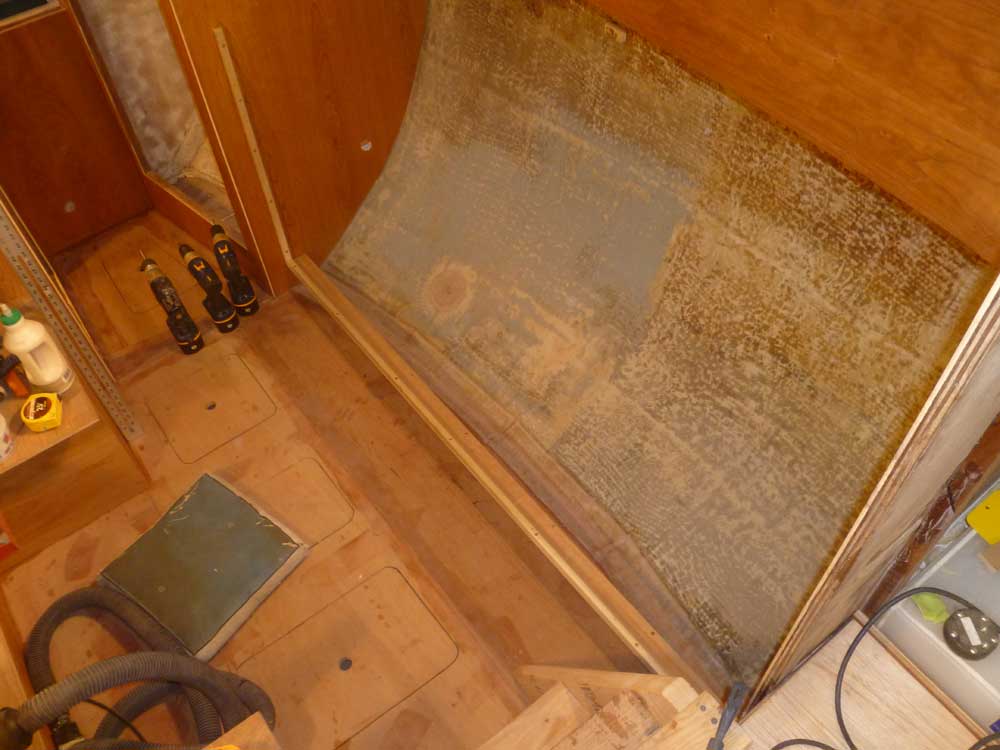
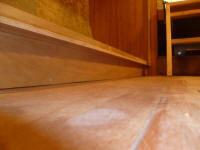
I added an additional cleat to the top of the toekick
back (on the inside, or hidden side), then cut and
installed the horizontal overhanging portion of the
toekick, bringing it out to 1/2" from the desired
position of the cabinet face. then, I added
vertical cleats to the adjacent bulkheads, which would
support the front of the cabinet, and a full-length
cleat to the top of the toekick to provide additional
support to the bottom edge of the cabinet front. |


 |
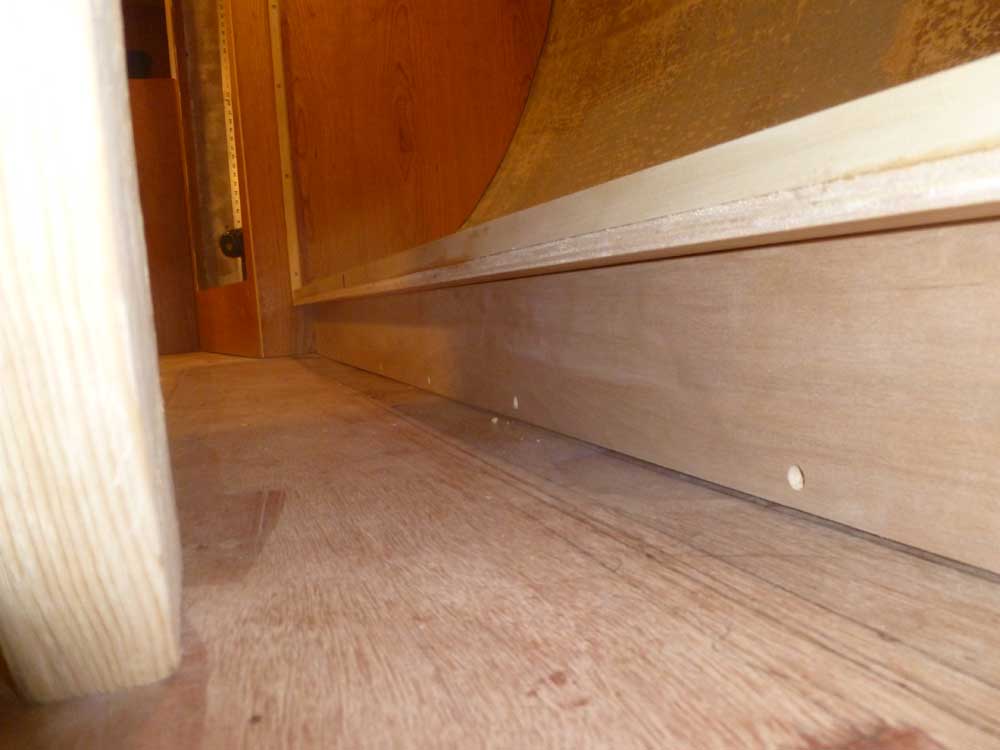
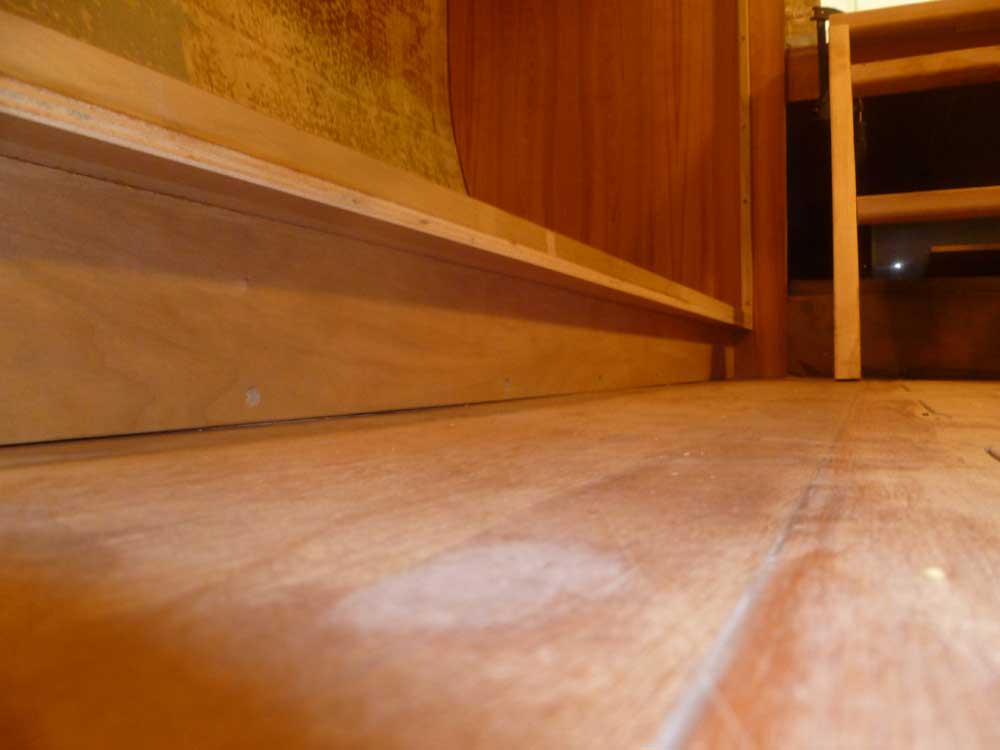
It was a lot of little pieces and careful layout, so
this process took several hours, and in the end I had
barely made visible progress. The toekick
certainly wasn't necessary, but I thought it would be a
nice addition, and would prevent the cabinet from being
scuffed near the base.
I made some basic cuts on a sheet of 1/2" cherry plywood, and prepared to
cut it to length according to the rough template from
the mockup, but as it was late in the day, I decided to
wait till morning to cut the final piece, lest I make an
expensive mistake. |
| |
Total Time Today: 7.25 hours
|
<
Previous | Next > |
|
|