Project Log: Sunday, March 4, 2012
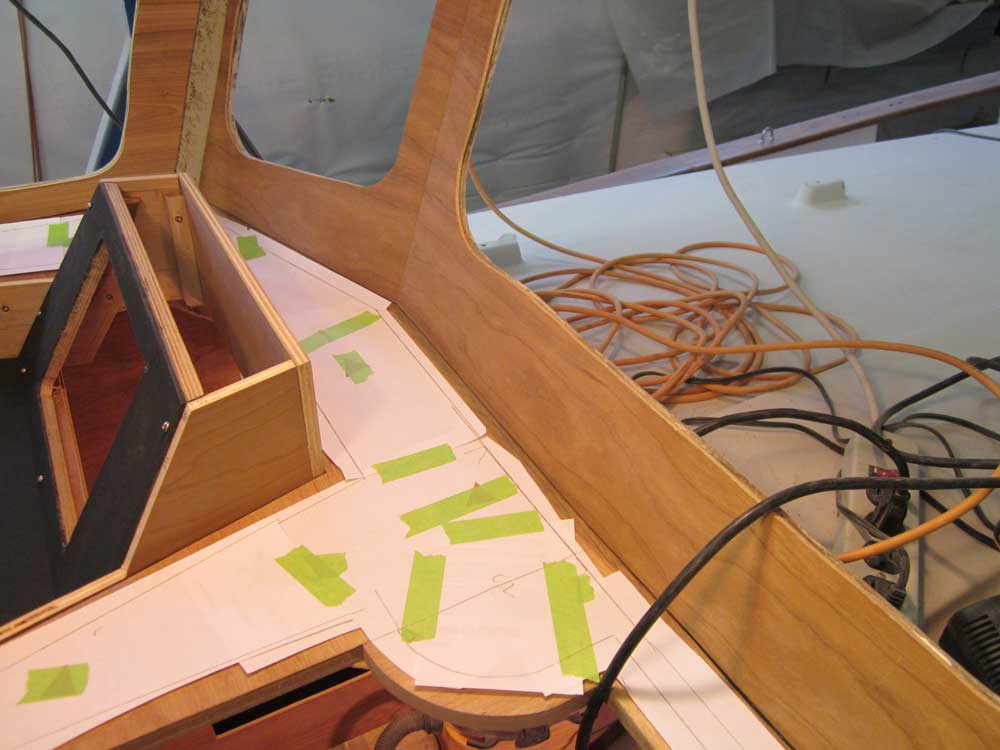
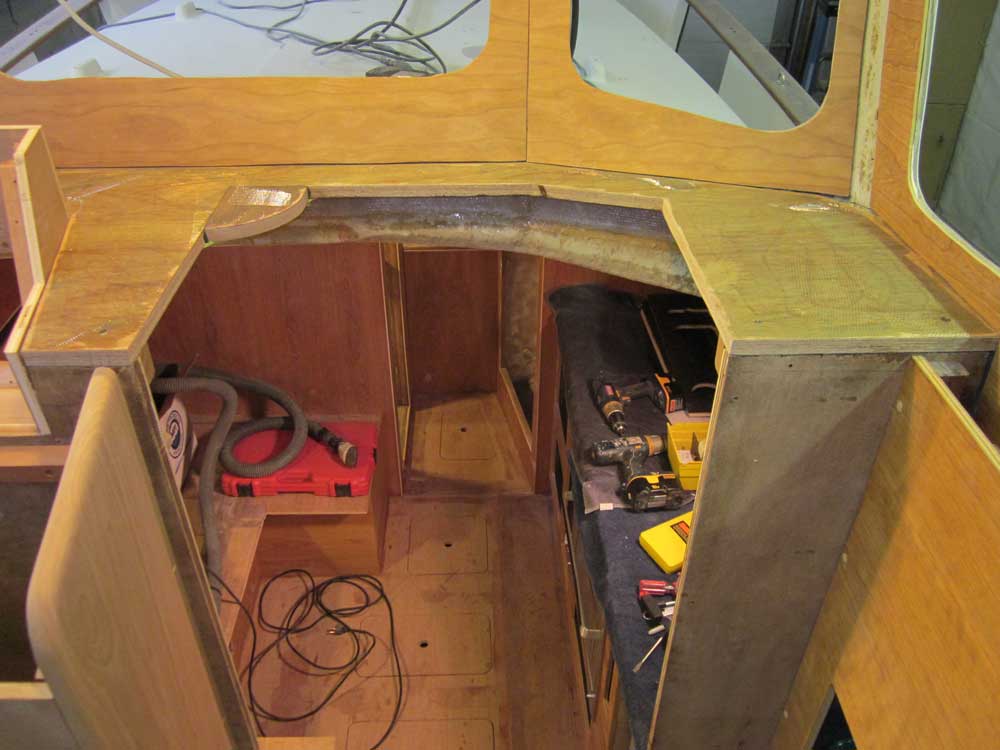
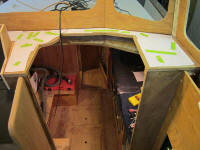
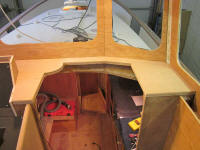
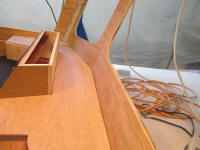
In order to install and support the compass binnacle in
my chosen centerline location, I needed a short
extension over the corner of the companionway opening.
With the binnacle in its place (note that the port edge
of the companionway opening is actually the boat's
centerline), I cut a oversized rectangular piece of
plywood to fill the corner and then scribed a line to
match the shape of the binnacle, but 1/2" further out.
I cut the curve and tested the fit; to support the
corner block now and during its final installation, I
hot-glued a couple paint sticks across the opening
beneath. |

 |
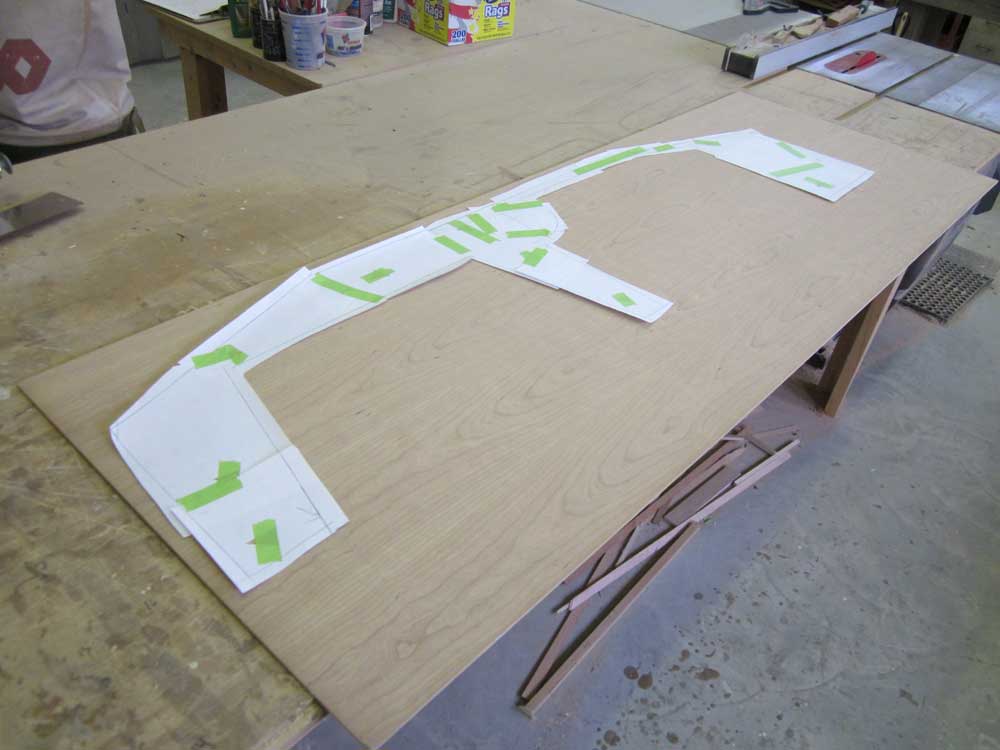
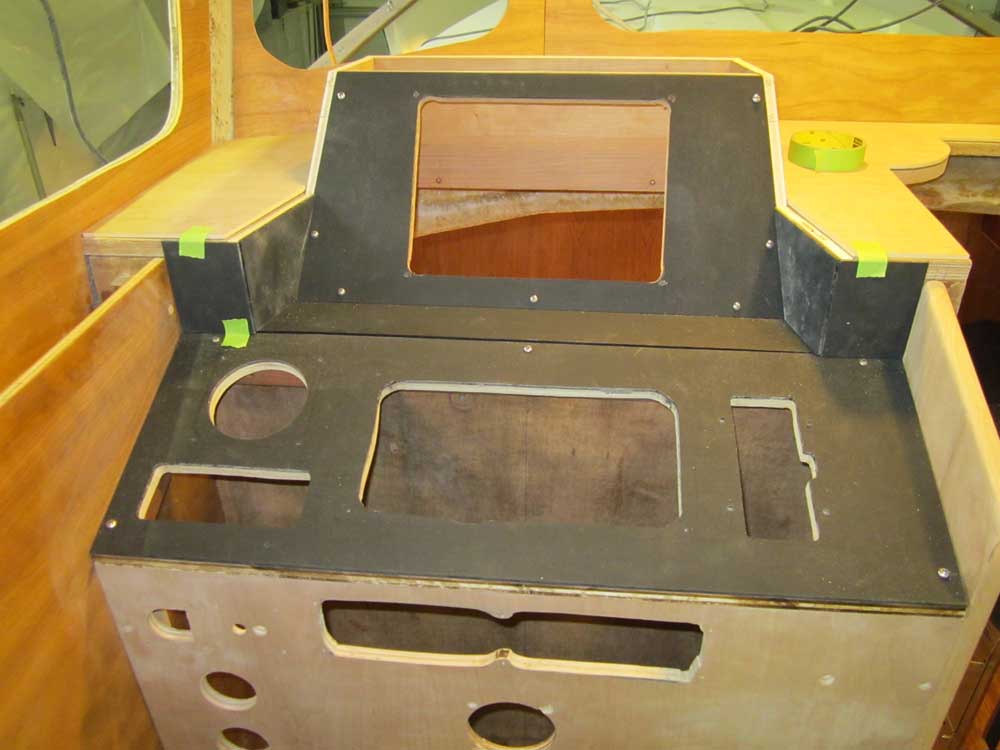
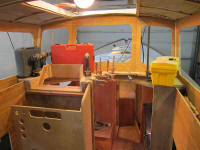
After a long period of internal debate extending far
beyond the reaches of my memory, I'd eventually settled
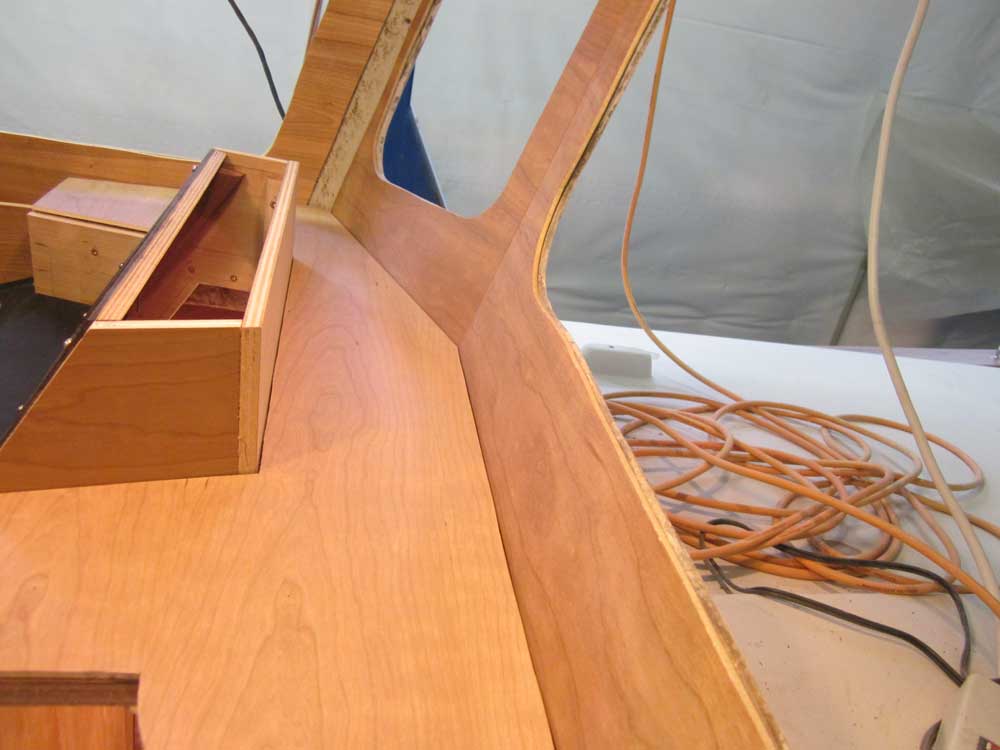
on cherry for the final surface of the flat dashboard.
Completing the black-finished helm console had cemented
the decision for me; I'd been considering using more of
the matte black material for the dash, but decided it
would be too much. I liked it for the control
area, but to use more would have moved away from the
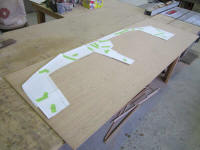
look I was going for. So I created a basic paper
pattern of the dash area, and used it to cut the top
surface from 1/4" cherry plywood. |


 |
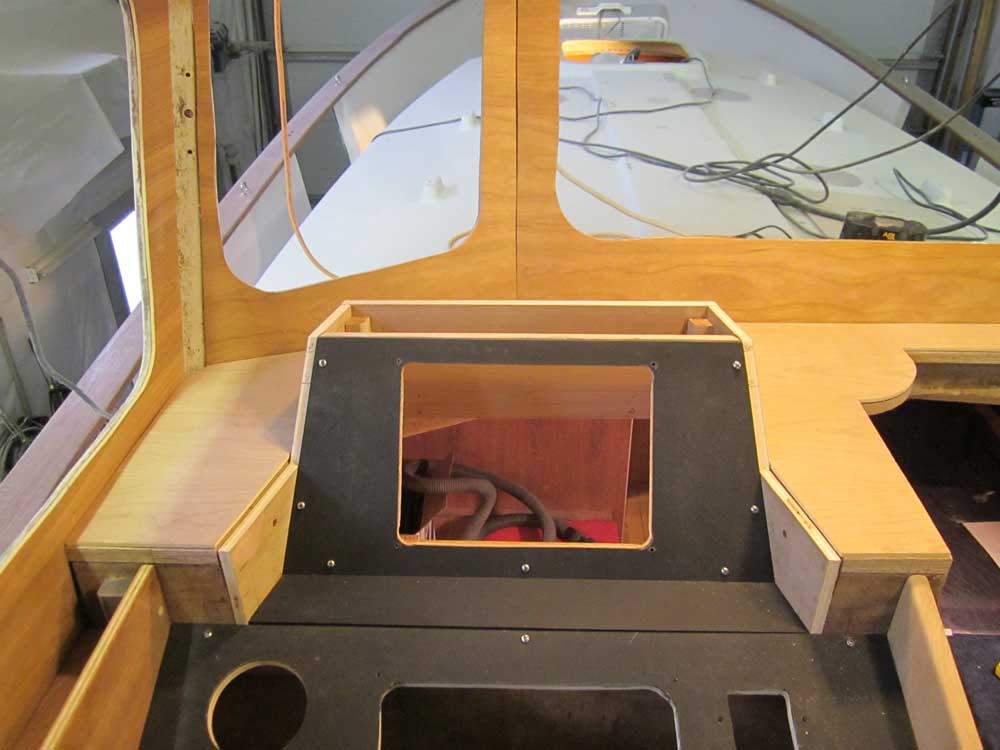
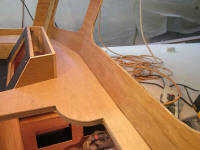
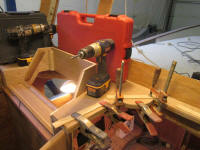
To install the "veneer", I applied epoxy adhesive with a
small notched squeegee, then weighted and clamped the
plywood down from the top. I used more of the
adhesive to secure the compass corner block in place;
the veneer plywood above would help hold it, and
eventually there'd be additional support from below as
well. |
 |
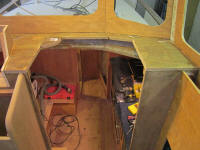
Next, I cut four small pieces of black Kydex to fill in
several small areas of the helm console. (Actually, I
did this before gluing the new dash top in place, as I
wanted to remove the console surfaces to keep them out
of harm's way.) I'd install these pieces
permanently later, along with the requisite trim around
the edges; I'd needed to complete the dash before I
could turn to the trim, however.
|
 |
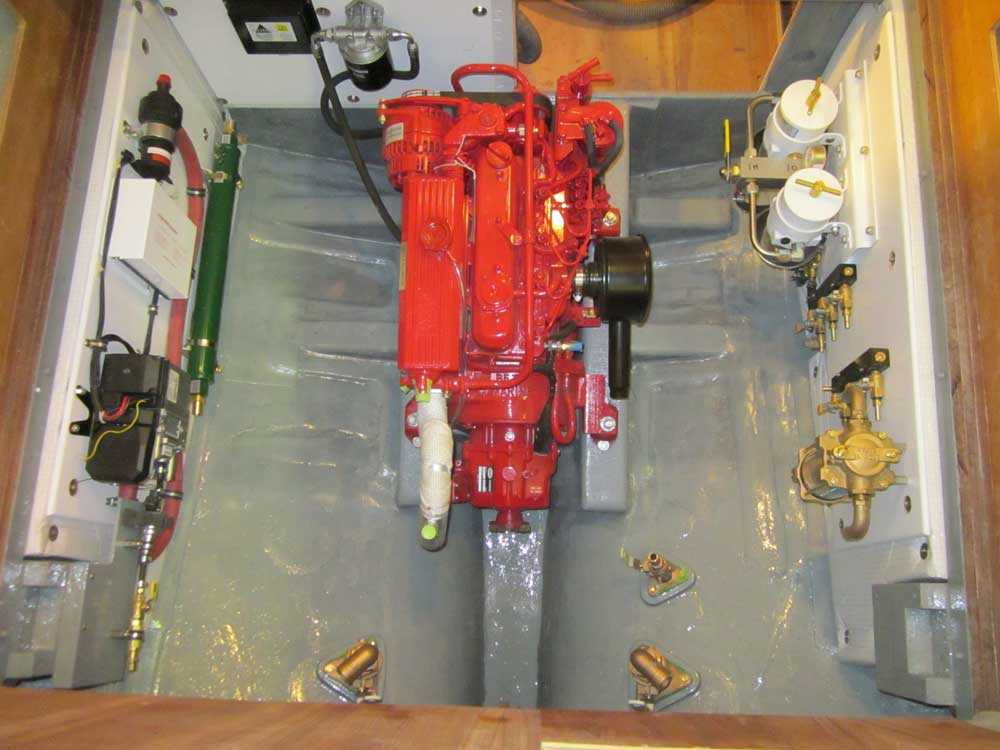
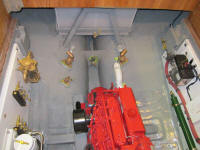
It was a good time to finish off the engine room
painting. It'd been a couple weeks since I
installed the final through hulls and glassed the bottom
of the mizzen mast A-frame, so after lightly sanding the
A-frame tabbing to smooth any rough edges, I cleaned up
the area, masked around the through hulls stuffing box
assembly, and painted the after sections of the engine
room, plus the area around the depthsounder transducer
forward. |

 |
| |
Total Time Today: 4 hours
|
<
Previous | Next > |
|
|