Project Log: Sunday, March 11, 2012
I spent most of the day working on trim and finish work
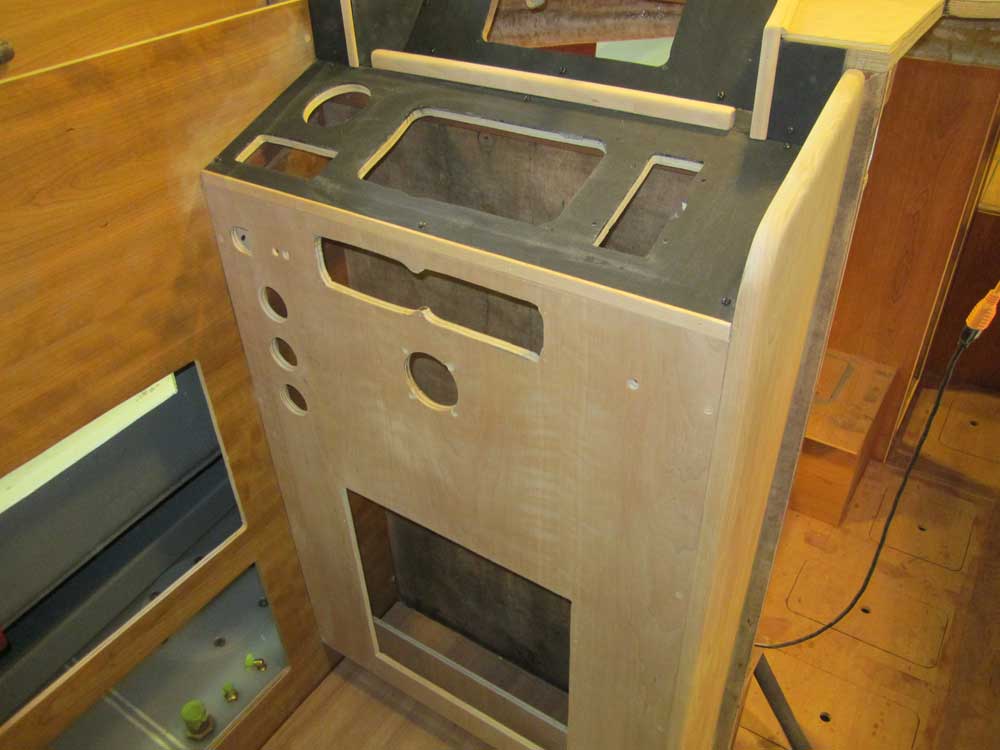
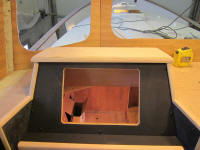
in the pilothouse. To begin, I installed a solid
cherry strip on the bottom edge of the lower instrument
panel, covering the exposed plywood edge. I
trimmed the panel a bit shorter so the overall width
remained the same, with the edge of the panel flush with
the console face. |
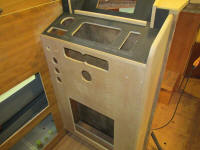 |
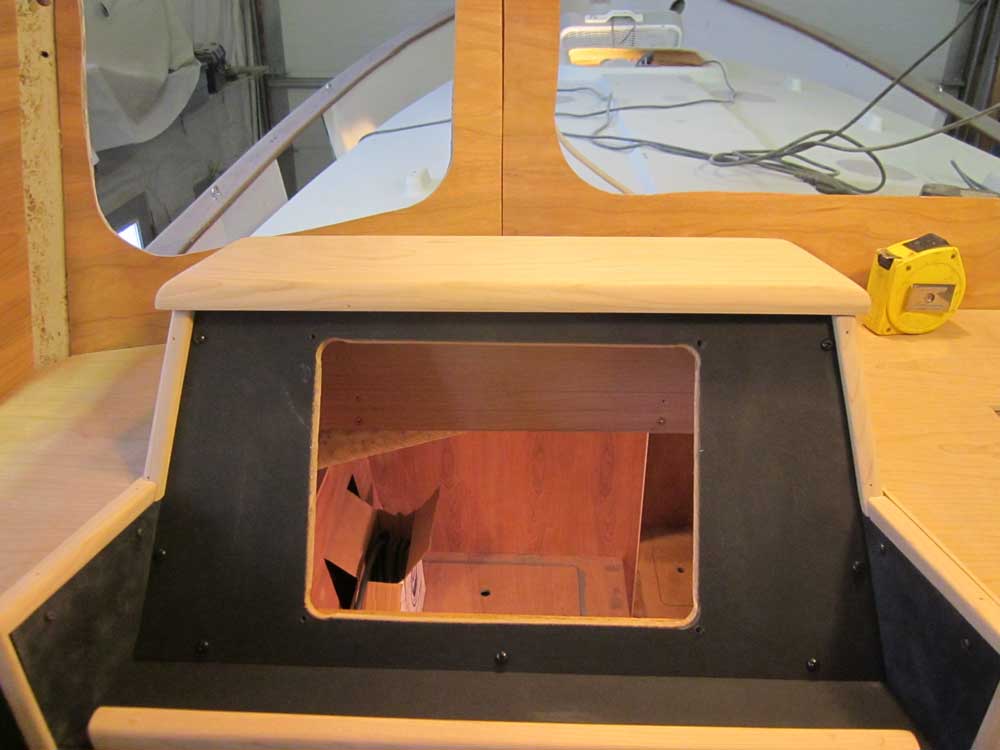
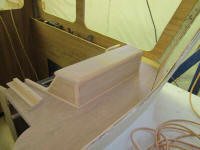
I installed support cleats at the top edge of the
recessed electronics console, and screwed the top panel
in place, bunging the screw holes. Later, I pared
away the excess bungs here and elsewhere. |
 |
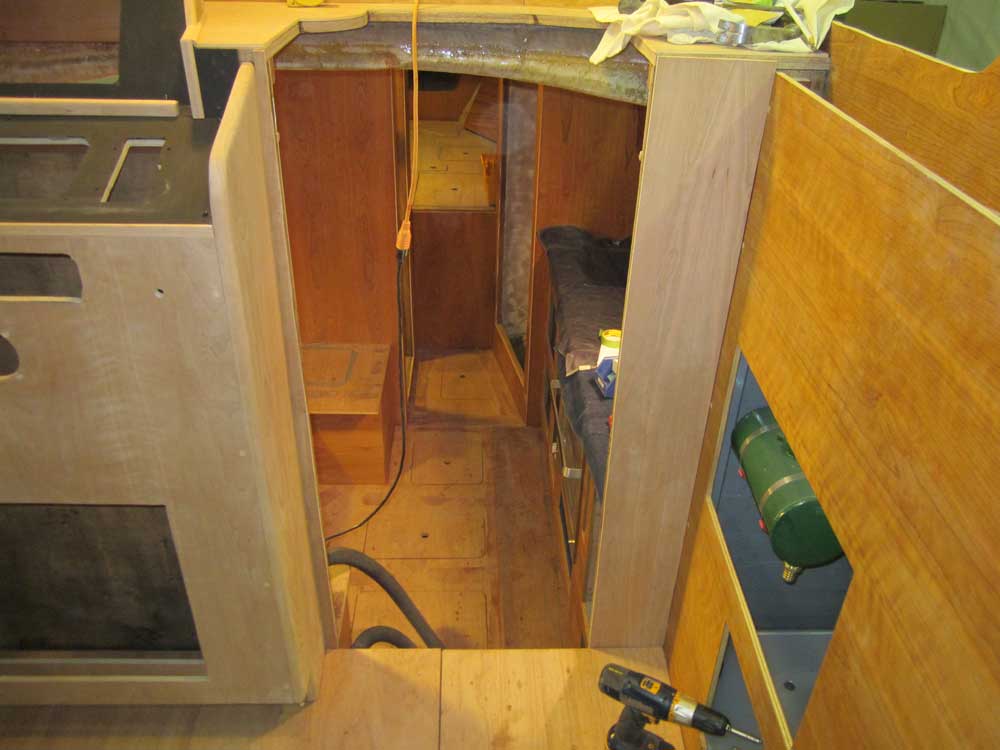
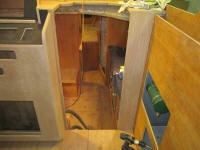
To cover the remaining exposed surface of the main
bulkhead on either side of the companionway, I installed
1/4" cherry plywood veneer. |
 |
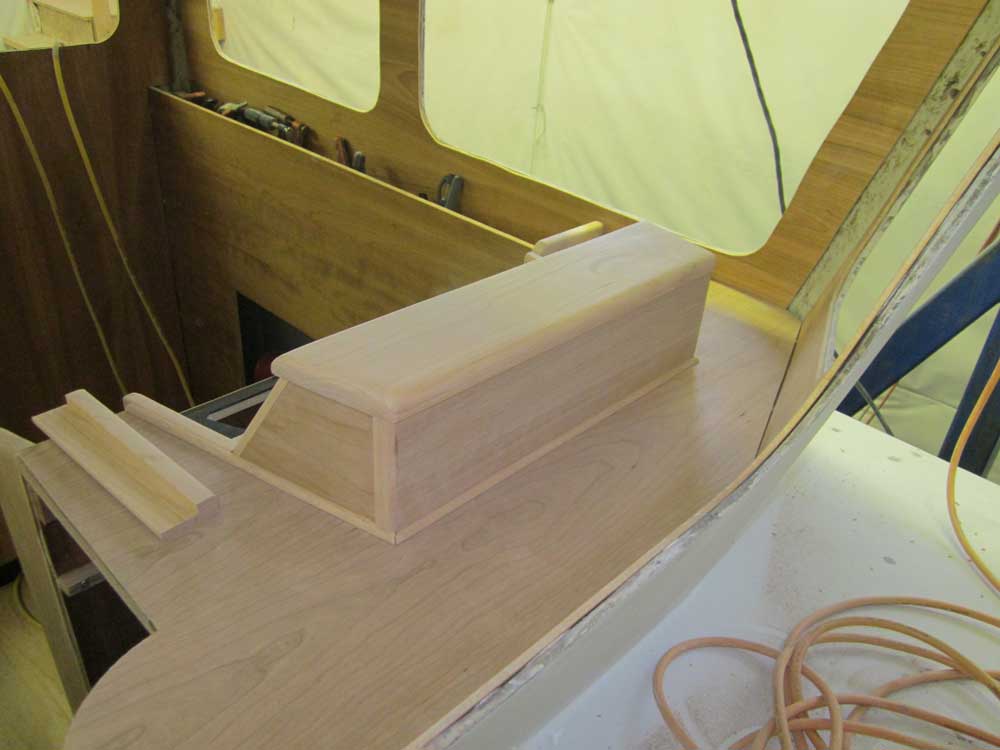
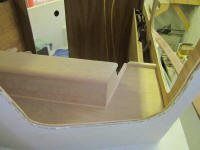
To wrap around the edge of the dashboard, I milled stock
to form a solid cherry fiddle. I didn't want the
fiddle to be overly high here, and didn't see a need for
it to be since I couldn't see anything but incidentals
ending up on the dashboard, so I kept the height to 3/4"
above the top surface, though the trim itself was 2"
wide to extend low enough to hide various existing and
future seams between materials around the companionway
opening and elsewhere.
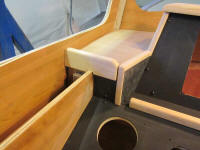
After preparing enough footage of the fiddle stock and
sanding it through 220 grit, I cut and fitted the piece
to the port side of the helm, one of the more difficult
pieces since both ends were confined. I had to
notch the bottom slightly to go over the longitudinal
plywood bulkhead, the edge of which would eventually be
covered in more trim. I dry-fit the piece but held
off on installation till the other sections of fiddle
were ready.
|
 |
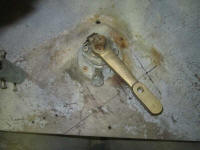
This all took quite a long time, not surprisingly, and I
wasn't up for installing any more trim at this time, so
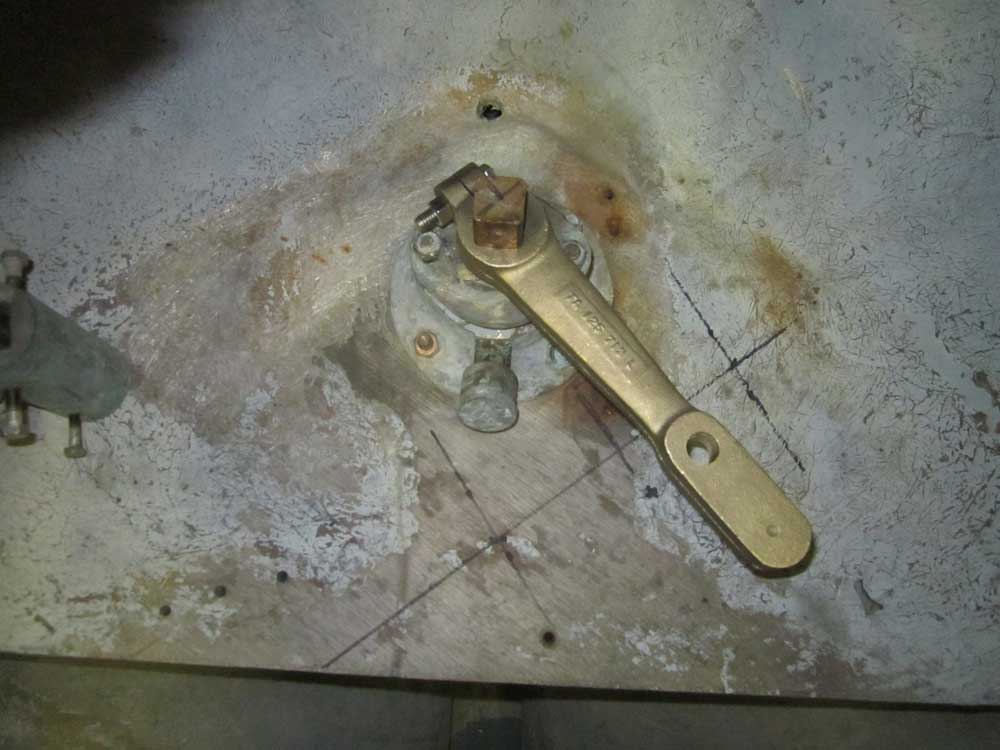
instead I installed a new bronze tiller arm to the
rudderpost. Although originally I'd planned to
have something made up locally from flat bronze stock
using the old arm and my plywood template as guides, I
happened upon a beefy cast bronze tiller arm from Buck
Algonquin that was the perfect fit for my requirements,
with a 1" square hole at 45° to the long dimension of
the arm, and set up for either a 6" or 8" pin location
(I needed 6"). I had to drill a 5/8" hole for the
pin to secure the steering cylinder, but that posed no
particular problem even with my weary drill press.
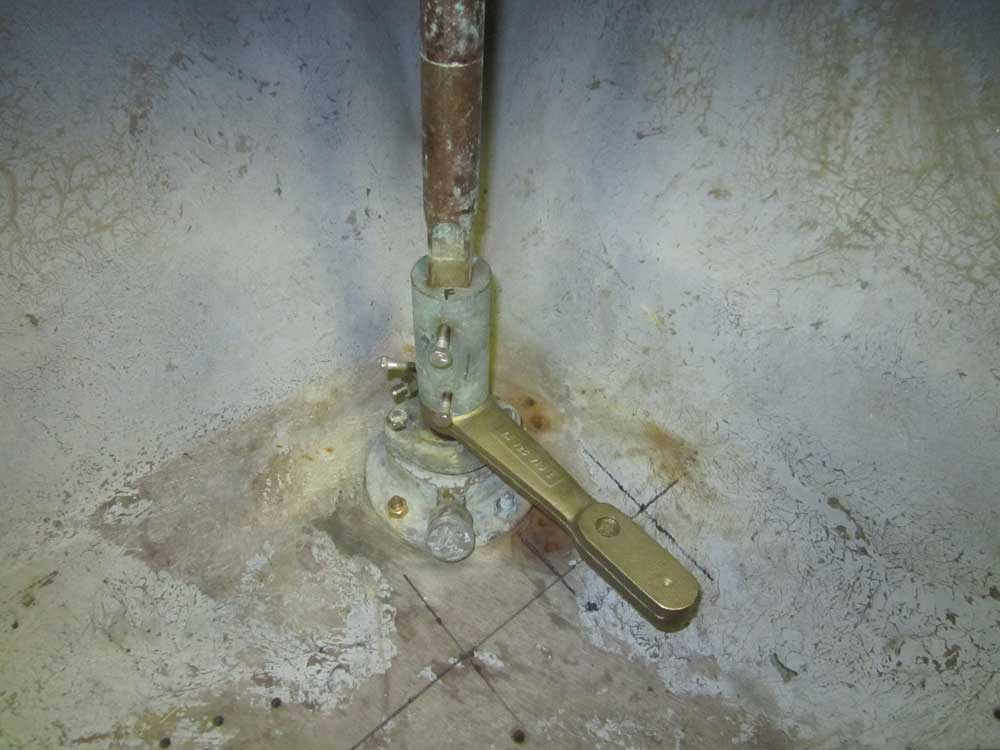
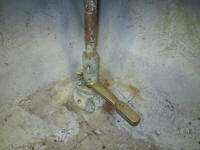
Installation was simple: slip the arm over the
rudder post and tighten the bolt. I dry-fit the
rudder post extension and connector, but the upper
section of the rudderpost wasn't slipping far enough
into the connector for some reason that I couldn't
immediately identify, so I left it for now. I
wasn't ready to continue wit the steering yet anyway, as
I'd need to remove the rudder once again to install the
new prop shaft when it arrived; after that, I could
"permanently" install the rudder and get on with the
hydraulic installation. |
 |
| |
Total Time Today: 5 hours
|
<
Previous | Next > |
|
|