Project Log: Saturday, October 13, 2012
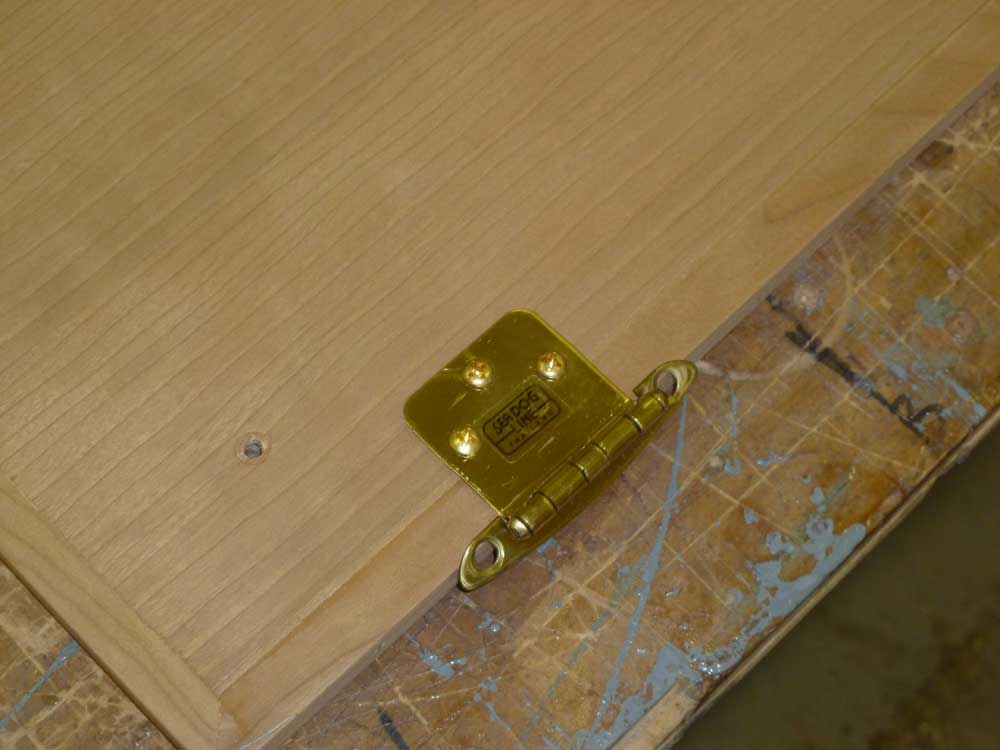
I'd ordered brass screws for the dinette locker door
hinges, and with those now on hand I replaced the SS
screws, which I'd used temporarily, with the brass ones,
even though this leaf of the hinge would be hidden
behind the upholstered panel and never seen. |
 |
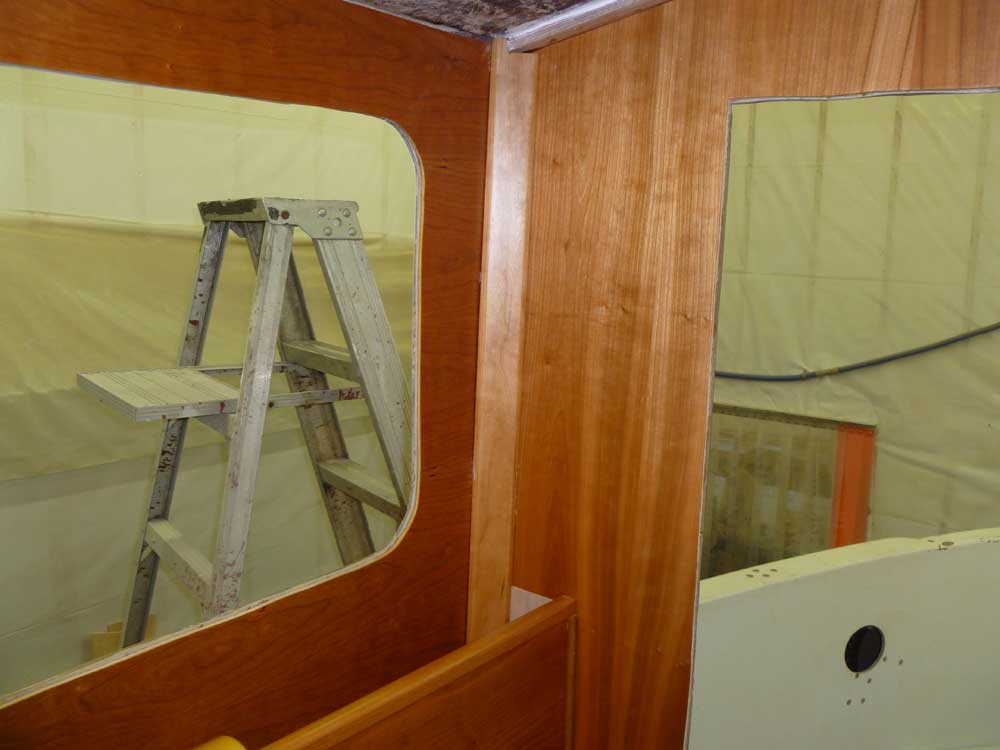
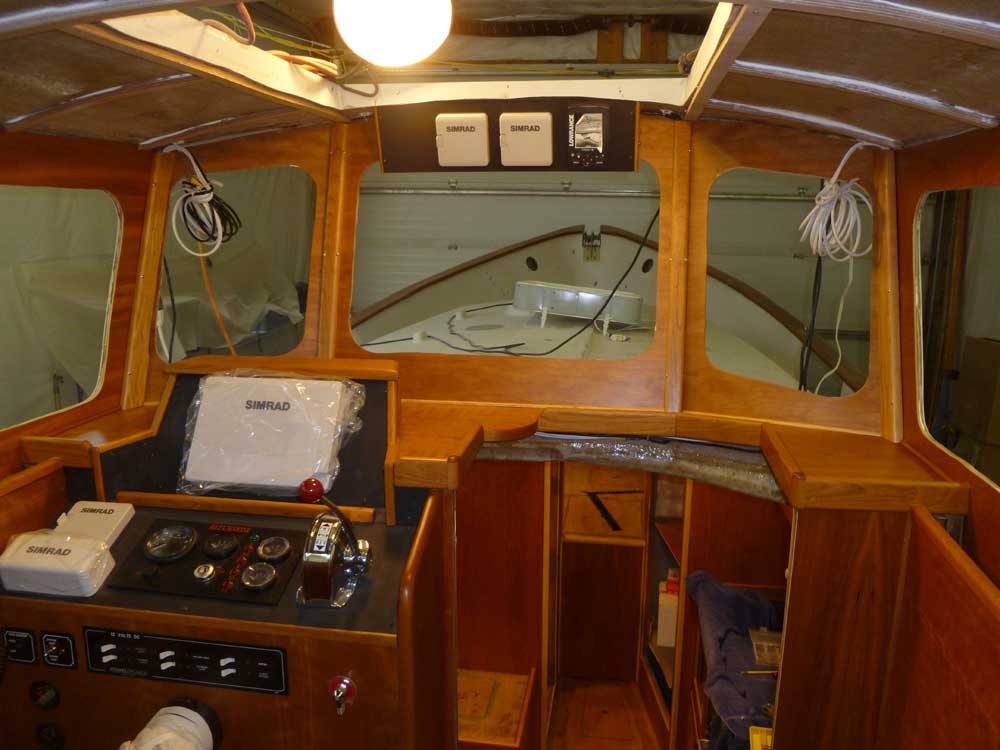
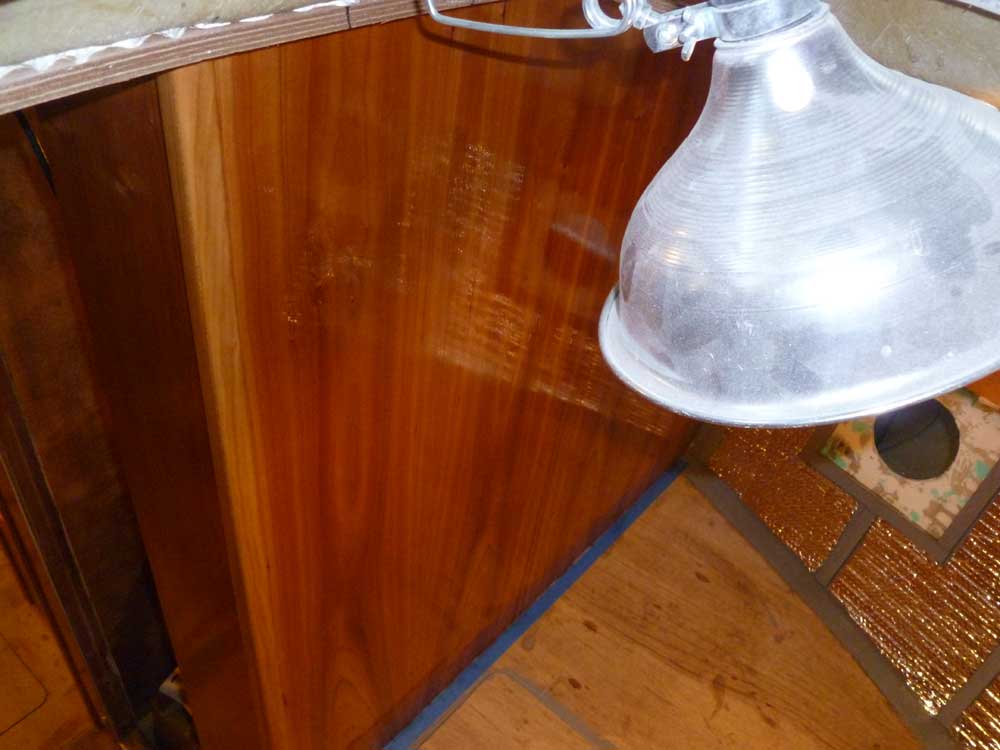
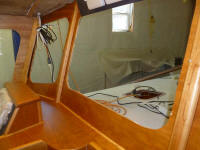
During the week, I'd finished up the varnish work on the
various trim pieces for the pilothouse, so I installed
them. At the aft corners, I installed the angled
corner trim with glue after first installing small
filler pieces of plywood in some open gaps at the aft
ends of the little side shelves (this can be seen as a
lighter-colored area in the right-hand photo below). |
 |
Also at the after end, I installed quarter round molding
to cover a seam between the plywood panels forming the
side and after bulkheads. |

 |
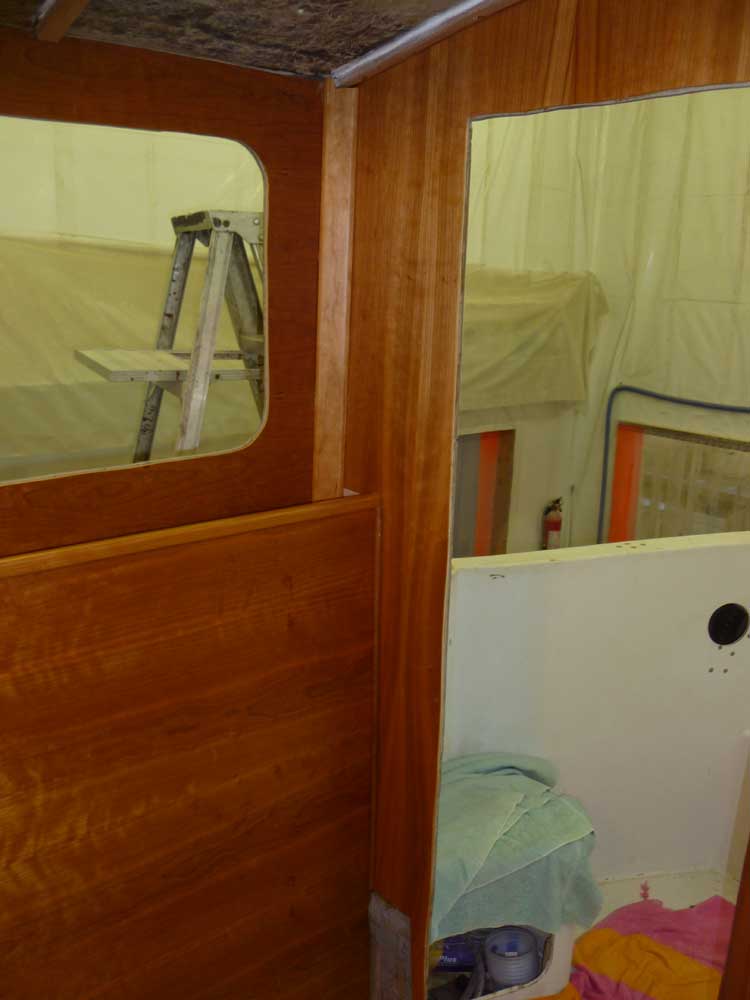
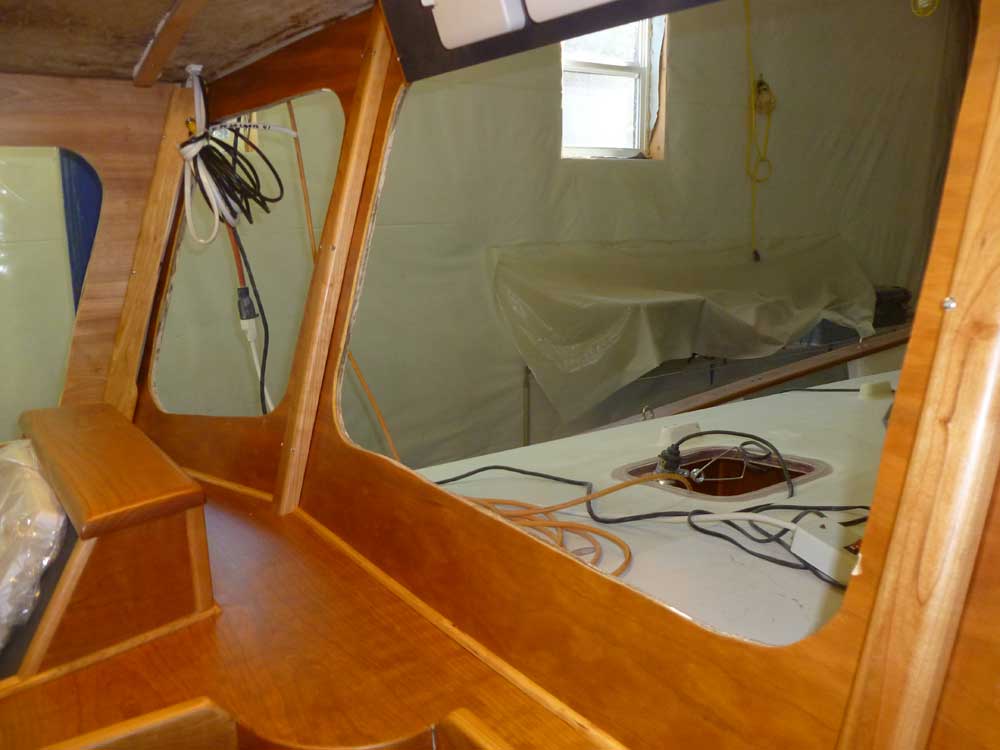
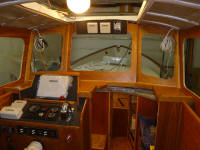
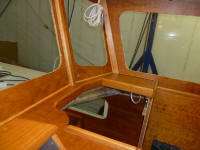
Though I might find a need for additional wiring later,
I went ahead and installed the removable wire chase
moldings at the forward corners and center seams of the
pilothouse. Here, I ran into a small problem.
I'd planned to use #4 screws to secure the moldings, as
these screws have very small heads that I thought would
be the least obtrusive. However, I found
that the one inch screws I purchased--the longest I
could find--were not really long enough to hold the trim
pieces in place, as they barely bit into the plywood
beneath.
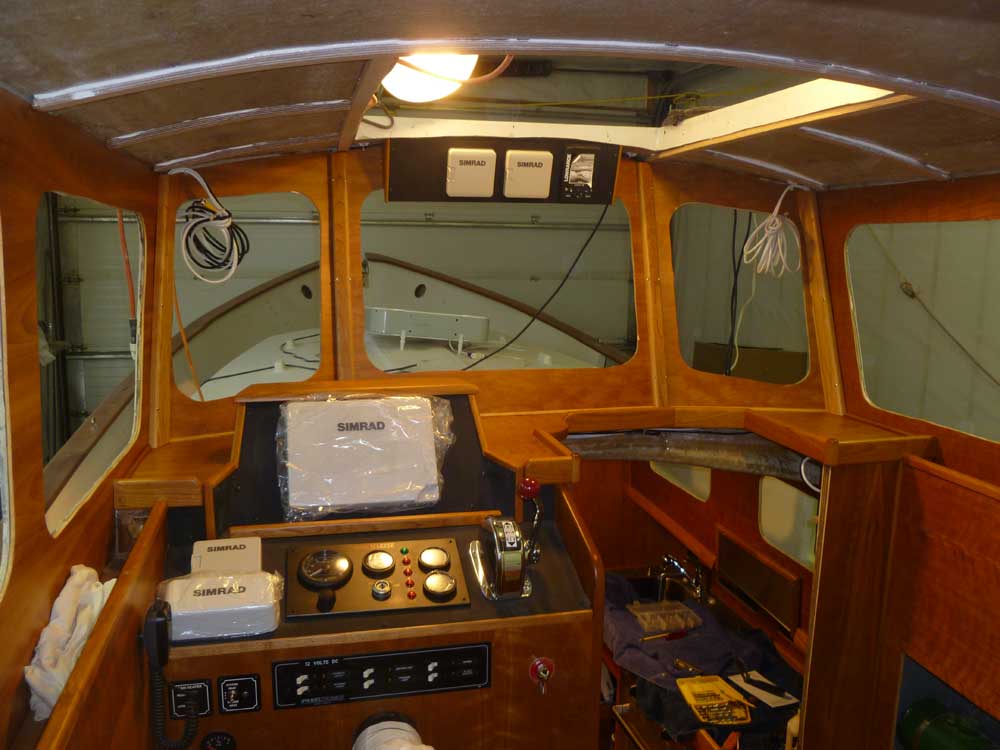
After spending some time searching for an
alternative--longer #4s, or trim-head screws in a
different size--without success, I went ahead and used
#6 x 1-1/4" screws to secure the trim. These
screws worked OK on the two side pieces of trim (which
looked a little odd anyway at this point since I'd
removed the aluminum window frames for now, leaving the
strange cutouts in these trim pieces looking out of
place). However, the position of the screw holes
on the center trim pieces was such that the larger screw
heads (and, frankly, even the #4s) protruded over the
edge of the trim a bit and just stood out too much.
|
 |
I was disappointed in that, but for now I left the trim
in place. There was a good chance I'd try and find
a better solution to this problem, either by redesigning
the trim or through other means, but at the moment I
could live with it: at least there was trim in
place, and overall it looked pretty good. But
those screws just looked glommy.
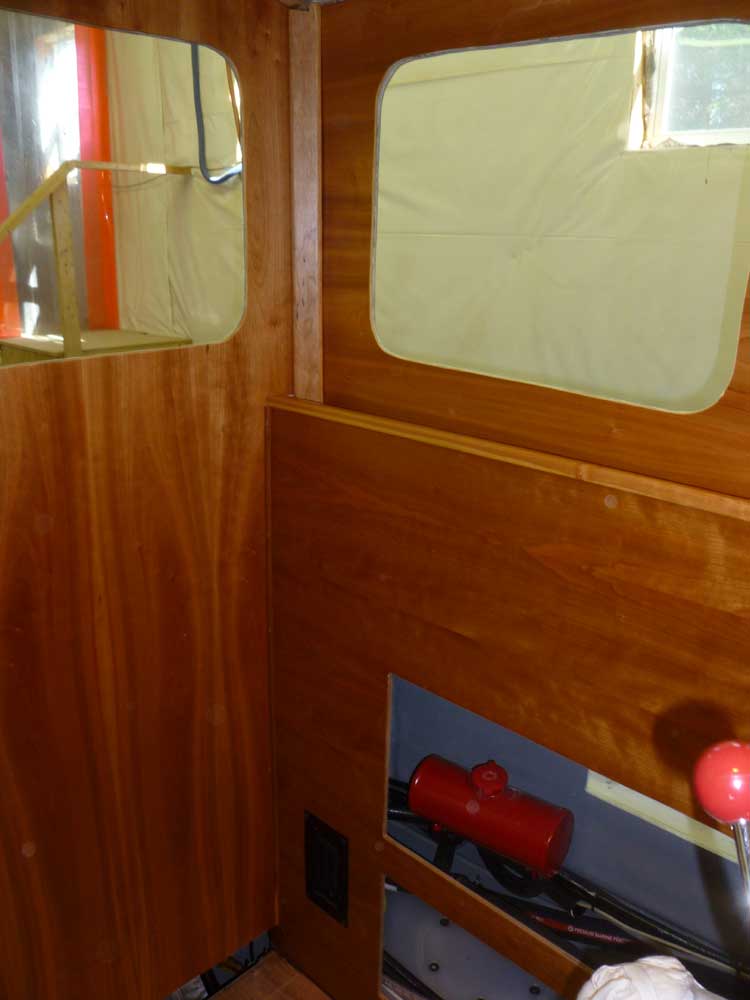
Meanwhile, I cut and fit additional quarter round
molding at the base of the windshield sections, securing
it with glue around the four removable trim/wire chases. |
 |
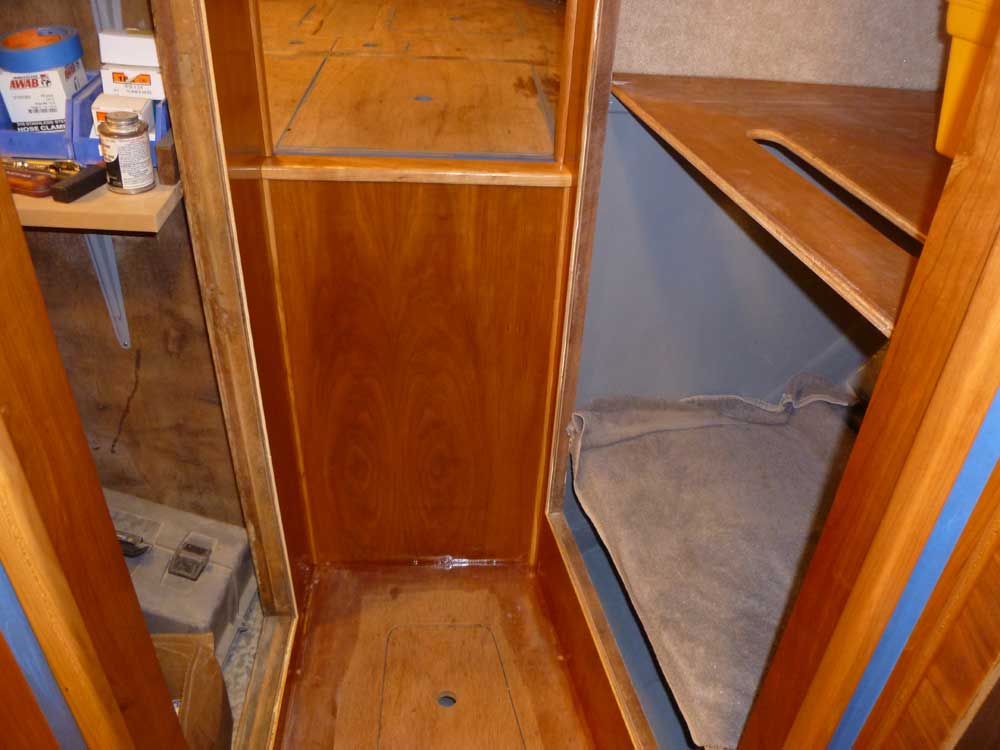
I installed my cherry threshold at the forward edge of
the pilothouse sole, then installed a final bit of
quarter round on the starboard forward corner of the
bulkheads. |
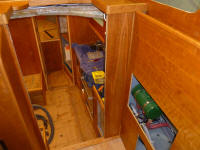 |
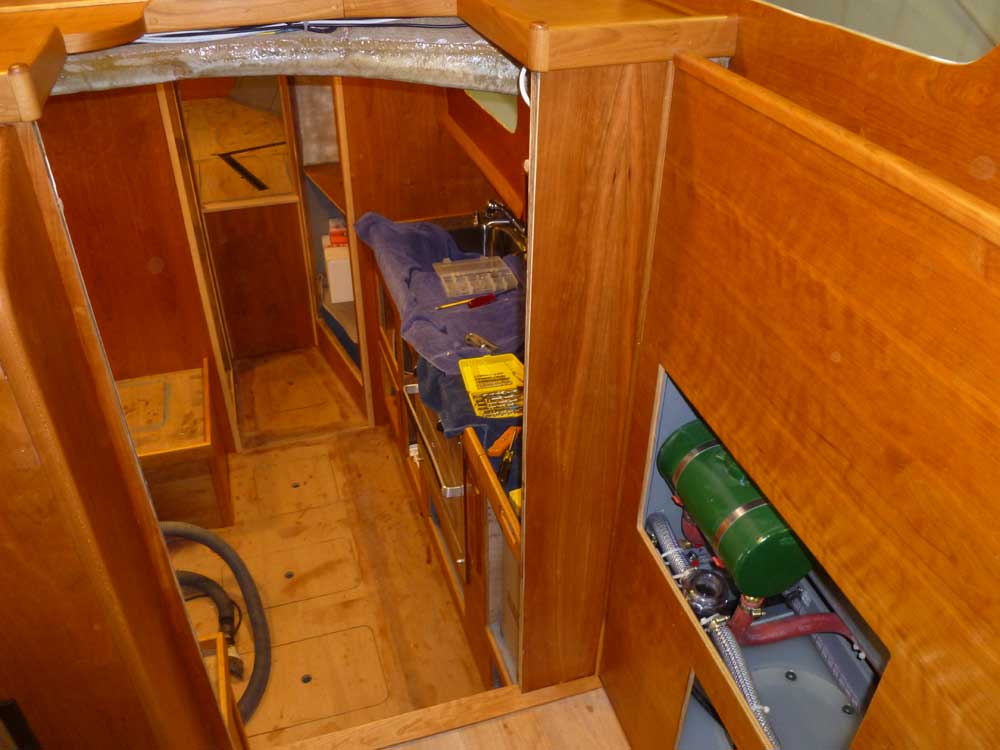
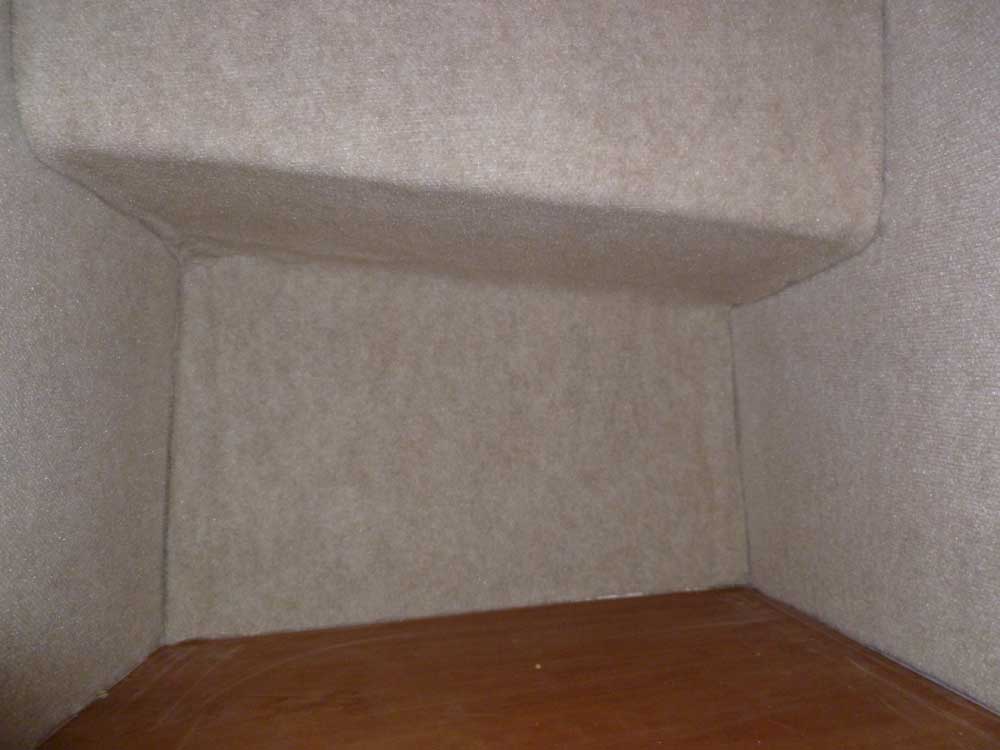
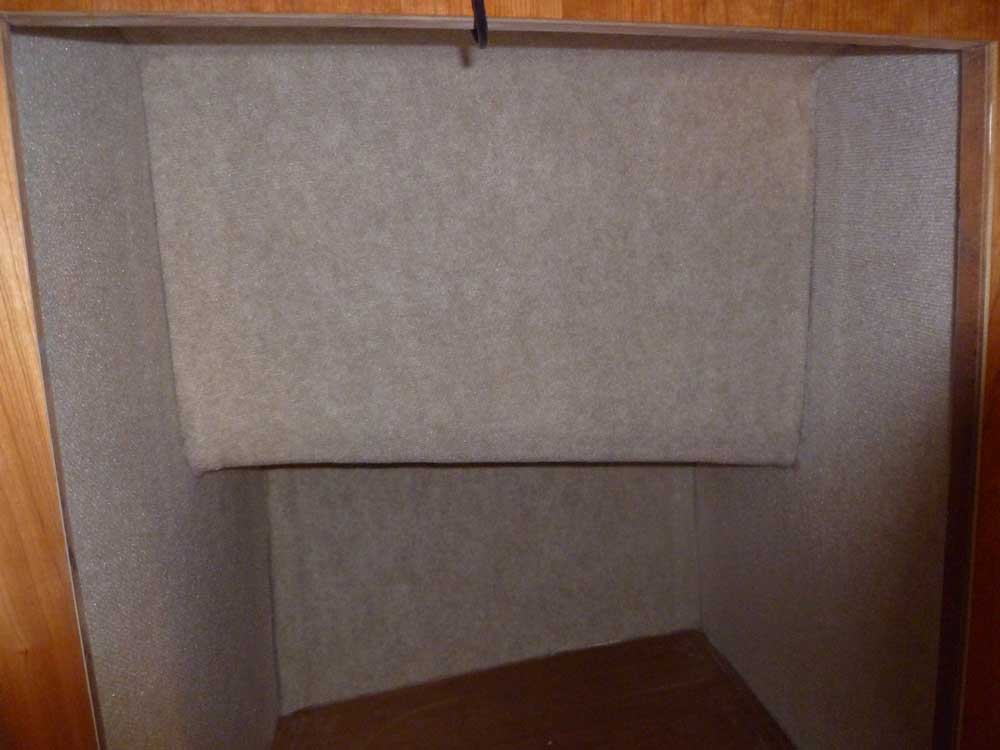
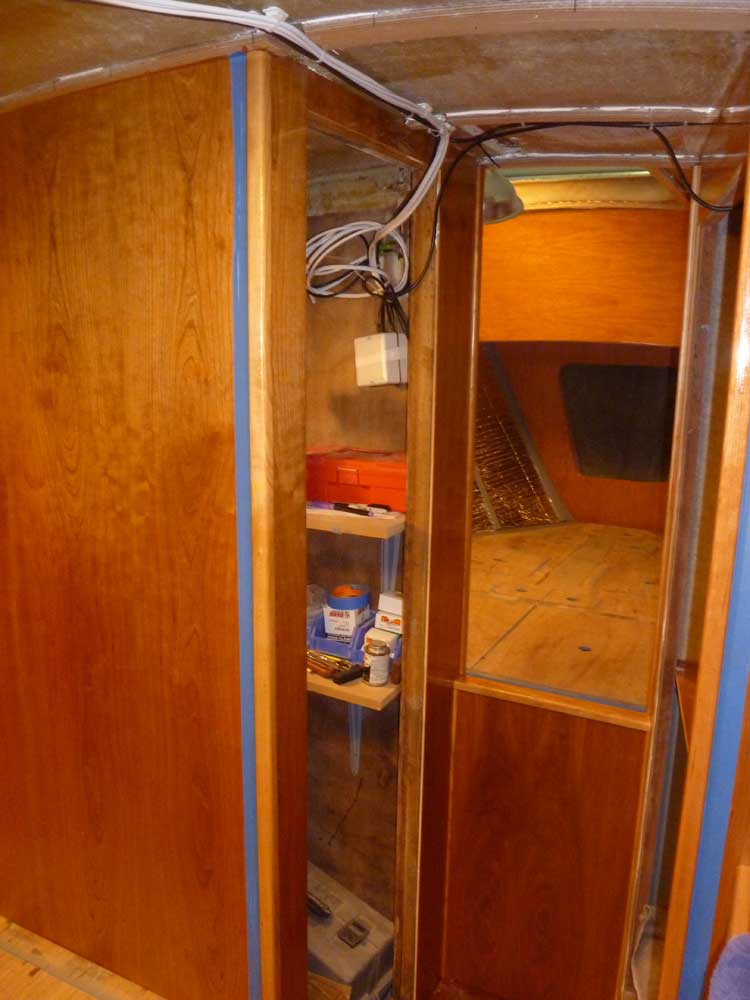
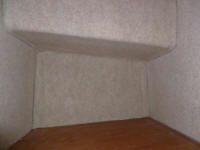
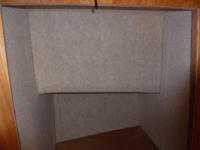
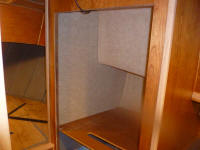
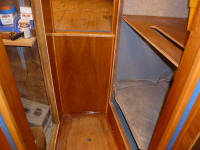
Next, I used my paper patterns, made last time, to cut
out sections of hull liner fabric for the vertical
storage locker forward of the galley. I installed
these pieces with spray adhesive. While this sort
of liner wasn't my favorite thing, I felt it had its
place, and this seemed a great place to use it, as it
quickly transformed the locker into a finished space.
Of course the locker would later be covered by doors. |
 |
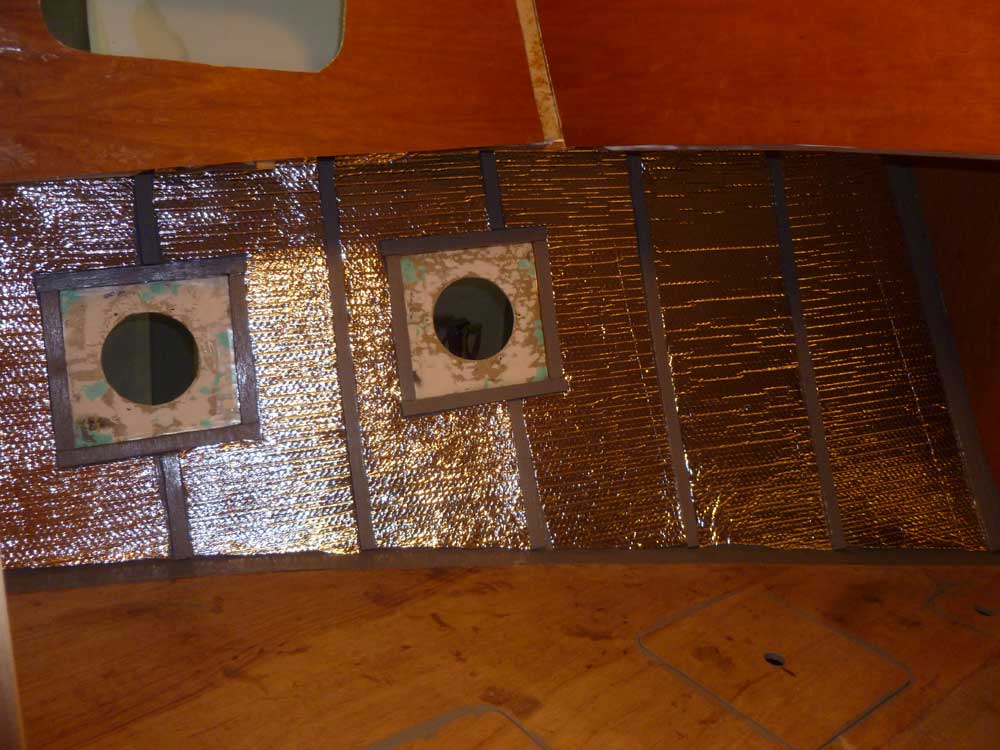
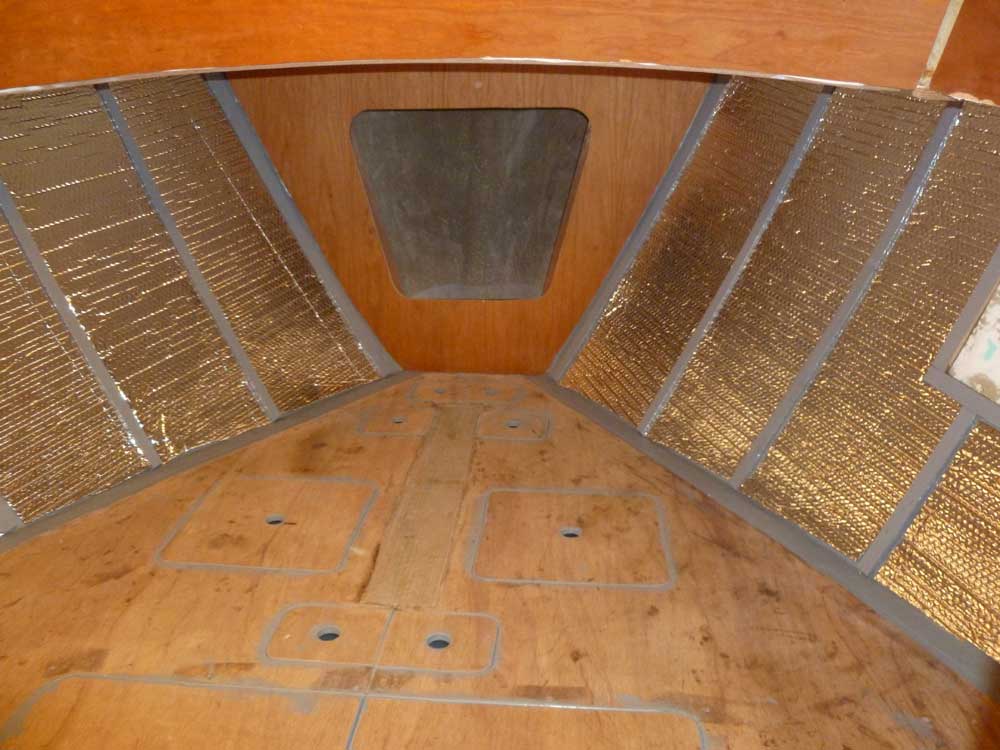
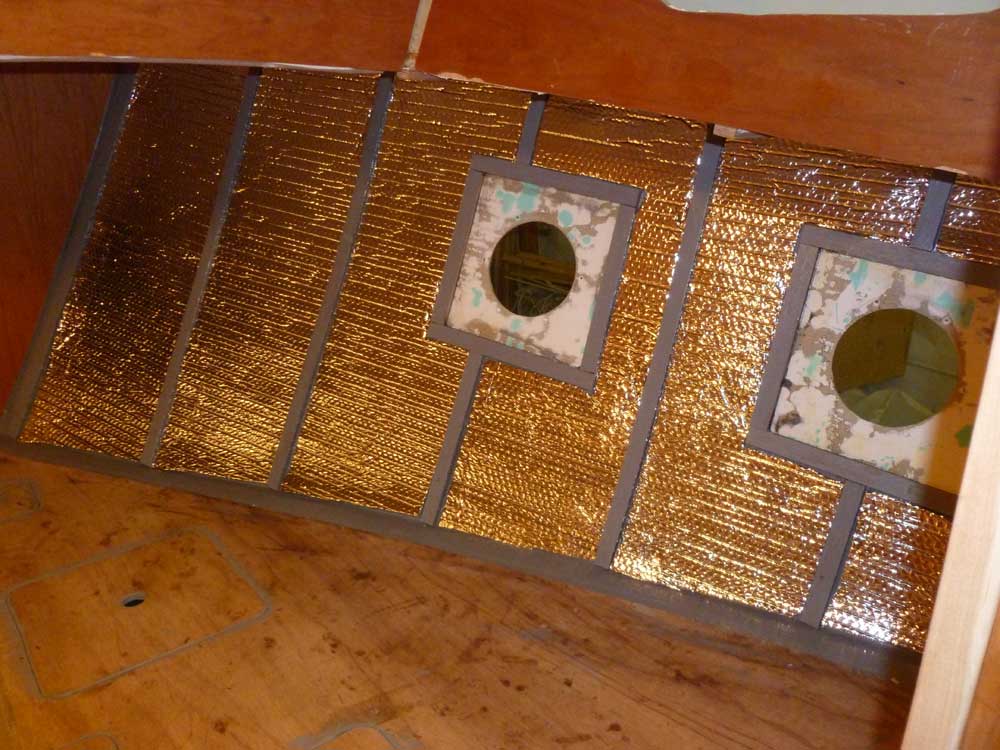
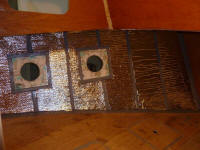
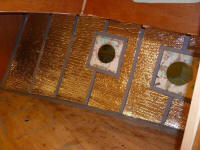
In the forward cabin, I installed Reflectix insulation
against the hull in the open spaces between ceiling
support strips. This material was a cinch to use.
I secured it with double-stick tape to the hull--just
enough to hold it there--cutting it in place using the
furring strips as a guide. Later, the final
ceiling material would hide and further secure this in
place. The only real function for insulation in
this boat was to help minimize condensation and avoid
undue heat transfer from the dark hull into various
spaces/lockers. Were I insulating the boat for
cold-weather or liveaboard use, I'd have made different
choices along the way. |

 |
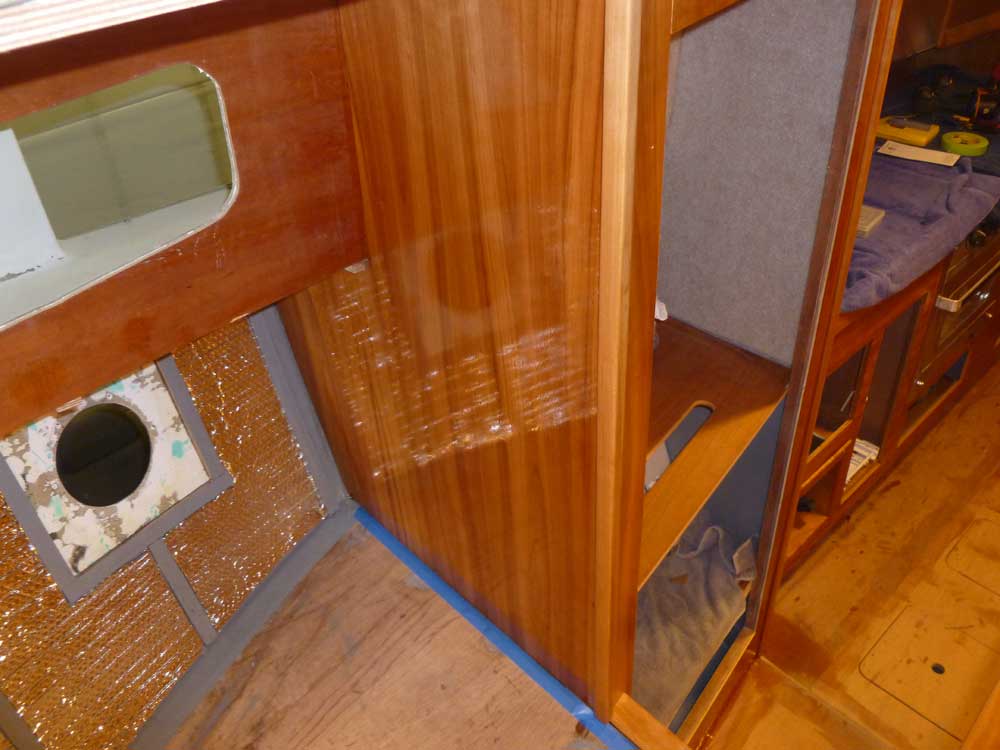
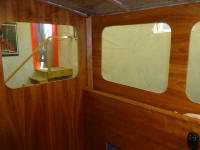
Finally, now that I had trim in place in the passageway
and entrance to the forward cabin, I prepared these
areas for varnish, including the entire passageway and
new trim pieces, plus the main bulkhead surfaces in the
forward cabin. The forward cabin sides still
required additional trim, so I'd varnish those areas
later.
With preparations (light sanding, masking, and cleanup)
complete, I applied a coat of varnish to all areas. |


 |
| |
Total Time Today: 6.75 hours
|
<
Previous |
Next > |
|
|