|
Project Log: Sunday, September 2, 2012
Wanting to continue pushing forward on various aspects
of the electrical and related installations, which
offered good breaks in between other aspects of the
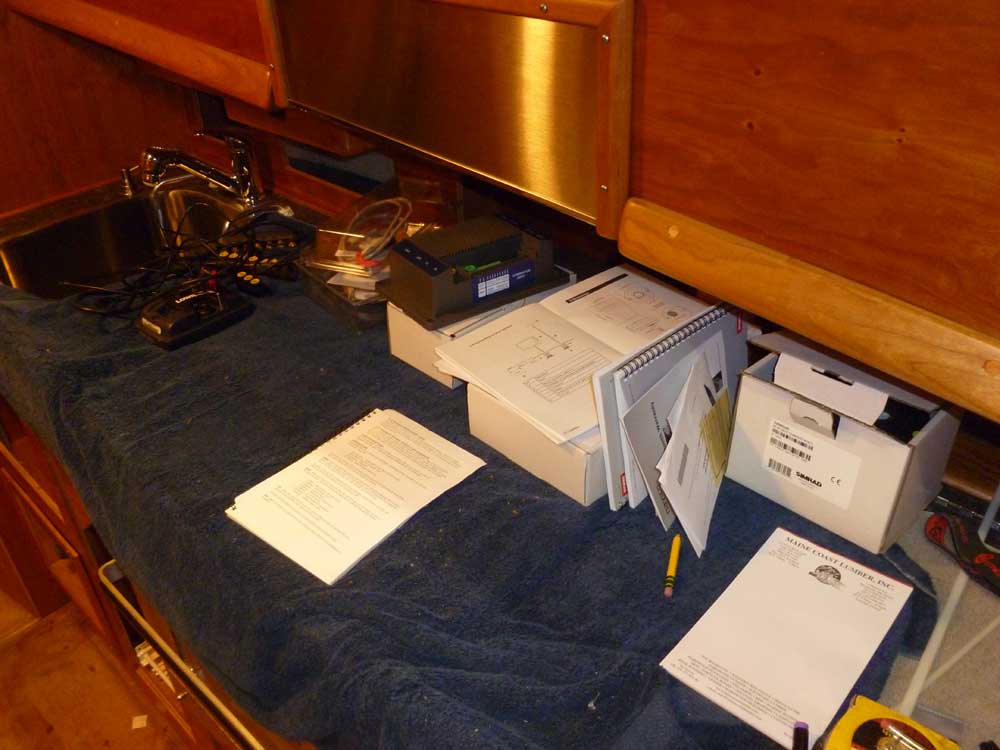
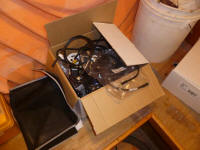
project, I collected various pieces of the electronics
network to begin the layout and installation of the
components. I had a large collection of SimNet
cabling, connectors, and related items to go with the
electronics suite, as well as additional cabling and
wiring required to tie the system together and into the
boat's growing electrical system.
There was a lot to deal with--not so much a physical
concern, as there was ample space for the connectors and
cables--but more of a mental one, as I tried to decipher
what was required, which lengths of cable I'd need (and
which I needed to order), and, most importantly, how
best to lay out the system efficiently and conveniently.
So much of the day's work revolved around poring through
the manuals, individualizing the component diagrams to
match what I actually had, and, eventually, parts
research and ordering, as I needed additional cable
lengths and a few other items to complete the work.
|
 |
|
To recap, I had the following components to interconnect
and provide power for:
GPS/Chartplotter (and main display)
Autopilot (including remote compass)
Depth Transducer and Display
Wind Instruments (Masthead) and Display
Secondary GPS
VHF
AIS Transponder
This led me in tangential direction back to the
overhead electronics box, construction of which I'd set
aside some time ago pending (at that time) the ordering
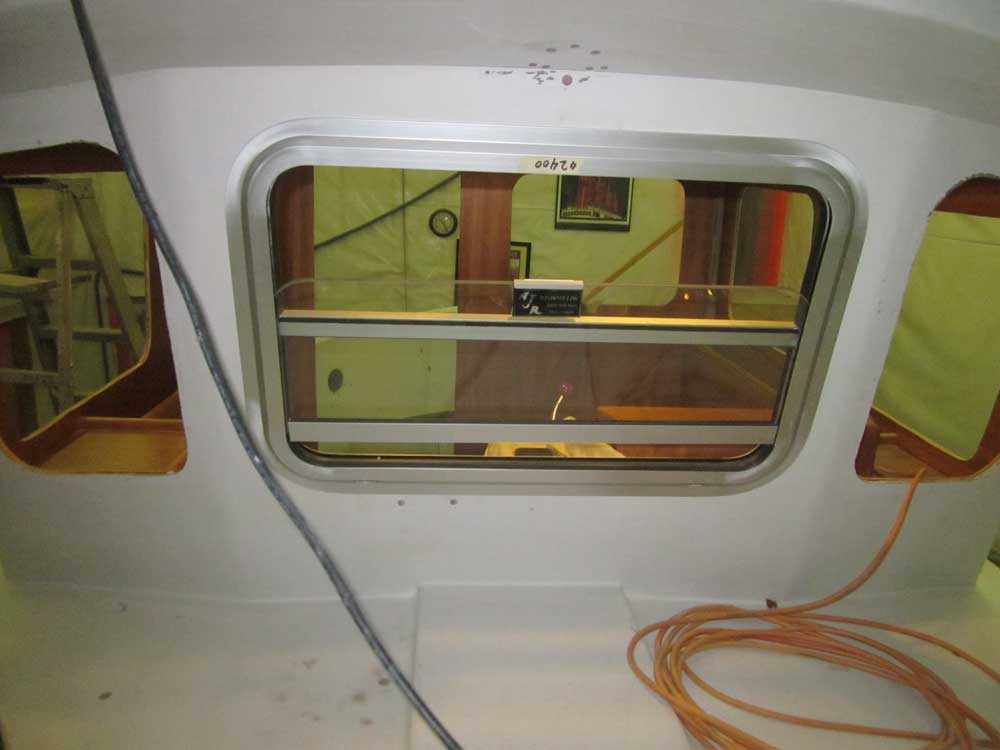
of a new center window for the pilothouse. With
the window now on hand, I decided to complete a final
test-fit and proceed with the electronics box, since
some of the network cabling would be running to and from
the box, and determining cable runs would also allow me
to mill and install the final trim pieces in the
pilothouse.
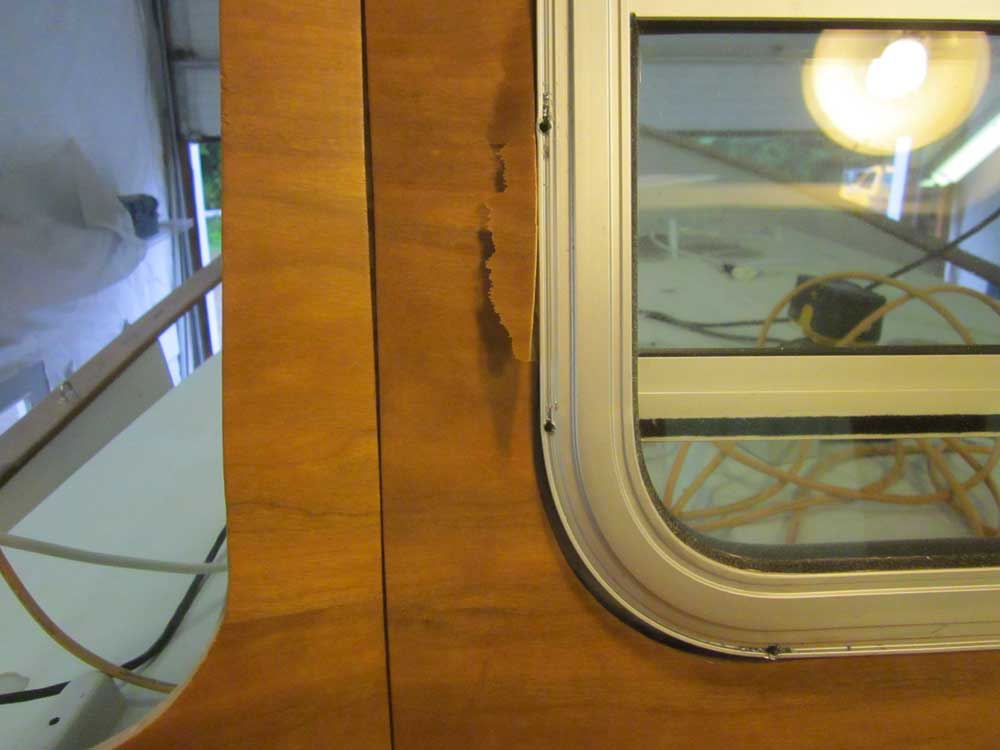
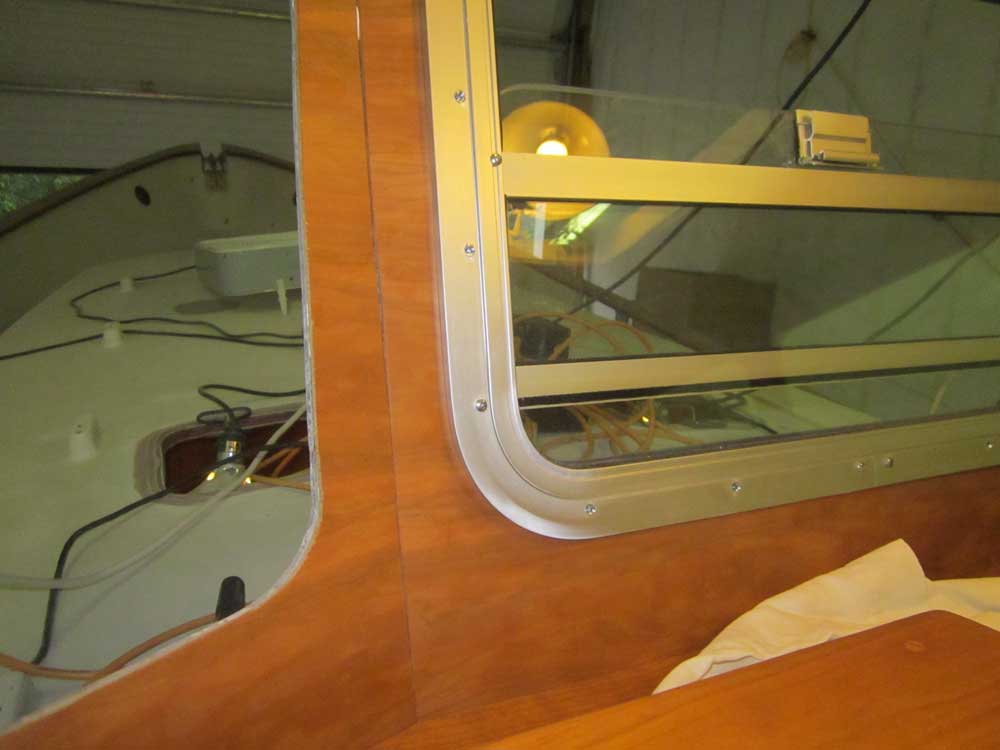
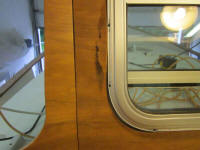
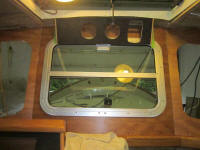
The window was a good fit in the opening, though I made
a mistake while installing it from the front and caught
a slightly overhanging lip of the veneer plywood;
pushing the window frame through the opening broke the
plywood near the edge in this area, a cosmetic problem,
but fortunately I found that the inside window trim
covered the damaged area completely.
|


 |
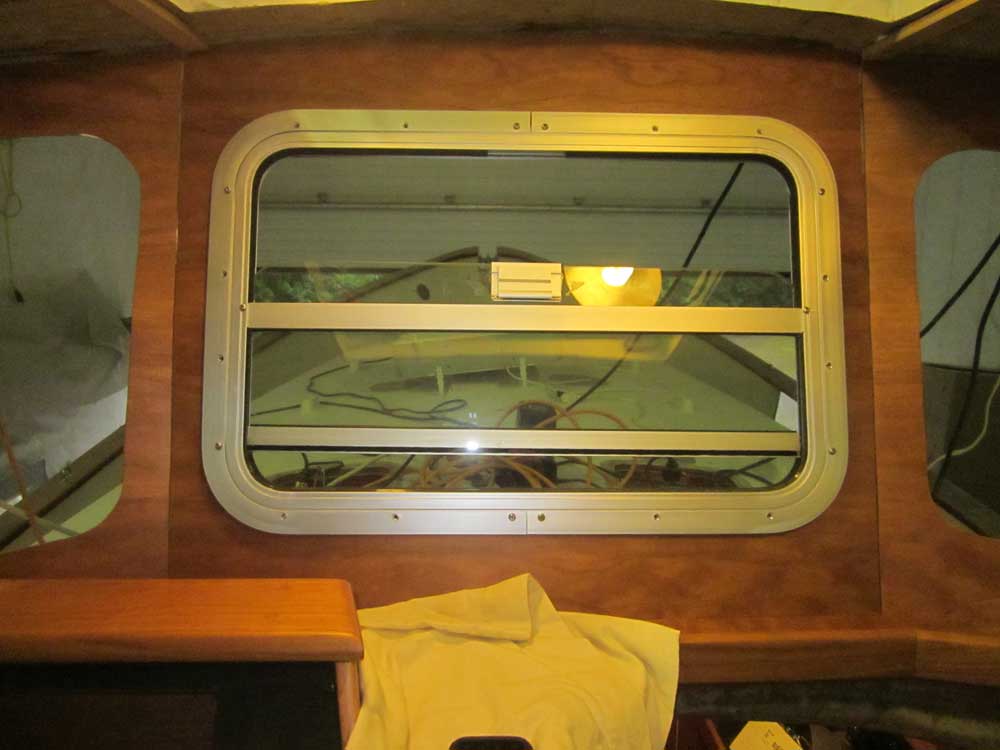
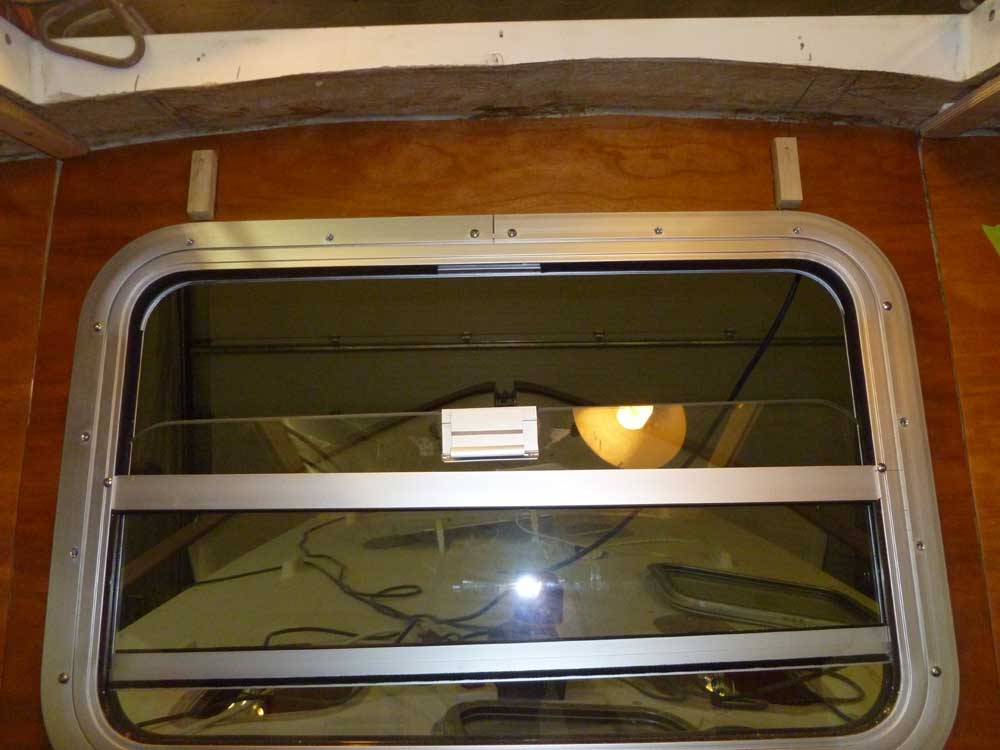
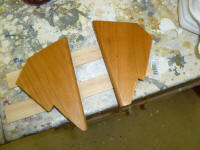
With the window temporarily installed, I could make some
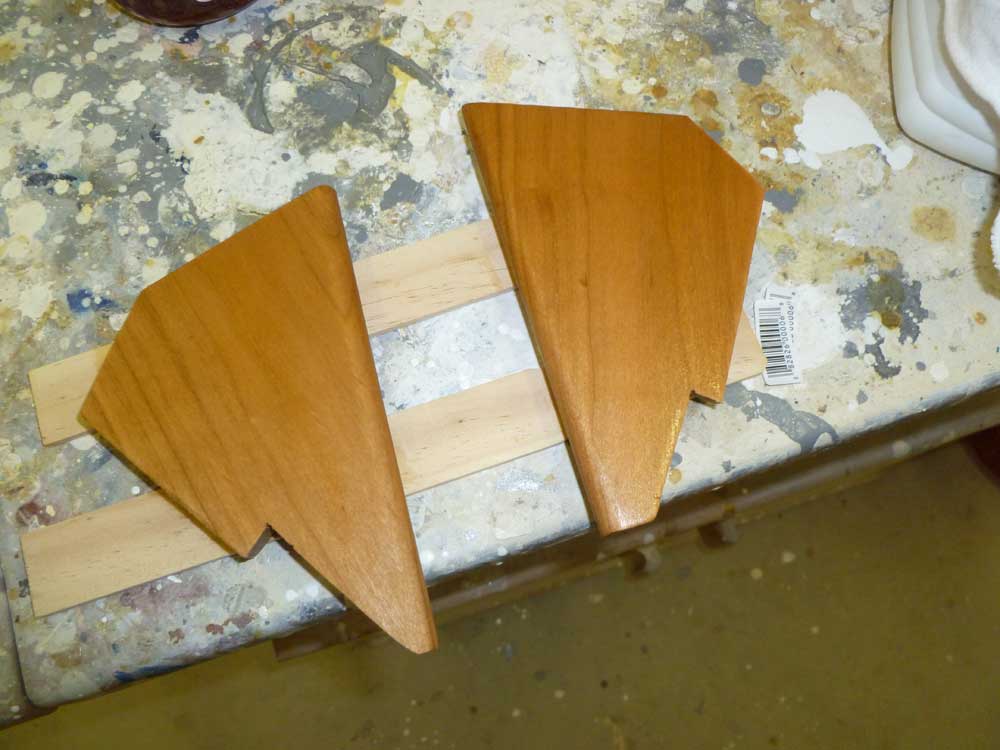
final modifications to the overhead box. The two
wooden side pieces required cutouts to go around the
window frame (this was the specification that had forced
work stoppage some months ago) so the box could snugly
fit against the forward wall of the pilothouse. It
was straightforward to scribe and cut the pieces as
needed. Things look sort of out of whack in the
photos largely because the raw overhead and cut on the
molded opening for the overhead hatch are asymmetrical
and out of kilter, but I'd cover that with trim later. |
 |
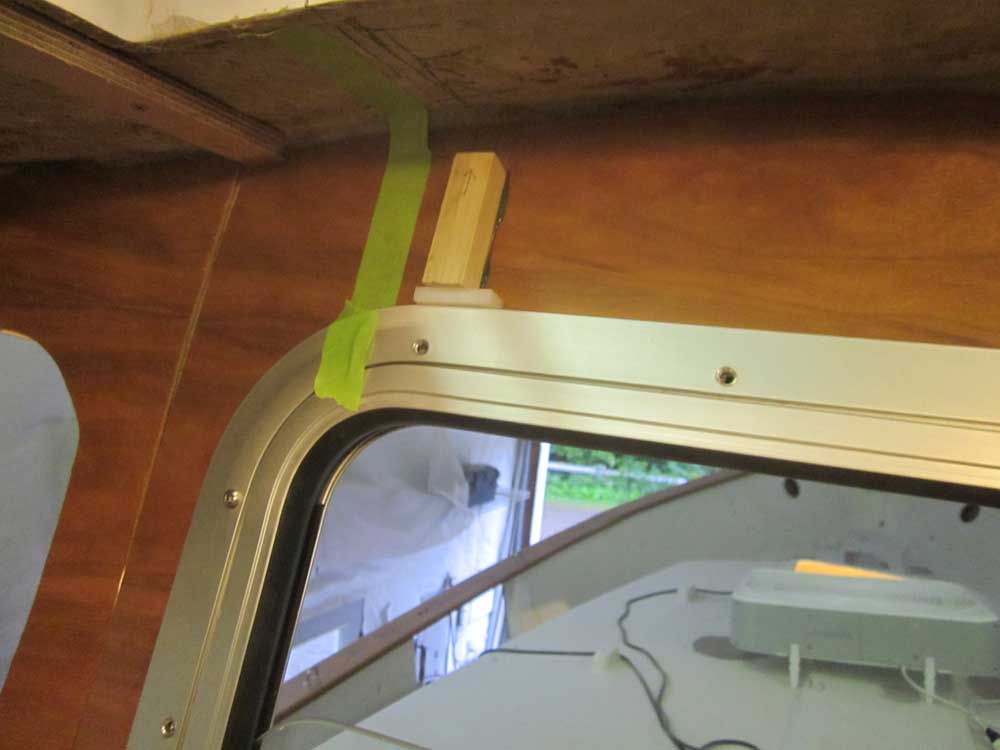
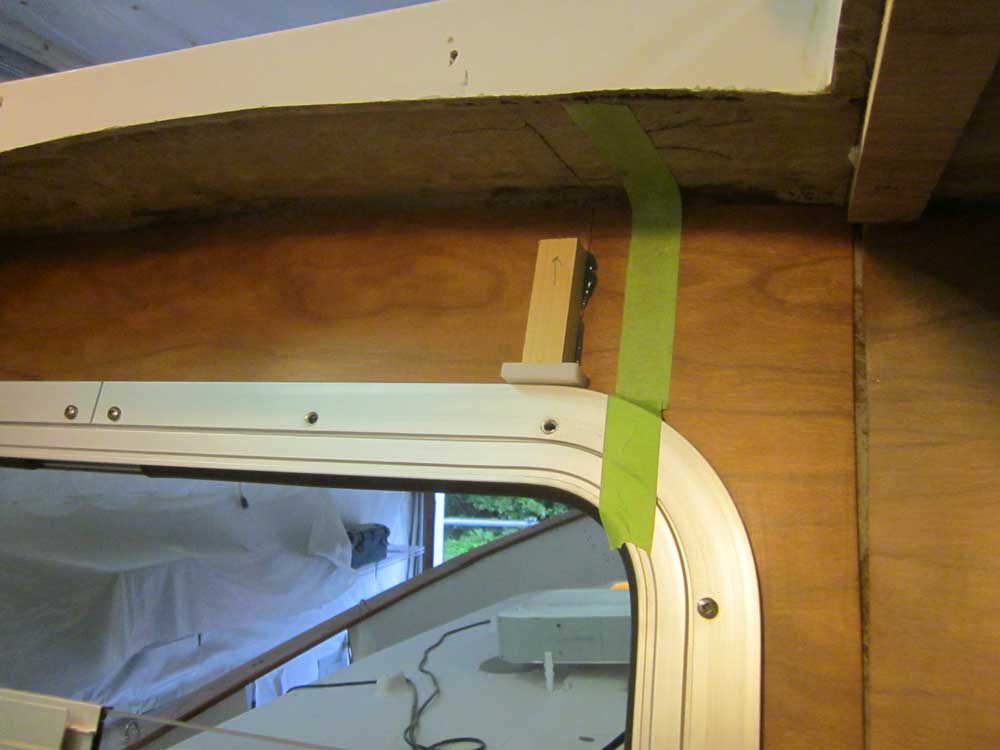
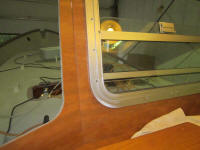
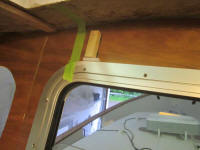
The electronics box needed to be removable, both to
provide access to the equipment and cabling installed
within, and to allow installation and removal of the
window itself. To this end, once I had it fitted
where I wanted it I made some reference marks at the
edges of the box, then, after sanding away the varnish
and roughing up the wood, installed small wooden cleats
with epoxy adhesive, using small spacers to hold the
cleats up from the window frame. I'd screw the
electronics box to these cleats. Afterwards, I
cleaned up the excess adhesive from the edges. |

 |
Meanwhile, with the box disassembled, made some cuts at
the upper back corners to allow passage of the cabling
in and out; the wires would run up the seam between the
center and side sections of the forward pilothouse
bulkhead, to be covered with wire chases/trim, and the
section at the top would be covered by the final
overhead. After a light sanding, I applied the
first of several coats of varnish to the solid cherry
ends so I could wrap up construction of the box.
|
 |
Beyond these chores, and generally getting organized, I
didn't get any other installations actually done (or
even started), but by the end of the day had worked
through many of the aspects of the system and was ready
to start installing components in their chosen spots.
|
Total Time Today: 6.5 hours
|
<
Previous | Next > |
|
|