Project Log: Saturday, September 29, 2012
I'd been speaking with a local canvas and upholstery
contractor for a few weeks, and the plans for the
interior were beginning to coalesce. After
reviewing various fabric samples, my wife discovered a
unique fabric in a brochure that looked interesting and
was along the lines of what we'd been thinking of
(without really knowing), so we ordered a one-yard
sample to check it out. I liked it, and planned to
use it for the dinette cushions. |
 |
After a brief scare when we were informed that the
fabric was discontinued, Jason the canvas guy managed to
find a sufficient stock of the material at one vendor,
and proceeded with the order. |
| |
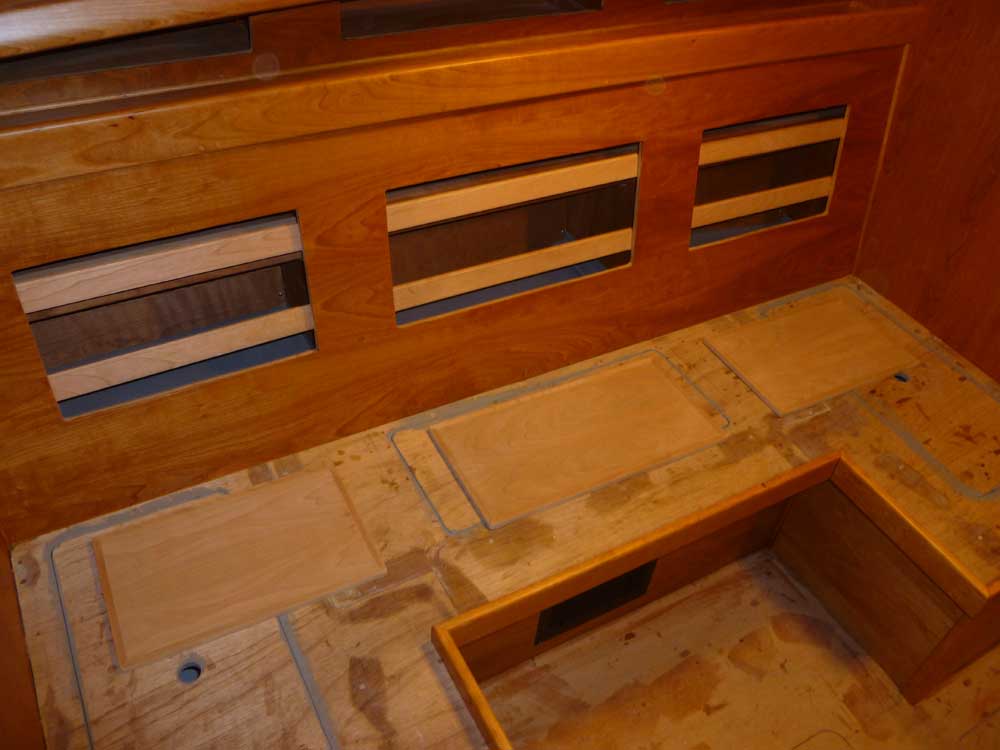
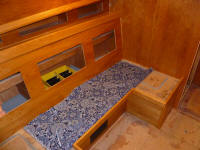
The upholstery job was relatively straightforward.
For the dinette area, I planned upholstered backrests
that doubled as locker doors over the three lockers in
the backrest, and after discussing ideas with Jason
settled on a plan for the locker door backs. I'd
build two-piece doors: first a piece to fit within
the existing openings; then a second, overlapping
section that Jason could upholster and secure to the
structural portion.
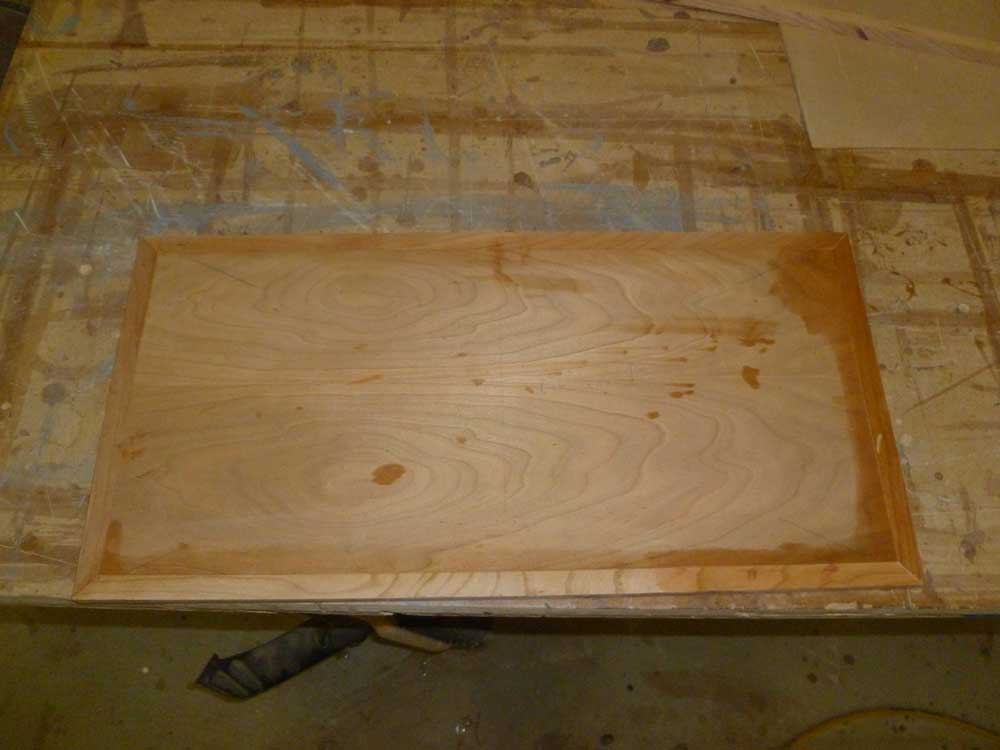
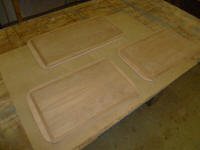
During original dinette construction, I'd saved the
offcuts from the locker openings for this possibility,
so I used them to build the structural inserts. To
begin, I trimmed the edges, which I'd hand-cut with a
jigsaw to create the openings, on the table saw to
straighten them and remove 1/2" from each edge.
Then, I cut and fit 1/2" square solid cherry banding
around the edges to hide the plywood end grain and bring
the inserts back to full dimension. |
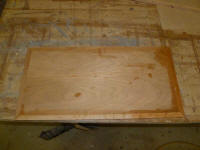 |
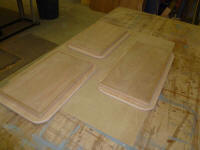
Once the glue had dried, I test-fit the pieces, rounded
the corners so they'd fit in the openings (which had
1/4" radius corners), and sanded them smooth.
Since the "outside" face of these inserts would be
hidden from view by the upholstered backs, I used the
"good" side of the plywood facing inward, so that it
would be visible when the locker doors were opened.
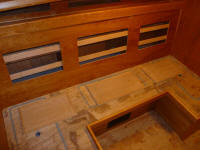
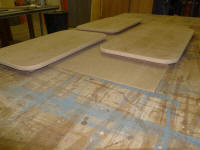
To hold the locker doors in place for test-fitting and
later hinge installation, I temporarily hot-glued some
scrap lumber behind the openings, so the plywood inserts
could rest against the cleats and simulate their final
positions. |
 |
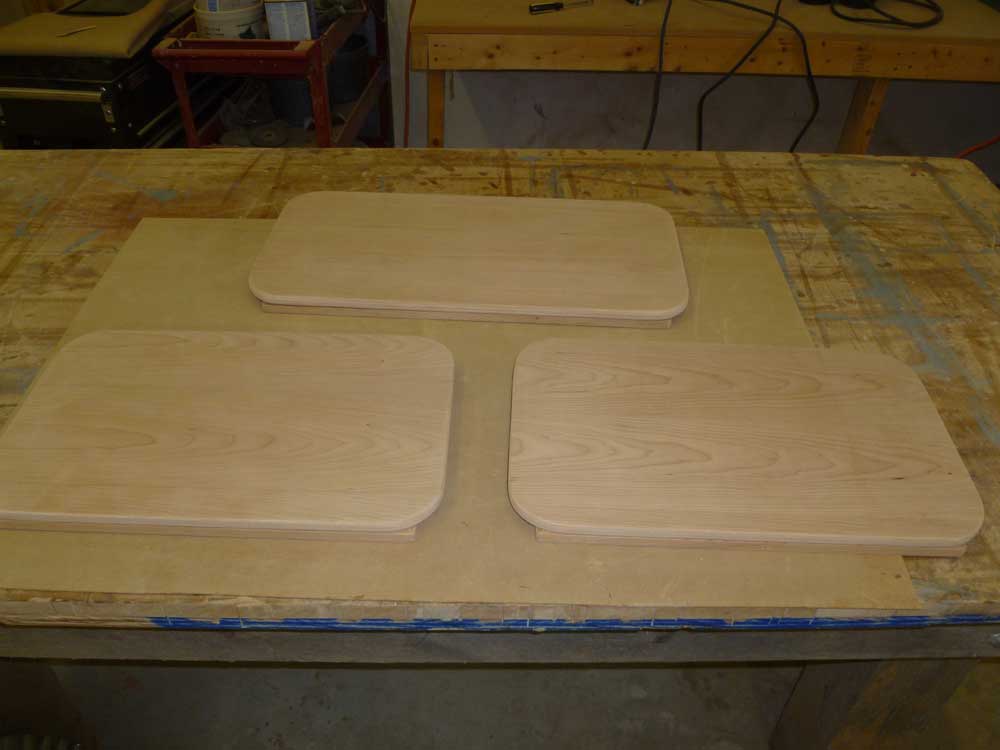
I didn't have the hinges I needed on hand, so I ordered
them (just basic semi-concealed flush hinges), along
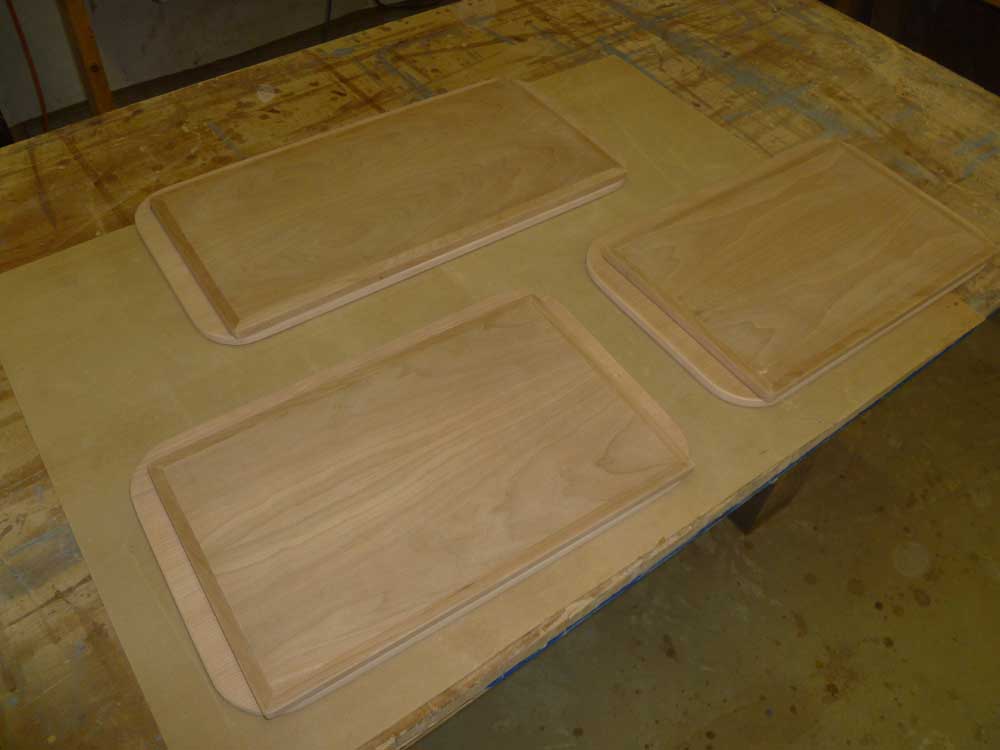
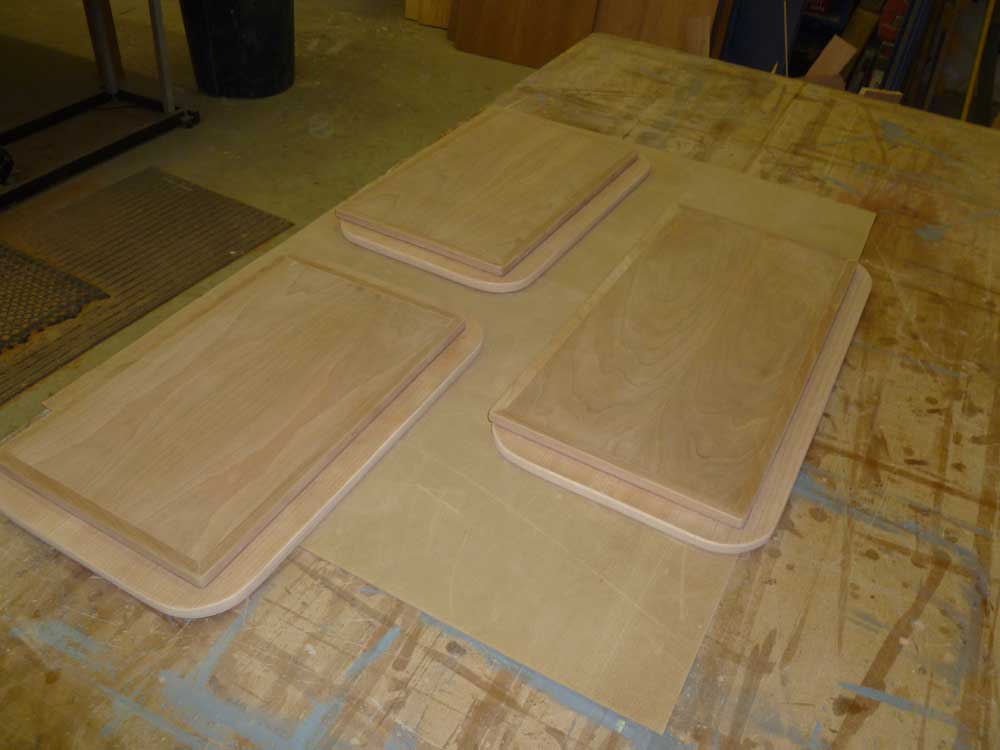
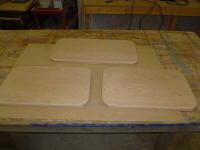
with some other supplies I'd need. However, I
could still build the overlapping panels that would
later accept foam and upholstery. I made these
from 1/2" cherry plywood, and sized them so they'd
overhang the openings by 1" on the top and two sides,
and flush with the opening (and the insert) on the
bottom edge to accommodate the hinges. I rounded
the four corners of the panels with a 2-1/4" radius,
which was close to Jason's ideal of 2-1/2" for making
clean corners with the upholstery, and also close to the
radius found on the boat's aluminum-framed ports and
windows. I used a 2-1/4" radius since I had a
4-1/2" hole saw on hand that I could use to make an
accurate template of the curves; close enough.
With the cuts completed, I eased the corners of the
plywood and sanded the pieces smooth. |
 |
I had to order some fasteners for the job, as I wanted
to use threaded inserts in the panels to make
installation and removal easy and secure. To
account for the thickness of the upholstery and its
construction, I also planned to use 1/8" thick spacers
between the panels. I'd continue the work once the
new hardware arrived. I'd also need to install at
least a temporary hull ceiling at the lower portion of
the forward cabin, so that Jason could pattern the area
accurately. |
|
| |
Total Time Today: 3.75 hours
|
<
Previous |
Next > |
|
|