Project Log: Sunday, April 6, 2014
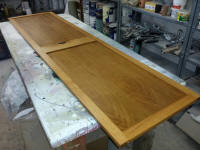
With four coats of gloss varnish, the head door (back)
was ready for a coat of rubbed effect satin varnish.
|
 |
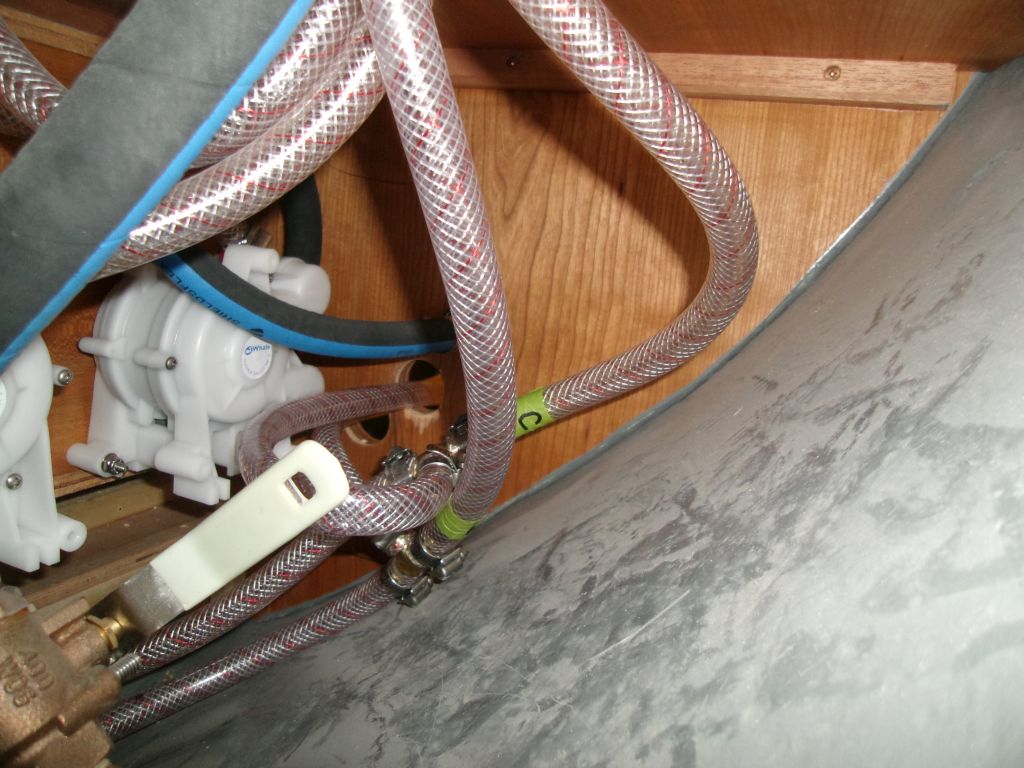
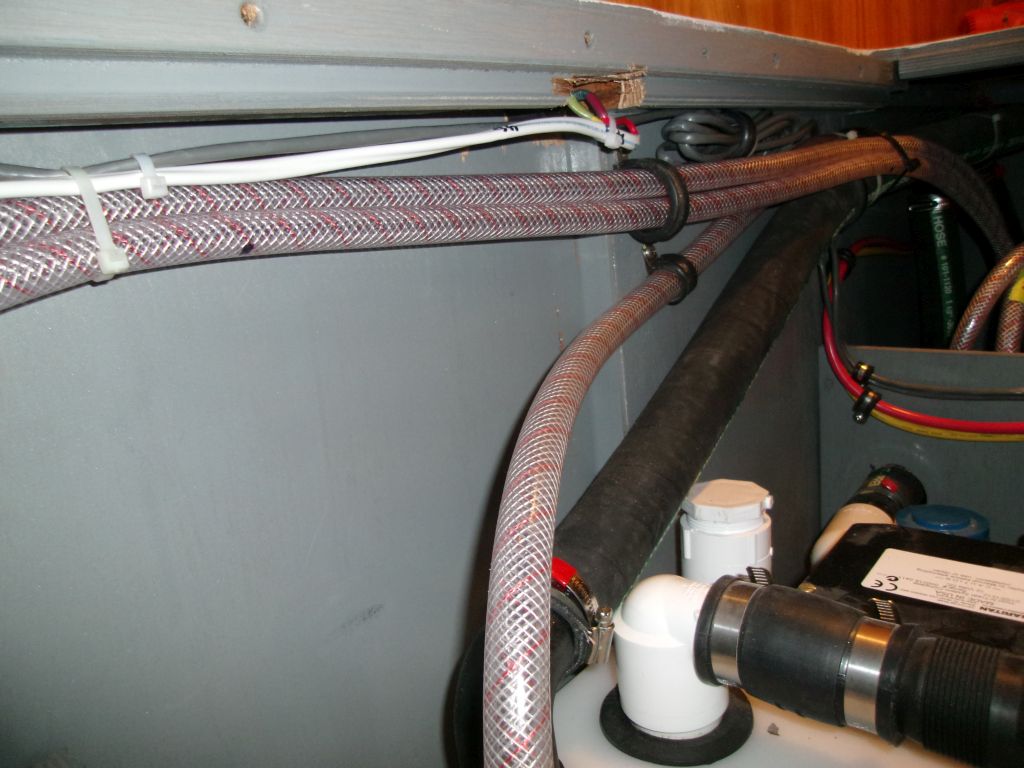
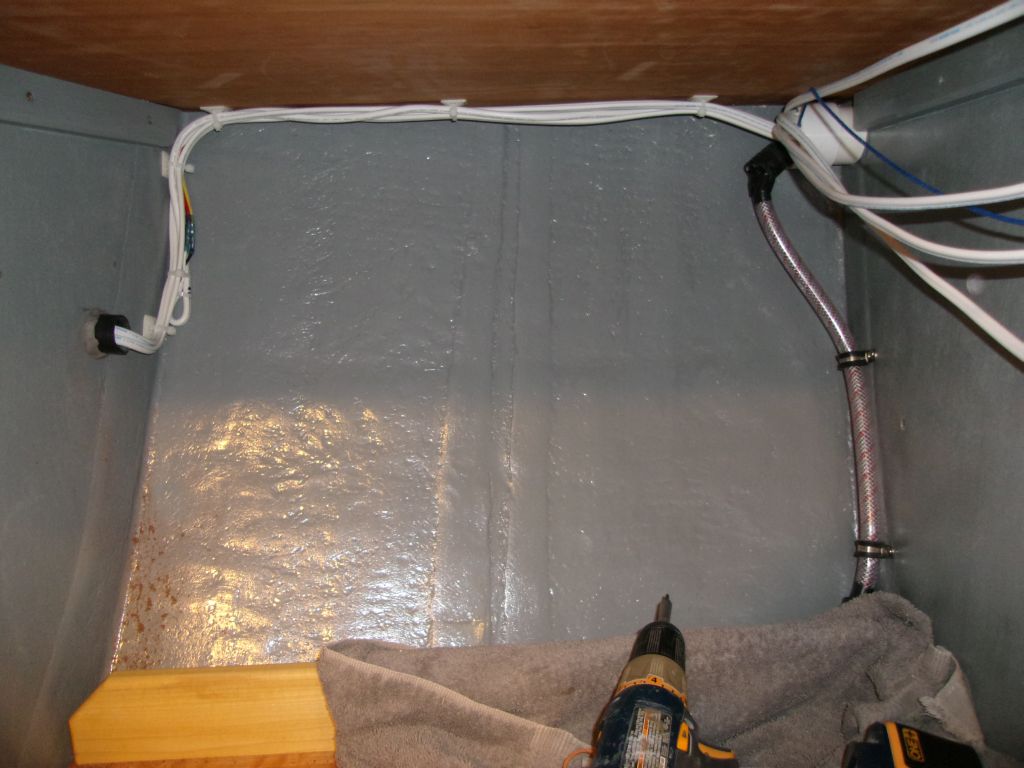
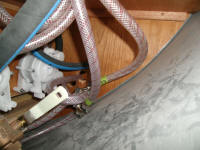
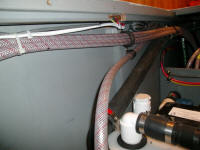
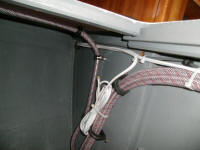
When I'd run the plumbing to the galley sink earlier,
I'd installed tee fittings for the eventual lines for
the head shower, and now was as good a time as any to
install the hoses that would eventually supply the
shower. For better access, I removed the lower
shelf in the starboard storage locker forward of the
galley. Drilling access holes as needed, I led two
lengths of 1/2" water hose from the tee fittings forward
into the locker beneath the v-berth and over to the port
side, where I dead-ended them for now pending final
hookup to whatever shower device I ultimately installed
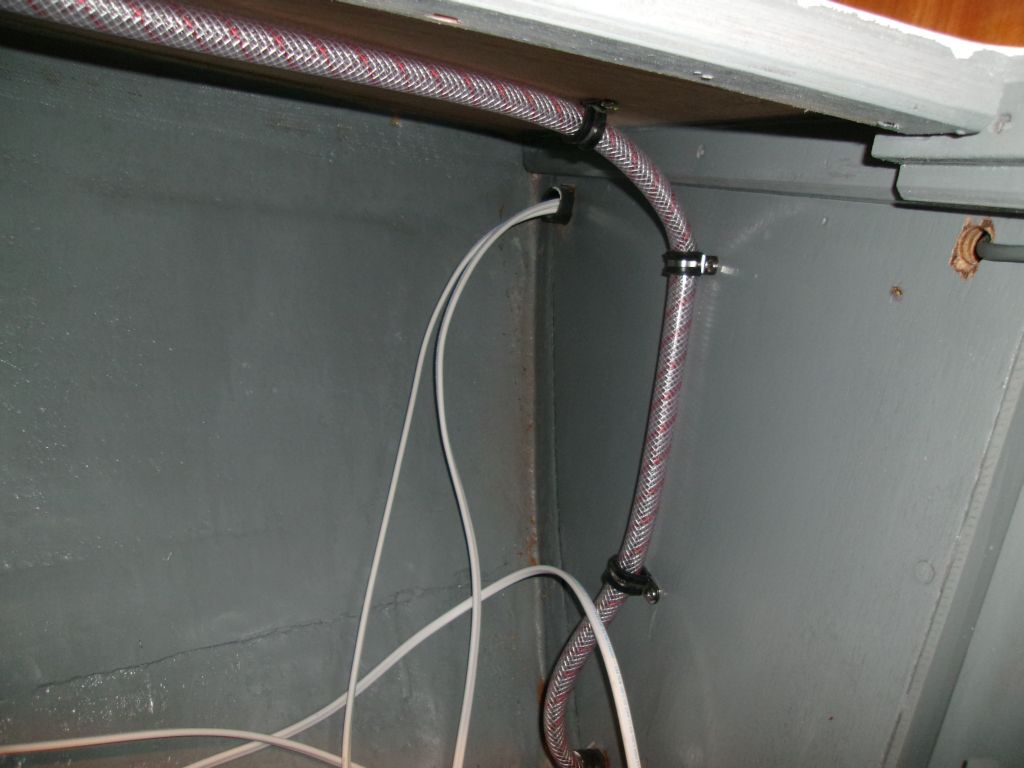
for the head. Where the hoses passed through
bulkheads, I led them through short lengths of hose as
chafe protection. |
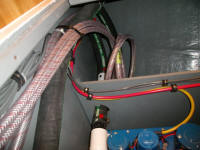 |
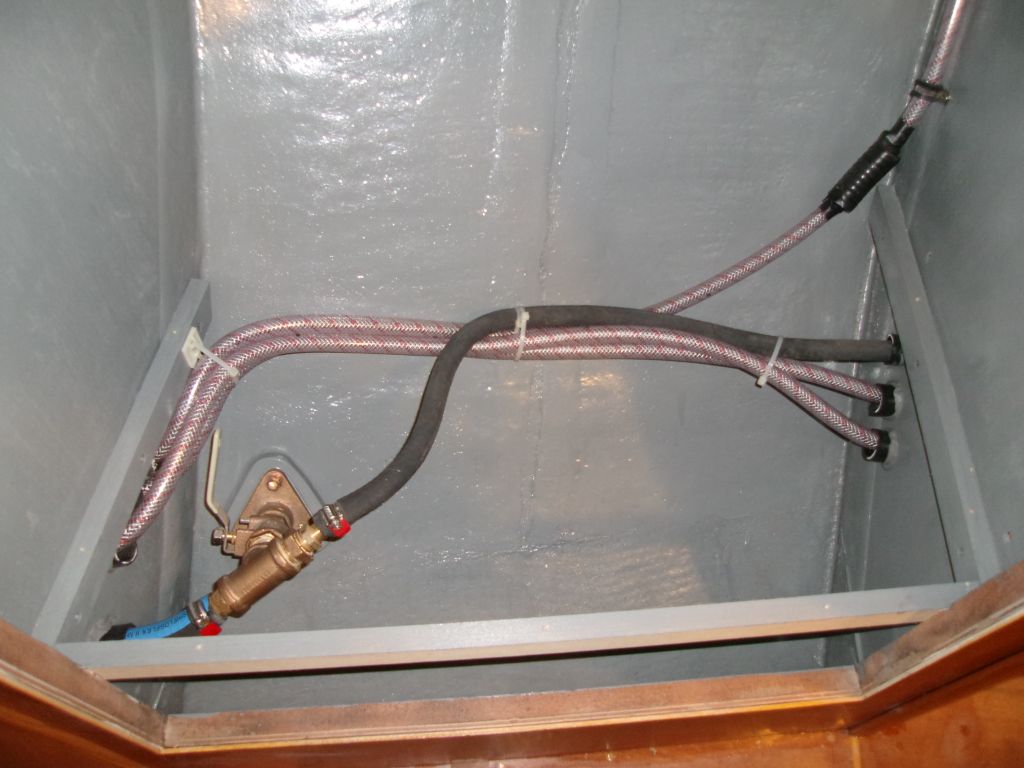
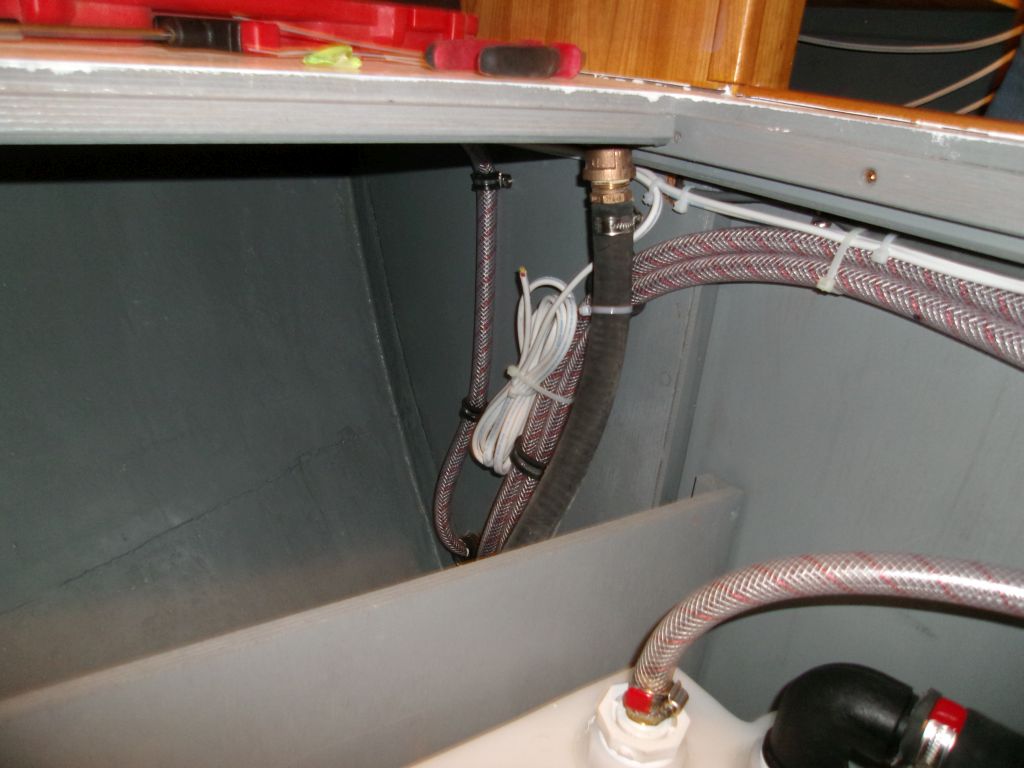
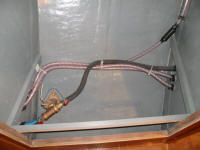
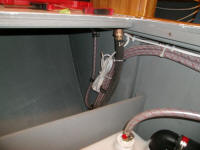
There was a number of wires dead-ended in the starboard
locker, two of which needed to be led into the
compartment beneath the v-berth: one for a 12V USB
outlet that I'd located in the forward cabin; the other
for an eventual saltwater washdown pump. I led the
wires along beneath shelf and through the forward
bulkhead, where I made up the final connections to the
outlet, but simply bundled the wires for the pump for
now till whenever I was ready to install it. |

 |
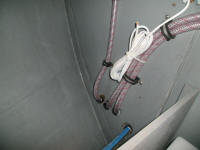
Similarly, I capped off a length of hose leading back to
a seacock in the locker, which seacock serviced the
galley sink's saltwater tap as well as the eventual
saltwater washdown pump. With no immediate plans
to install the pump, the capped hose, which I secured
with its top end above the waterline, would allow me to
use the galley tap in the meantime. |
 |
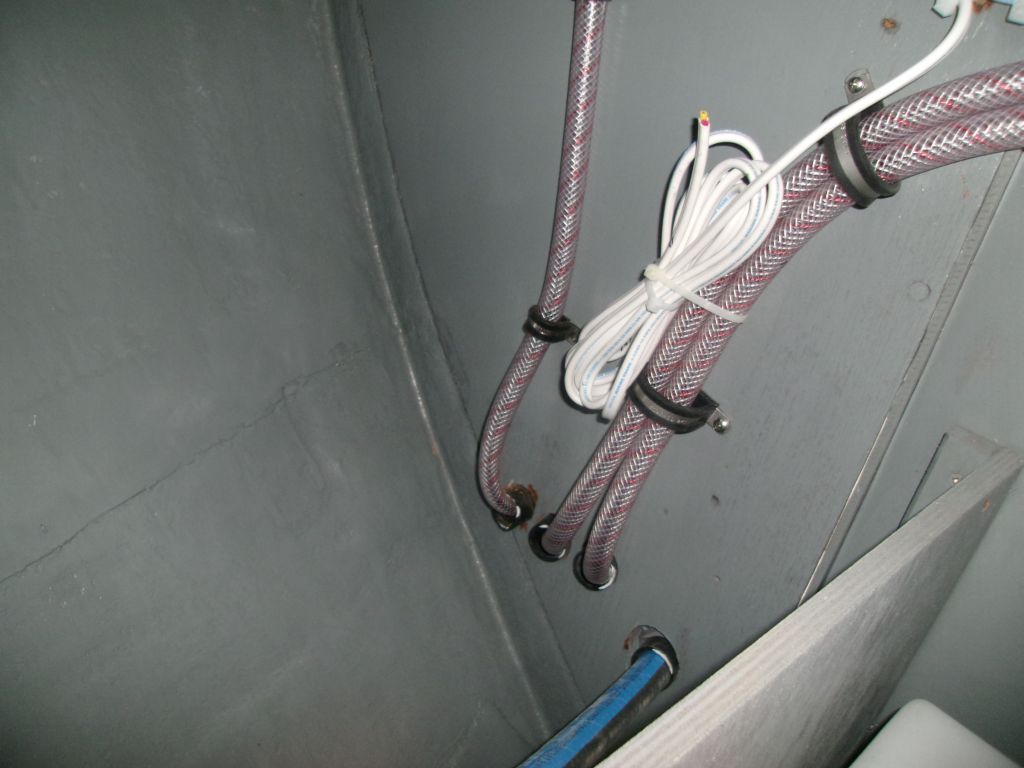
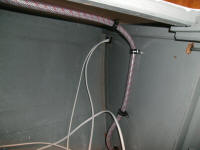
The other wired that I'd led forward would eventually
service lighting, fans, and a shower sump pump, things
for which I'd make final connections a little later.
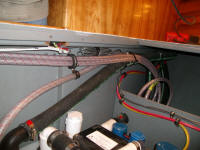
I was looking forward to powering up the electrical
system sooner than later, and to that end the next step
was to get going on battery cables and, eventually,
batteries. After some thought, I decided to mount
the battery switch in the after portion of the dinette,
close to the engine room and battery locations just
beyond the bulkhead but easily accessible from outside
the engine room, and out of the way. I prepared a
wire chase through the bulkhead, sizing it large enough
for the number of cables that would have to run through
it, and lined the opening with a section of hose.
I flush-mounted the switch from within the after dinette
storage locker; later, I'd build a cover to protect the
terminals. |

 |
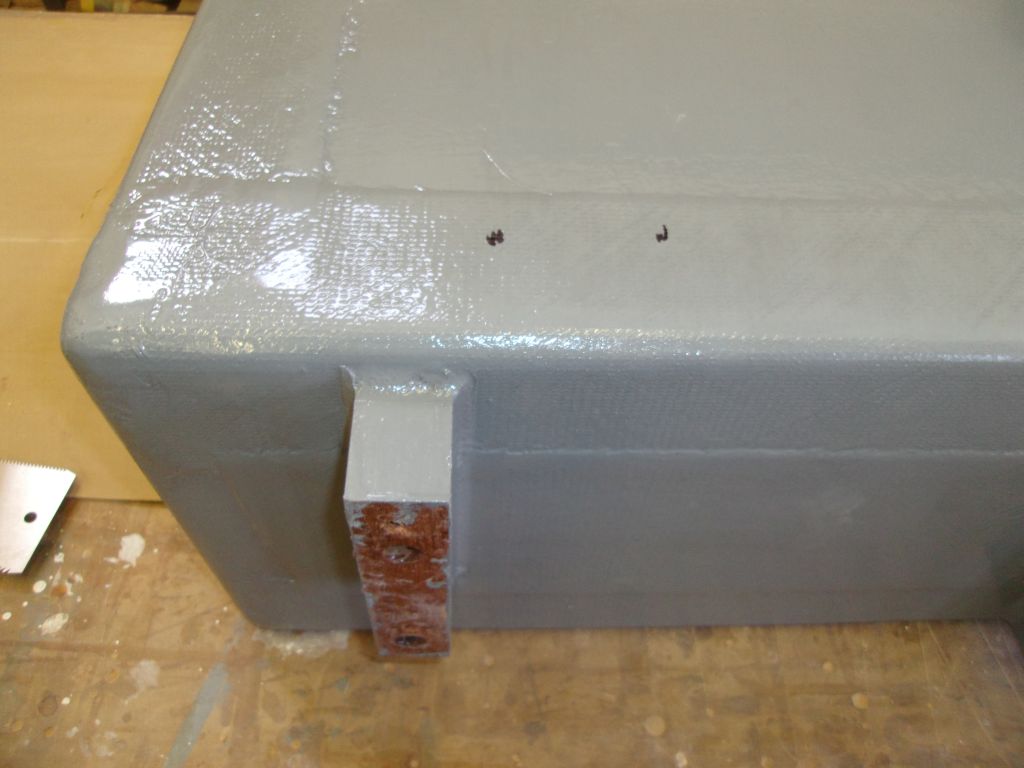
Making final preparations to install the battery boxes,
I discovered to my surprise that the after riser on the
port box was in the wrong place. This did not make
my day. The risers beneath the box on this side
were required to raise the after corner of the box above
the curvature of the hull. I had no idea how I'd
managed to install the riser two or three inches aft of
where it was supposed to be, but I did, and somehow I'd
managed to miss this error even during earlier test
fits, although in my meager defense the box looked right
at first glance, sat level in the space, and the flat
areas on which the box was supposed to sit were all but
invisible when the box was in place, so I guess I just
didn't pay close enough attention.
The two black marks on the side of the box show the proper location for this riser. It
wasn't off a little: it wasn't even close. |
 |
This was really annoying and I was fed up, so I quit
while I was only a little behind (forget about being
ahead).
|
| |
Total Time Today: 4.5 hours
|
<
Previous | Next > |
|
|