Project Log: Saturday, February 22, 2014
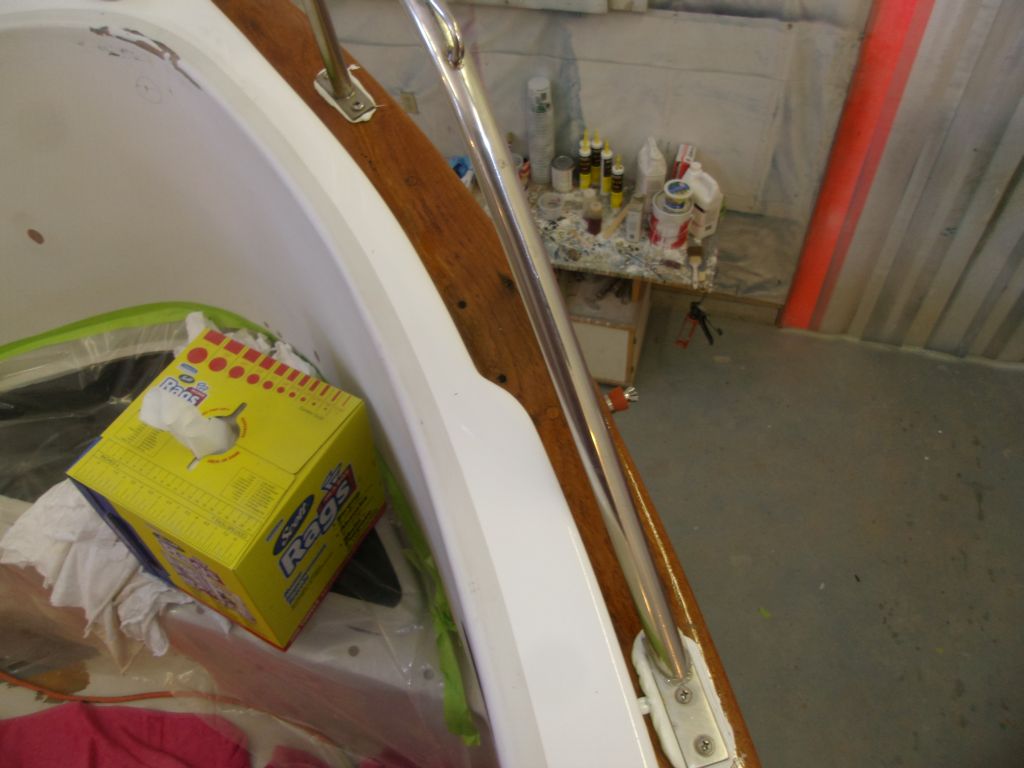
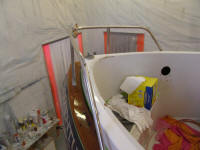
My first order of business was to finish up with the
stern pulpit. Again, this was somehow more work
than it should have been for eight screws. I broke
off my long tap deep in the second hole I was preparing,
so I played it safe for the remaining holes and used a
hand tap instead of the drill, which naturally slowed
down the process further.
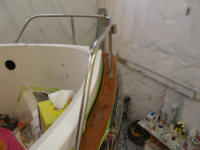
There was no recovering the broken tap, and no
practicable way to reposition the pulpit to avoid that
hole (I'd already slightly repositioned it to avoid the
original fastener locations, and the shape of the pulpit
only allowed so much leeway anyway), so I had to retap
the top part of the hole--through the wooden caprail
only--with the next larger size in order to secure it
there.
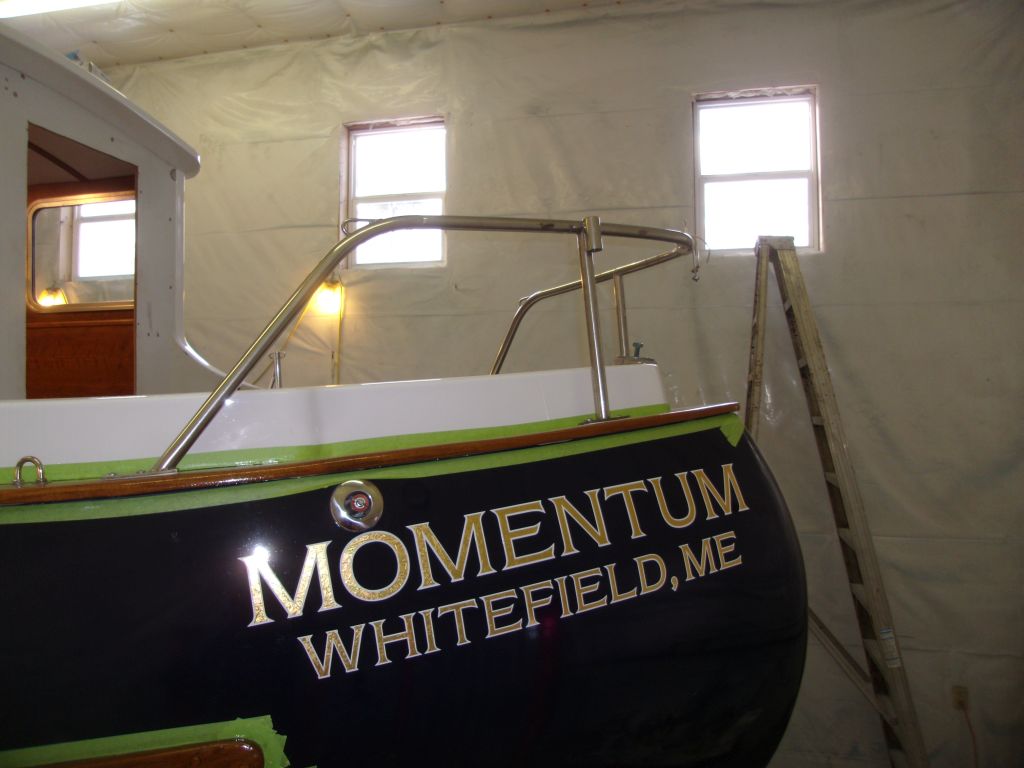
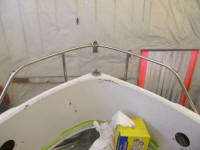
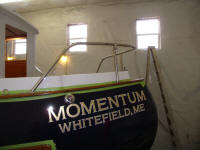
With all fastener holes prepared, and a larger hole at
the port forward leg for the stern light wire that led
from inside the rail, I installed the pulpit in sealant
with new fasteners.
|
 |
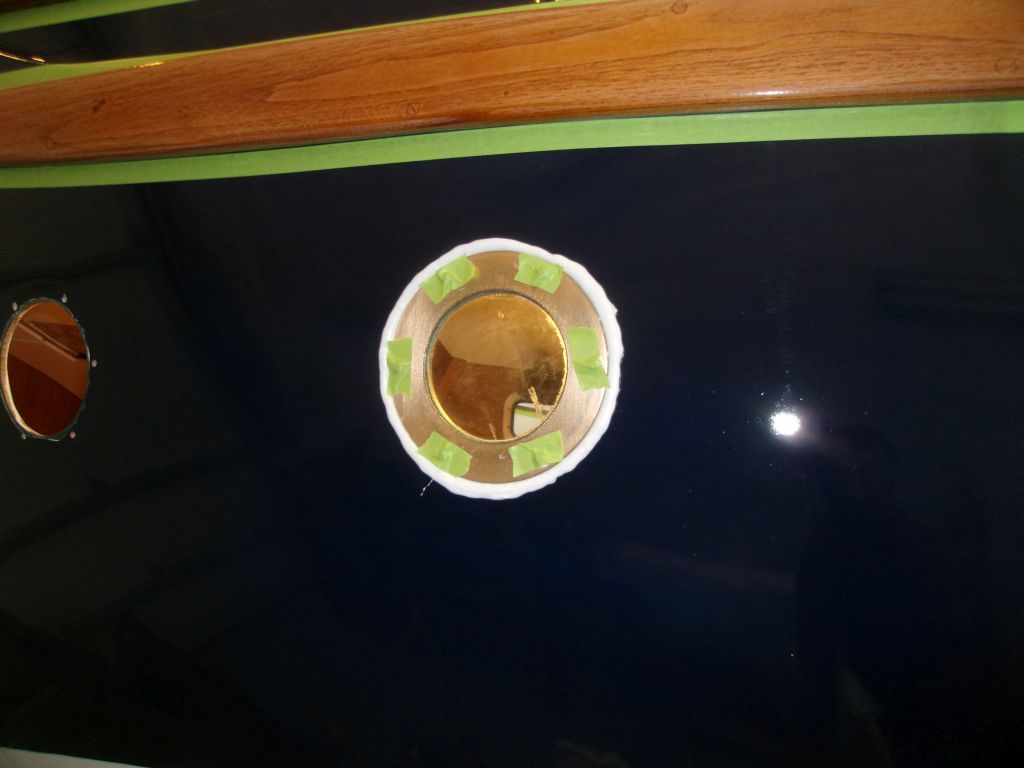
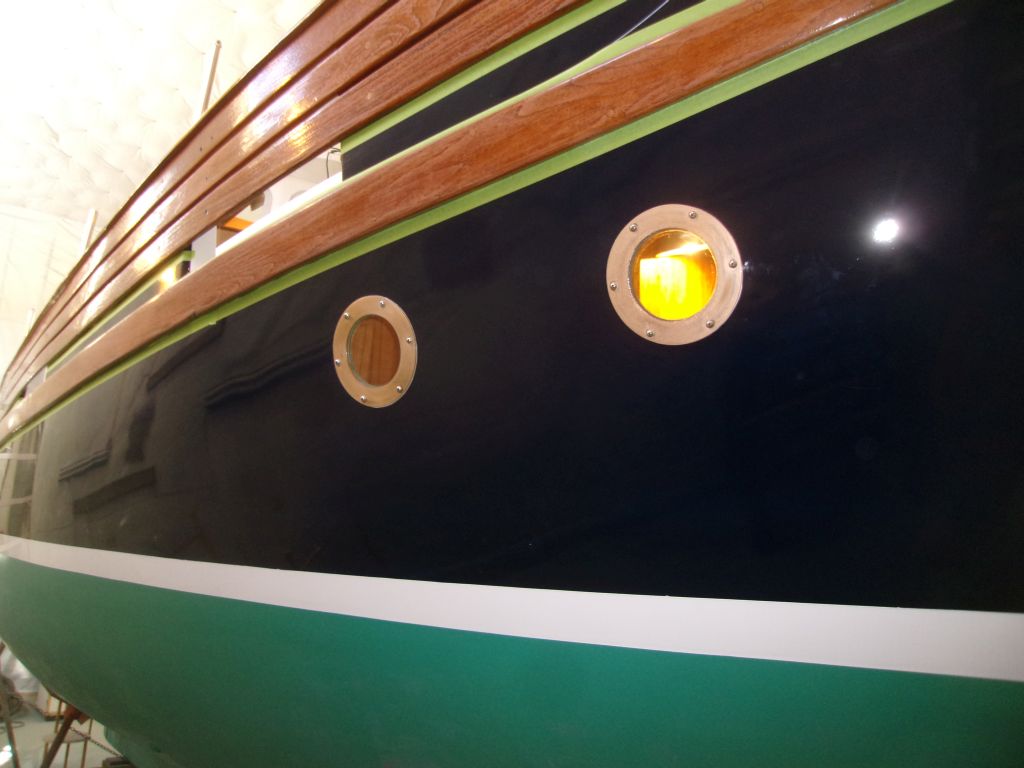
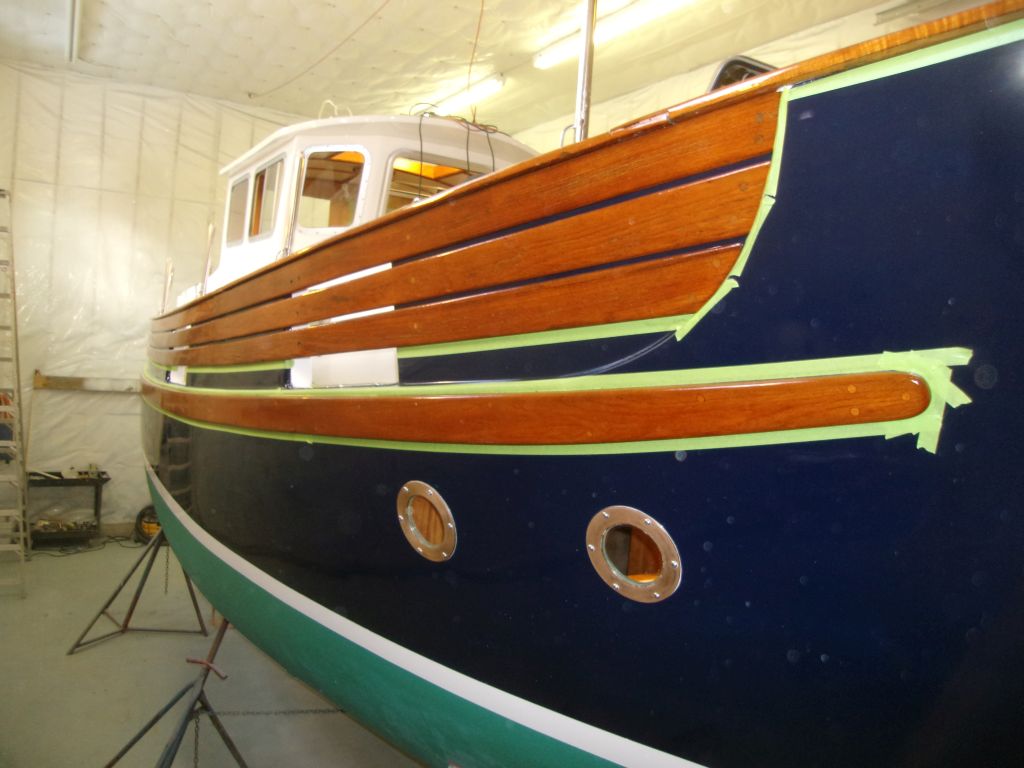
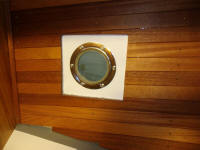
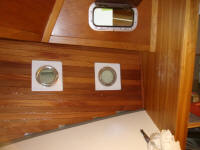
I moved on to the four deadlights in the forward cabin.
At some point earlier, when I had white paint going for
one thing or another, I'd primed and painted out the
insides of the rhomboids I'd left around these openings
in the hull (I still needed to build and install trim
around the edges of the ceiling at these openings--on
the list), so the openings were ready to accept the
deadlights themselves. Unsure how the process
would go, working alone, I started with a single unit on
the port side, gooping up the mounting flange with
sealant and inserting it in the opening from outside,
along with six new fasteners that I held in place with
tape. I chose stainless steel fasteners instead of
bronze since I thought they would look better in this
instance, and would remain untarnished on the outside. |
 |
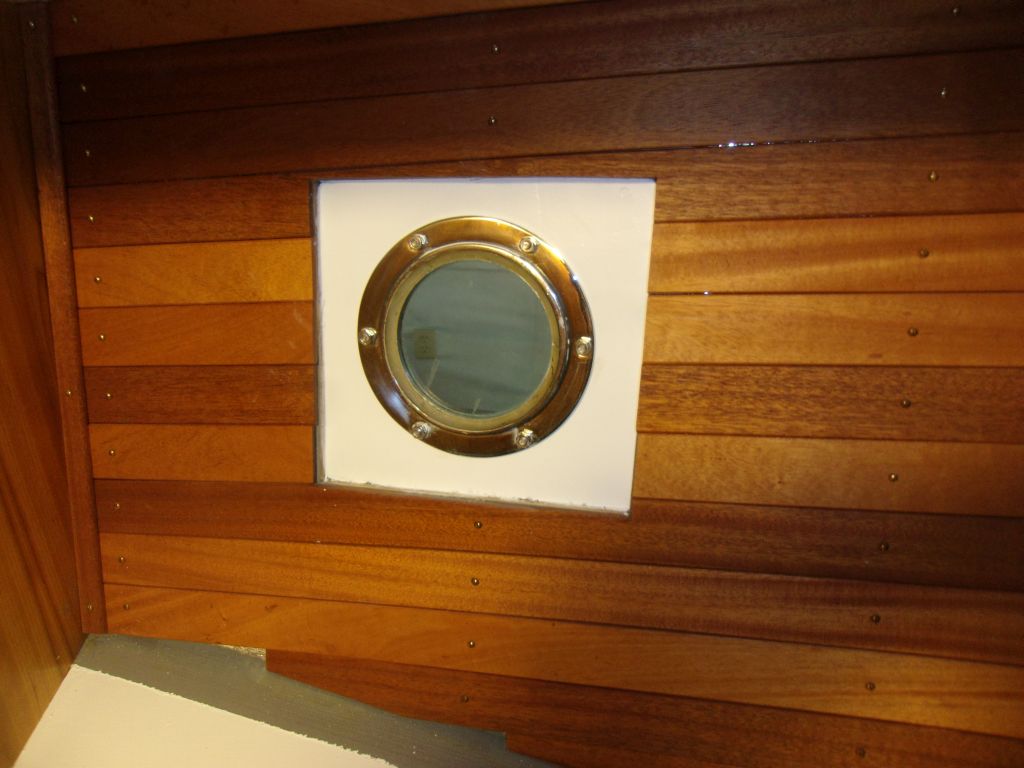
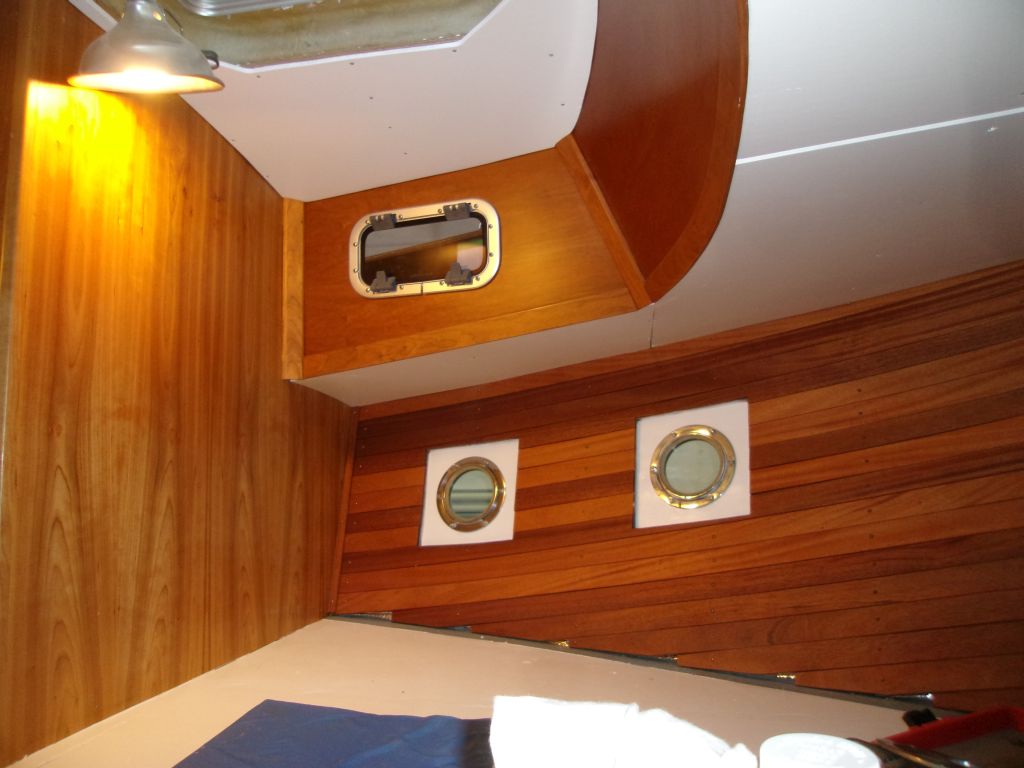
Inside the boat, I installed the interior trim ring,
carefully aligning it over all six fasteners, then
installed small washers and nuts before tightening
everything and pulling the two parts of the unit
together. Amazingly, this worked without the
fasteners spinning. I cleaned up the excess
sealant inside and out as necessary. |
 |
I repeated the process with the forward deadlight on
this side. Final trimwork in this cabin--overhead,
around the hatch, and around the deadlight openings--was
pretty far down the priority list at this point, but on
the list nonetheless. |

 |
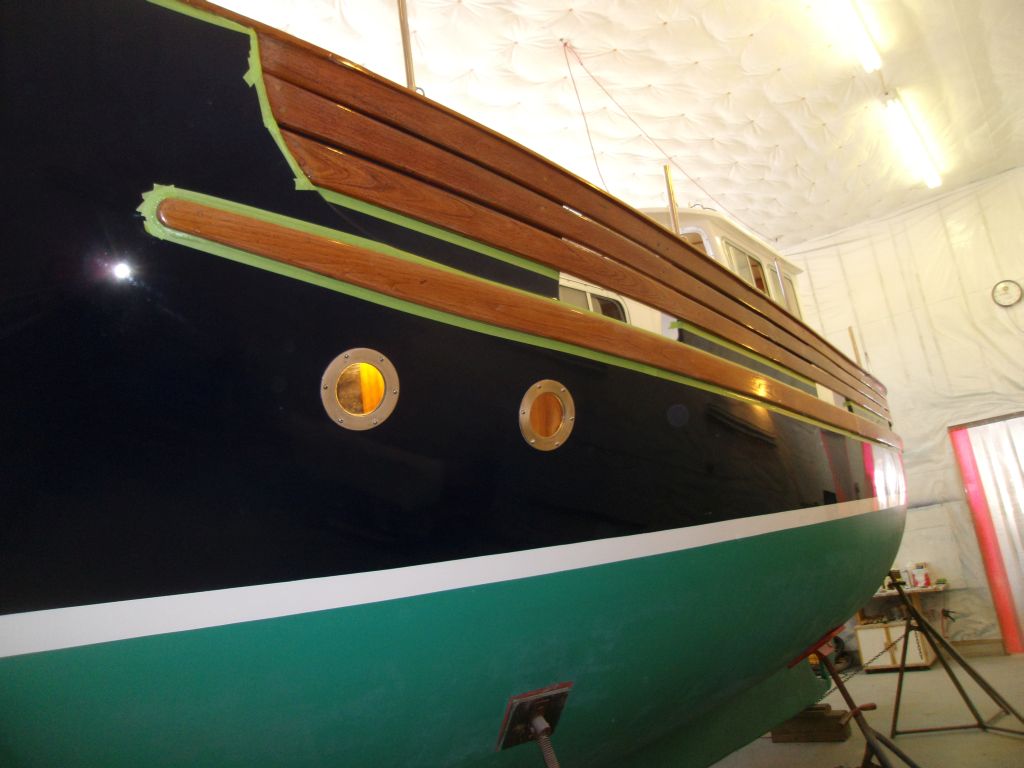
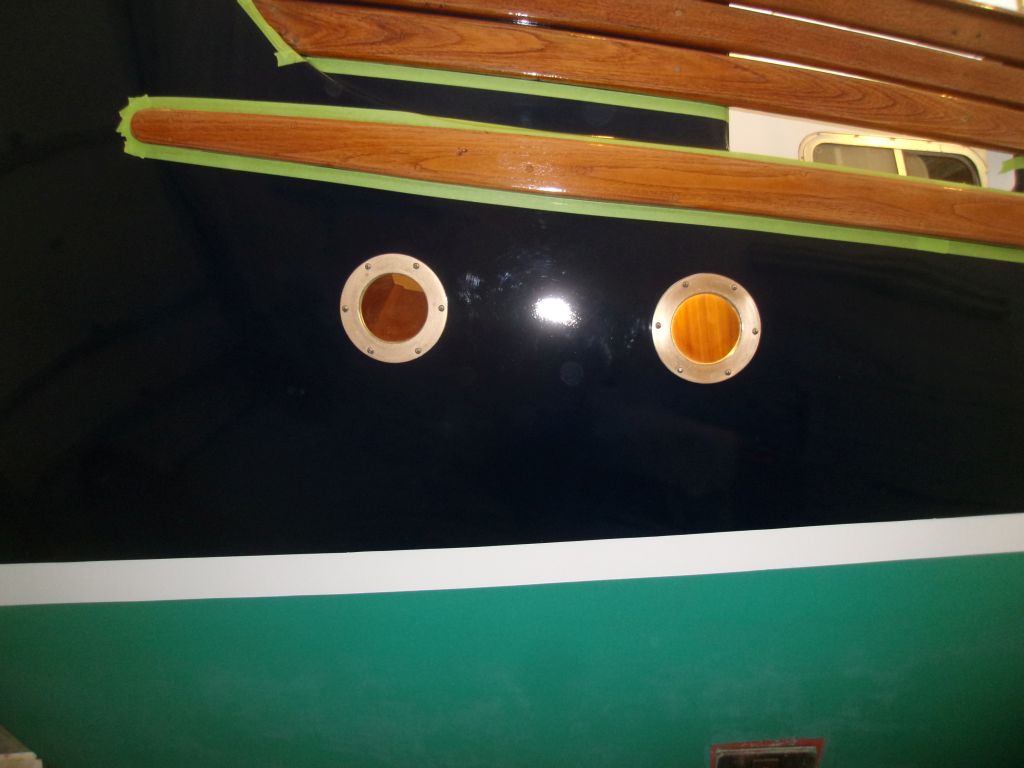
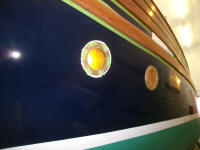
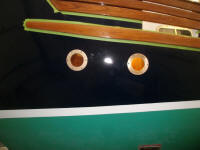
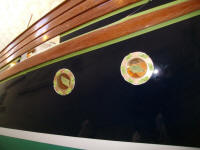
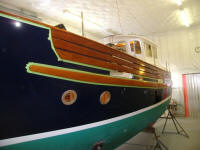
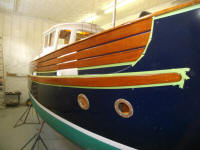
Then, I moved to the starboard side and installed both
deadlights at once. I was pleased with how well
this installation went, particularly after the
frustrations of the pulpits and stanchions, and since
I'd been unsure whether I'd be able to do it without
help. |
 |
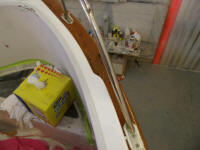
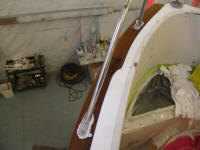
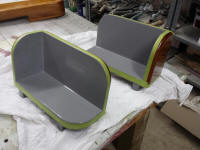
I masked off the varnished portions of the running light
boards, and after final preparations I applied a coat of
primer to the surfaces to be painted: the inside
faces, and the underpinnings. |
 |
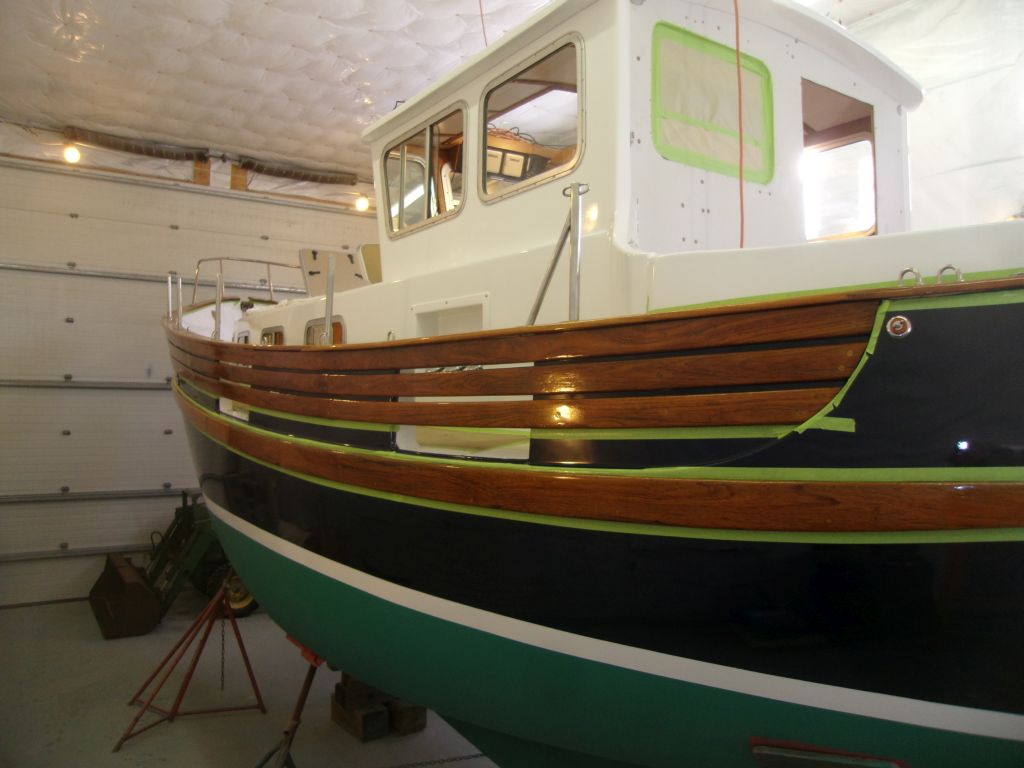
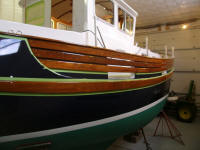
To round out the day, I applied another coat of varnish
to the bulwarks and rubrails. |

 |
| |
Total Time Today: 5.5 hours
|
<
Previous | Next > |
|
|