Project Log: Sunday, March 2, 2014
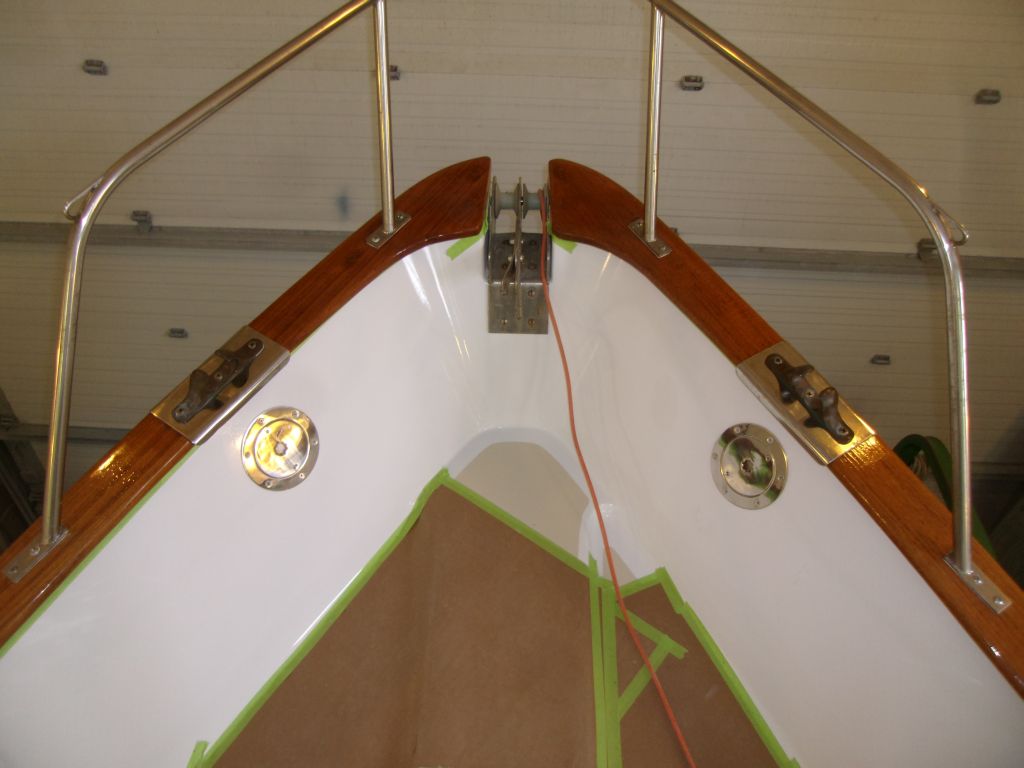
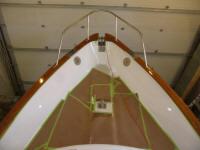
I continued work on hardware installation with the bow
chocks. Since the existing (Metric) fasteners were
in good condition, I chose to reuse them, and in the
original holes.
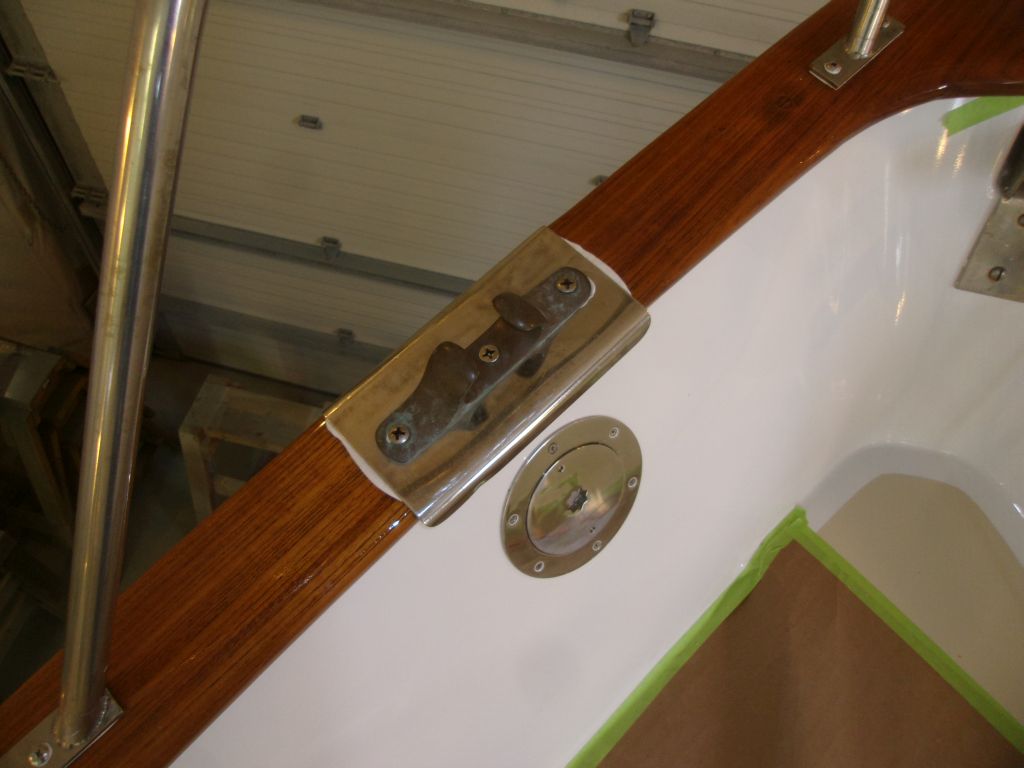
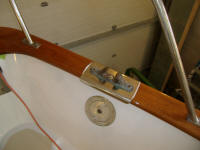
Installation was pleasingly quick and pain-free. I
applied sealant beneath the metal chafe plates, then
installed the chocks with their fasteners, which
extended into tapped holes in aluminum plates beneath
the caprail.
|

 |
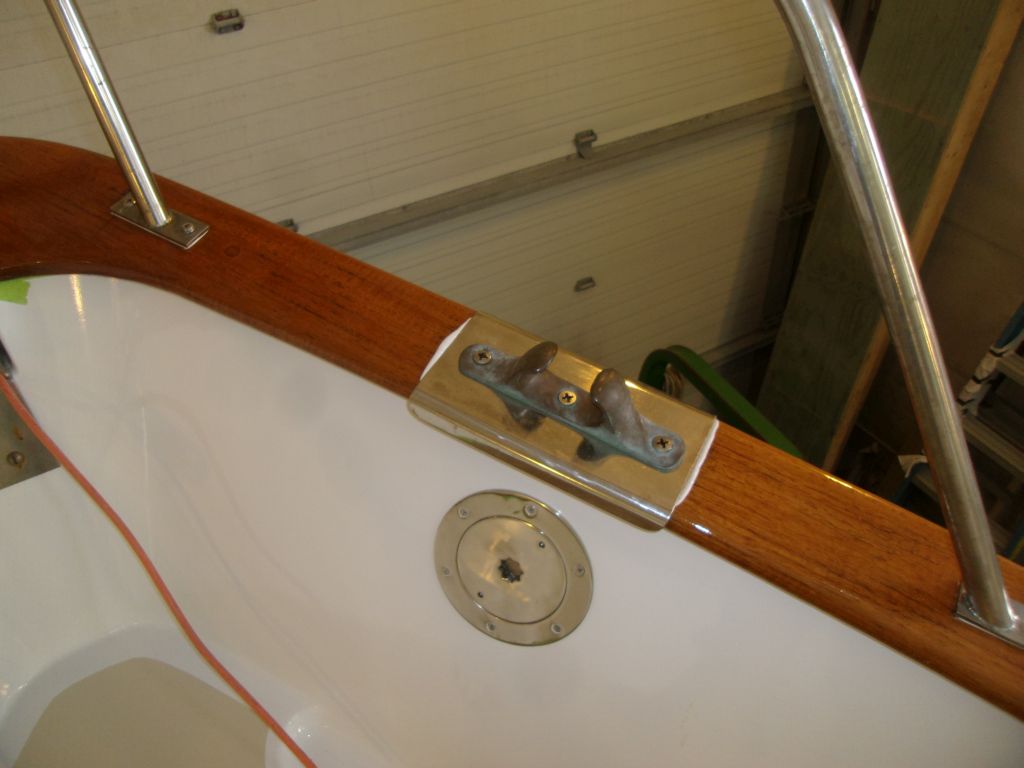
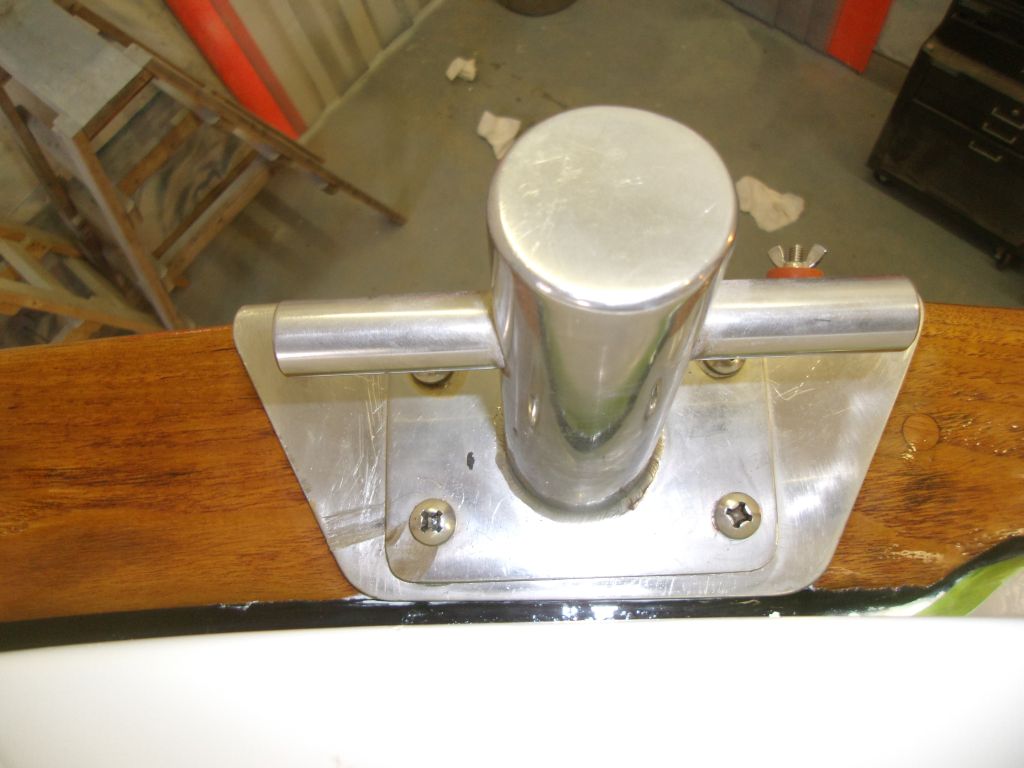
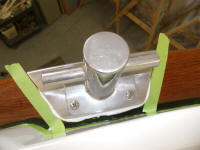
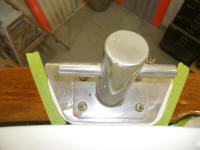
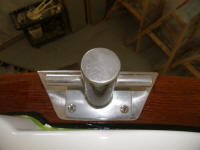
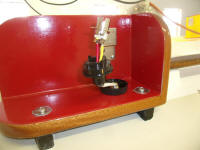
At the stern, I installed two mooring bitts. Here,
I slightly offset the bitts from their original
locations, since I knew there was at least one
broken-off bolt stud remaining in the old holes. I
drilled and tapped for new fasteners, and installed the
bitts and their chafe guards with sealant. |

 |
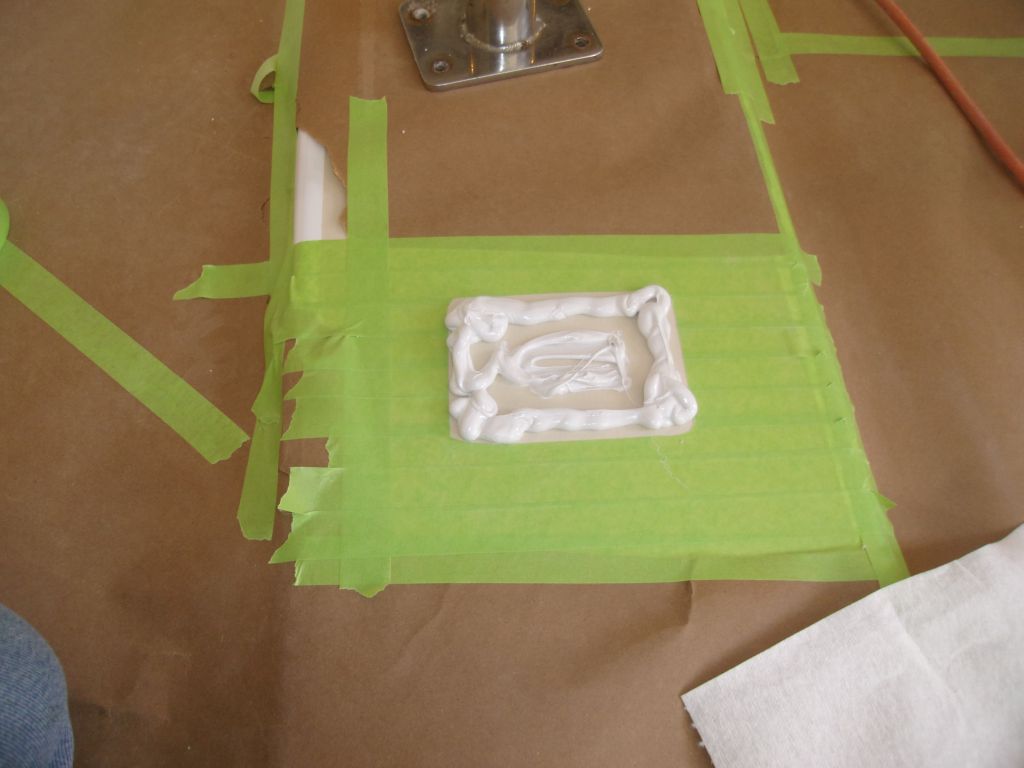
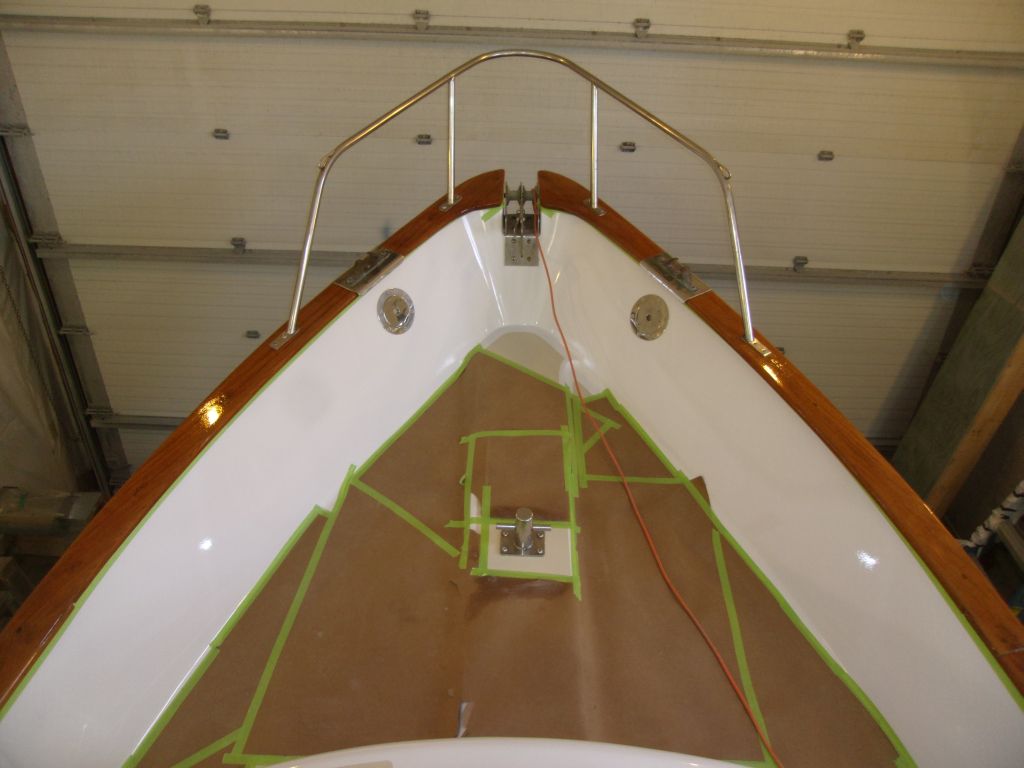
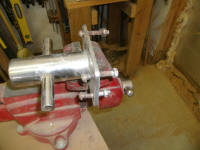
The forward mooring bitt had been pulled right through
the deck during recovery efforts following the sinking,
according to the previous owner. The old fasteners
were still stuck through the fitting, and I had to cut
them off with a grinder. |
 |
Way back when, I'd repaired the damaged foredeck,
filling the ragged fastener holes with solid fiberglass
and patching over both inside and outside; I wanted to
install the fitting in the same place, and with the
fasteners through the plugs of solid fiberglass.
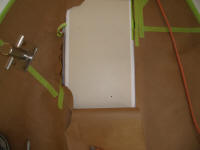
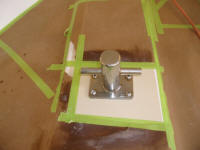
I'd meant to mark the locations of the old holes on the
deck before painting, but in the flurry of activity
surrounding that job it went by the wayside. But I
could still make out the general location of the patched
holes from the inside. So after more or less
guessing where the centers of those areas were, I
drilled a small pilot hole up from beneath, giving me a
register on the top side to locate the bitt from there. |
 |
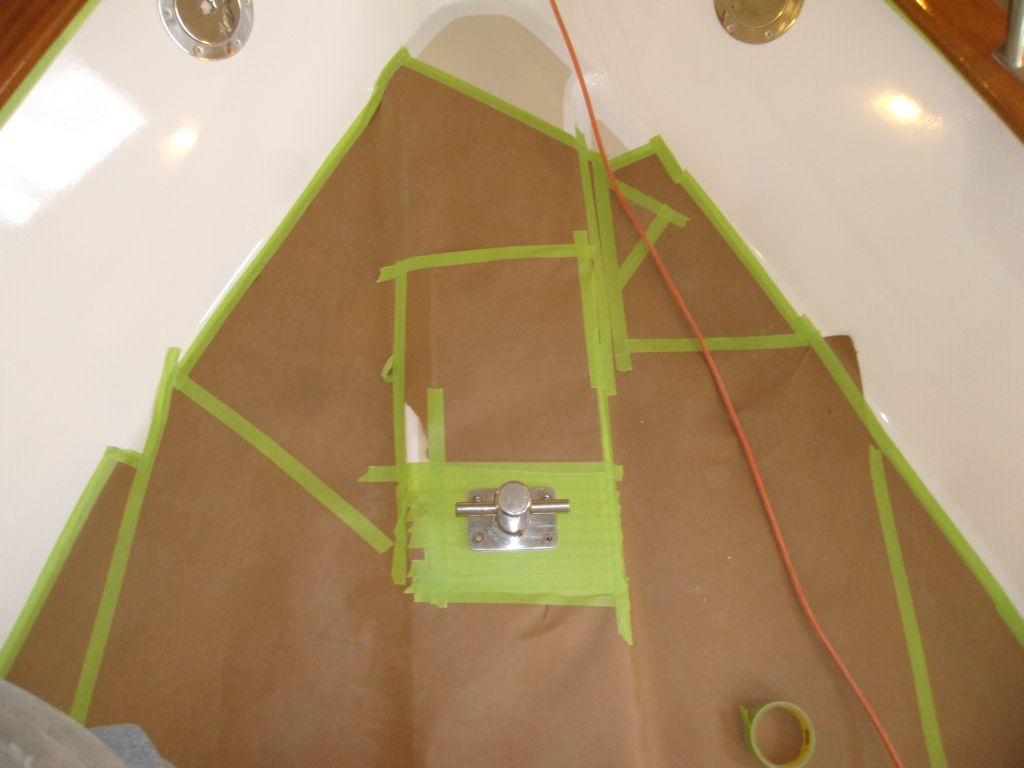
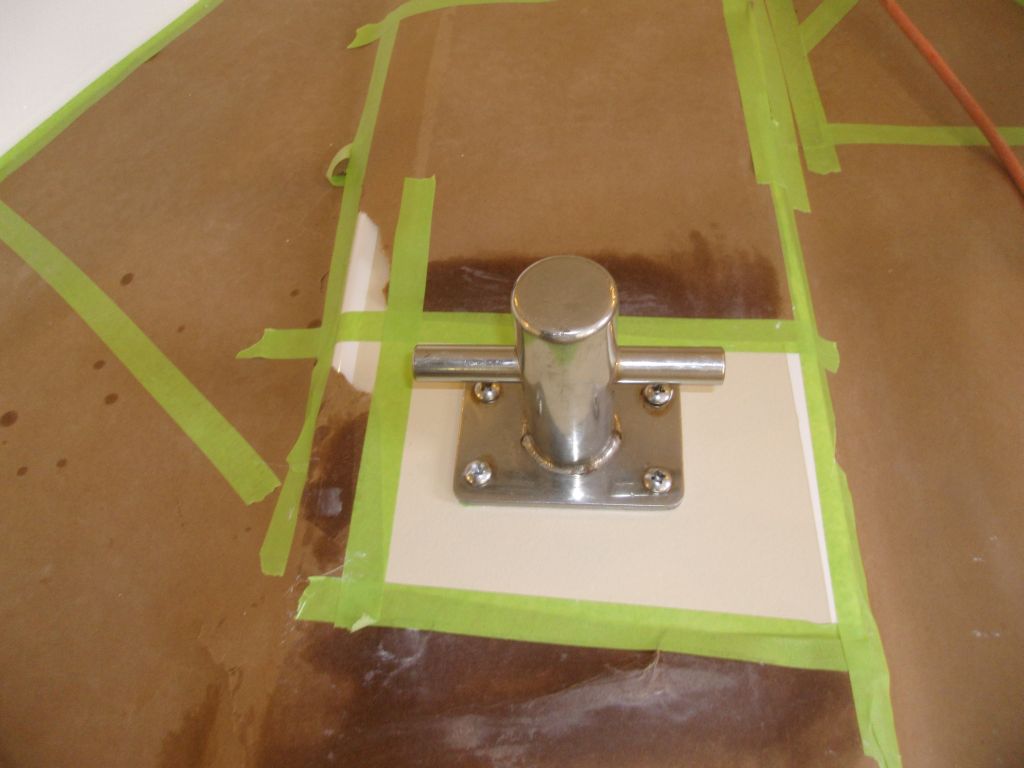
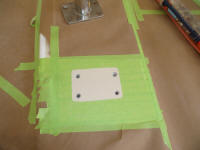
The drill spoils were shredded G-10, so the hole was
clearly in the right spot. I aligned the
bitt according to this hole, and masked around it.
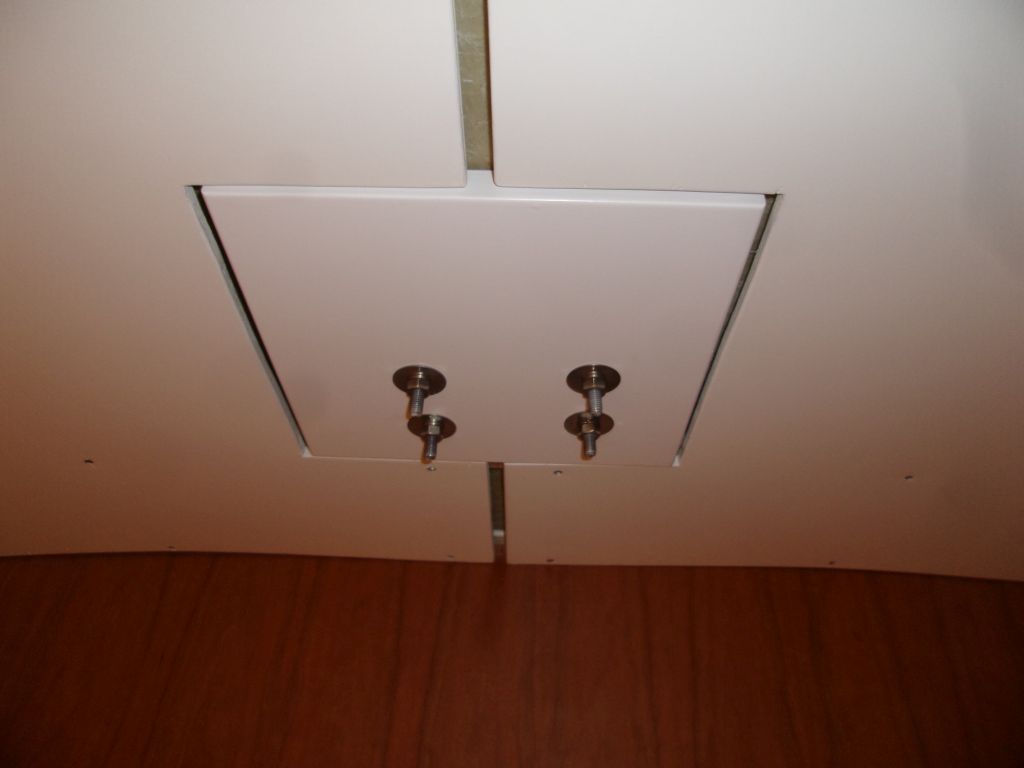
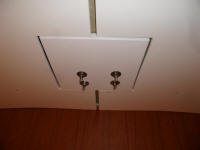
Belowdecks, I stuck my fiberglass backing plate (12" x
12" x 3/4") in place with hot glue, just to hold it
(dedicated readers will remember that I planned a space
for this when installing the headliner in the forward
cabin), then drilled and tapped my fastener holes from
above, through the deck and the backing plate too.
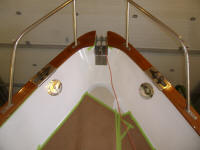
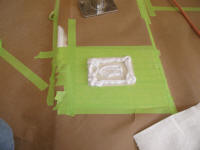
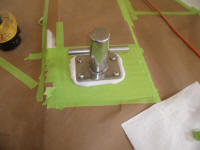
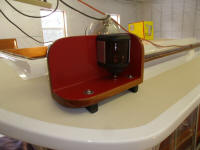
Then I installed the bitt with sealant and new
fasteners; I'd cut off the excess fastener length next
time I had the grinder in the boat, and, sometime, I'd
trim around the backing plate when I did the rest of the
overhead trim. |

 |
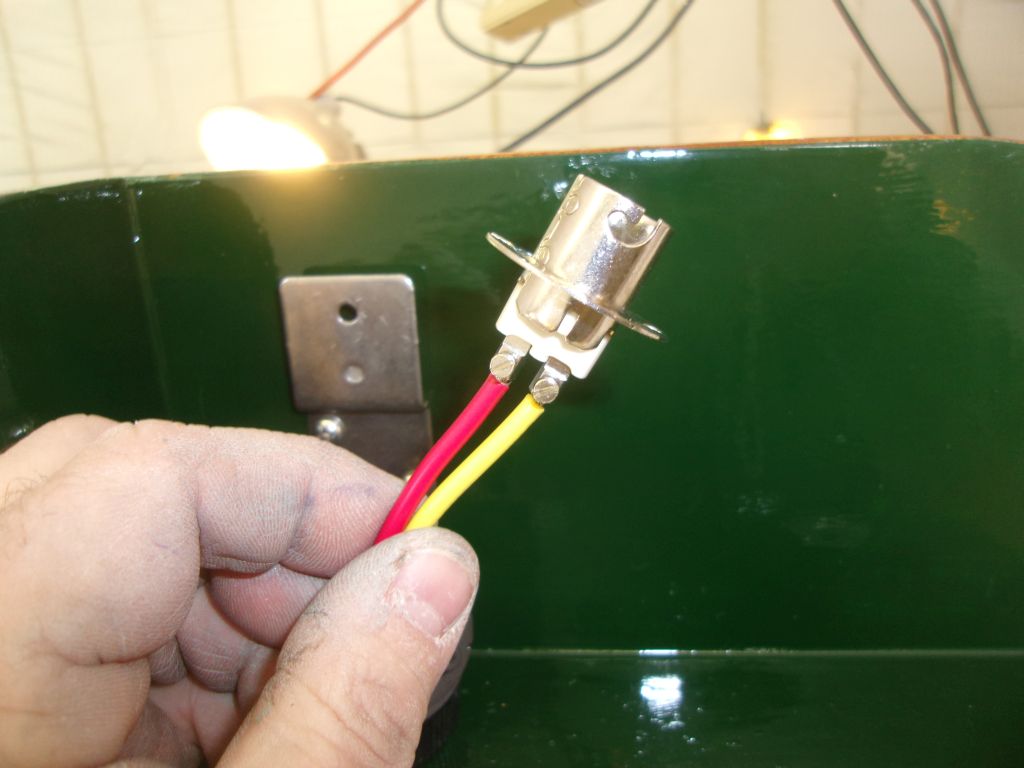
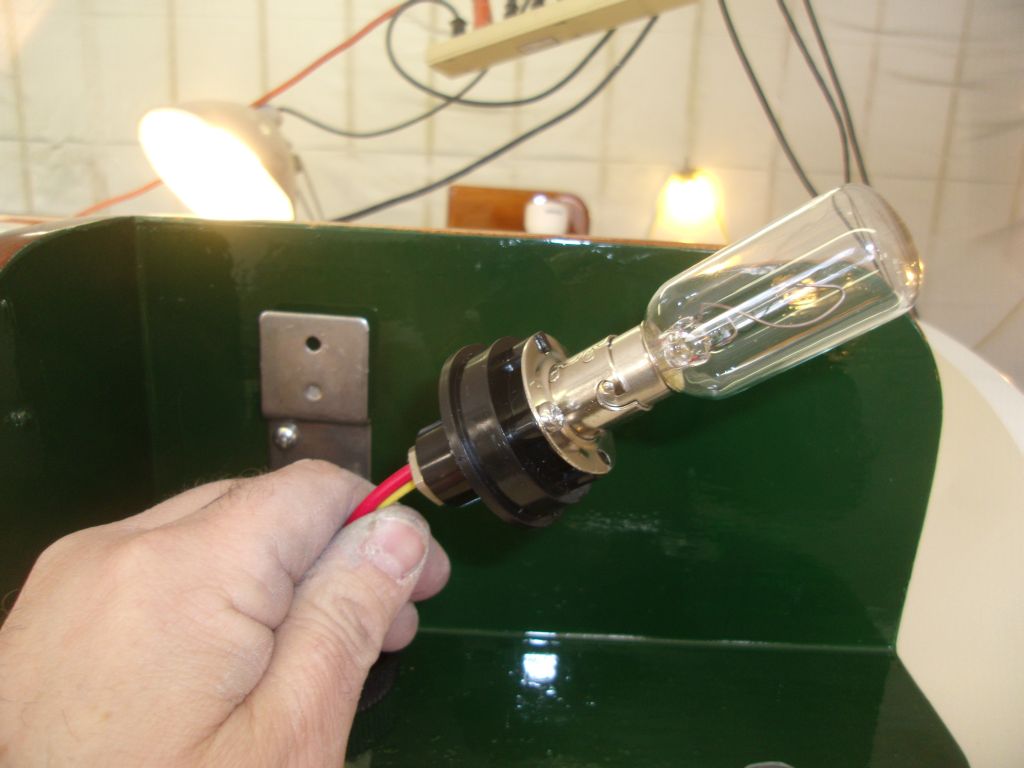
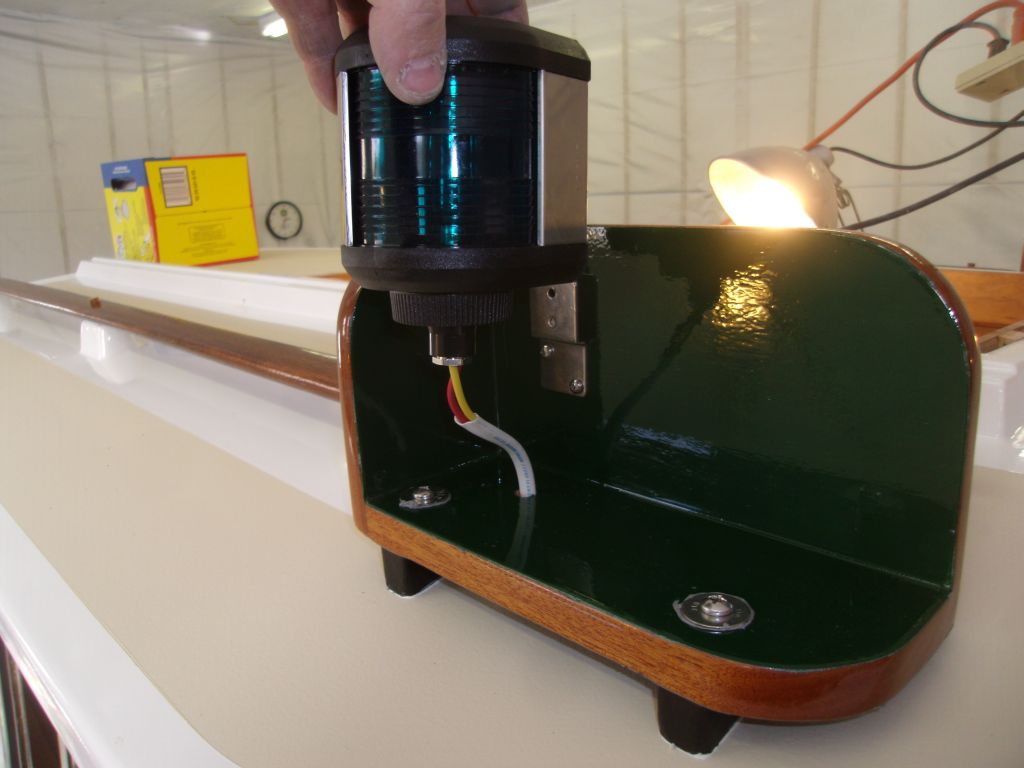
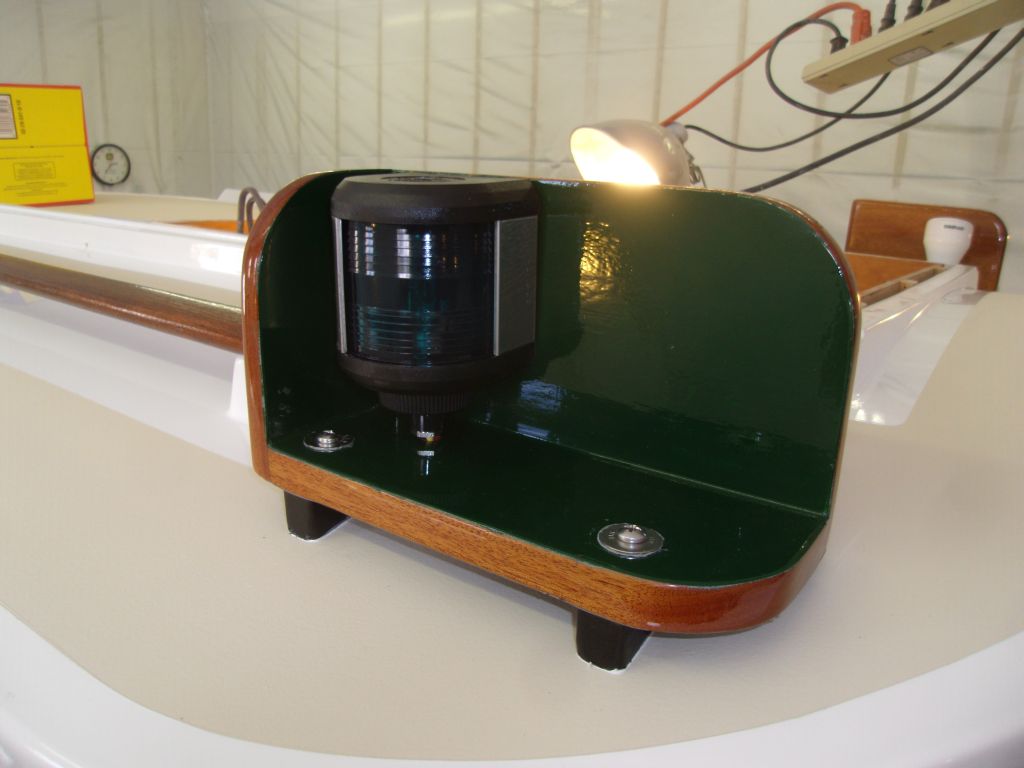
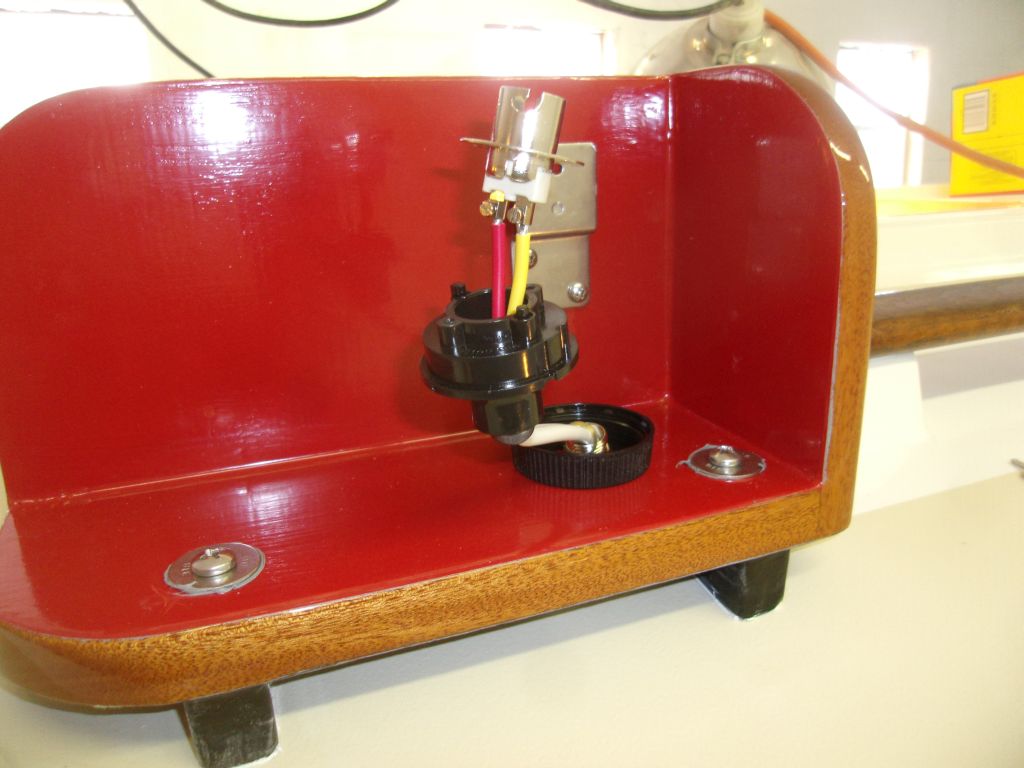
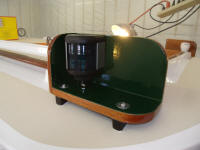
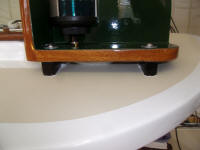
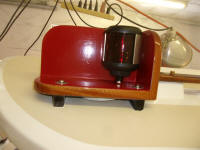
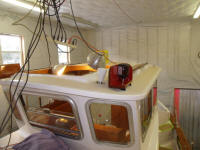
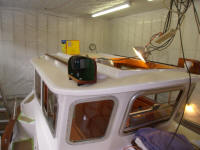
Next I turned to the final running light installation. |


 |
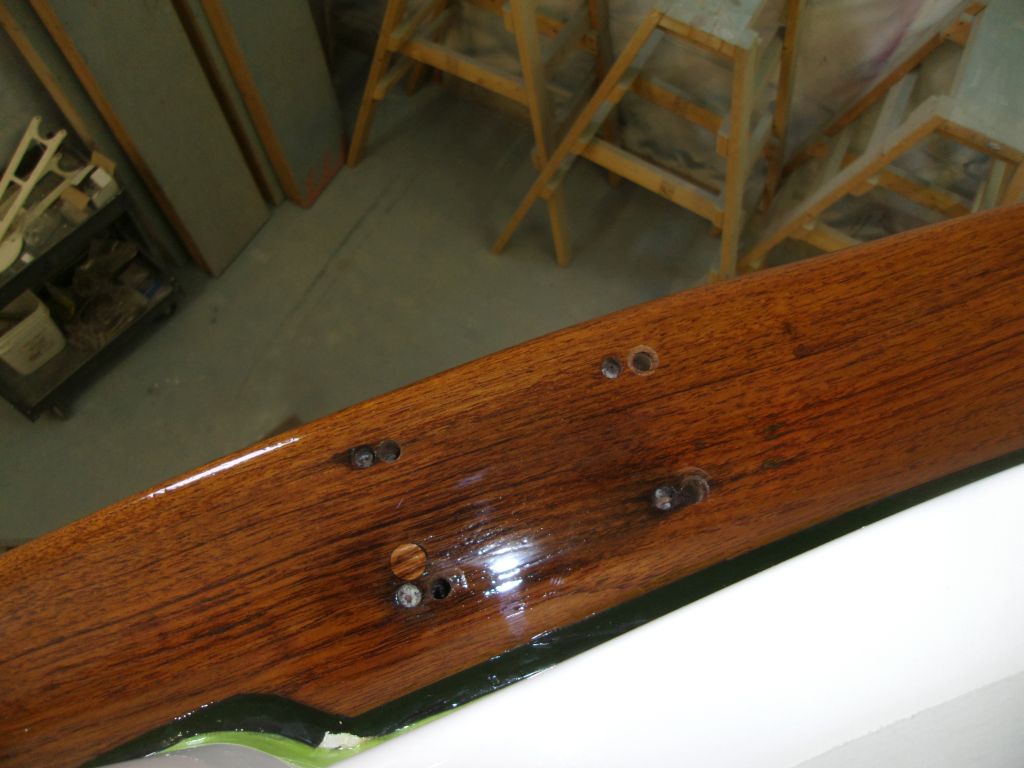
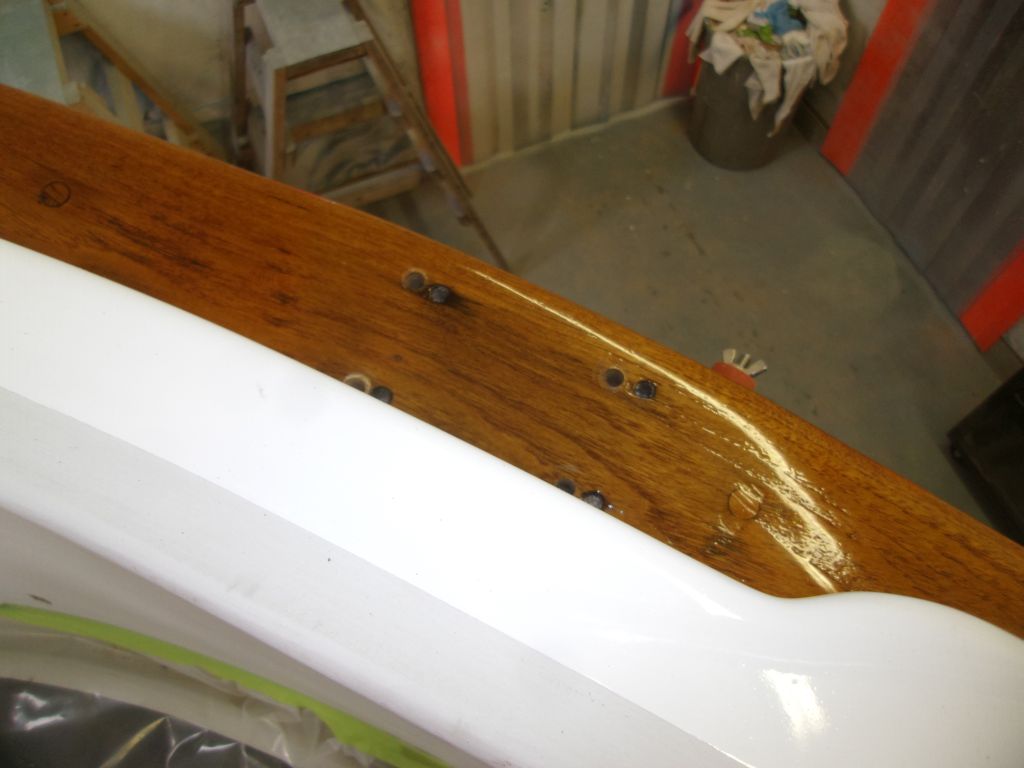
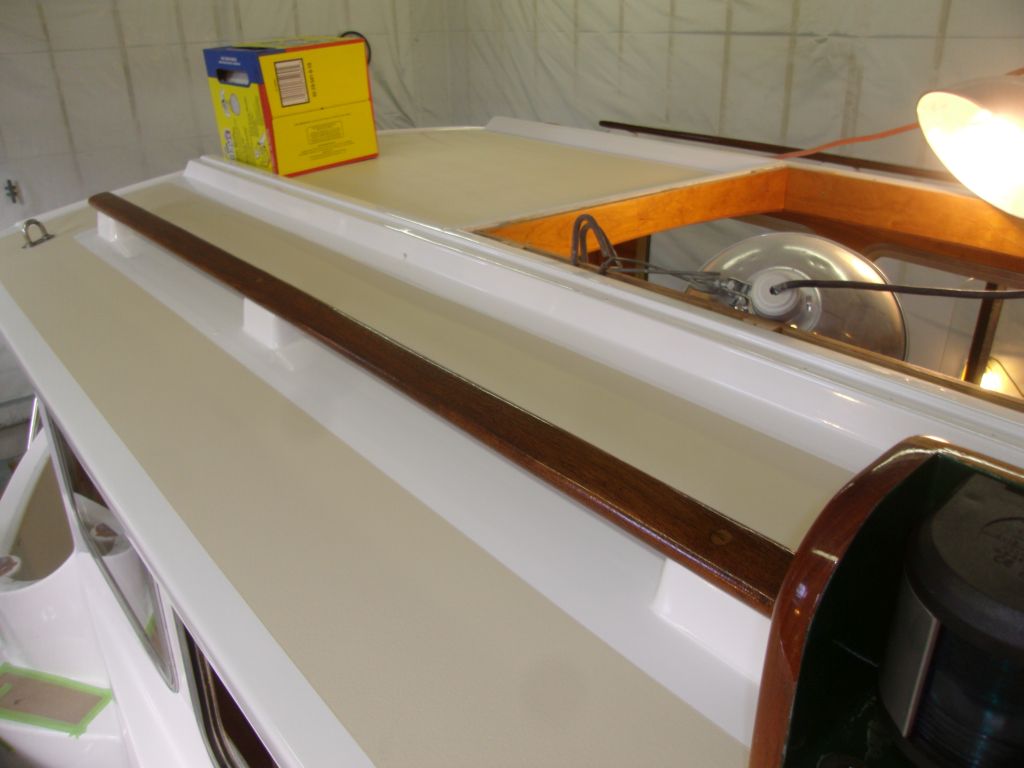
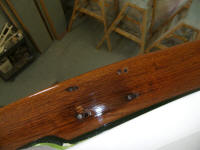
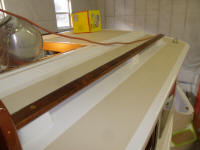
Finally, I chiseled away the excess bungs from the
handrails and varnished the raw wood. I'd continue
varnish work here and elsewhere soon. |
 |
| |
Total Time Today: 5 hours
|
<
Previous | Next > |
|
|