Project Log: Sunday, March 23, 2014
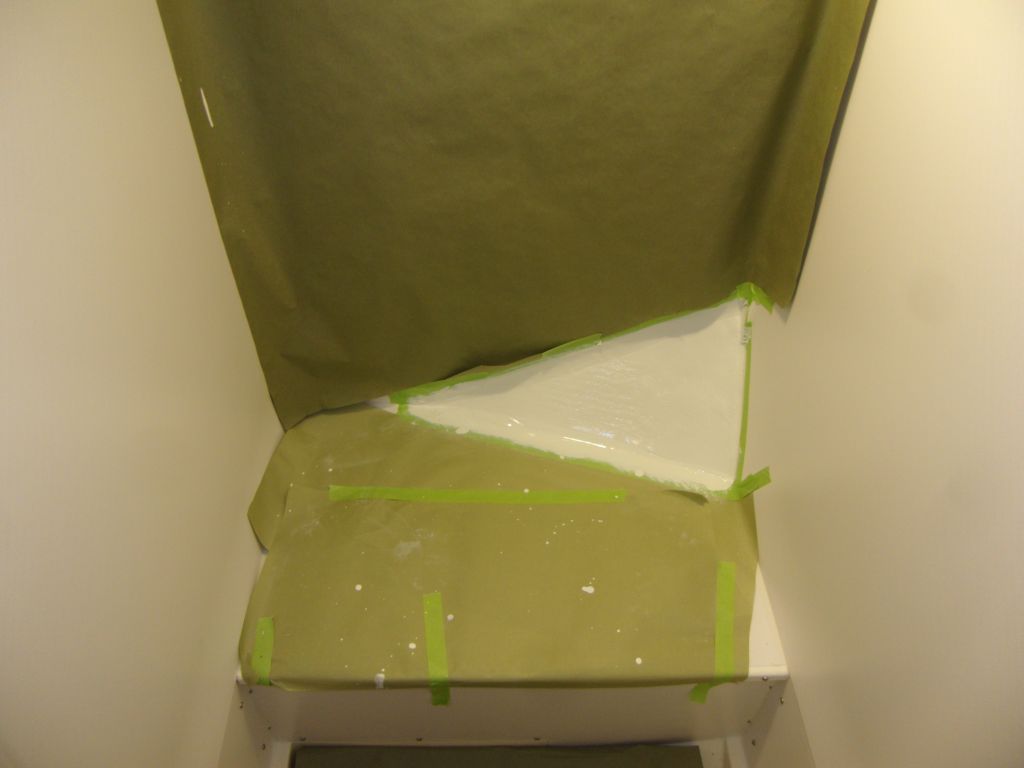
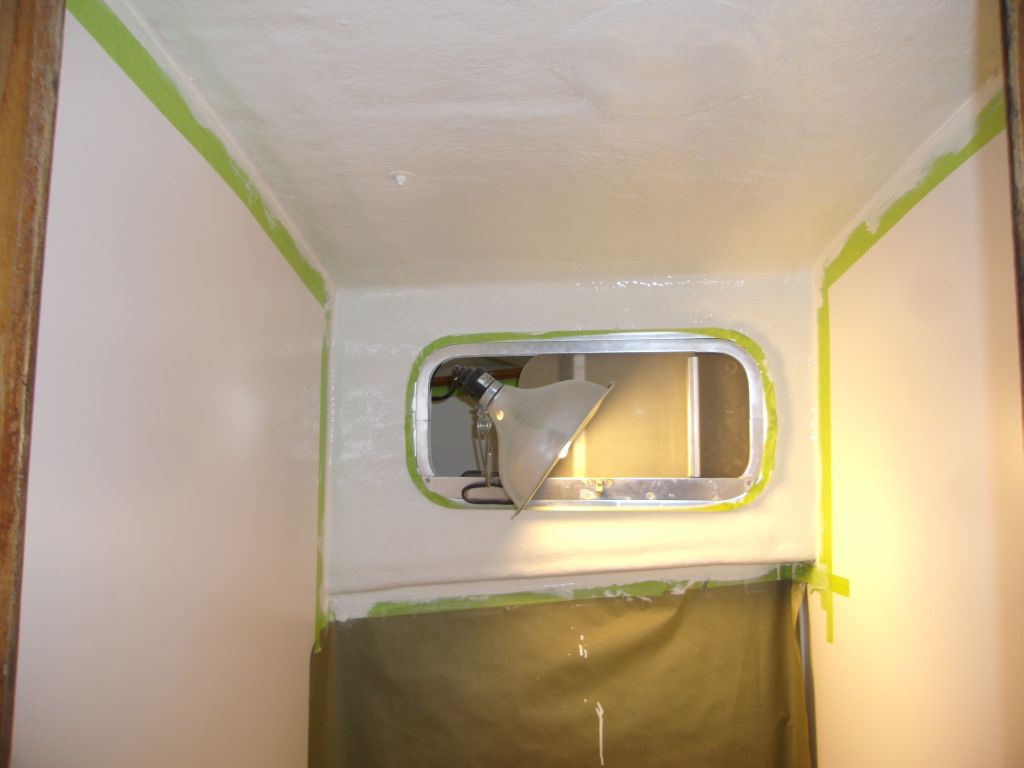
First off: another coat of paint in the head.
|
 |
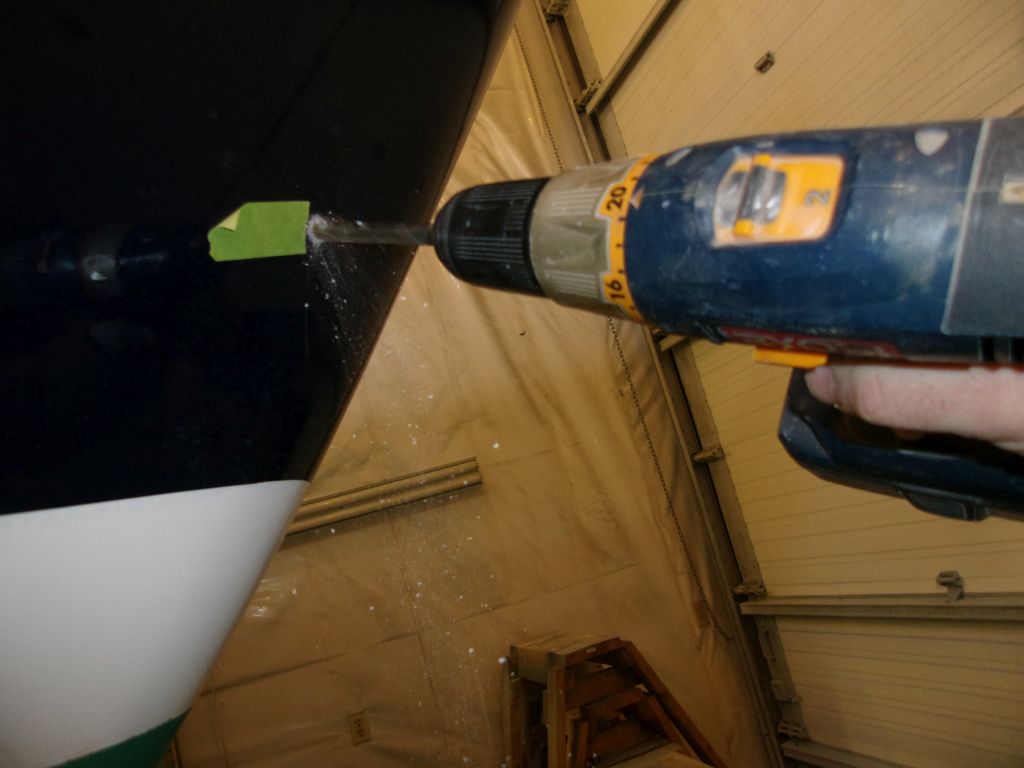
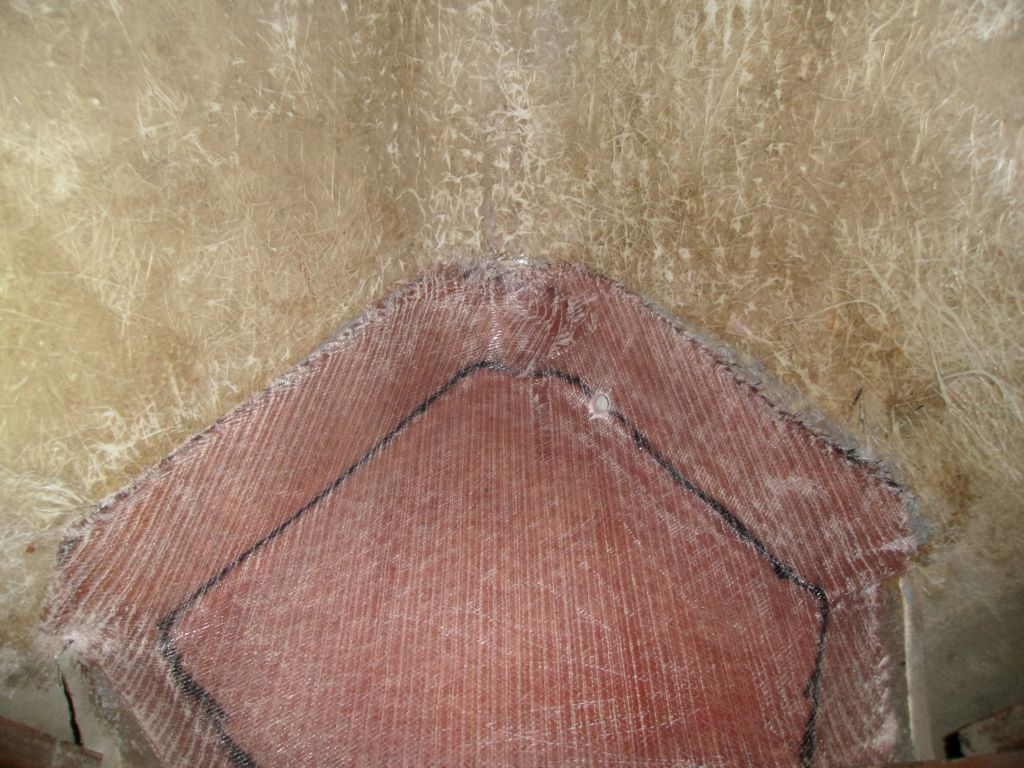
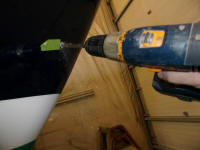
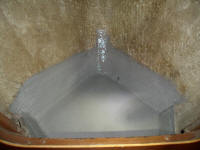
I lightly sanded the new fiberglass in the chainlocker,
then, from outside, redrilled the drain hole with a 3/8"
bit. |
 |
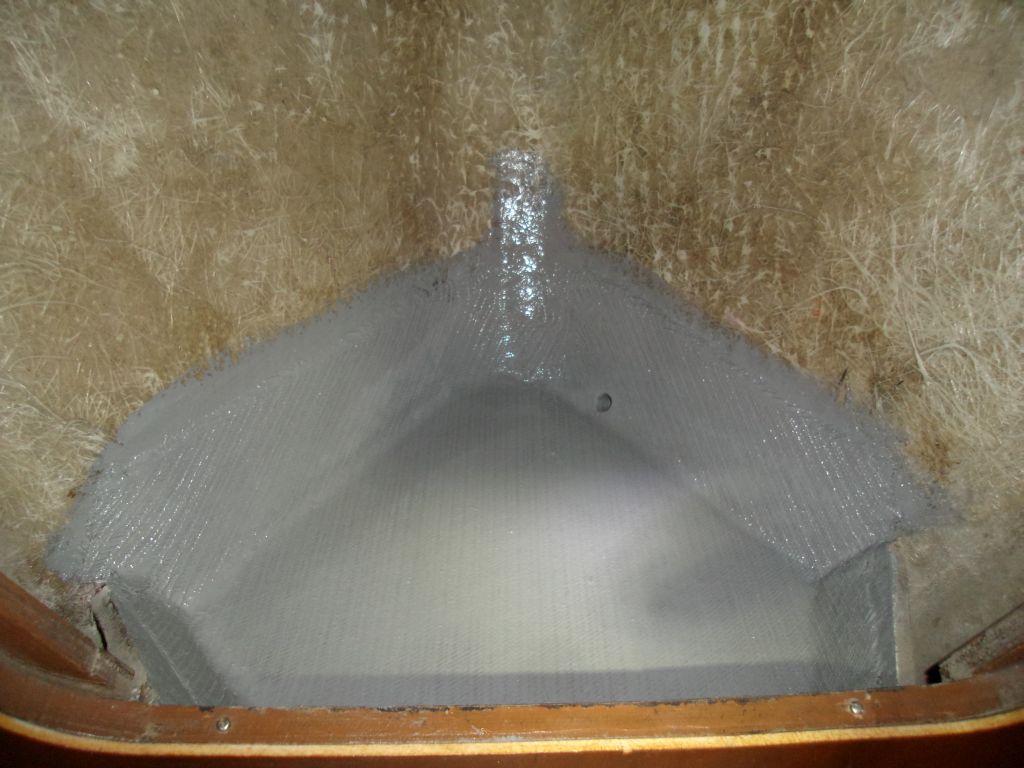
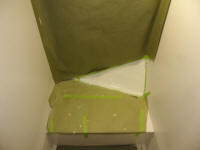
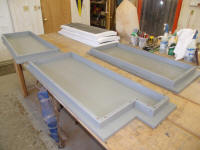
I coated the new platform (and inside the drain hole)
with epoxy-based gray primer so that I could get on with
painting the entire chain locker sooner than later
without worries of epoxy cure time and incompatibility
with one-part paints. |
 |
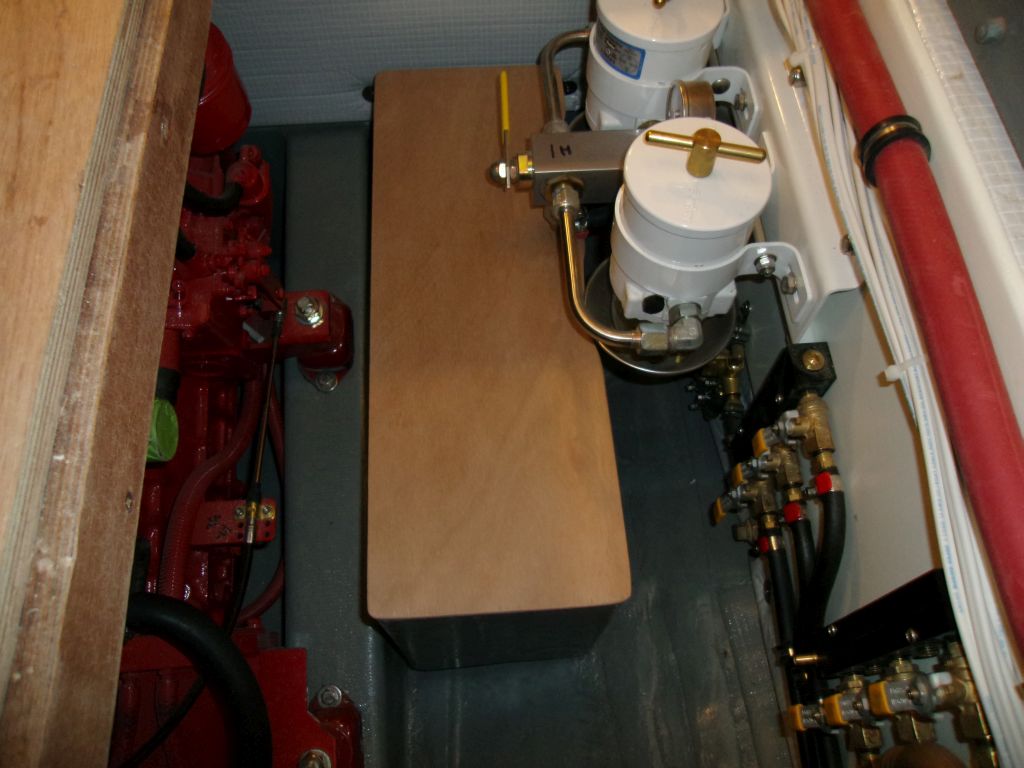
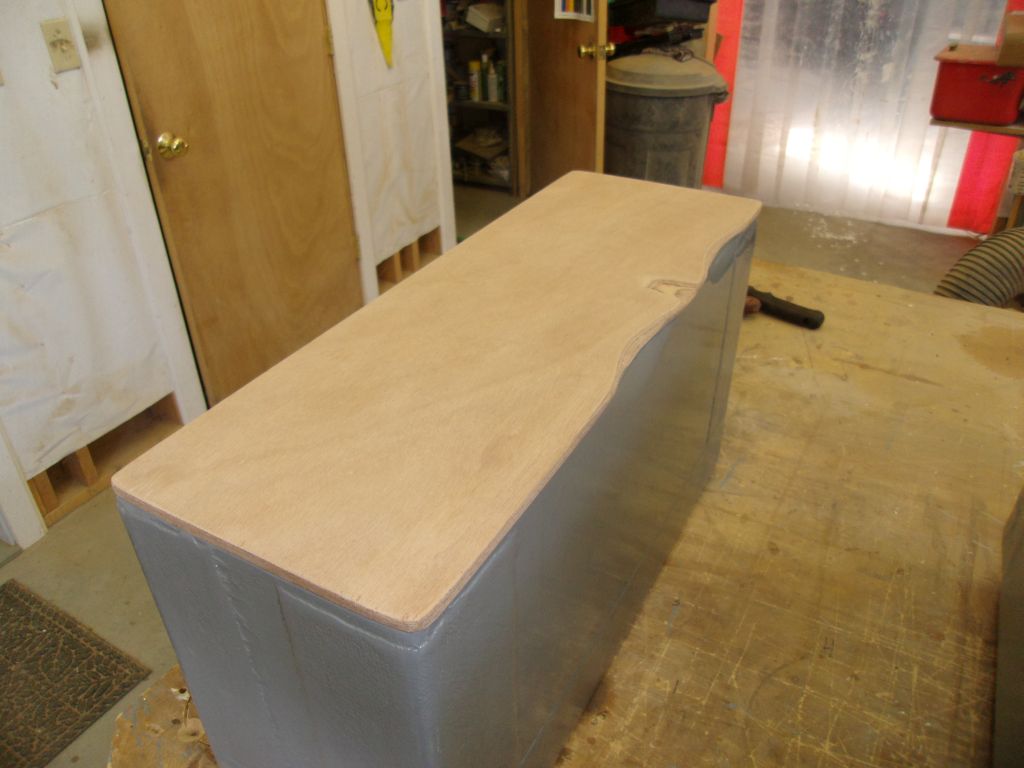
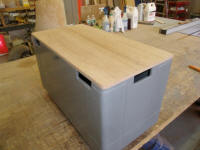
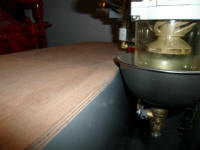
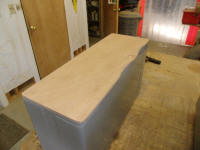
I rounded the corners of the battery box tops, and eased
some arcs into the smaller box's cover in way of the
fuel filter bowls. |
 |
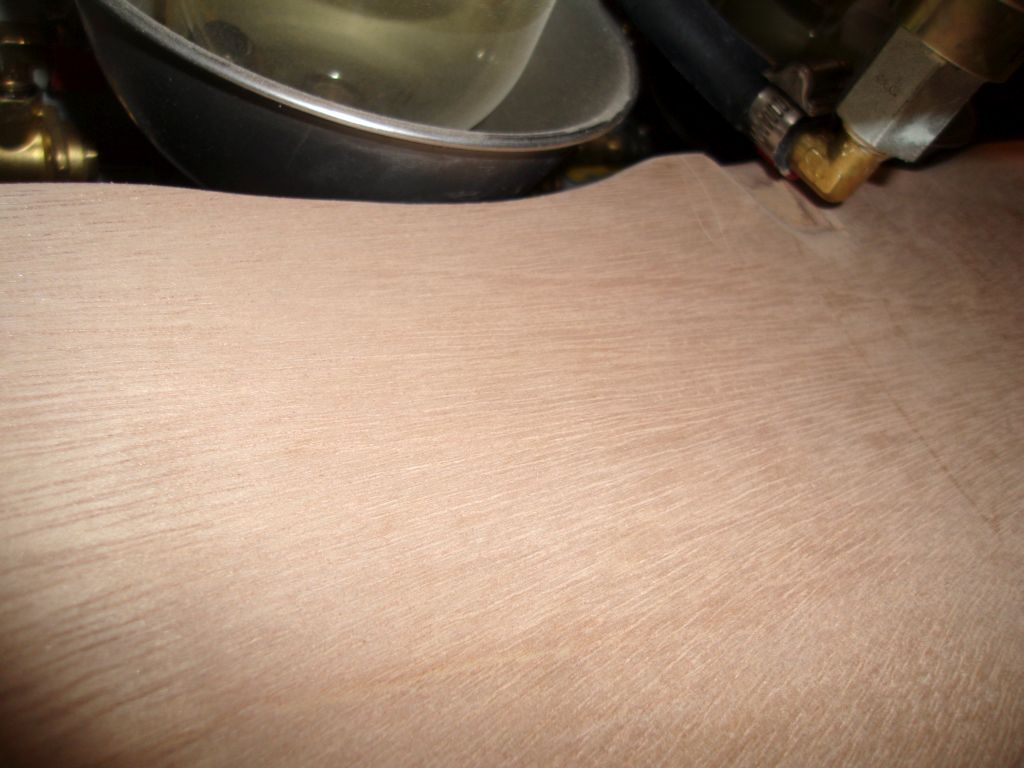
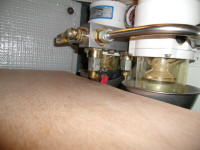
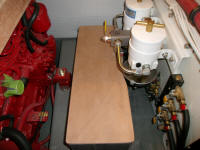
Because of the close fit of the smaller (starboard) box,
I checked the cover in the boat. While nothing
touched the filters or fuel line, I thought the
tolerances were a little close, so I brought the cover
back down to the shop for some minor reshaping. |
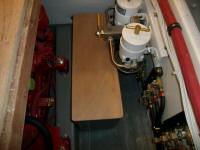
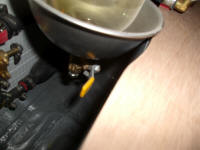 |
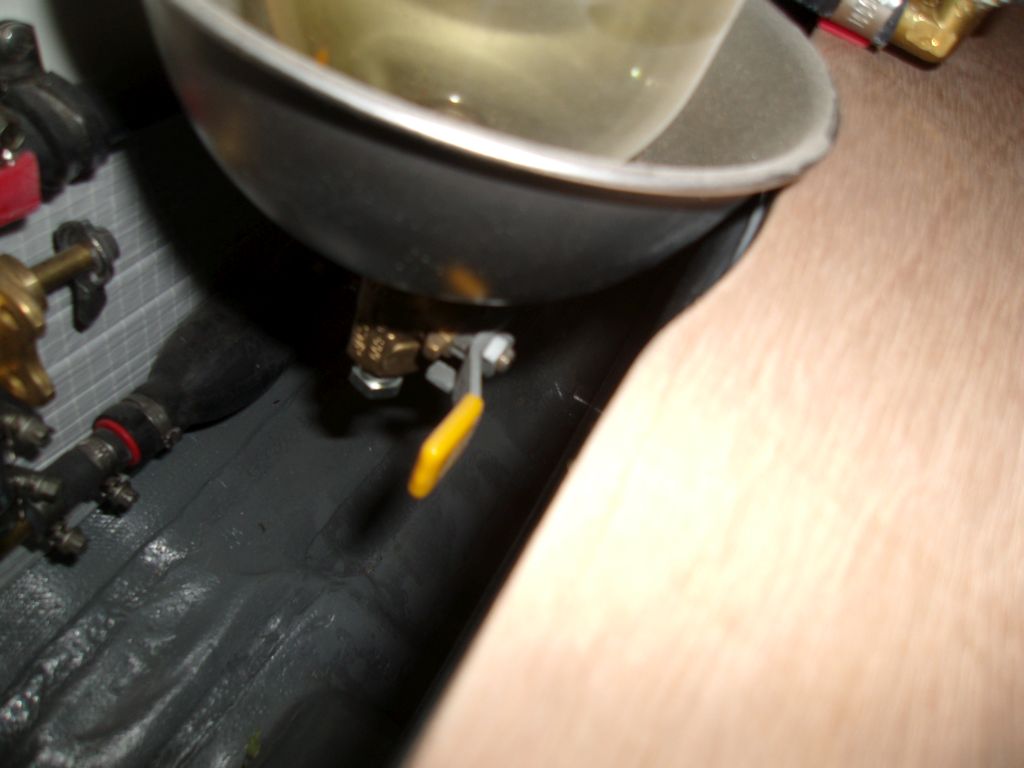
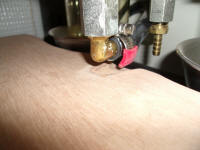
After enlarging slightly carved out areas around the
fuel filter bowls, and removing some material beneath
the fuel line running to the filter assembly, the fit
was better. |

 |
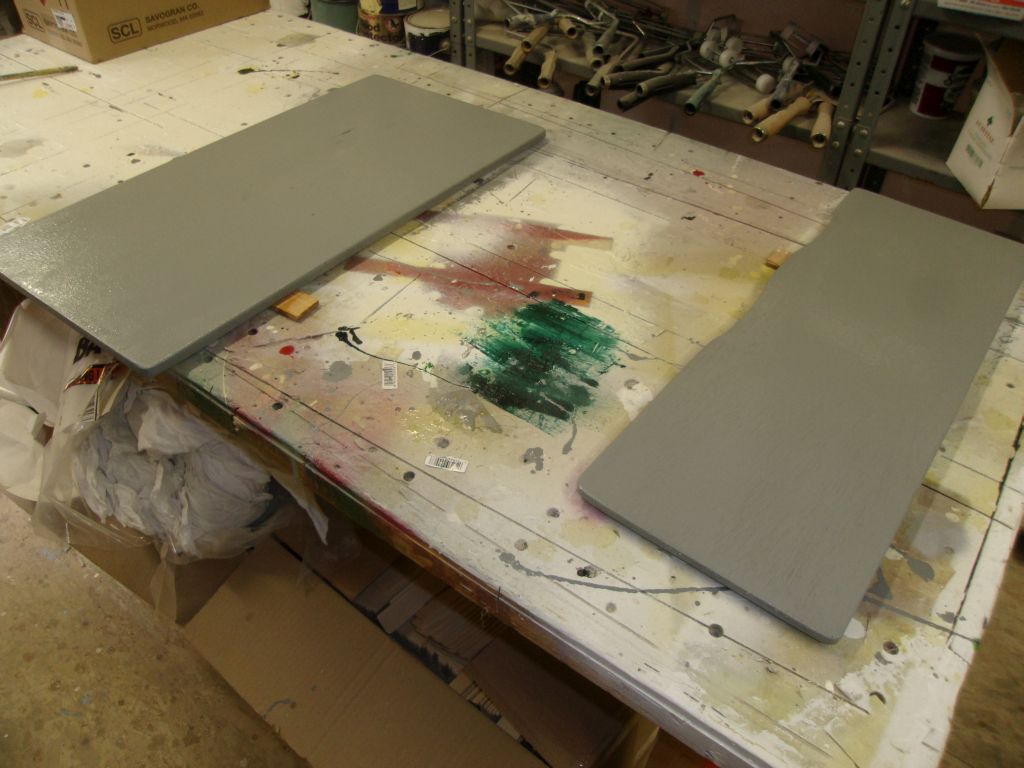
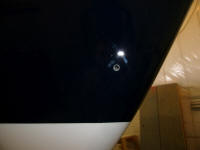
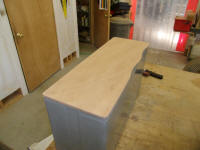
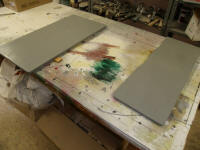
Finally, I painted the bottoms and edges of the battery
box tops. I planned to install Treadmaster, a
small supply of which I had leftover from some other
job, on the top sides of the boxes since I anticipated
walking on these boxes when working in the engine room
going forward. |
 |
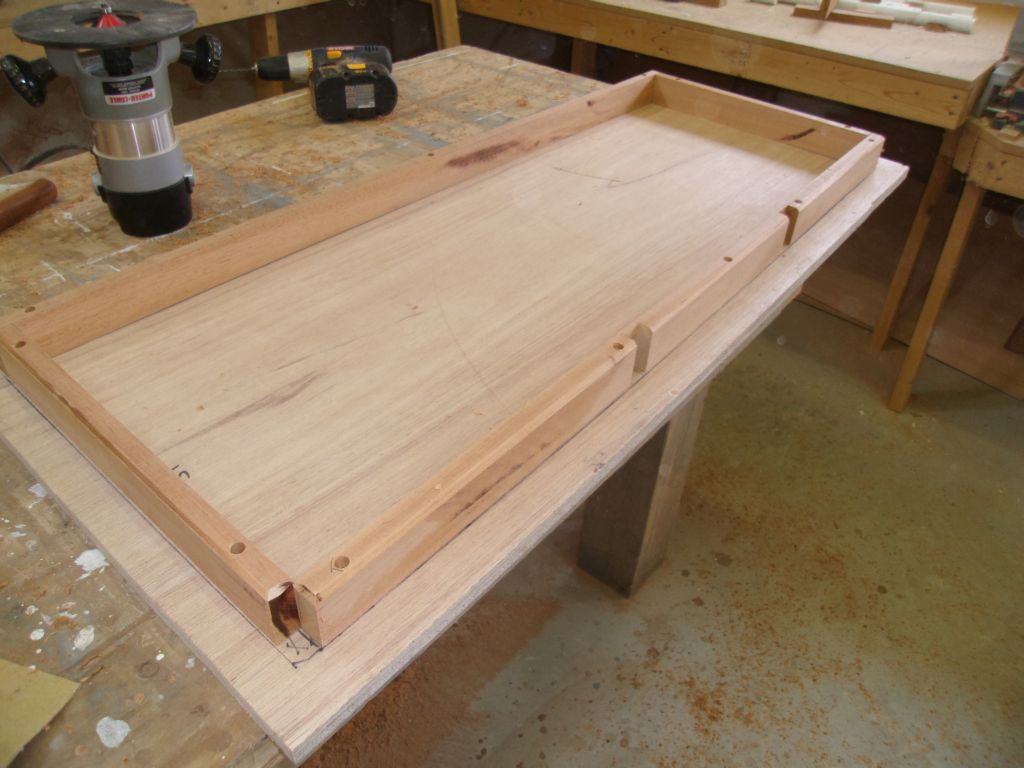
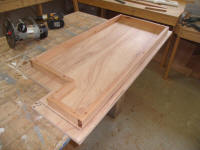
As I continued expunging items from the long work list,
I turned to the engine room hatches, and sound
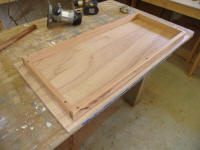
insulation thereof. Earlier, I'd marked the
boundaries of the support beams on the bottoms of these
panels, and to start the insulation process I milled
pieces of mahogany to use as a protective surround for
the insulation, then cut and fitted the pieces as needed
to the three hatches, securing them with screws.
On the two outboard hatches, I had to relieve the rails
in several areas to clear some protruding bolt heads on
the support beams, which locations I'd marked when I
traced out the support beams whenever I did that, some
time in the past. Though I kept the frames inside
the initial layout lines, I checked the fit of each
hatch in turn to make sure they fit properly. I
chamfered the outside edges of the frames for appearance
and to prevent corner damage or splintering. |
 |
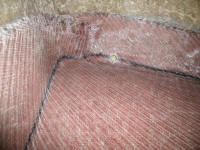
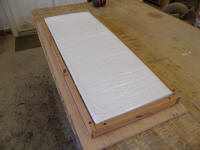
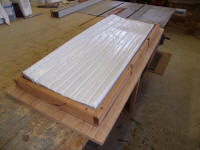
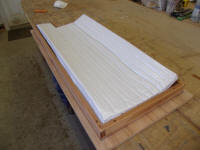
From more of the same 2" thick sound insulation that I
used elsewhere in the engine room, I cut the sections
required for the three hatches, and covered the cut
edges with mylar tape. I loose-fitted them in
their hatches; the curvature in the insulation, which
had been stored rolled, would flatten out once I secured
them in place within the frames. |
 |
I held off on installing the insulation for now, as I
first wanted to paint the undersides of the hatches. |
 |
| |
Total Time Today: 5 hours
|
<
Previous | Next > |