Project Log: Friday, March 28, 2014
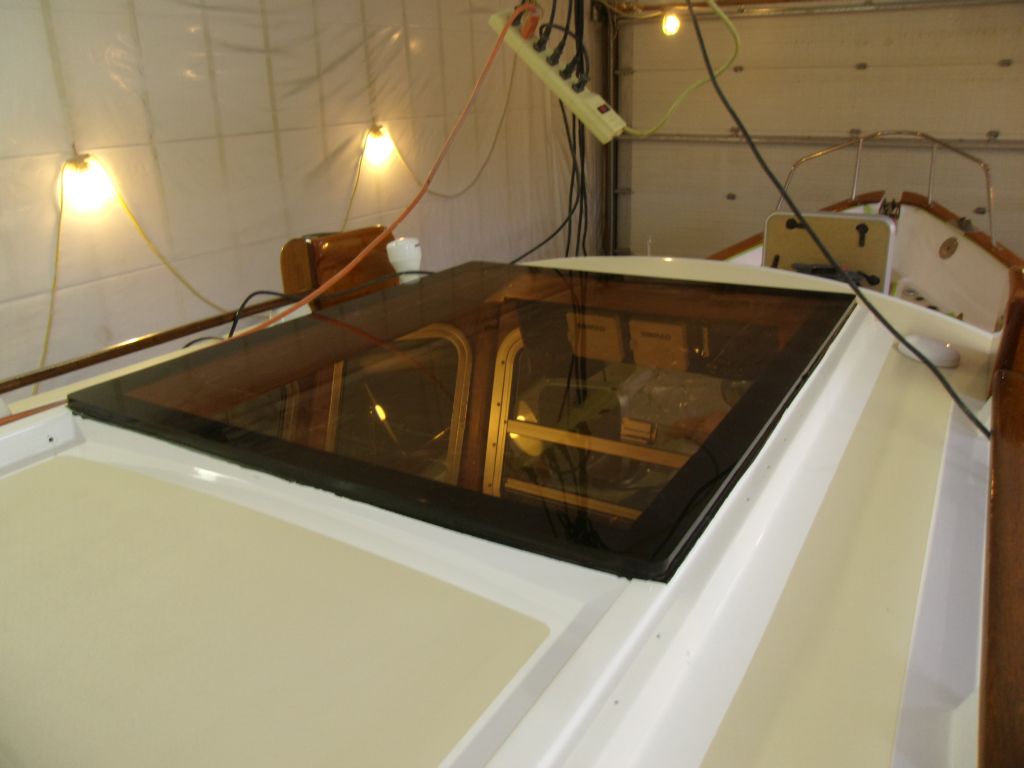
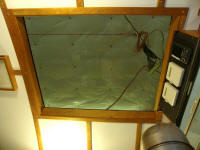
The day's main focus was to be the installation of the
large acrylic panel to close off the overhead hatch in
the pilothouse. For this installation, I followed
the instructions provided by Sika, the manufacturer of
the adhesive sealant I chose to use for the
installation. I'd never used this particular
product before, nor had I installed such a large panel
in this way.
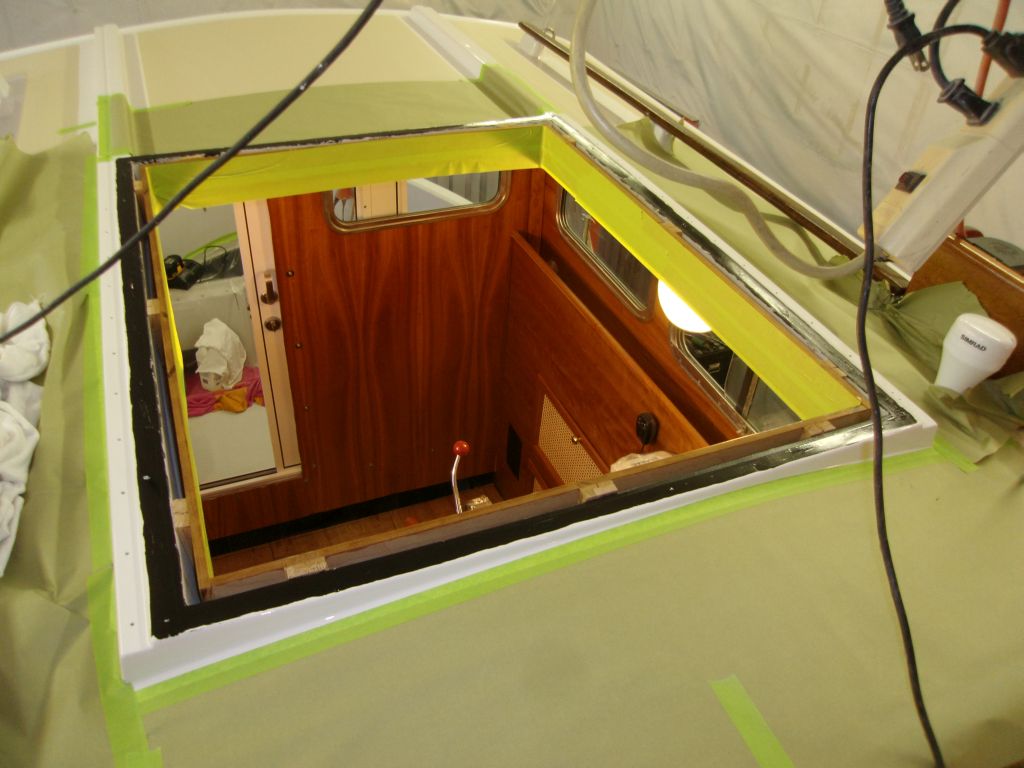
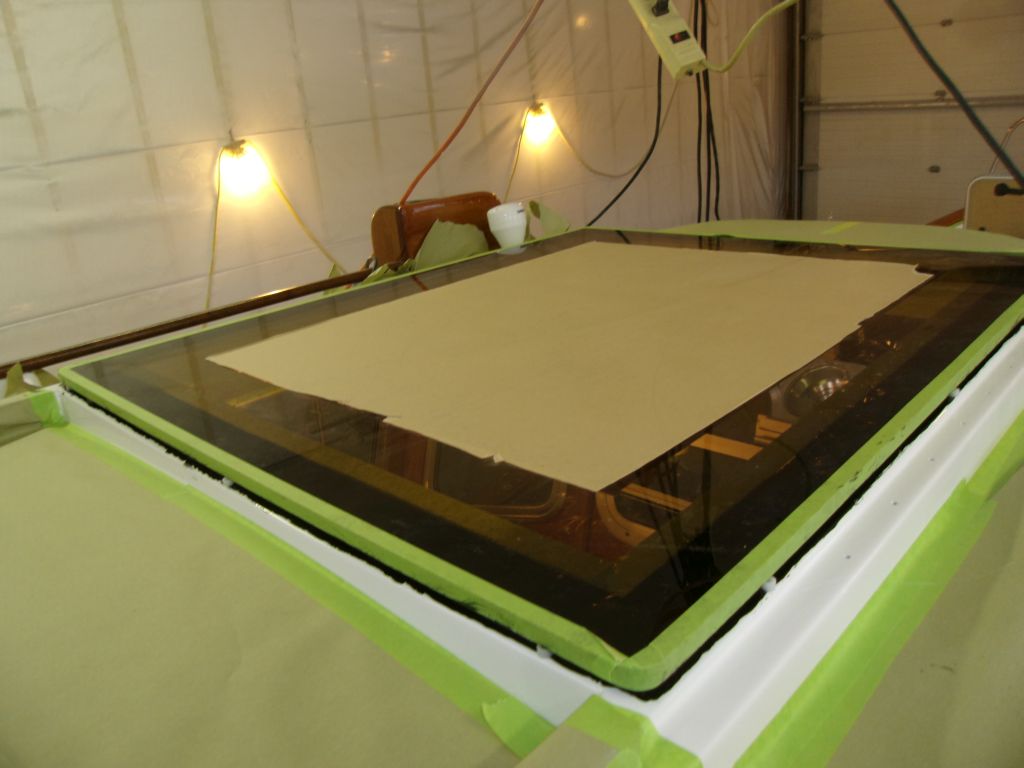
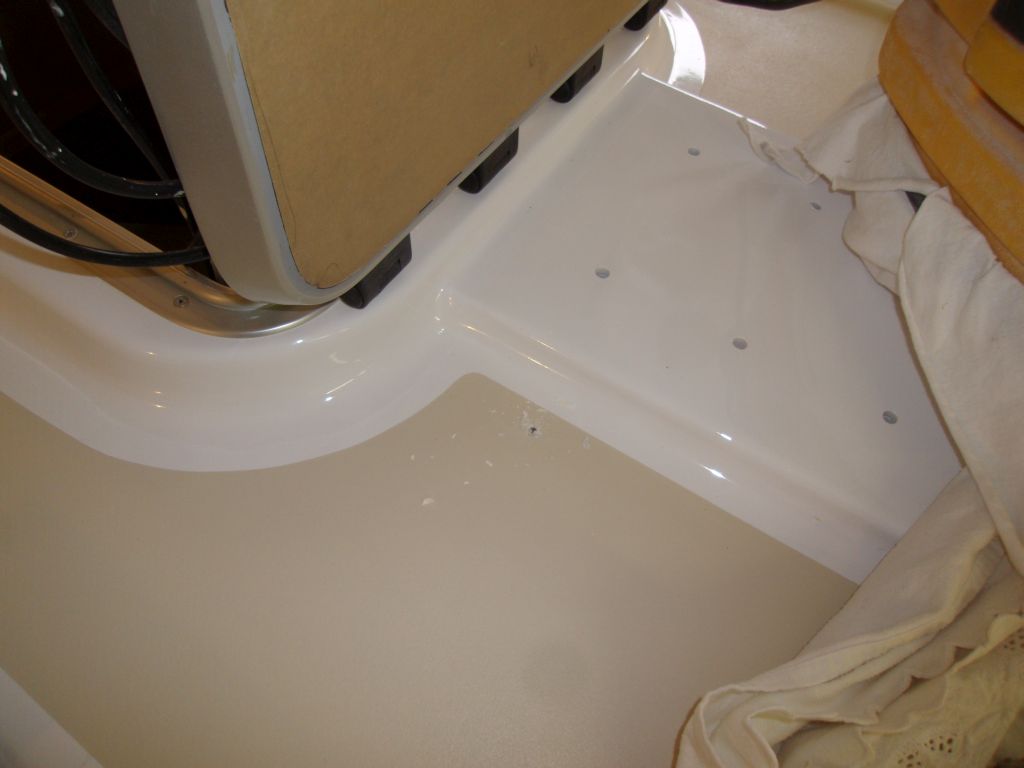
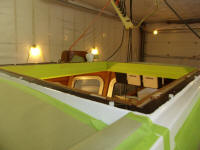
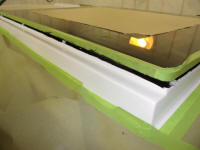
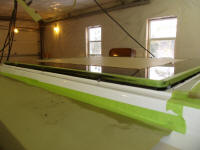
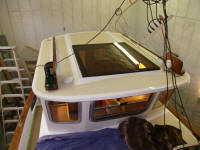
I began with basic preparations up on deck, where I
masked off the decks around the opening, mainly to
protect the nonskid from stray handprints or sealant.
With hindsight, I should have masked right off to the
actual bonding surface around the hatch opening; this
would have been useful in applying the Sika 209 primer
later in the process, as it turned out. As it was,
I only masked this area much later in the process.
Masking complete, I lightly sanded the bonding surface,
as directed, then cleaned it thoroughly with solvent.
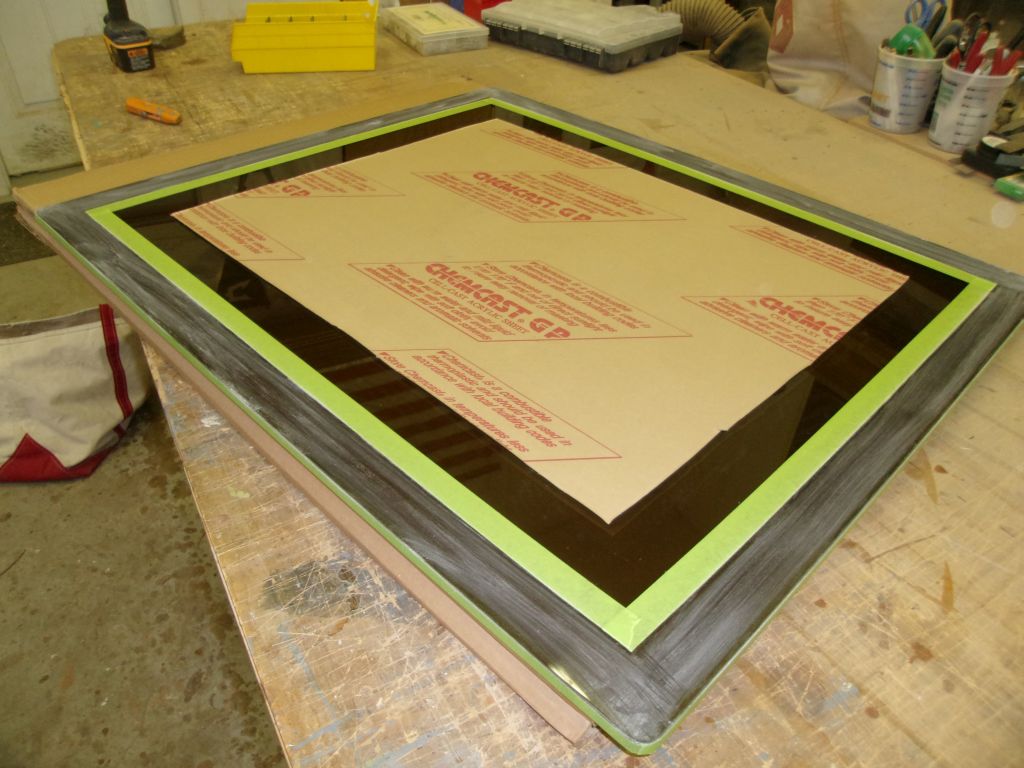
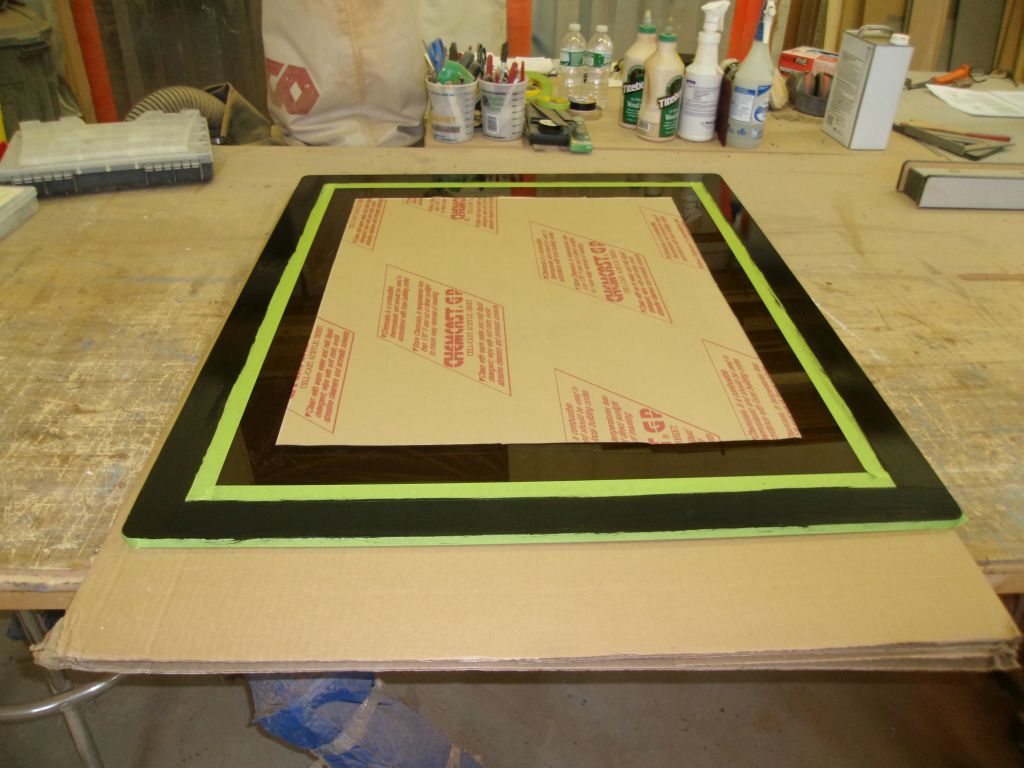
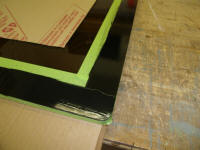
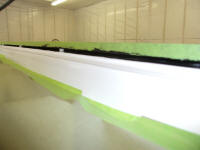
Meanwhile, I masked off a 2" wide perimeter band on the
bottom of the acrylic panel (the bonding surface), and
lightly sanded the plastic, again as directed, before
cleaning with solvent. At this point, I started
wearing nitrile gloves to prevent any skin contamination
on the panel or the hatch bonding surface. I also
masked the smooth edge of the panel to protect it from
sealant.
|
 |
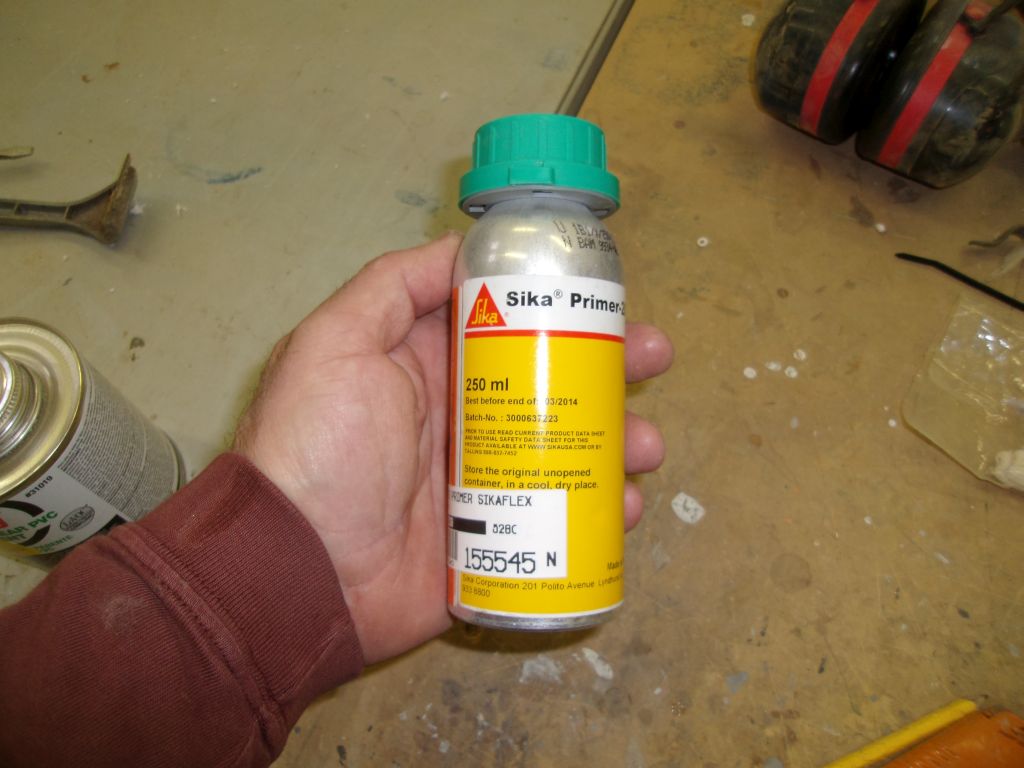
Next, I applied the Sika 209 primer to the bonding
surfaces, on both the hatch and the boat. This is
where I realized that masking closer to the actual edge
of the hatch bonding surface would have been helpful,
but this surface was slightly elevated from the
surrounding molding, and therefore, with care, I pressed
on and applied the primer without making too much of a
mess. But it would have been better to mask it
closer. I used only a small amount of the primer
container; the product would go bad soon so the rest
would be wasted, but the primer is supposed to provide a
tenacious bond between the acrylic and the 295-UV
adhesive sealant. |


 |
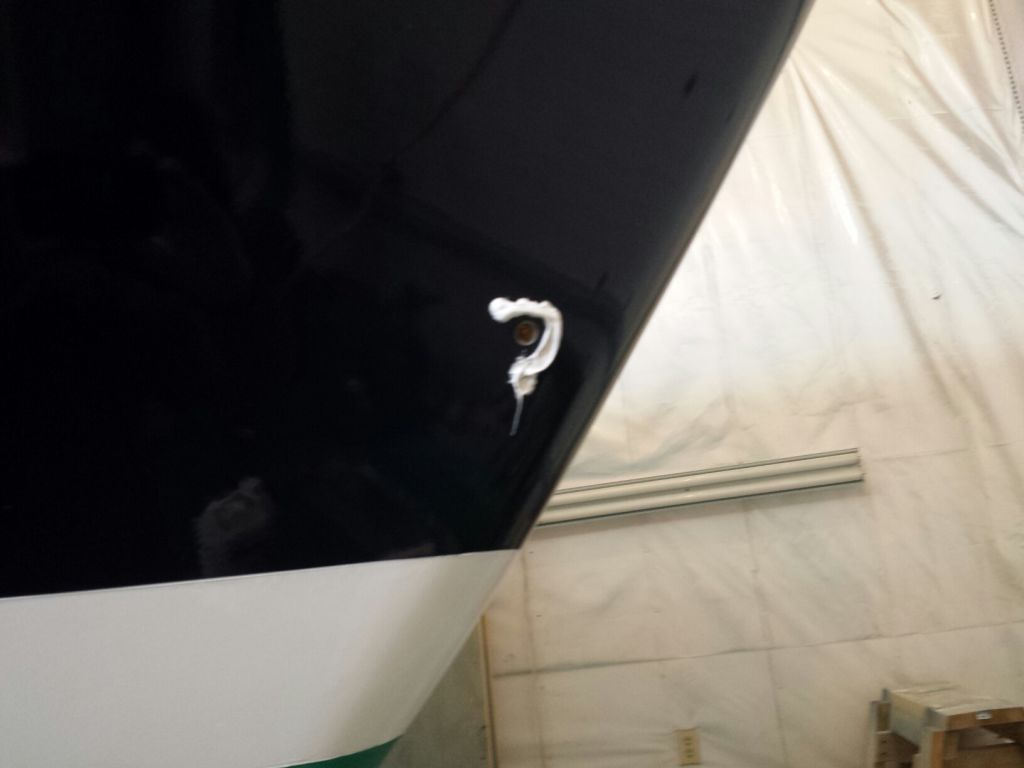
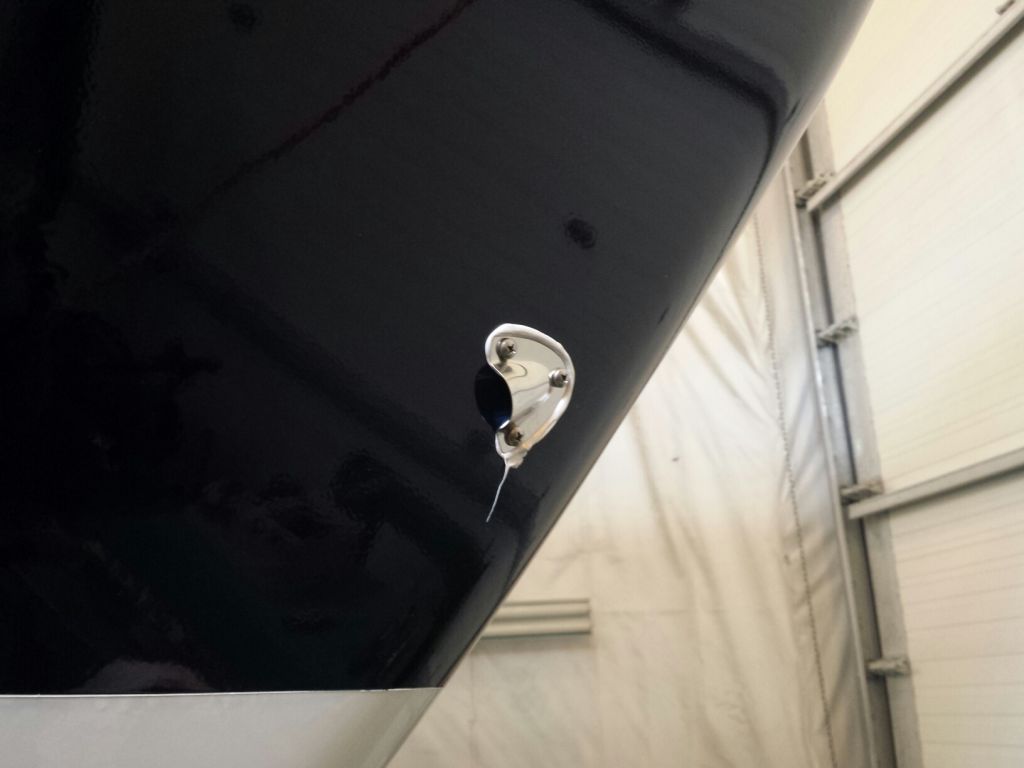
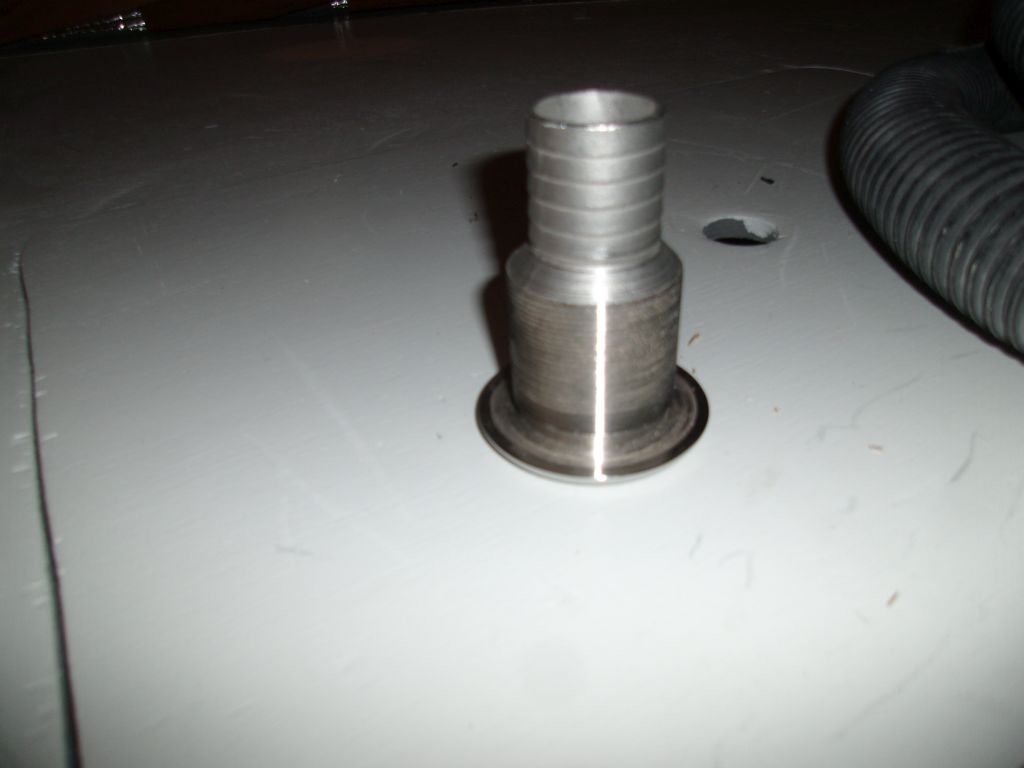
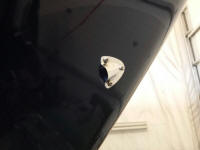
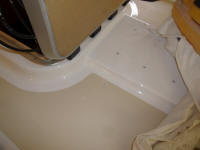
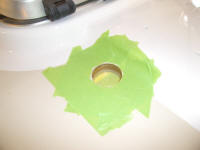
The primer had to sit for 30 minutes, so while I waited
for that I went ahead and installed a stainless
clamshell fitting over the chain locker drain hole,
securing it with machine screws in tapped holes, and
sealant. |


 |
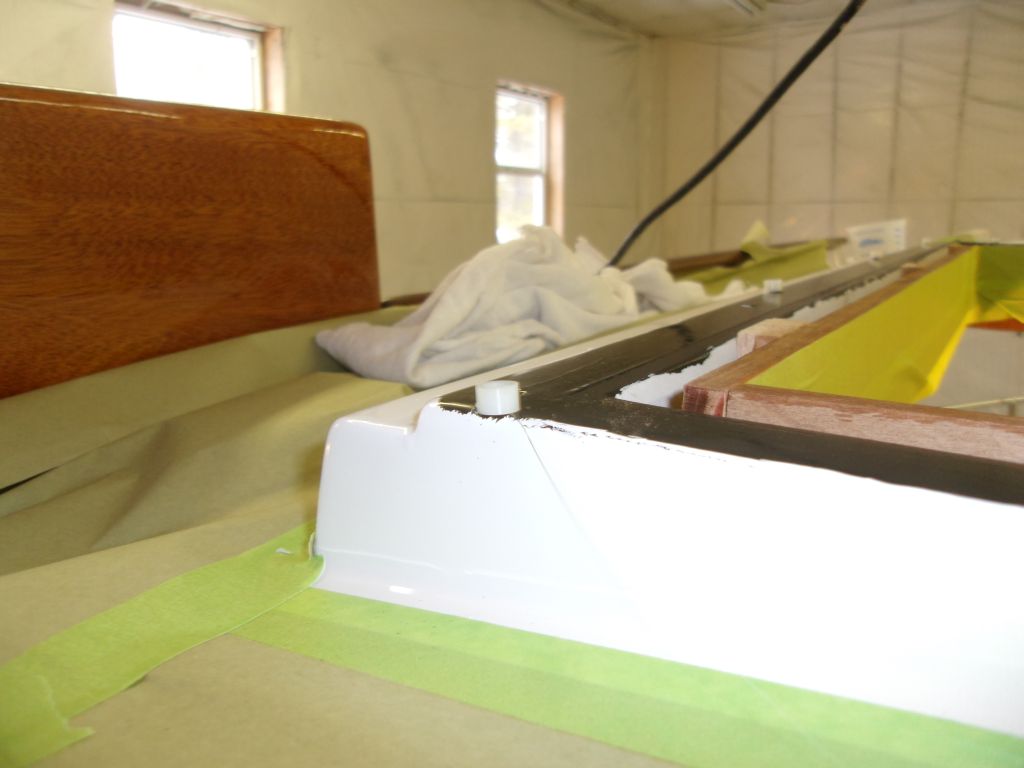
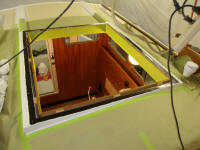
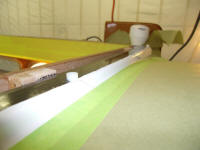
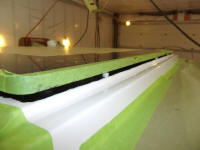
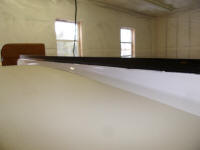
To avoid pressing all the adhesive sealant out of the
bonding seam when the panel was installed (a certain
thickness and elastic layer was required), the
instructions called for temporary 3/16" spacers to be
placed around the edges of the bonding area; I had
ordered some nylon spacers that would do the job.
Because of the size and unwieldiness of the panel, I was
concerned these spacers would move around while I
installed the panel, so I used tiny dabs of hot glue to
hold them in place right at the outer edge of the
bonding area, leaving room behind for the actual
adhesive sealant bead. I placed three spacers on
each side of the opening, or about 10-12" apart. I
didn't use any more than I thought necessary to hold the
plastic in the proper position. |

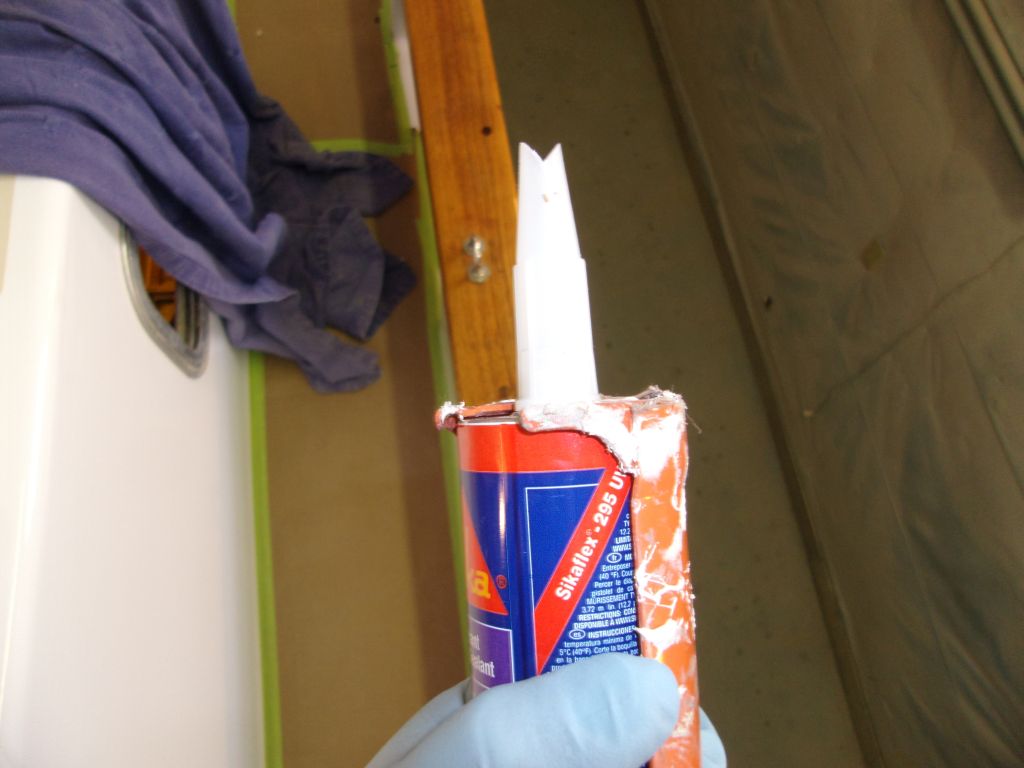
 |
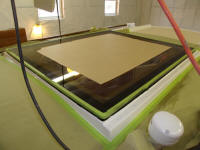
I cut a large upside down V-shape in the sealant tube,
and applied a heavy bead of the stuff inside of the
spacers. The actual surface to which the plastic
would be bonded was about 3/4" wide, a nice flat area
outboard of the wooden trim within the opening. So
between the plastic spacers and the inside edge of the
bonding strip, I had a nice 1/2" or wider area for the
adhesive sealant bead. I ensured the bead was
taller than the spacers. I used a full tube, plus
a little more. |

 |
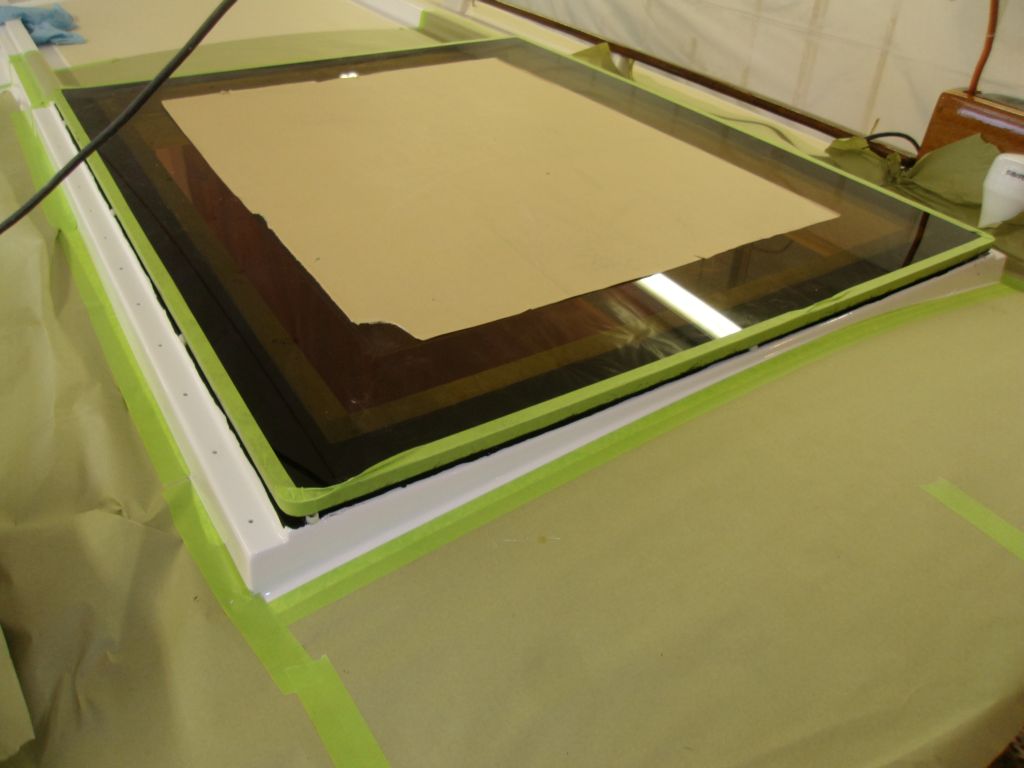
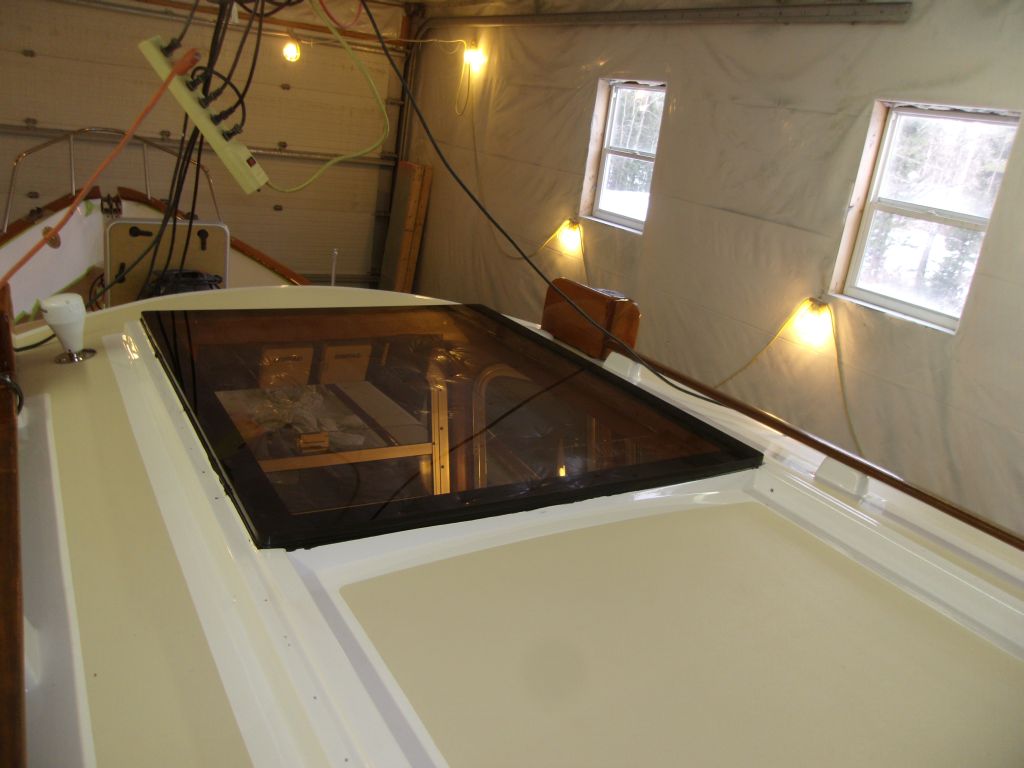
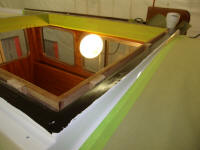
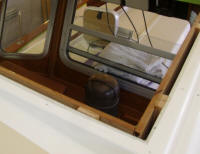
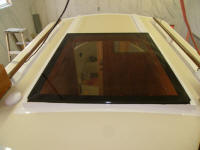
Next--and I could have used help here--I got the panel
in place over the opening, and somehow managed to get it
into position without making a mess or ruining the whole
installation. Good times.
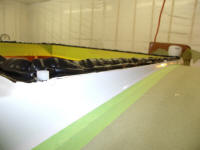
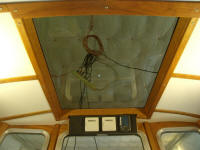
I pressed the panel into the sealant bead, till it
contacted the spacers, and left it alone to cure for a
few hours, as directed. |


 |
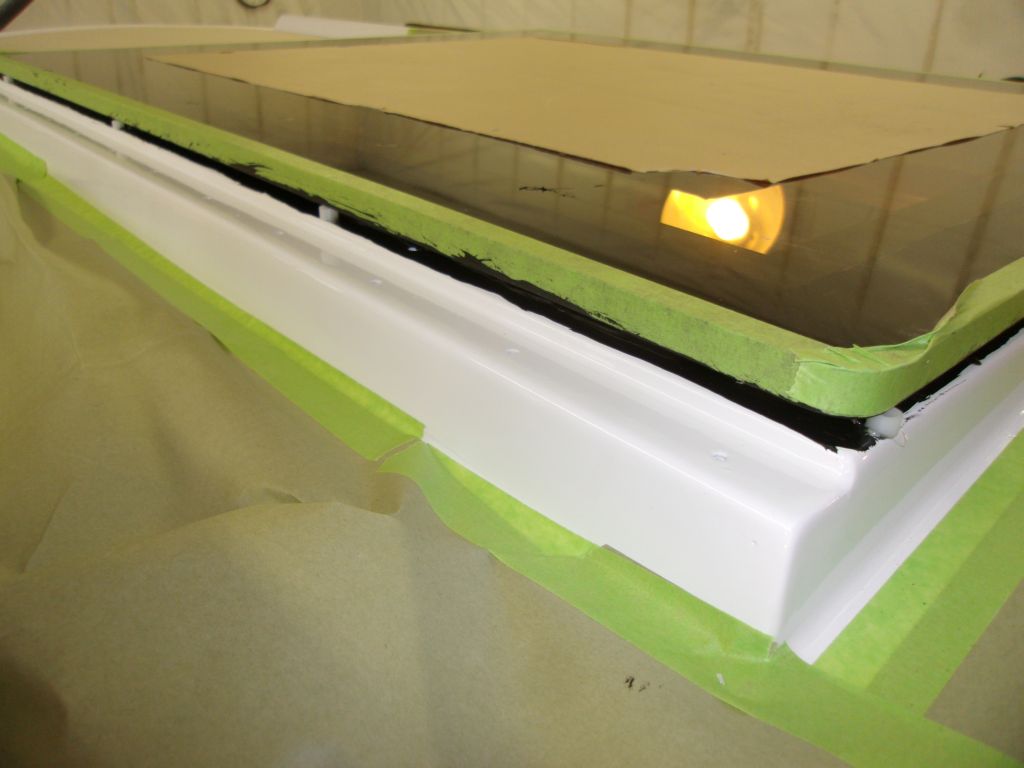
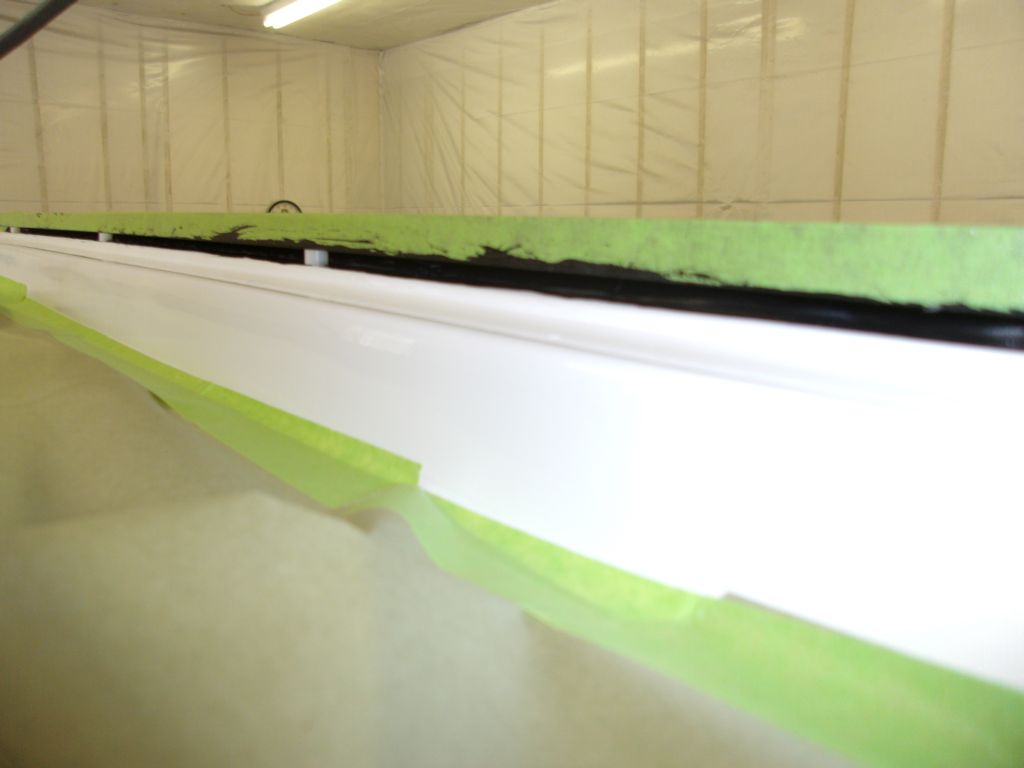
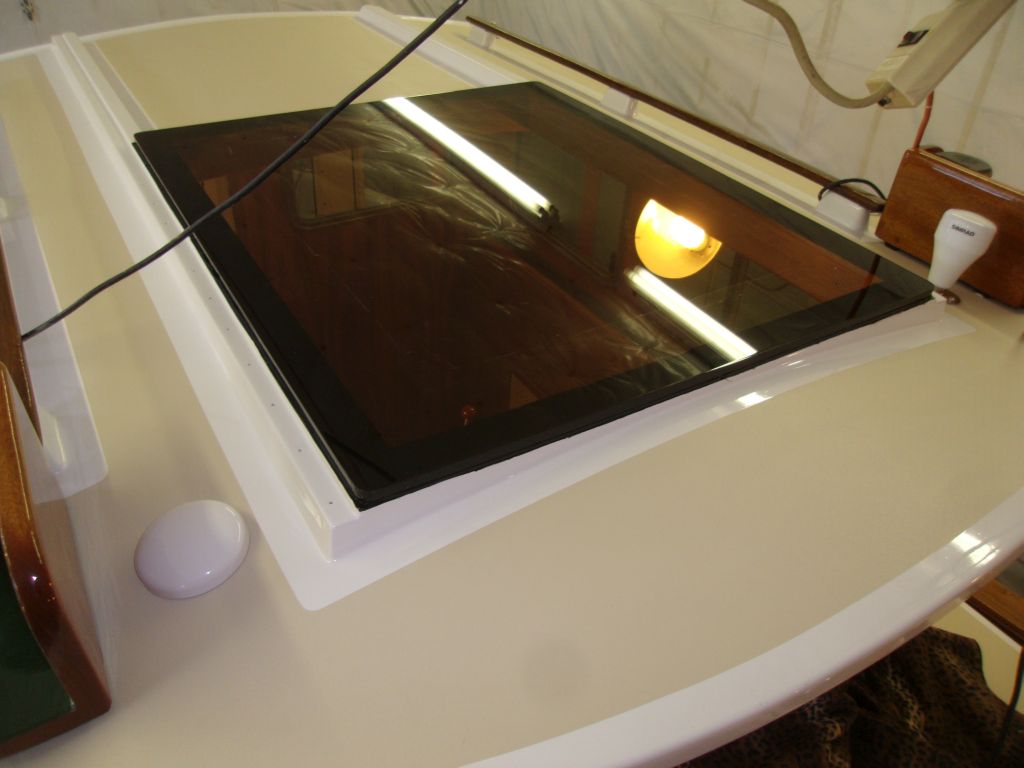
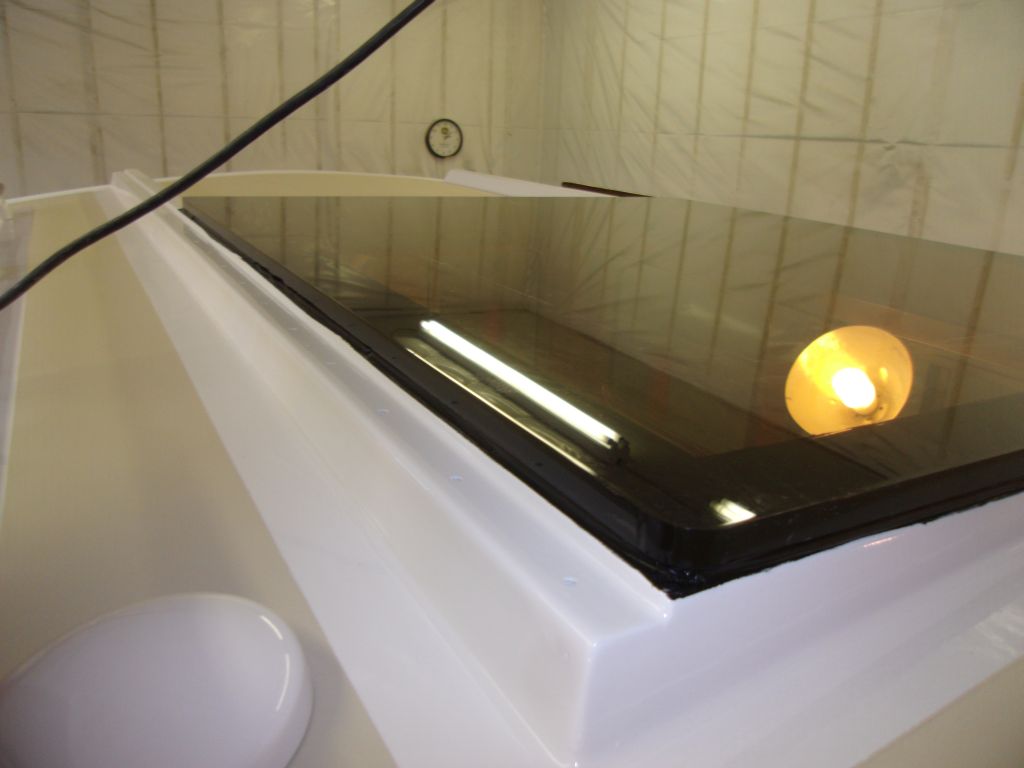
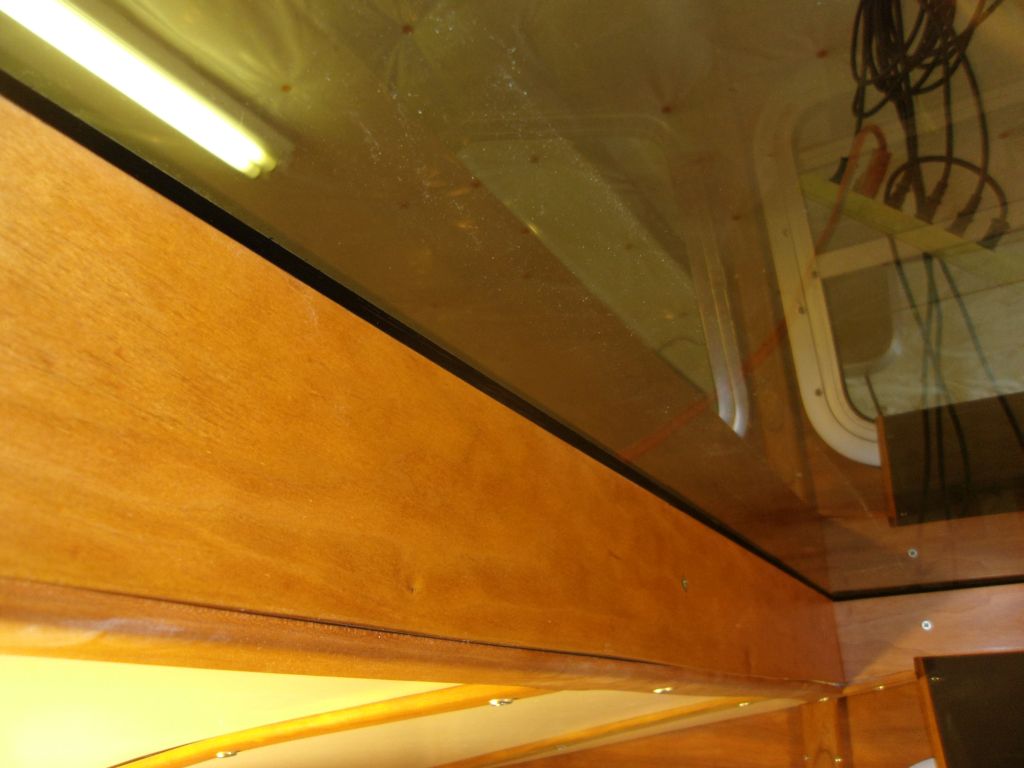
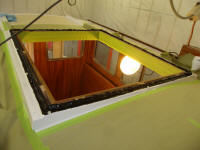
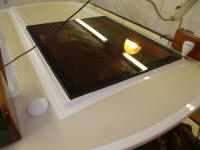
Sometime later, after a few hours' cure time, I removed
the nylon spacers, grabbing then with needle nose pliers
and pulling them out of the gap. Now I had to
apply more of the sealant into the remaining gap.
With some experience with this particular adhesive
sealant and its working properties now (evil, sticky,
messy stuff), I chose to first mask off as close as
possible to the bonding area, since I didn't want the
sealant to go everywhere, and I'd found it was
challenging to clean up. So after masking, I used
a caulking nozzle with a small opening and filled the
seam with more of the adhesive sealant, then tooled it
smooth with my finger before removing the masking tape
for a (relatively) clean edge. |


 |
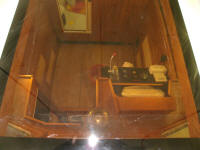
During the several hours in between stages of the hatch
installation, and afterwards, I worked on other
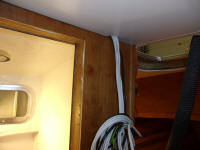
things, mainly the mast wiring junction. During
the bulk wiring stage of the project some time ago, I'd
led various wires beneath the overhead to an exit in the
passageway. These wires included two lighting
pairs (anchor light and steaming light (technically
called a masthead light, though frequently not found at
the masthead)), a VHF antenna cable, and a SimNet
network cable for the masthead wind instruments. |
 |
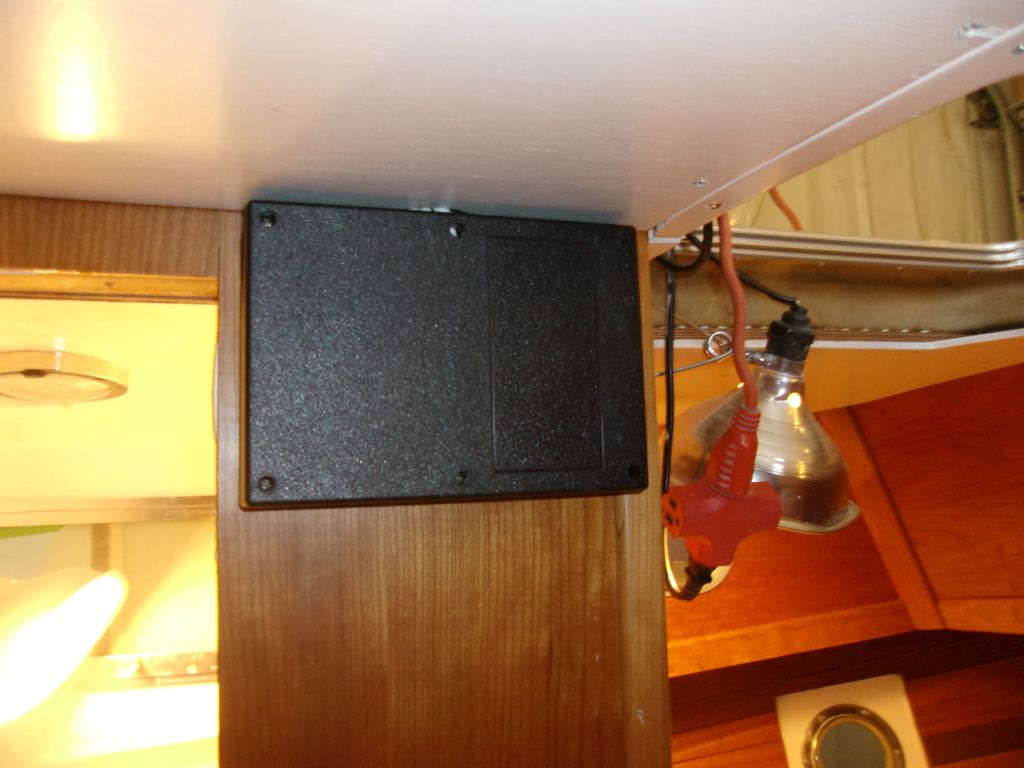
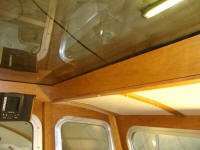
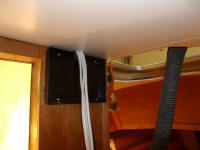
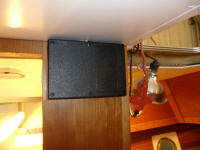
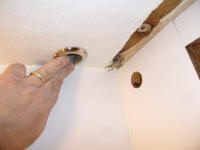
I purchased a plastic junction box, and drilled a large
hole in its top edge, which I installed up near the
overhead (leaving enough room to remove the overhead
panel as needed). This little box had ample room
within for the mast wiring connections needed, and would
make breaking these connections when the mast was
unstepped easy and convenient. |
 |
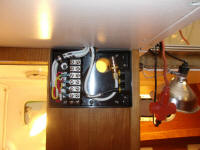
Into this box I installed a SimNet T-joiner, which would
provide connection between the two sections of network
cable required for the wind instruments, and a
6-position terminal block for the mast wiring
connections, using only four of the terminals for now.
I also terminated the VHF cable with a splice connector
so I could easily attach the mast end later.
Through the back of the box, I drilled a comfortable
hole into the head, which was where I planned to install
a fitting for the wires to come down from the mast and
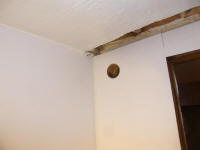
into the junction box. The unfinished area of the
overhead is where I had to remove some of the inner
laminate long ago to gain access to the mast step bolts;
after I reinstalled the mast step or tabernacle, I'd
build a cover for this area. |
 |
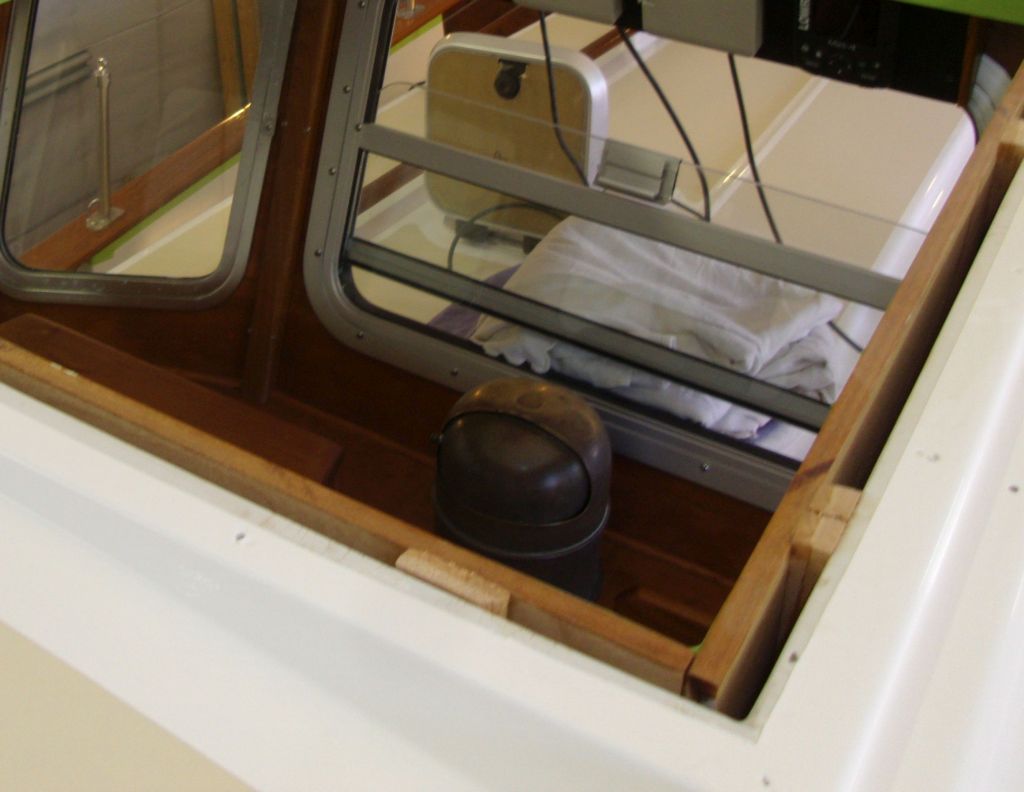
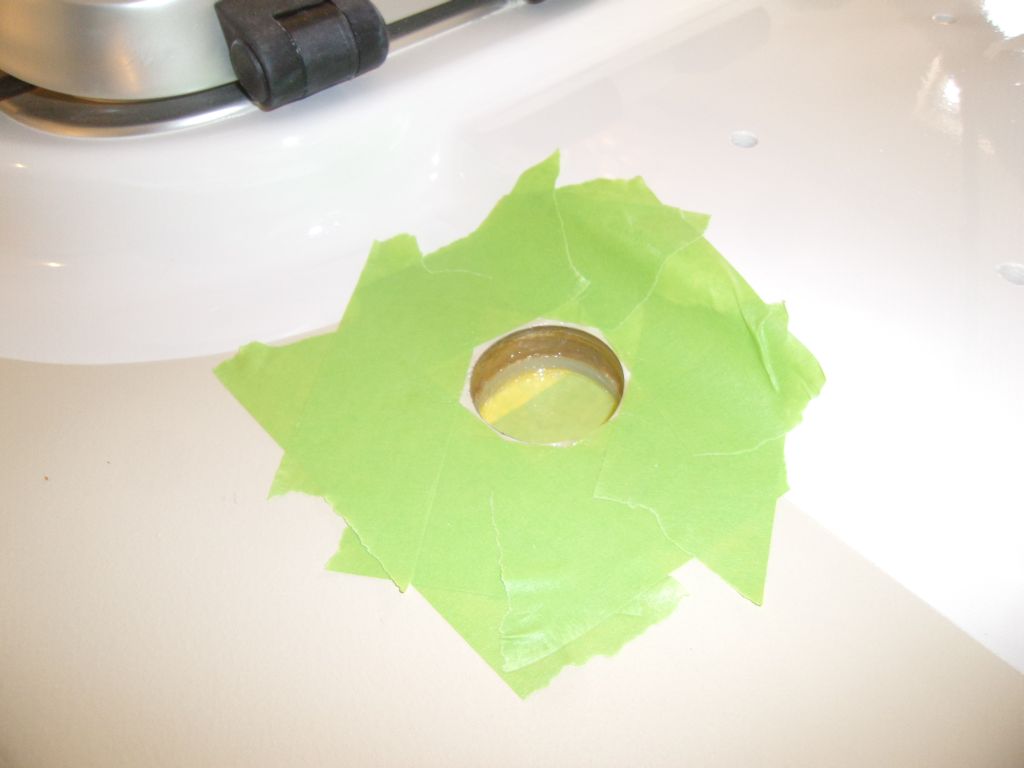
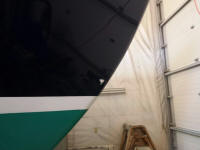
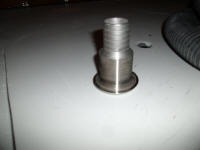
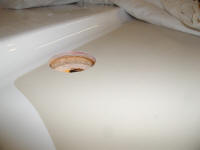
To lead mast wires cleanly and easily through the deck
from a deck-stepped spar, I like to use a nice stainless
steel through hull fitting, installed upside down (with
the barb on deck). Then I run the mast wires from
a fitting at the mast and through a length of hose and
through the fitting into the boat, providing a
waterproof, attractive, and worry-free conduit.
After a few measurements inside and out, I drilled a
pilothole from inside to locate the fitting, then
drilled a 1-7/8" hole from above. In the usual
way, I reamed out the core from within the opening, and
filled the void with thickened epoxy to seal the core at
the penetration. |
 |
I started an attempt to install a fill line for the
forward water tank, but with the tight access and very
stiff and cold hose that I'd just brought in from cold
storage, I was unable to connect the hose at the tank,
so I left that for another time. |
| |
Total Time Today: 6.5 hours
|
<
Previous | Next > |
|
|