Project Log: Saturday, December 18, 2010
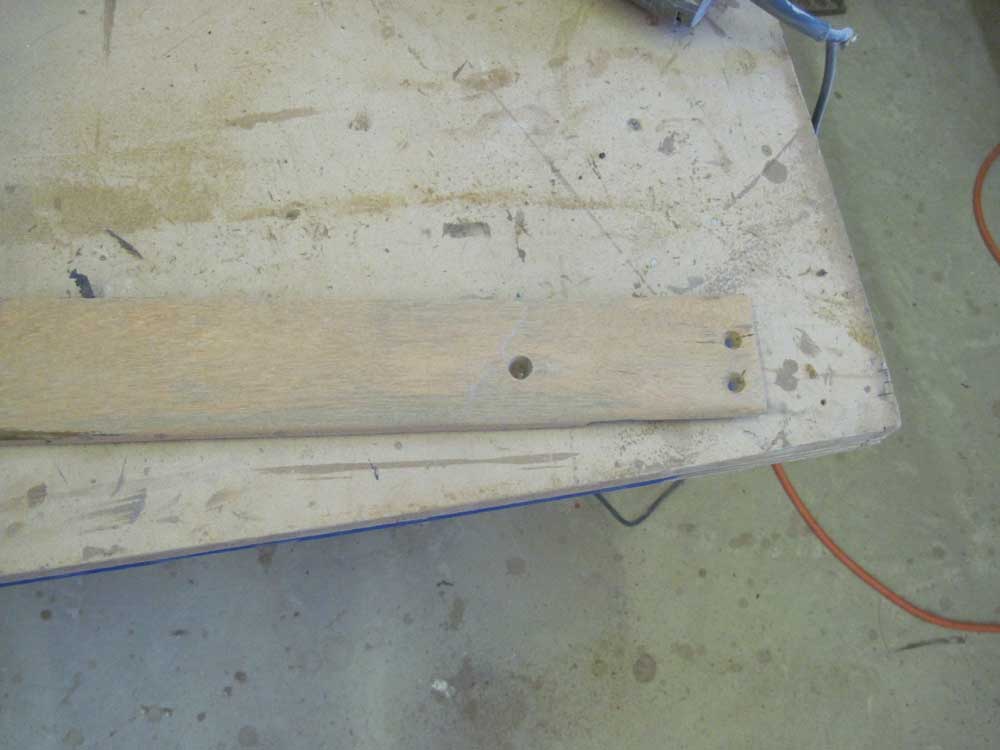
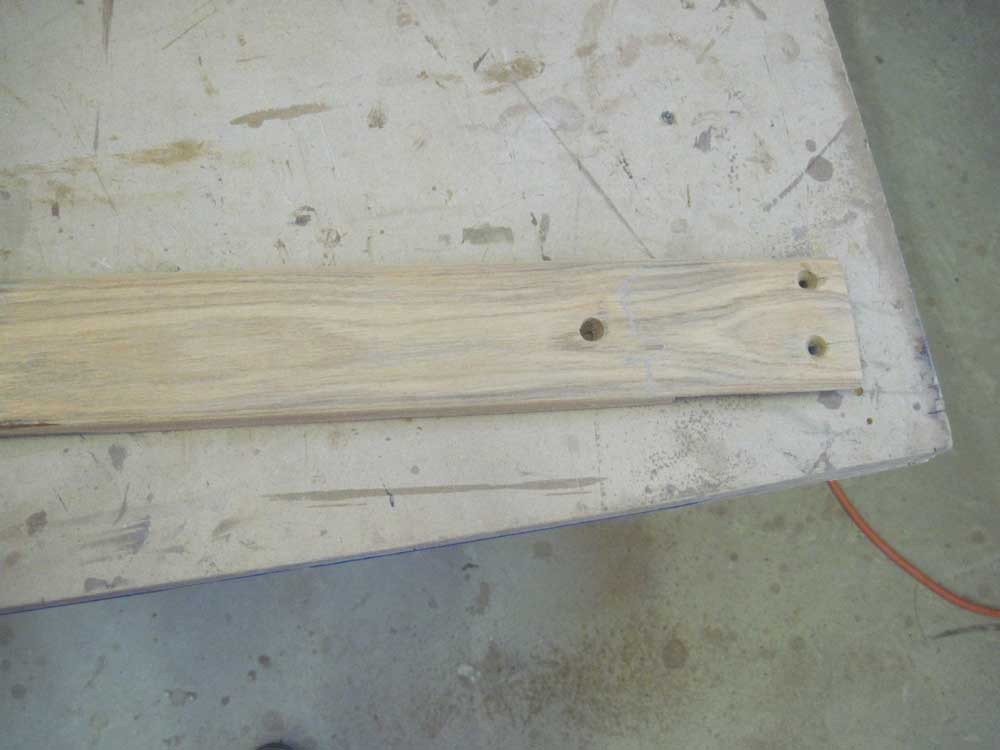
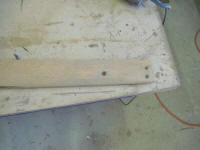
I was curious so see how some of my repairs to the teak bulwark
trim had ended up, so I took the two worst ones--the ones
where the board had completely broken just past the
joints--and sanded the repaired ends clean.
The repair was visible, but didn't stand out any more
than any of the other flaws in the board, and I didn't
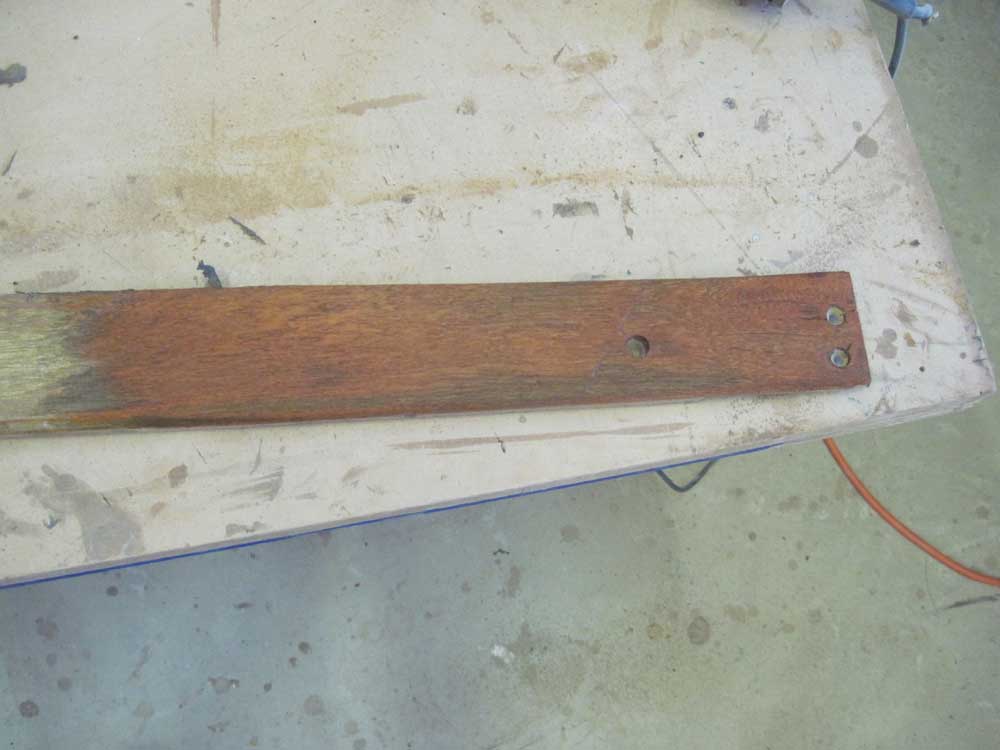
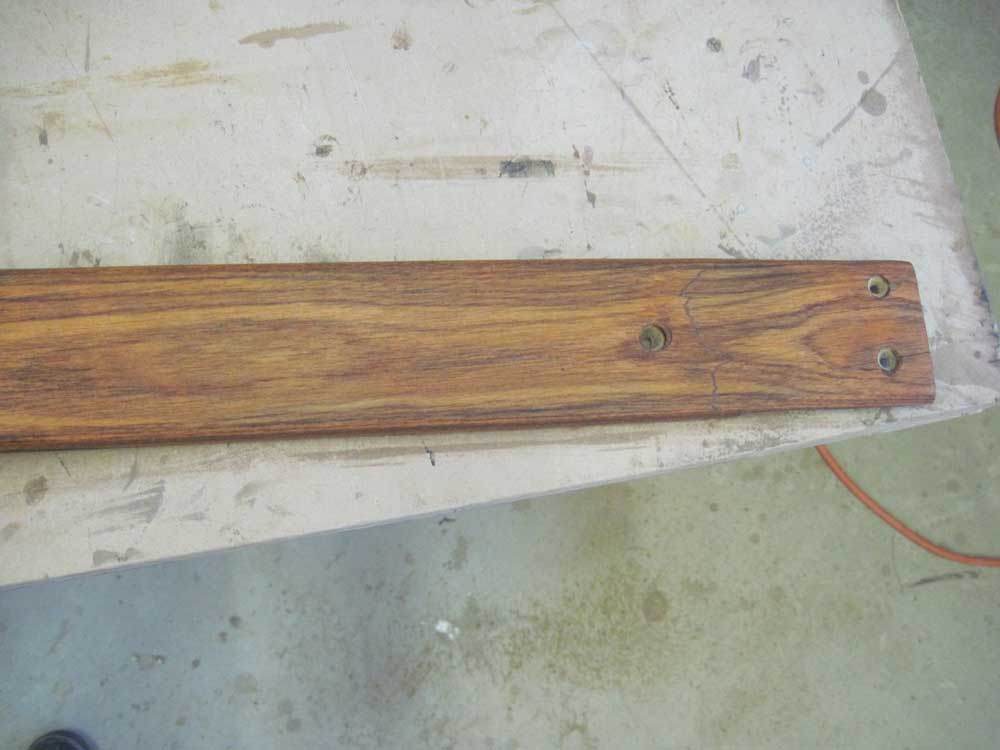
think it would be a problem to reuse them. To
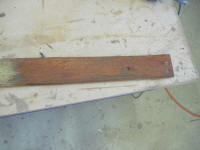
better get a sense of the boards' finished appearance, I
dampened the bare wood with paint thinner to simulate
how they'd look when varnished: the glue seam was
visible, but given the boards' location and function, I
thought the repairs seemed perfectly workable and not
overly visible, all things considered. |

 |
But dealing with the teak wasn't really the focus for
the day. It was time to fill and patch the various
holes in the hull and deck, the next step towards the
goal of finishing up all the essential surface
preparation as soon as possible.
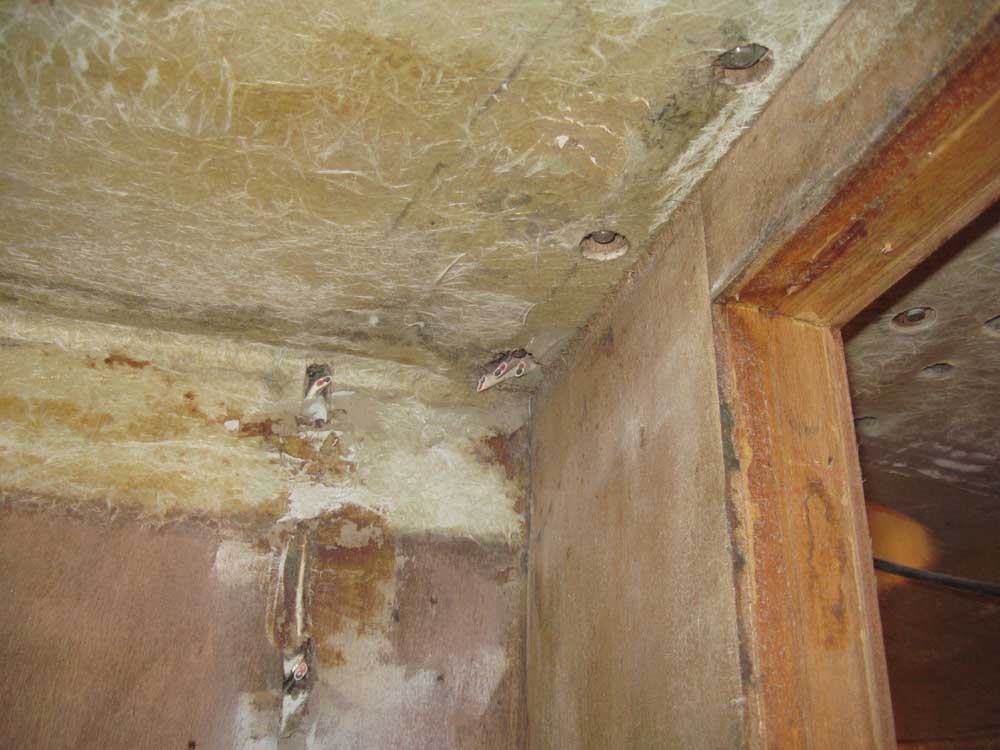
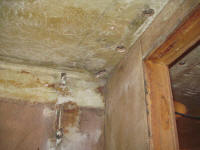
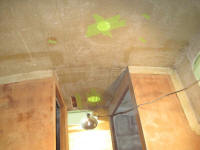
Before beginning, I decided to (finally) remove the mast
step. The reason I'd not dealt with this sooner
was that the nuts and washers beneath were recessed into
the overhead in the cabin. With the mast step
secured to and supported by the built-up plywood-cored
center section of the deck, the builders chose to secure
the nuts against the plywood, not the balsa-cored main
deck structure beneath. The nuts were visible
through smallish holes drilled in the overhead, but the
holes were too small to fit a socket into, thus leading
to my continual postponement of the removal. |
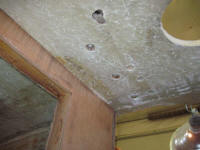 |
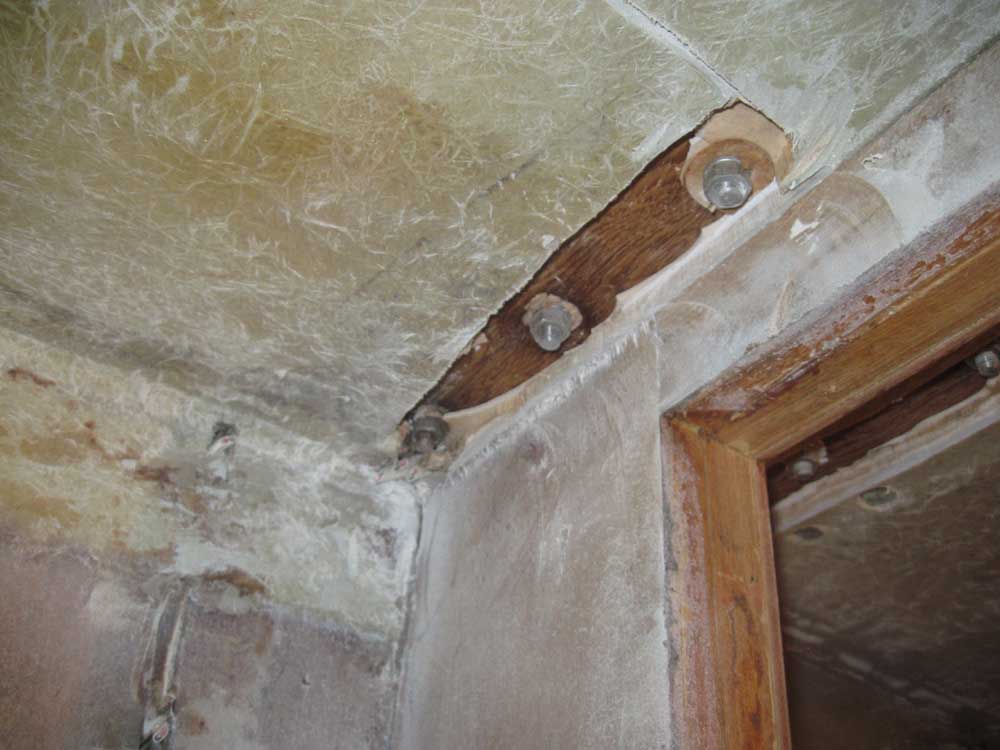
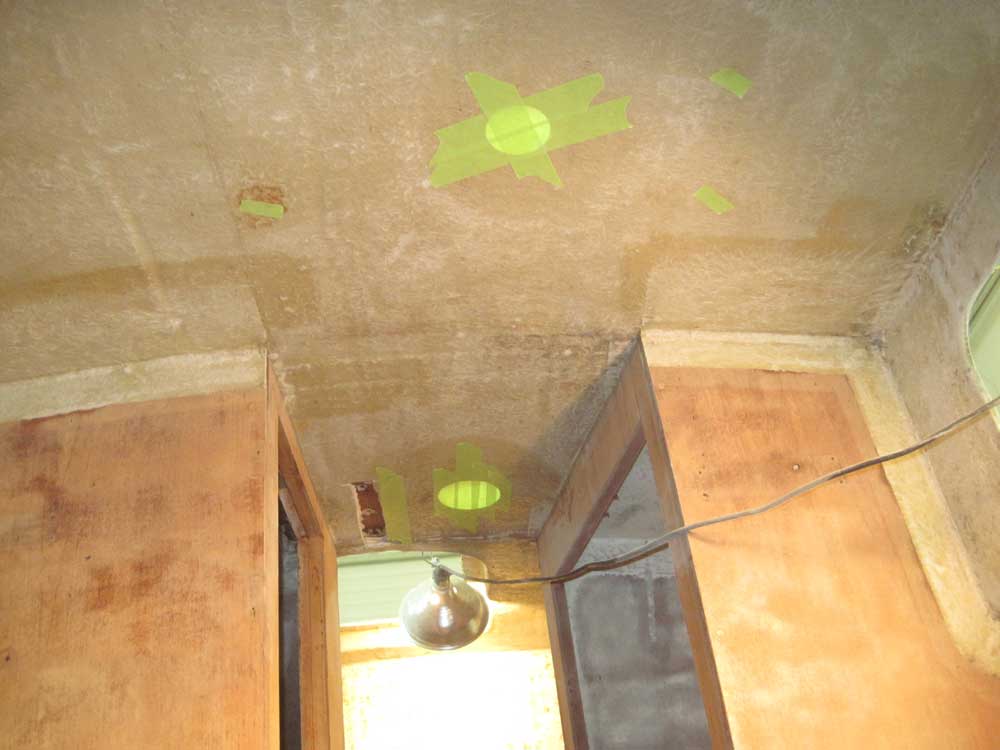
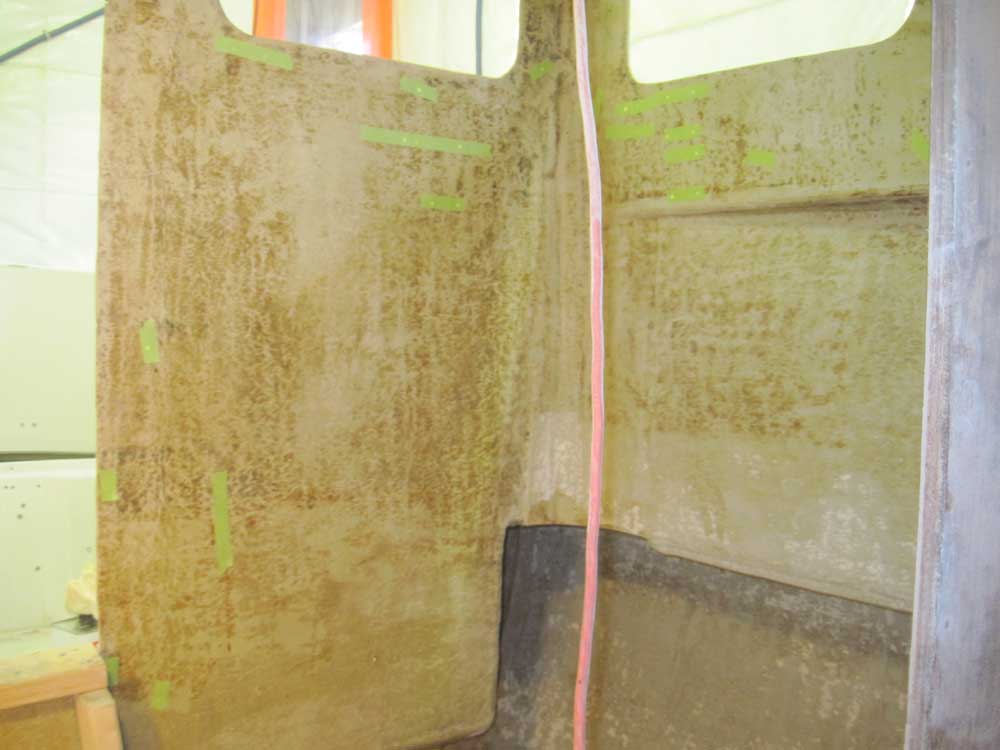
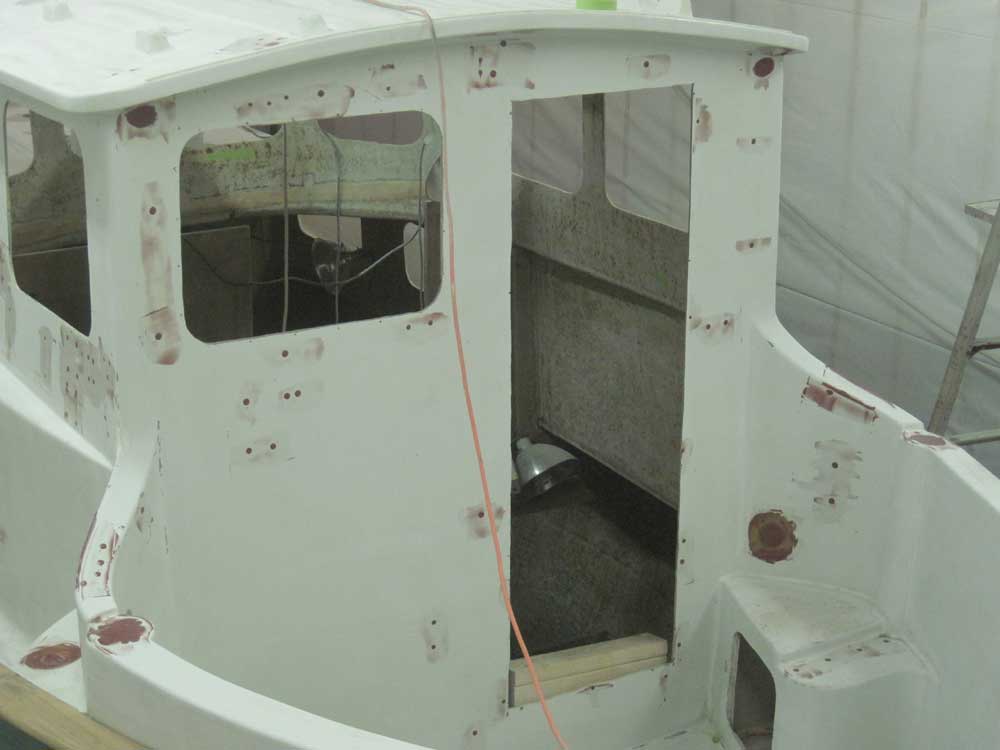
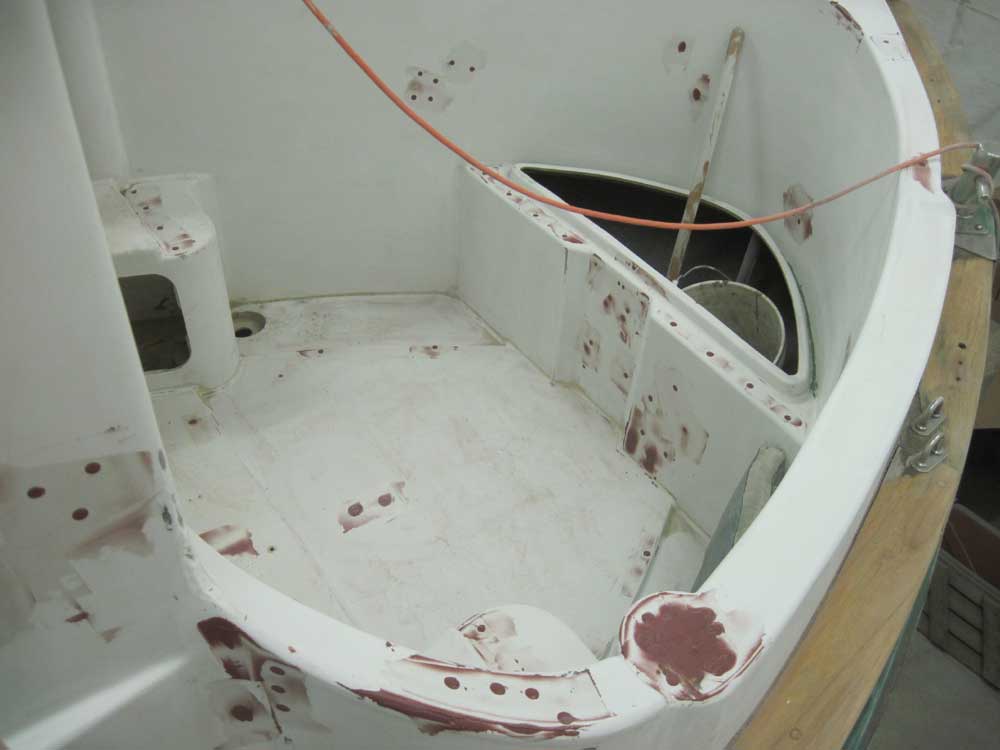
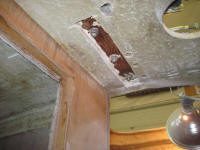
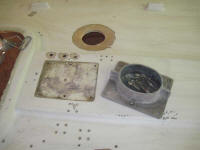
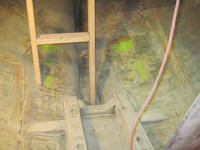
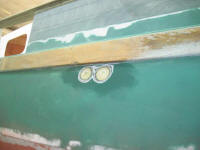
I wanted to remove the mast step so that it wouldn't
interfere with the day's hole-filling chores, so from
beneath I used a cutoff wheel in a grinder to open
up the overhead around the fasteners (3 each in the
passageway and head), allowing me to remove the inner
skin and core and exposing the fasteners. |
 |
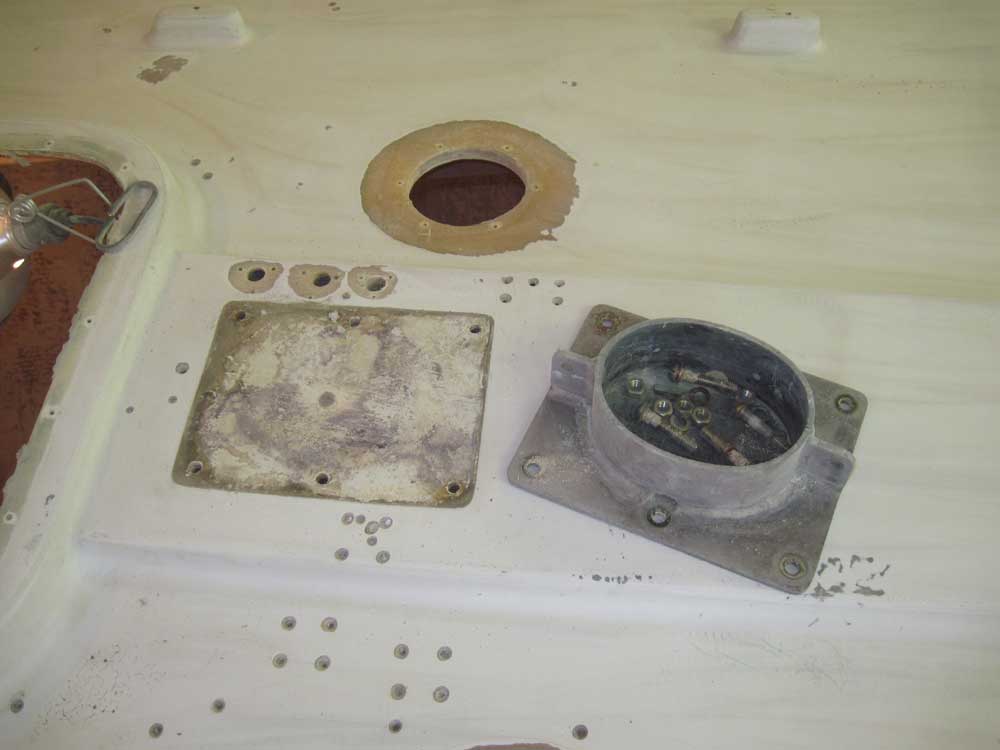
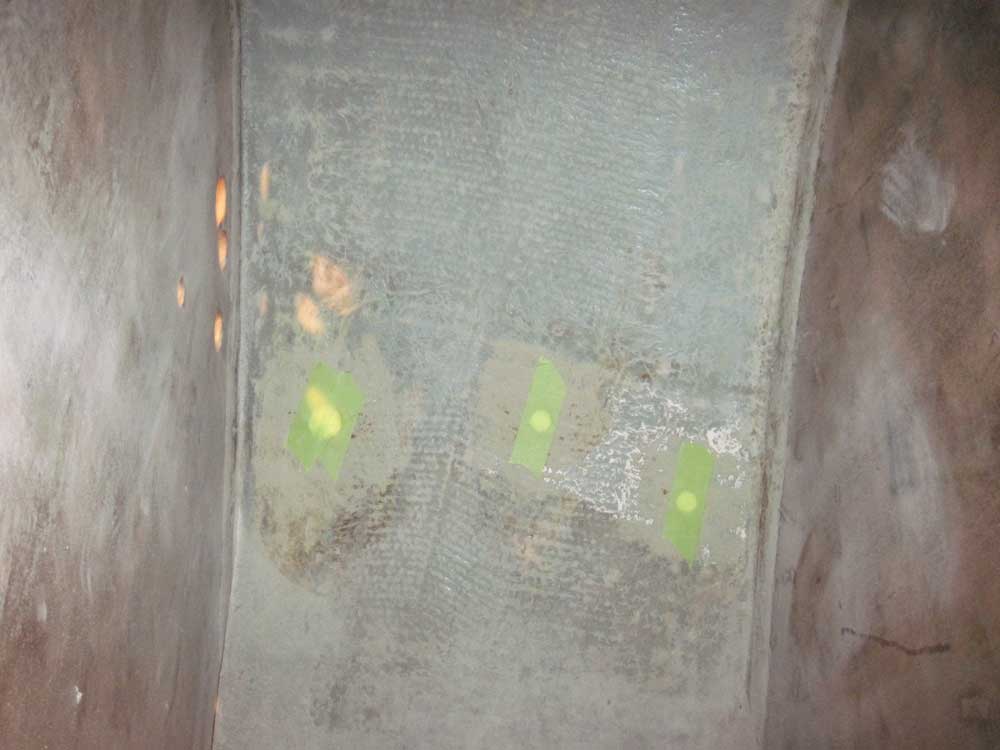
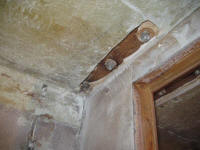
I found that the nuts were only hand-tight, so in very
short order I removed the mast step and set it aside.
There was a paucity of sealant beneath the step.
At some later stage, I'd deal with repairing the cutout
on the bottom side as needed. |
 |
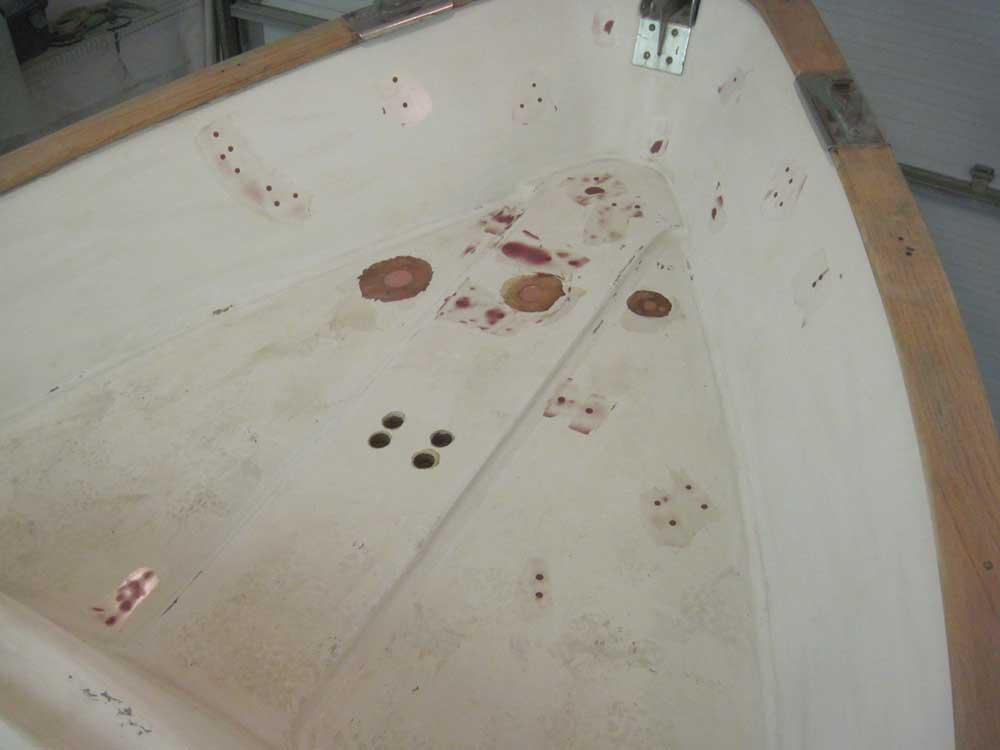
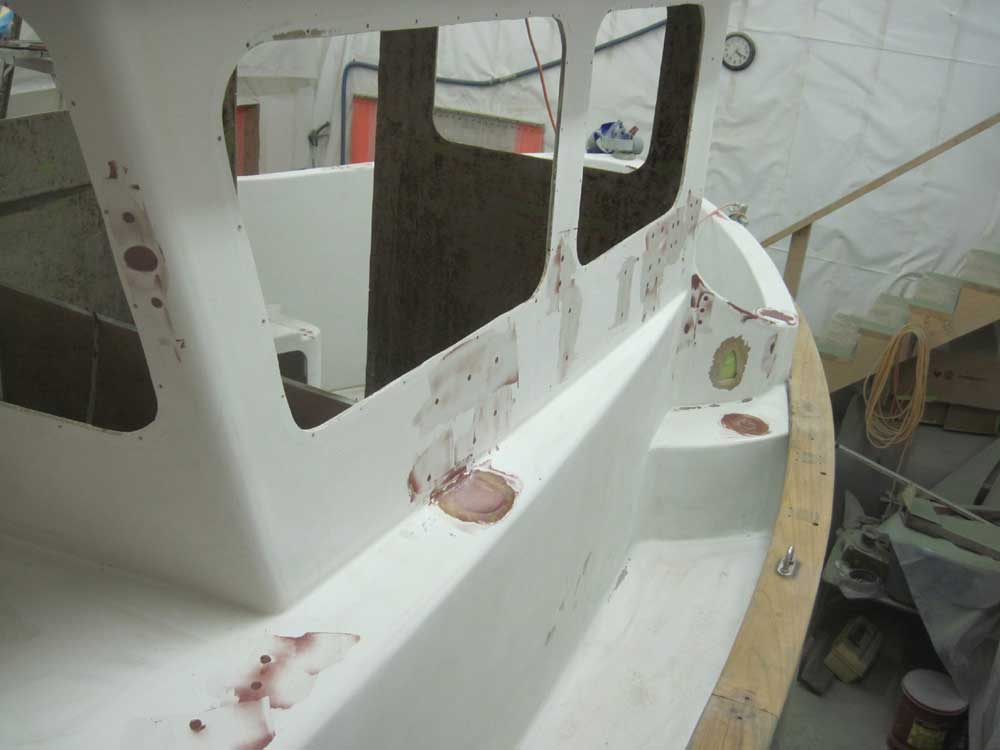
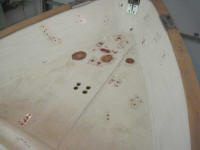
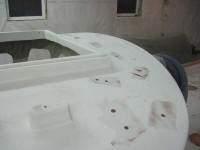
Earlier, I'd bored out and ground out around the old
fastener and other holes as needed, so to prepare for
filling and patching it was a matter of vacuuming and
solvent-washing to prepare the surfaces for epoxy.
Since many of the fastener holes went all the way
through, I taped over the insides of the holes as
necessary. |
 |
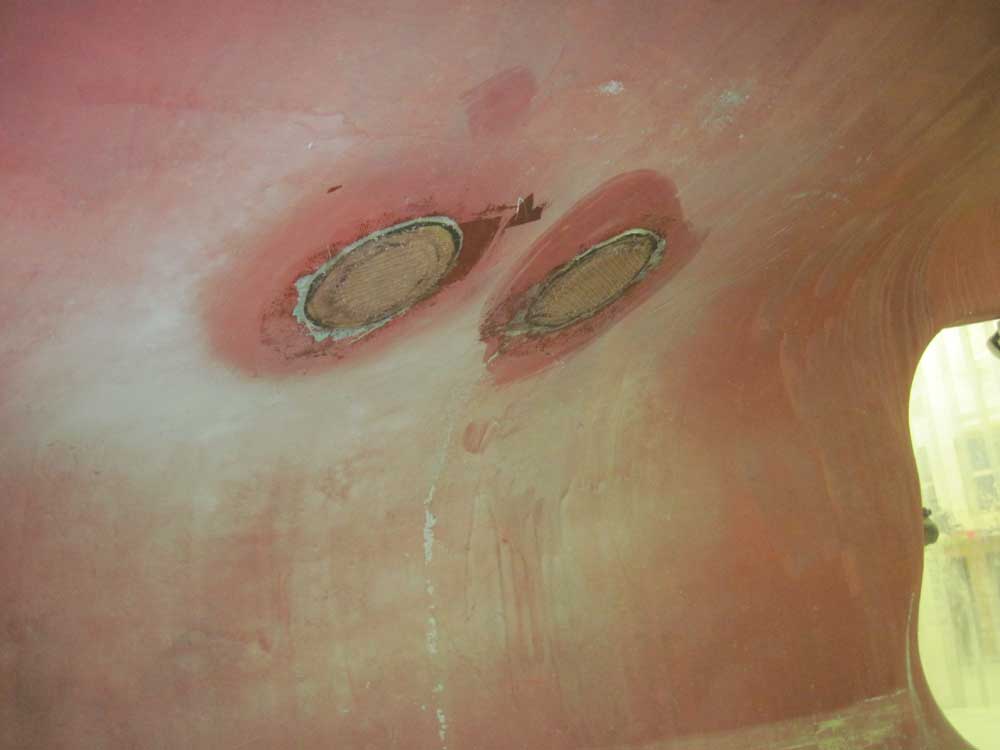
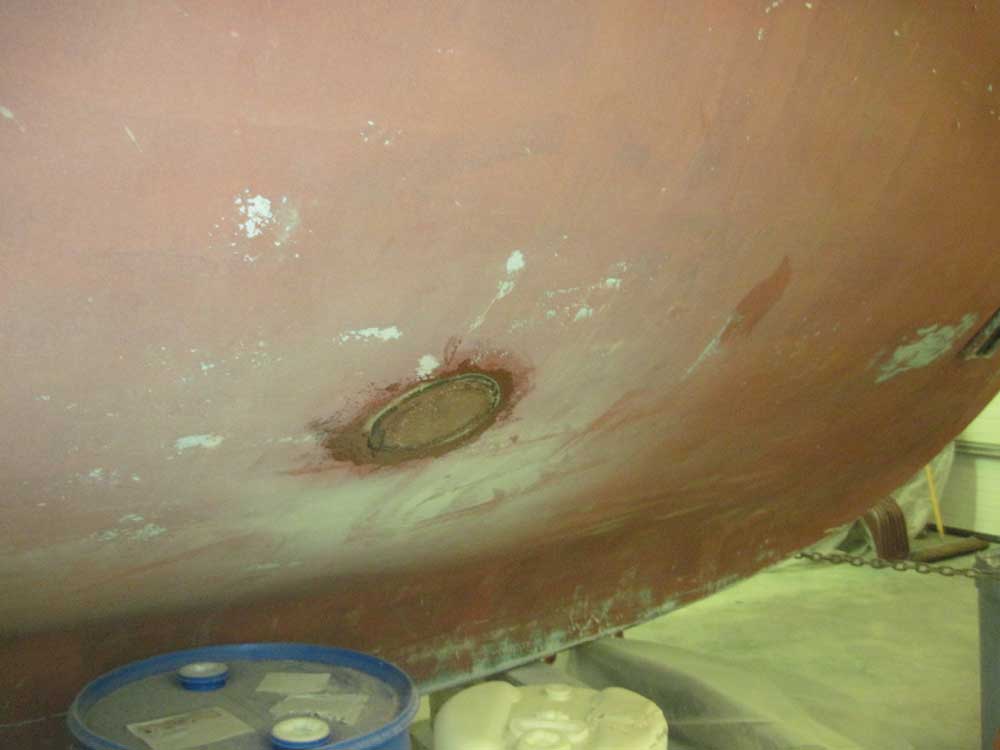
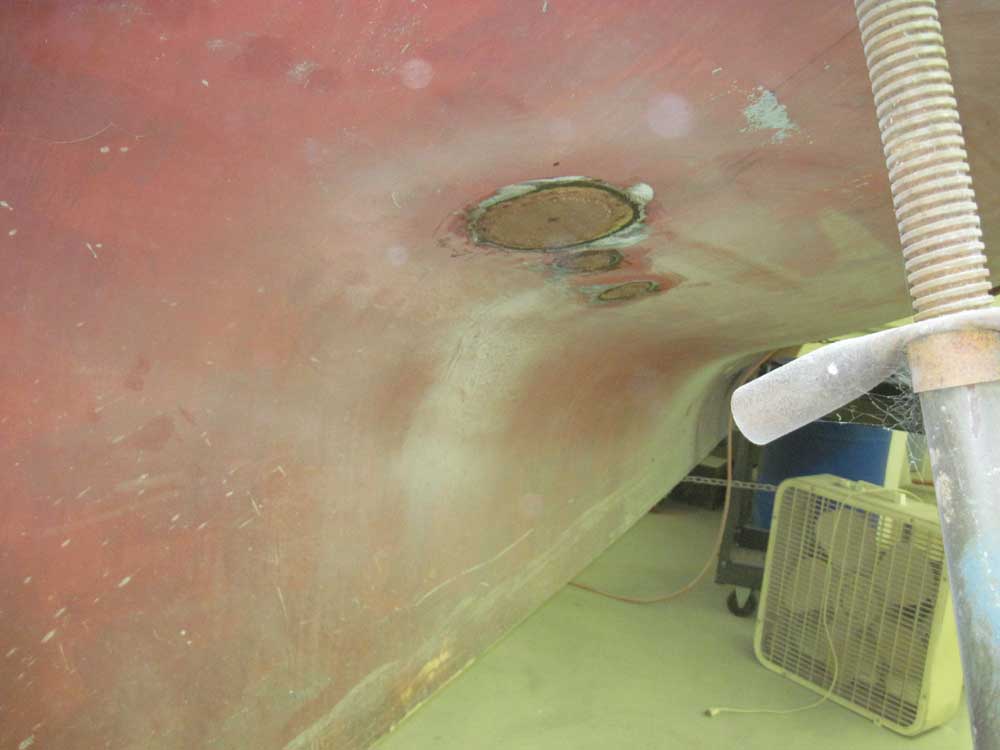
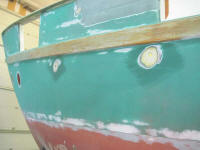
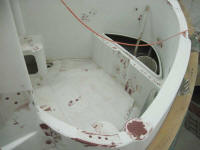
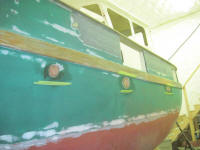
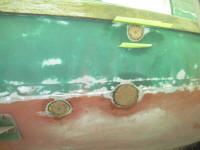
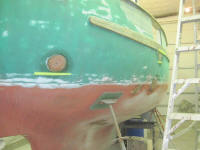
Similarly, I prepared the old through hull holes for
patching by cleaning the inside and outside surfaces of
the openings and applying tape over the holes from
inside. |

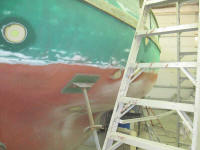 |
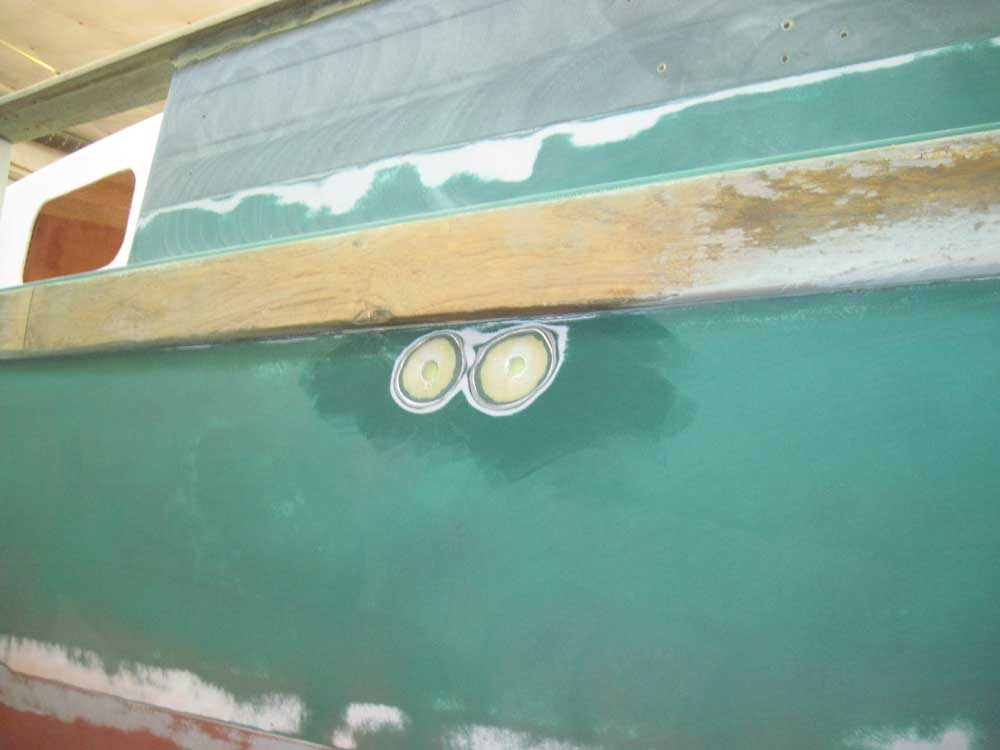
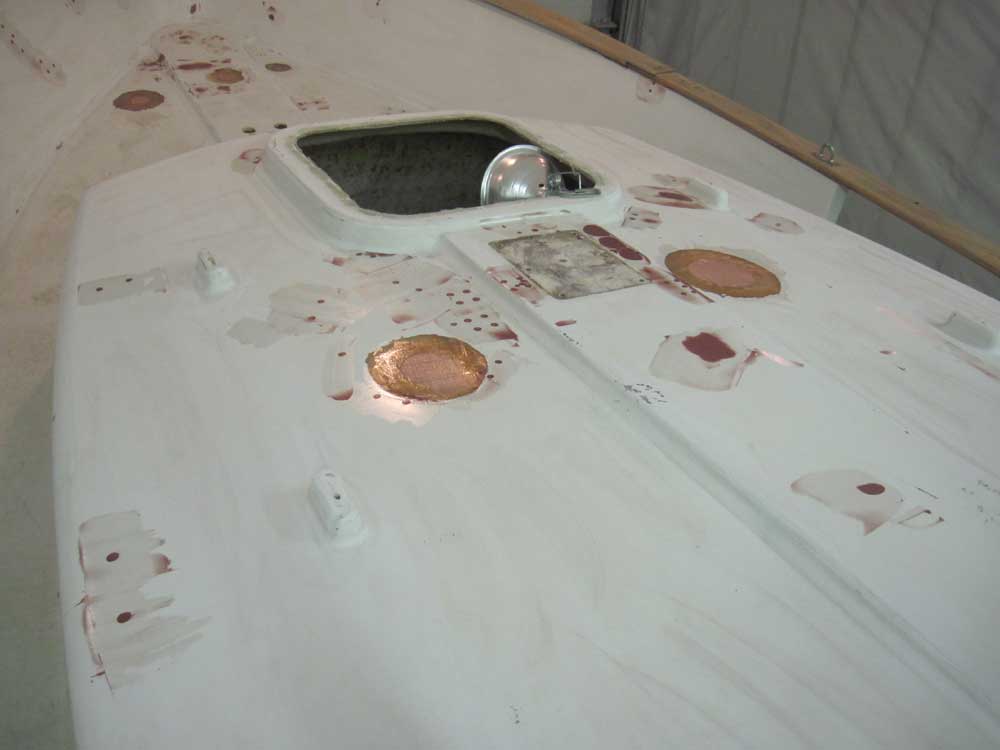
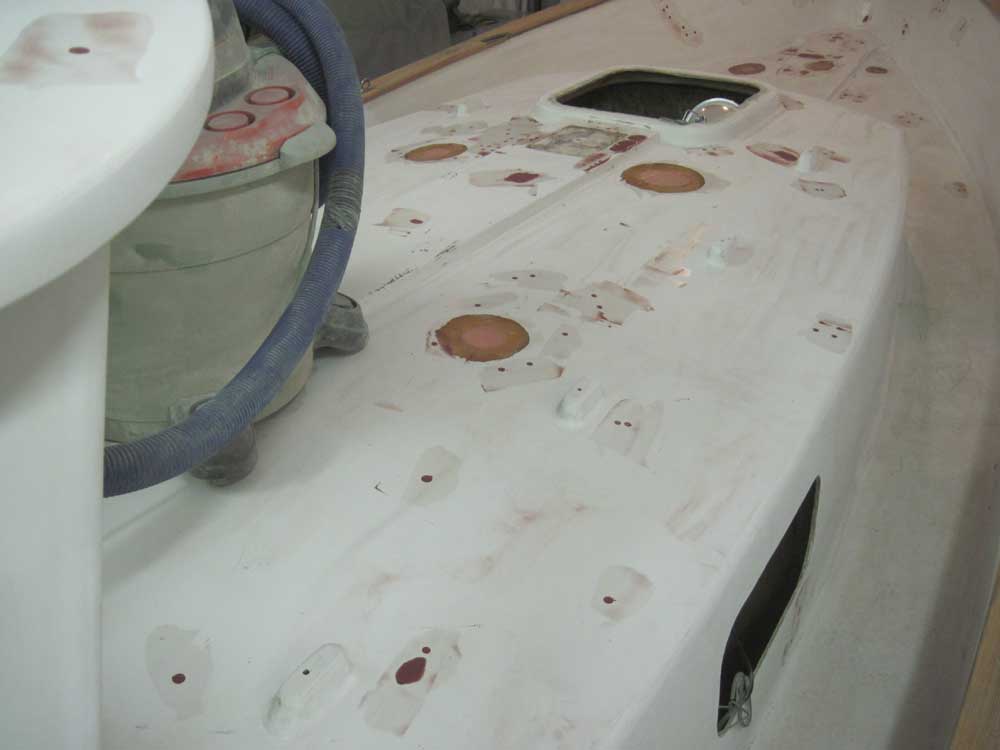
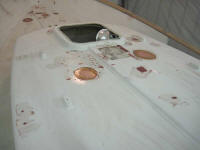
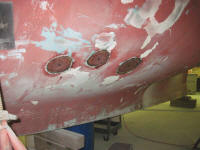
I began the patching process with the larger holes:
a number of large openings in the deck (old deck fills,
ventilators, and so forth) and the through hulls.
In these locations, I filled the old holes (flush with
the previously-ground tapers around them) with thickened
epoxy to plug the main part of the hole and, later, to
give the fiberglass patches a surface to bear against.
On the large, deeper openings on the deck holes, I
filled the openings in several lifts to avoid excess
heat buildup from the curing epoxy.
Later, once these areas were fully cured, I'd install
round fiberglass patches, but for the moment I left the
fiberglass patching on deck for another session. |

 |
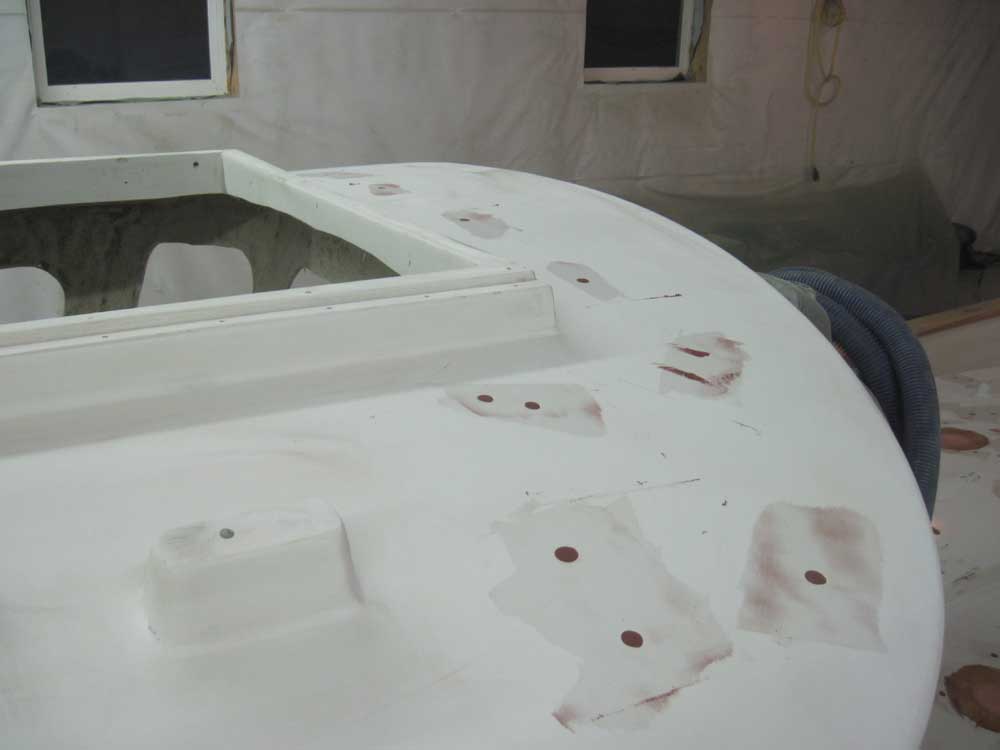
While the epoxy fill in the larger holes began to cure,
I mixed several small batches of fairing filler and
filled all the fastener holes on deck with their first
coat. There'd be additional fills required over
the next several days. |


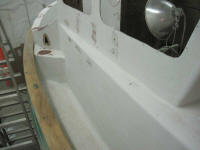 |
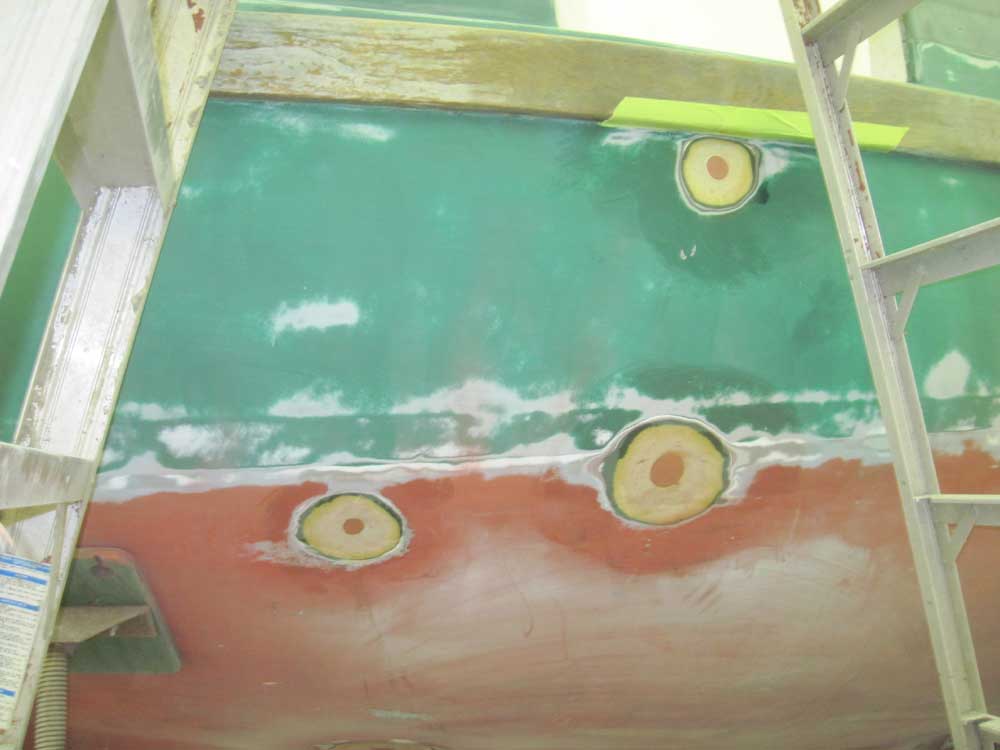
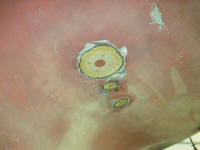
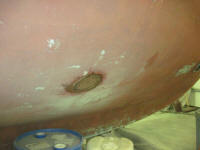
Finally, I cut circles of biaxial fabric as needed to
fit the various through hull openings, using two or
three layers of the material as dictated by the depths
of the dished areas (3 layers on underwater fittings,
two on most of the smaller vent openings in the
topsides), then wet out and installed the material over
each hole. |


 |
| |
Total Time Today: 6 hours
|
<
Previous |
Next > |
|
|