Project Log: Saturday, November 6, 2010
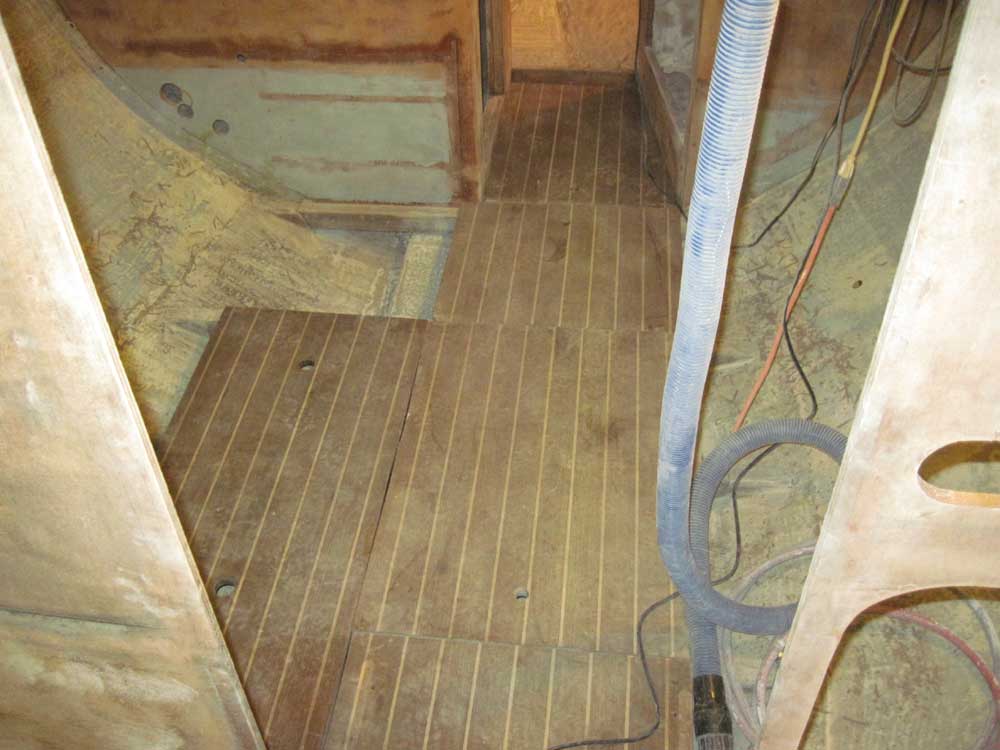
The first order of business for the day was to lay out
some of the old floorboards in the cabin so I didn't
have to stumble around over the cross members and
awkwardly-shaped bilge areas. I'd pretty much
decided that I'd not be reusing these original pieces in
the new cabin, so I didn't mind using them as a
temporary construction platform. |
 |
I'd always planned on removing the original fuel tank,
at a minimum to gain access to the areas beneath and
behind. I'd been postponing the job for a while because
I figured the tank was full of fuel and/or water from
the sinking, and I needed to arrange some containers
into which to drain the fuel. I'd no way of
telling exactly how much might be in the tank, so I
assumed I'd need to provide for up to 60 gallons of
waste.
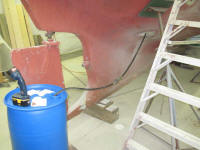
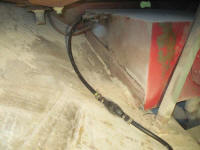
With some plastic drums on hand, earlier in the week,
during some down time from another job, I'd set up my
little siphon hose, hoping to start the drainage
process. The easiest place to connect the hose was
directly to the remaining copper fuel supply line, so I
clamped my hose in place, ran it out through one of the
through hull holes in the bottom of the boat, and into a
plastic drum. The siphon hose features a primer
bulb in the middle, so I used that to start the flow.
It took a while, but eventually I felt fuel pressure.
However, the siphon never started; the pump immediately
lost whatever prime it had had, and no matter how much I
squeezed the bulb (which I did during slack periods over
the next several days), I couldn't get the flow started.
I played with the siphon during the remainder of the
week, but it was not until Saturday that I really had
time to address the problem. |
 |
I thought the problem might be in the means of
connection, so I cut off the remains of the fill hose
that I'd left in place during an earlier stage of
dismantling, and stuck the siphon hose into the tank
that way. This still didn't work, and eventually I
began to suspect that maybe the tank was pretty empty. |
 |
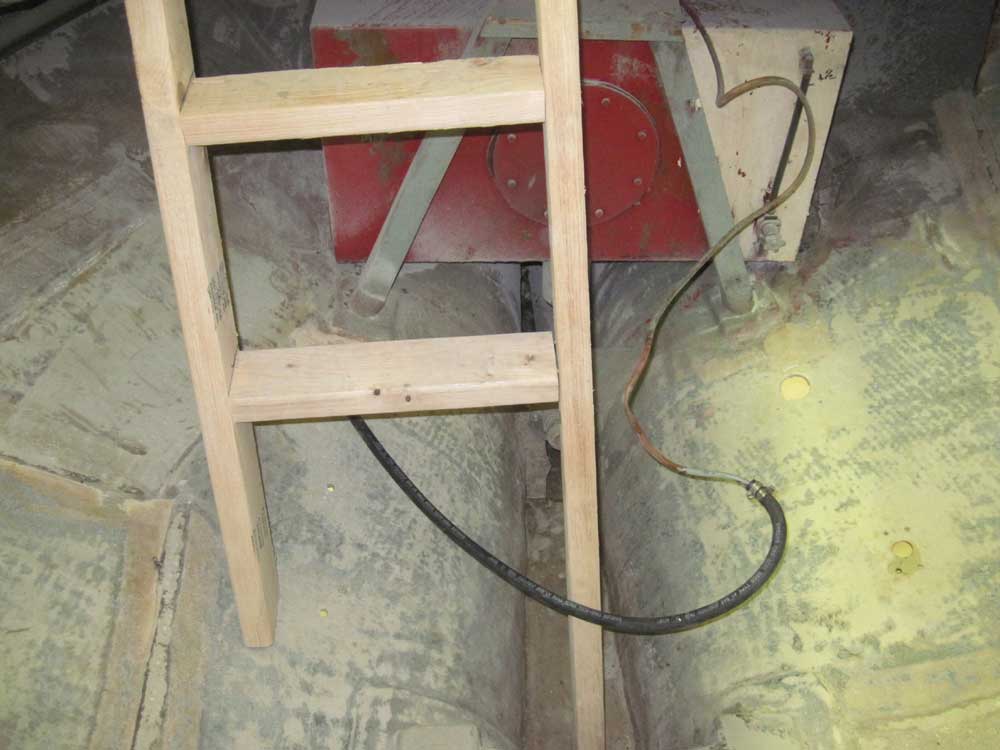
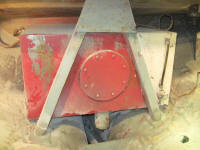
The old tank featured a deep cylindrical drain sump at
the forward end, which was equipped with two plugs.
Obviously using this drain might be the easiest way to
drain the tank, but since there were no valves or other
means of connecting a drain hose, I hadn't initially
planned on trying to drain this way, lest I make a mess
of fuel and funk in the bilge. But I needed to
check now and see if there was fuel in the tank. I
didn't want any surprises when I released the tank's
mountings for its removal.
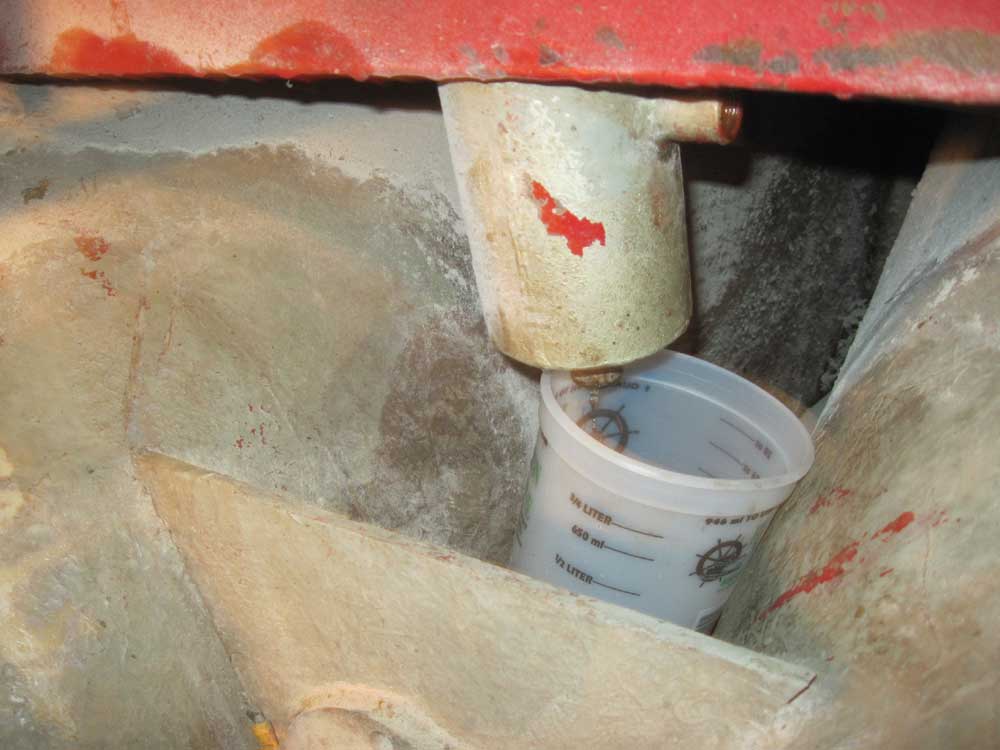
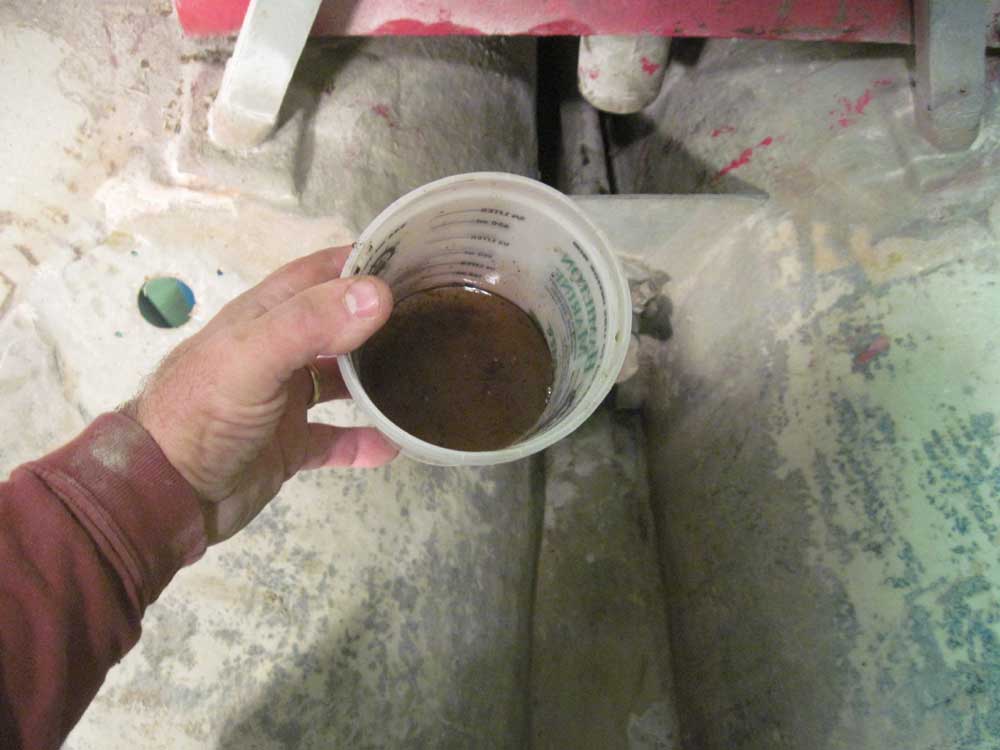
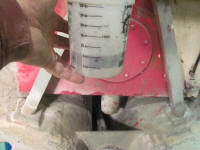
With some trepidation, I installed a small plastic
container beneath the drain, and slowly wrenched open
one of the drain plugs. A bit of oily water came
out, then stopped. So I tried the lowermost drain,
with a similar result: water only, with just a bit
of fuel: a total of about 4 oz. of liquid.
Clearly, the tank was empty, which was a pleasant
surprise. |


 |
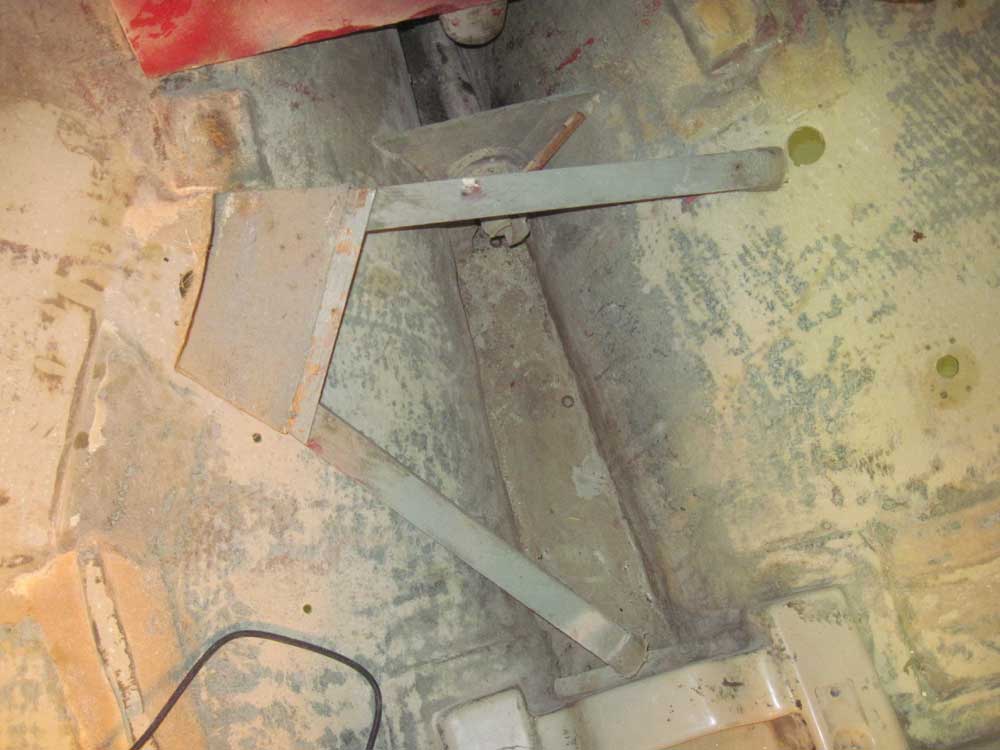
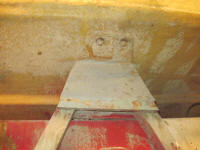
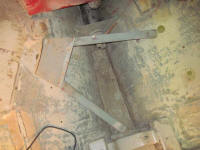
The tank was ostensibly held in place with tabbing along
both sides, but it was clear to me that the tabbing had
long ago separated from the metal tank. The tank was
also constrained by a wooden A-frame at the forward end,
which frame provided necessary support for the mizzen
mast step directly overhead. the frame was held in
place with tabbing at the base of the legs, as well as
some tabbing at the top end.
To remove the A-frame (and therefore the tank), I first
unbolted the mast step and removed it. Then, I cut
through the legs of the frame just above some square
pads upon which they sat (and to which they were
fiberglassed), and removed the frame. The tabbing
securing the gusseted top end of the frame, and which
extended out onto the underside of the deck above, came
away with minimal effort. |
 |
Next, I used a small pry bar to loosen whatever
remaining bonding between the tank and the tabbing on
the sides, and then levered the tank up and forward
using a larger crow bar, till the tank was free and
clear in the engine room. |
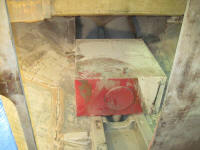 |
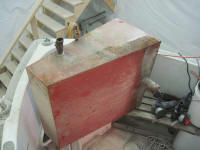
The tank was surprisingly heavy, and since I was nursing
(sort of) a recently-diagnosed back problem, I couldn't
lift the tank up and out of the pilothouse. So I
rigged up a block and tackle system that allowed me to
raise the tank easily to cockpit level, after which I
could muscle it out and up onto the aft end of the
cockpit; later, I'd figure out how to get it off the
boat, where I could open the large inspection port for a
look inside, and also better determine the exterior
condition of the tank. I thought it likely that
I'd replace the tank, however. |

 |
With the tank out, I cut away the protruding tabbing and
removed a cross support. While I was at it, I also
cut away a small bulkhead on the port side, the purpose
of which had only ever been to close off the aft end of
the nasty little quarterberth that had been located
outside of the pilothouse in the original configuration.
Since this useless, space-wasting berth wasn't part of
my rebuilding plans, removing the little bulkhead
provided better immediate and future access to things
like the cockpit scuppers and other areas beneath the
cockpit. |
 |
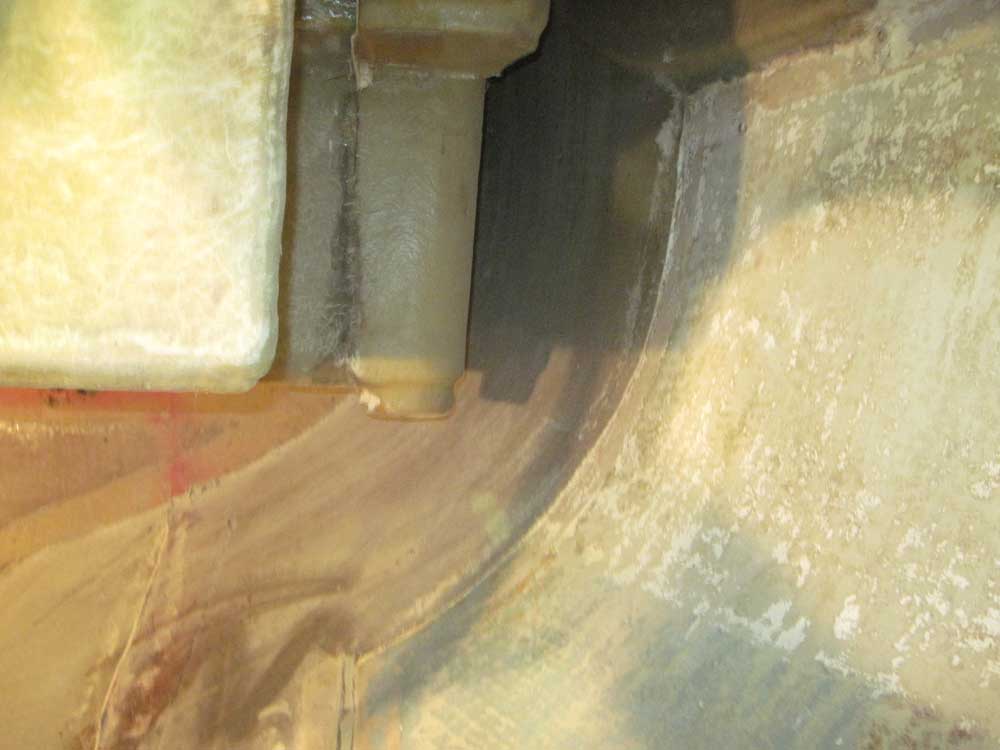
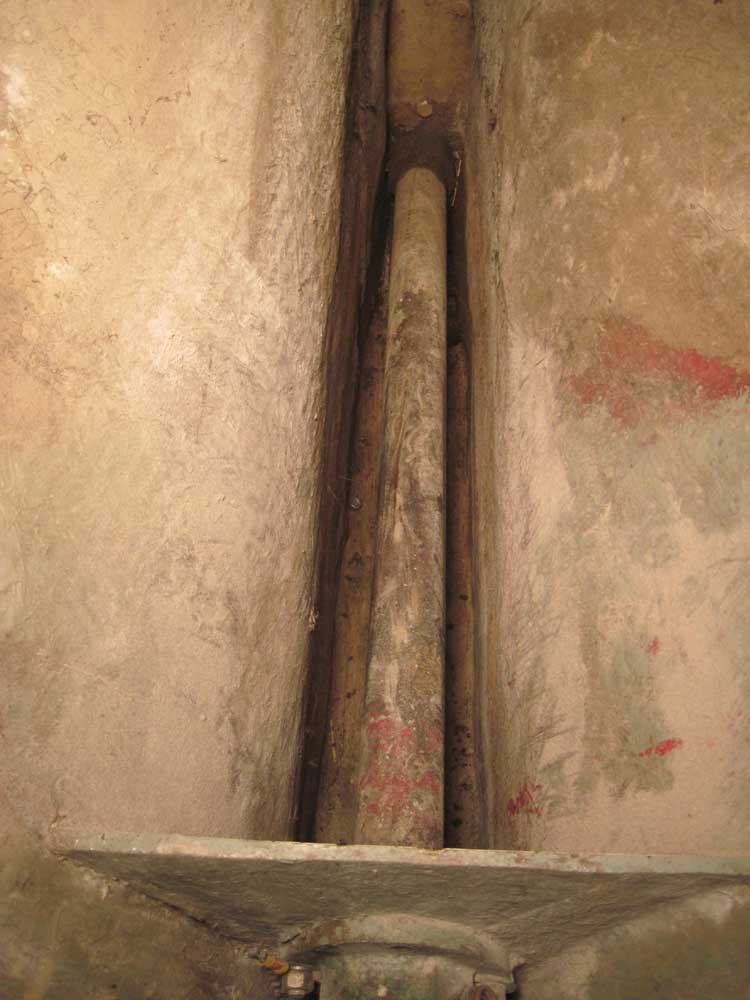
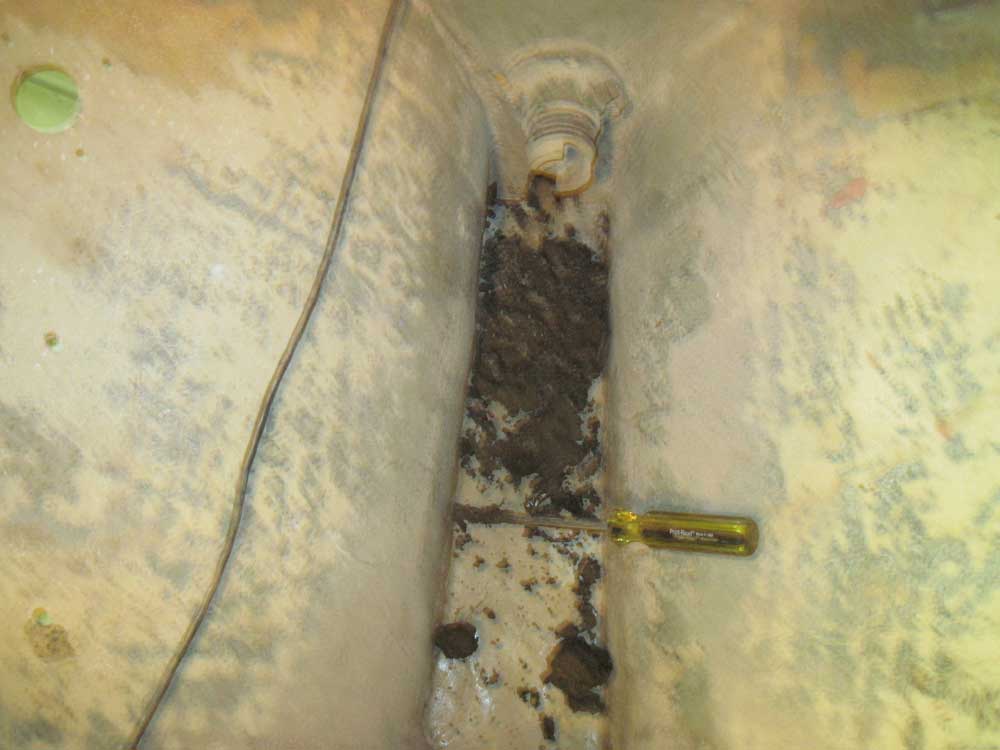
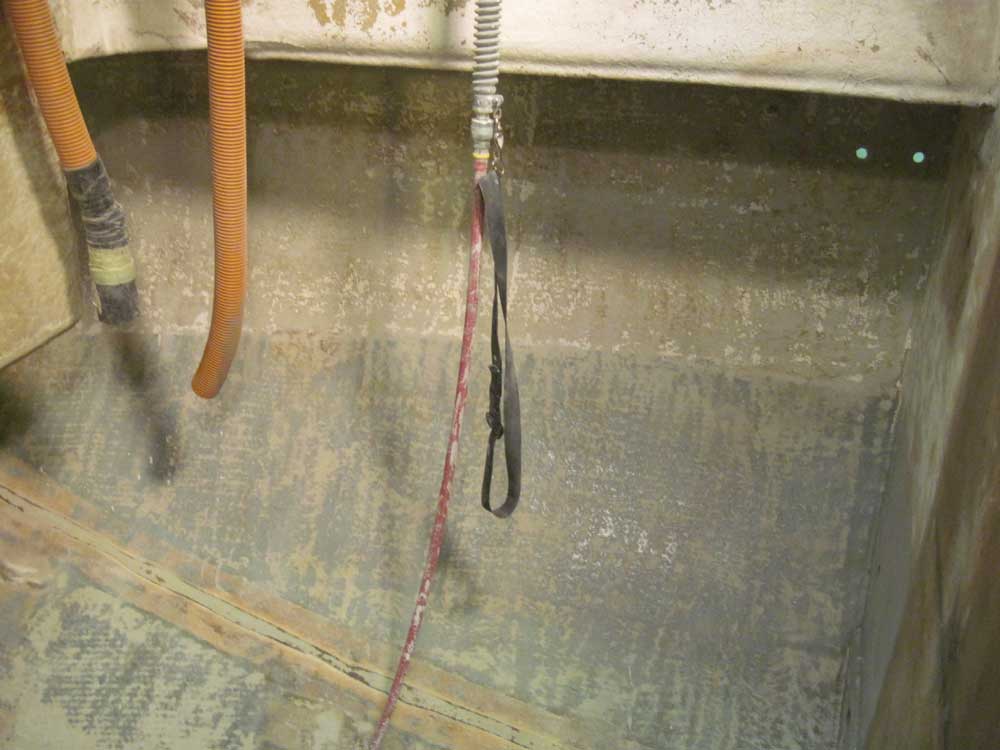
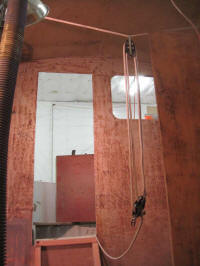
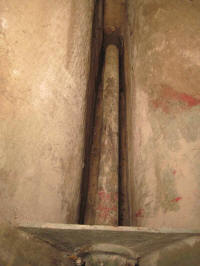
The fuel tank removal exposed the final hidden area of
the boat: the narrow little area around the stern
tube, which I'd never been able to access sufficiently
before. The aft end of this area was full of mud,
which I could now dig free and pull out into the exposed
portion of the bilge forward of the shaft area for
disposal.
Tomorrow, I planned a dirty sanding day, and would take
care of cleaning up the last area of the hull beneath
the cockpit. |
 |
For now, though, I moved on to some other tasks.
It was time to consider the future tankage options in
the boat, and see about getting the tanks built.
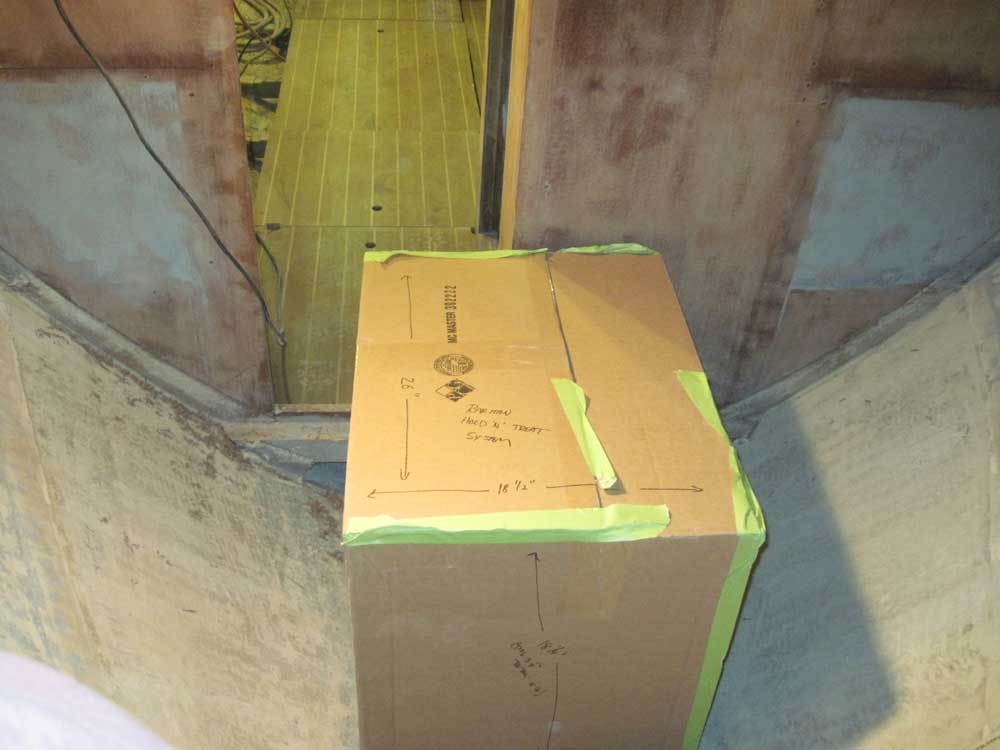
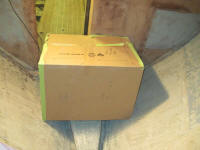
To begin, I built a quick cardboard mockup, using the
maximum dimensions, of a holding tank/treatment system I
was contemplating using. I liked the idea of
treatment (despite the inherent complexity of such
devices) because I don't like being beholden to
shoreside waste pumpout facilities, nor, in an ideal
world, would I prefer to pump untreated waste overboard.
The
Raritan Hold 'n' Treat system incorporates a
treatment unit (Electro Scan) with an integral 15-gallon
holding tank, so the system can contain all waste in no
discharge zones (NDZ), then discharge the treated waste
when appropriate. I thought this might represent
an interesting option. |
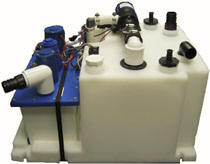 |
The overall dimensions of the unit (26 x 18.25 x 18.5)
were relatively large--too large, it turned out, to fit
through the 16.5" wide opening into the forward cabin,
although the actual unit wasn't a rectangular box like
my mockup and might be more easily adapted through
smaller openings.
However, it appeared that, with some modification (which
was already under consideration), the overhead hatch
opening would be large enough to pass the unit, so I got
past the first hurdle; I was already considering
installing a slightly larger, and newer, hatch here in
place of the original finger-severing bronze one that
I'd removed. For now, though, I simply collapsed
the cardboard mockup to get it in the forward cabin so I
could see how it might work in the space beneath the
berth, and in conjunction with the water tank further
forward. |
 |
Our new forward cabin would feature a full-width berth,
with no open center section or floor space, so the
entire space beneath would be available for tankage and
other storage. It appeared that there'd be plenty
of room for the Raritan system whether I installed it
longitudinally or transverse. There'd be other
factors at hand, however, so my decision was not yet
final. But in concept, the Hold 'n' Treat would
work here.
I made some quick measurements forward of the cardboard
mockup, and determined that I could create a larger
water tank than originally installed as well. Though the
depth of the tank would be still limited to about 16" in
order to fit through the passageway, I could extend the
tank aft by some amount, greatly increasing its
potential capacity thanks to the ever-widening space.
Eventually, I settled on a 9" extension, bringing the
tank's overall length to 36".
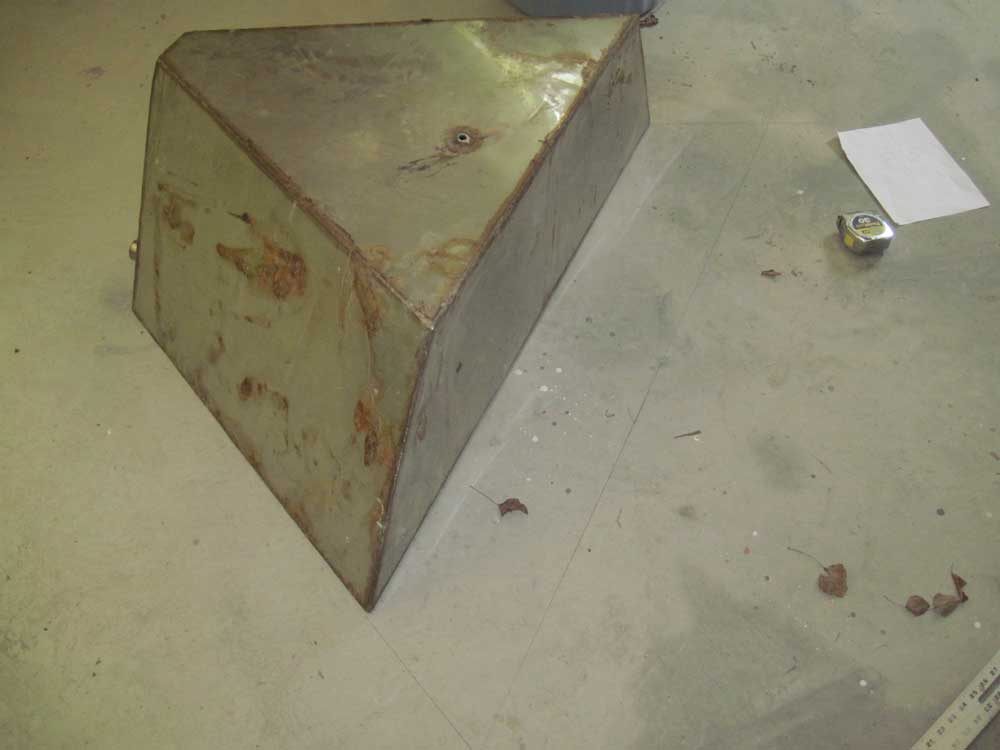
To determine the full dimensions of the larger tank, I
put the old tank on the floor and used a straightedge to
extend the angled sides out, drawing pencil lines right
on the floor. Then, I measured the new aftermost
width, of both top and bottom, so I could make up a
decent drawing for the tank manufacturer. Earlier,
I'd come up with the same measurement off a simple
scaled drawing I'd prepared, but it was nice to see it
confirmed in this visual way. |
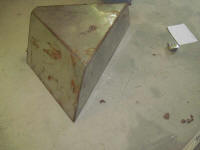 |
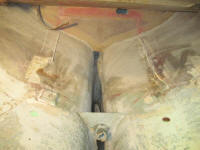
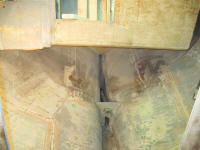
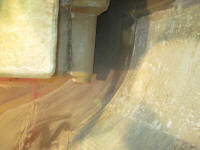
Next, I measured up the old fuel tank, noting its
dimensions in order to obtain a quote for a new,
identical one.
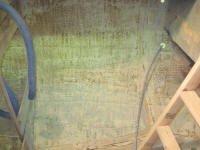
Because of the reconfiguration of the engine room and
adjacent spaces that I planned, there was space
available against the hull on both sides of the engine
room, outboard of the main space, in the spaces
previously occupied by both quarterberths in the
original design. These empty, underutilized spaces
just begged to be filled with new tankage. I spent
some time working out a few basic aspects of the
potential tank spaces, mainly to determine where
longitudinal bulkheads would go (more or less in the
same place as the original port-side longitudinal
bulkhead), and how high the tanks should extend.
With these basic criteria thus determined, I measured up
the overall size of the space, which I'd use to design a
pair of tanks for each side to contain both fuel and
water. Later, I'd use all my measurements from the
various spaces to design, and obtain quotations for, the
new tankage.
Note: These photos showing the potential tankage
space outboard of the engine room date to October 27,
2010. |

 |
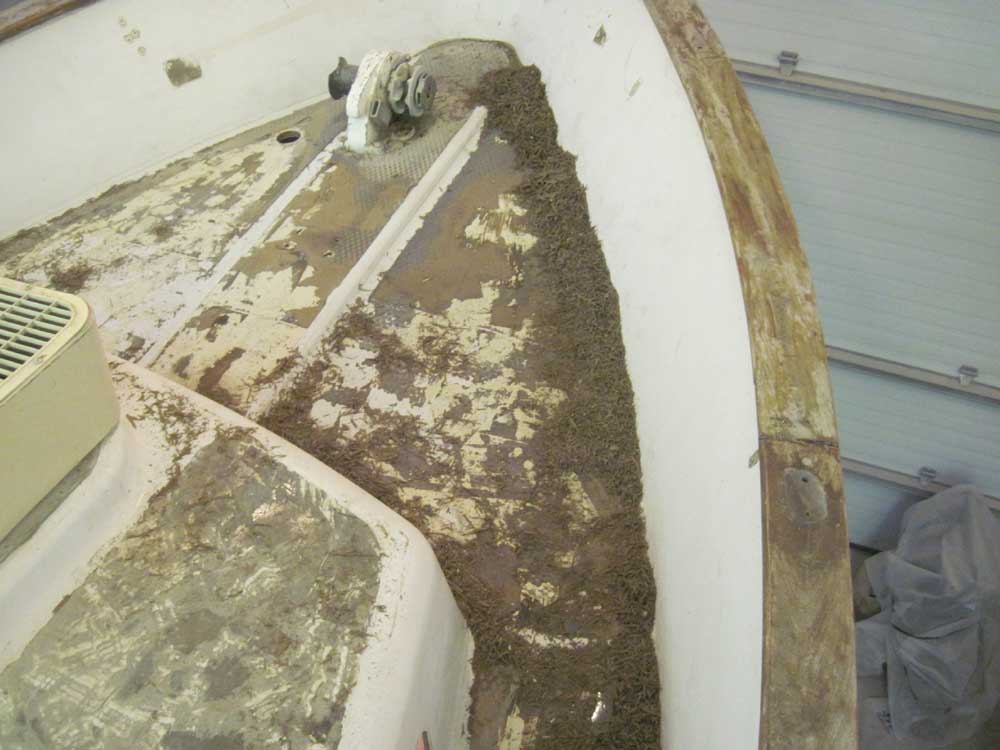
With a bit more time in the day, I made another attempt
at the Treadmaster removal, beginning where I'd left off
on the foredeck. I'd equipped my planer with some plain
high speed steel blades, versus carbide, but was
disappointed in the performance. The new blades quickly
dulled, and progress was minimal. However, I managed to
at least partially remove much of the remaining material
from the foredeck, and I figured this represented my
last attempt before turning to other tools as I sanded
and prepared the entire deck for repairs and paint. |
 |
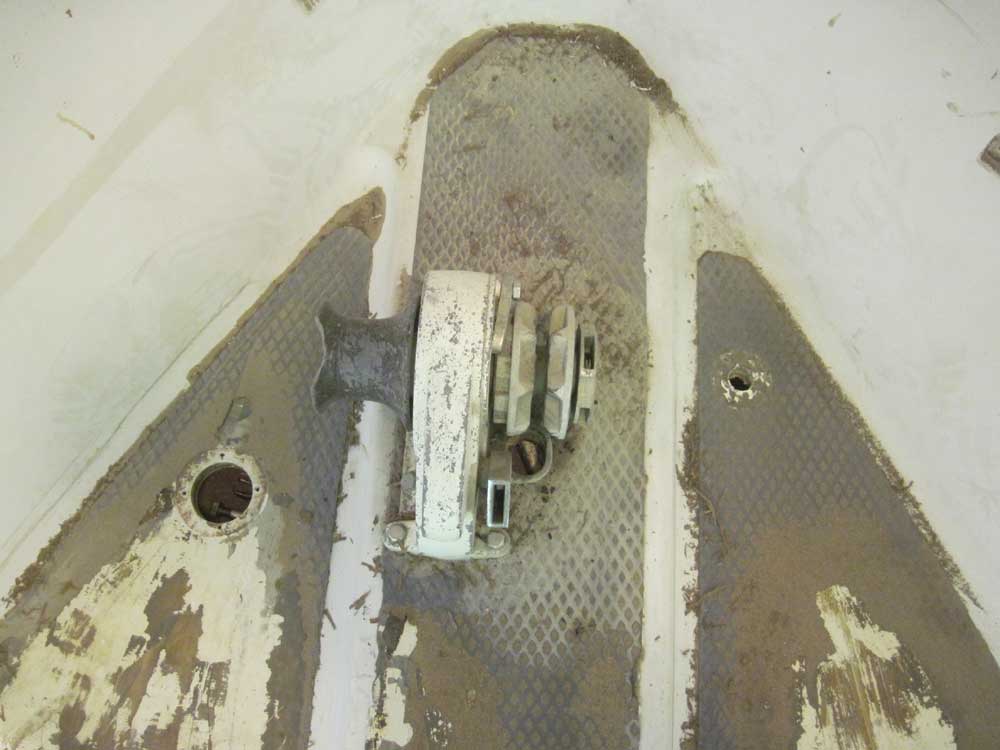
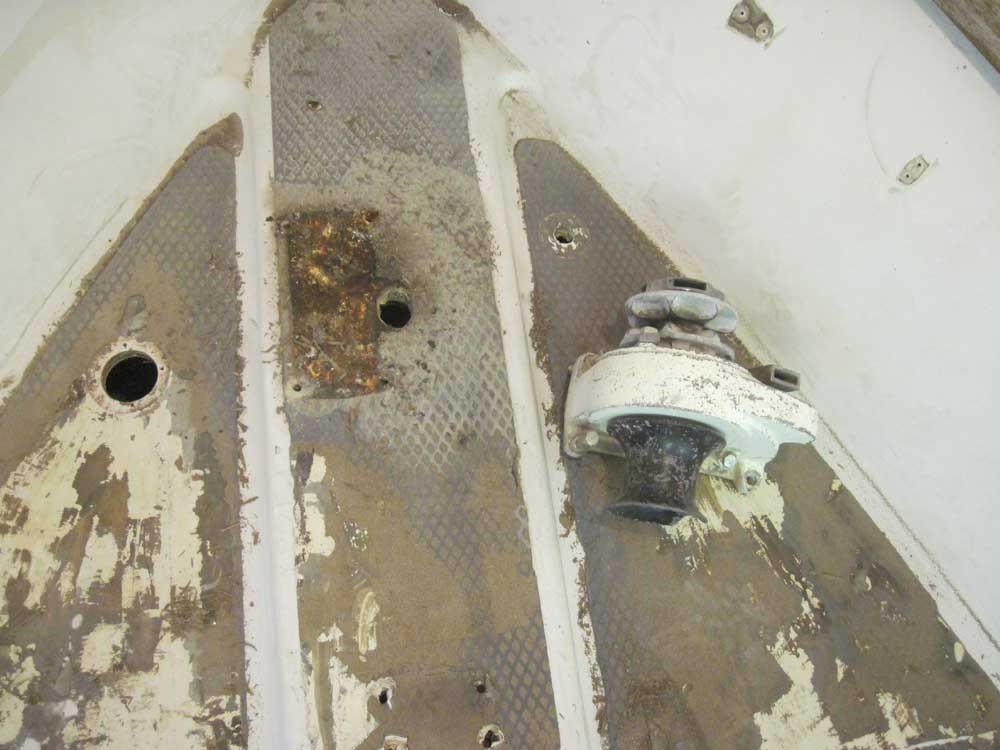
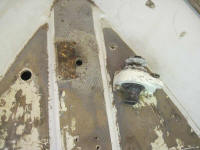
One last piece of hardware remained: the old
manual windlass. For whatever reason, I'd
postponed its removal for a while, but now it was time
to unbolt and remove it. |

 |
| |
Total Time Today: 6.5 hours
|
<
Previous |
Next > |
|
|