Project Log: Sunday, December 11, 2011
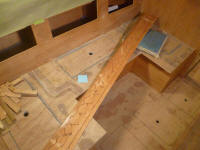
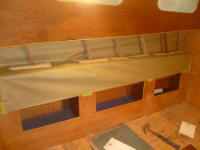
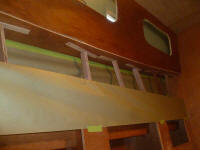
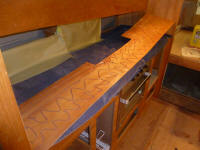
After final preparations to the mating surfaces, I
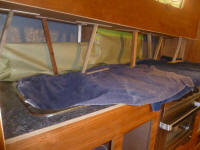
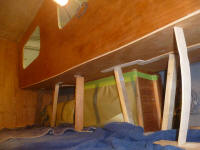
applied polyurethane adhesive to the two cherry panels
in the dinette and galley, and propped them tightly into
position in their respective spaces. I used a tube
of mahogany-colored adhesive that I had leftover from
some project, which was enough to secure these two
panels. |
 |
Since this was regular-cure 5200, I planned to leave the
panels wedged as is for several days, till the adhesive
cured sufficiently. I had more fast-cure on
order for the remaining paneling in the pilothouse and
elsewhere.
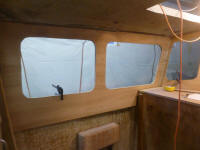
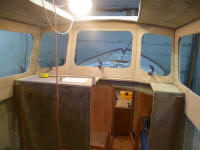
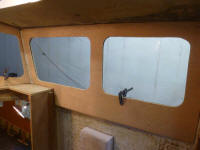
Using the marks I made yesterday, I cut out the window
openings in the pilothouse paneling, and test-fit all
the panels once more, held loosely with a single clamp
on each panel. |
 |
Previously, when I installed the panels on the cabin
sides in the main cabin, I'd cut the window openings
undersized with a saw, then trimmed them to final shape
with a router once the panels were glued in place.
While this worked well in that instance, the clearances
around the pilothouse windows were too small to allow
easy use of a router, so I simply cut right to the line
with the saw; the window openings in the fiberglass
weren't exactly precision-machined to begin with, so
this approach saved time and was of ample accuracy.
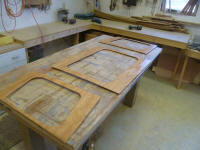
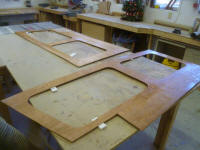
Satisfied with the fit of the panels, I removed them for
a light sanding before epoxy-coating the backs of the
panels and seal-varnishing the exposed surface. |
 |
I hoped to purchase a custom replacement window for the
center of the pilothouse; the original featured a
drop-down glass panel that didn't function well and
didn't look very watertight. I took some
measurements so I could begin to research the project
and obtain quotes. Similarly, I measured the door
opening from the cockpit, as I also hoped to purchase an
aluminum sliding door to replace the old wooden one.
|
Total Time Today: 3.25 hours
|
<
Previous |
Next > |
|
|


