Project Log: Saturday, December 31, 2011
Though the layout details of the starboard pilothouse
bulkhead were somewhat different than the port side, the
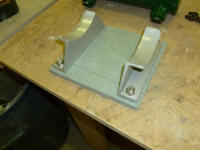
basic process was the same. To begin, I completed
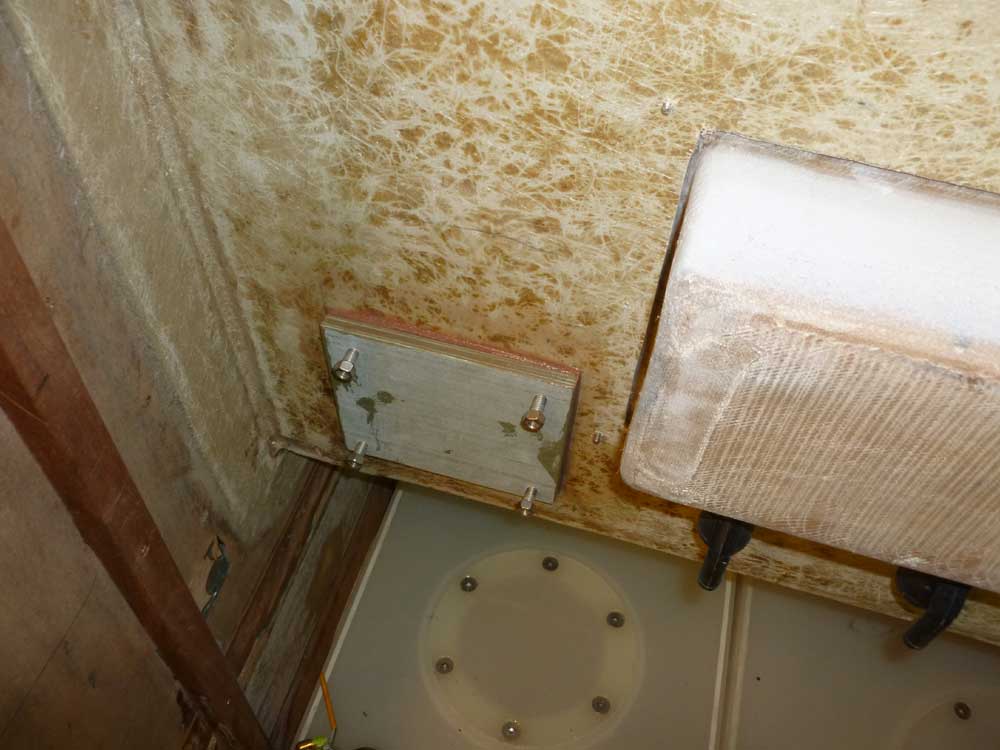
work on a fiberglass bracket to hold the heating
system's expansion tank, installing studs flush from the
back side to hold the supplied aluminum brackets to
which the tank would be secured.
With this complete, I epoxied the block to the
pilothouse in the appropriate spot, once more holding
the block in place with a couple dabs of hot glue in
strategic places. |

 |
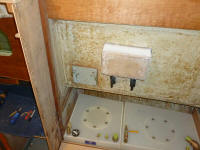
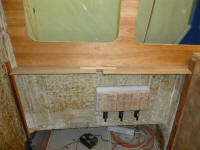
The locker opening to access this tank--and the nearby
hose connections for the fuel and water tank
fills--would necessarily be in a different position than
its counterpart across the way, but nonetheless I wanted
the basic dimensions and positions to be as compatible
as possible. To begin, I laid out an opening
identical to that on the port side at the bottom of the
bulkhead, for access to the tankage and other
installations that would go in the space. |
 |
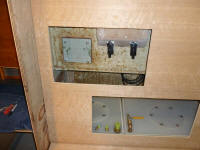
Then, I laid out an opening for expansion tank access,
keeping the overall height of the opening equal to that
of the port opening, though this opening was located
near the forward end of the bulkhead. |
 |
I wasn't yet sure what, if anything, I'd install in the
remaining area of the bulkhead. I was trying to
work out some seating arrangements, and thought I might
need this space for a bulkhead-mounted bracket of some
sort. As always, one thing depending on 23 others.
Also, I wondered if the efforts required to build
recessed storage areas in this area and that on the port
side would be worth time, given the limited space
available. I didn't want to willingly waste
potential storage space, but also didn't want to spend
30 hours building little storage units that would
ultimately hold only the most insignificant miscellany.
As with all things, these questions would eventually
work themselves out, though I didn't know the final
answers now. |
 |
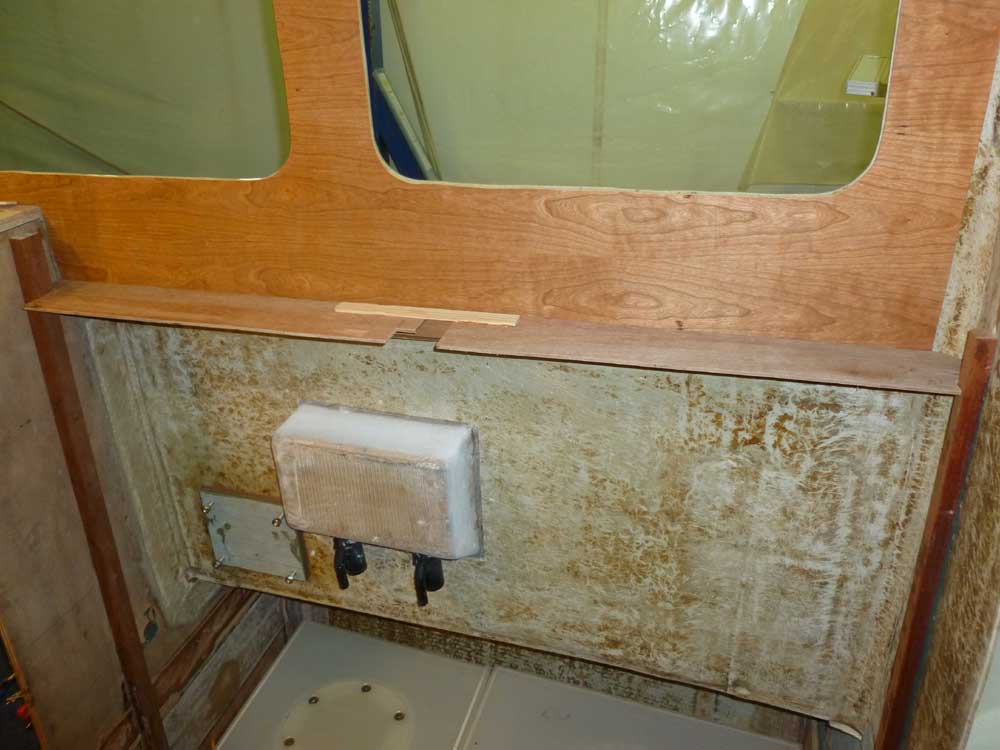
At the top of each bulkhead, I planned a narrow,
recessed shelf, which would work well as general storage
for small items. The shelf would be roughly 3"
wide and as long as the bulkheads, or a bit over 48".
A similar shelf had been part of the original boat's
layout.
When I installed the cherry paneling on the inside of
the pilothouse, I'd intended to end it a bit higher than
I did, leaving a bare fiberglass space to which to
install cleats for the very shelves I was now
contemplating. But I forgot to do this, so the
cherry extended all the way down to the place where the
pilothouse molding took an outboard 90° jog.
After due consideration, I decided this was OK; I could
install support cleats directly on the plywood.
This tiny shelf would serve no structural purpose and
wouldn't be supporting significant weight, and while I'd
have preferred the cleats be bonded to the fiberglass, I
saw no reason why a cleat glued directly to the plywood
wouldn't be more than adequate. The paneling,
secured in 5200, wasn't about to fall off, and I
certainly didn't relish the prospect of removing 2" or
so from the bottom of the paneling now.
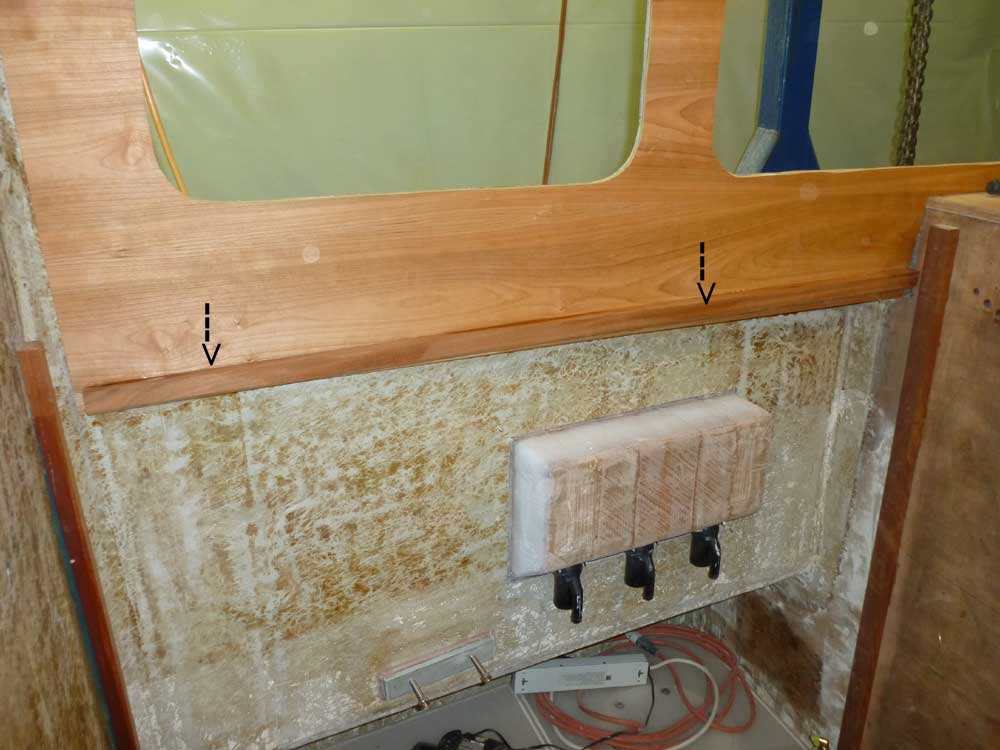
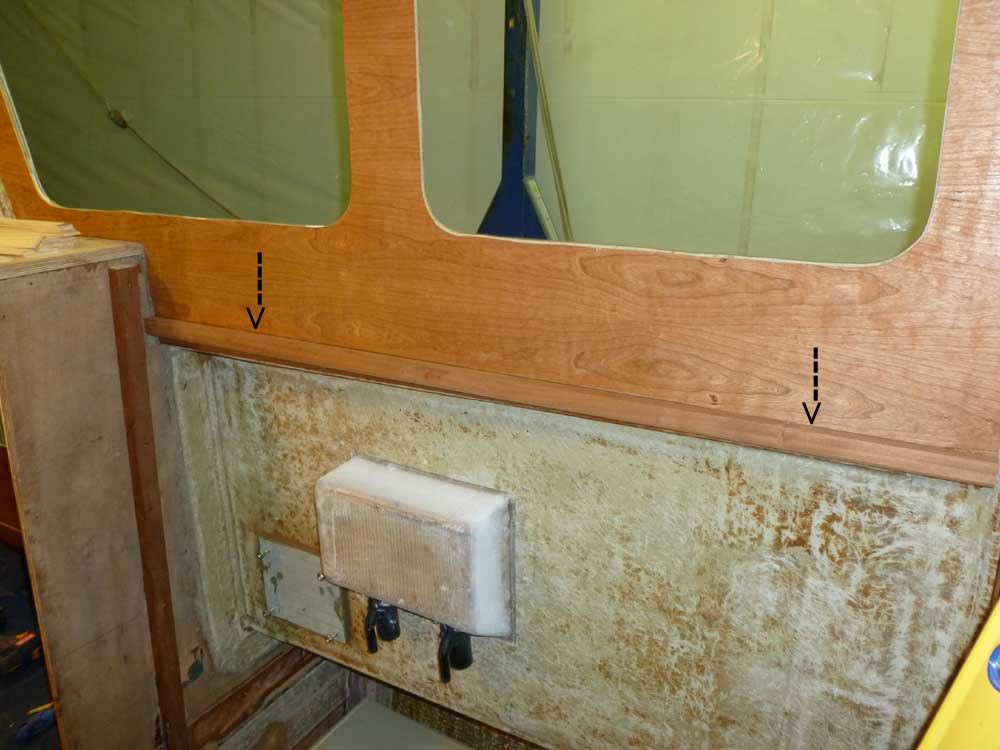
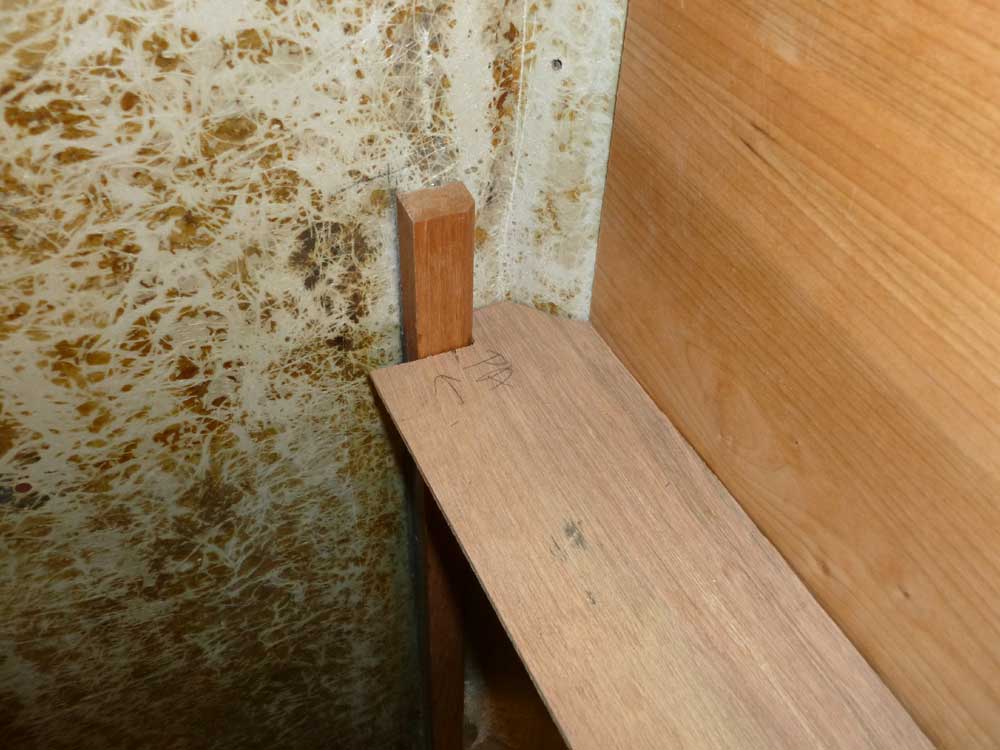
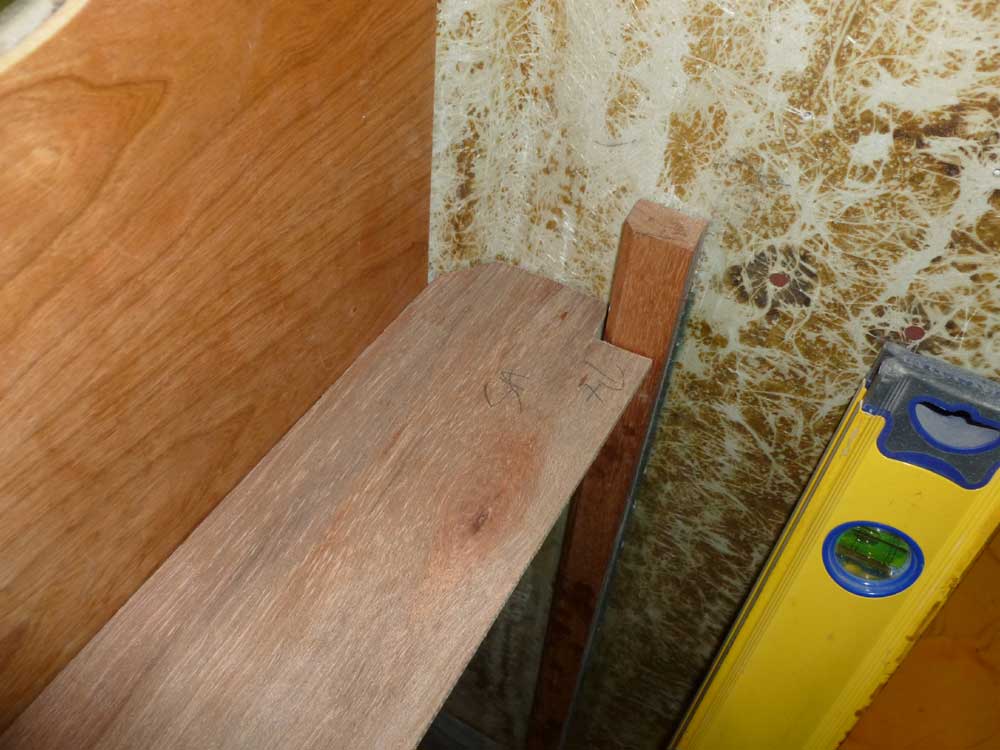
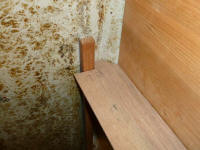
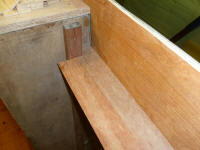
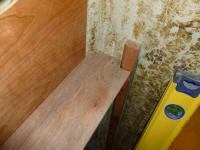
Pressing on, I determined a likely position for the
shelf and, after measuring and marking the depth on each
side, I marked a level line along the length of the
panels, then, after sanding the bonding surface of the
panel to remove varnish, cut and installed hardwood
cleats using epoxy adhesive and small dabs of hot glue
to hold the cleats in place while the epoxy cured.
The arrows in these photos demark the cleats, which
otherwise blended in with the surrounding paneling. |

 |
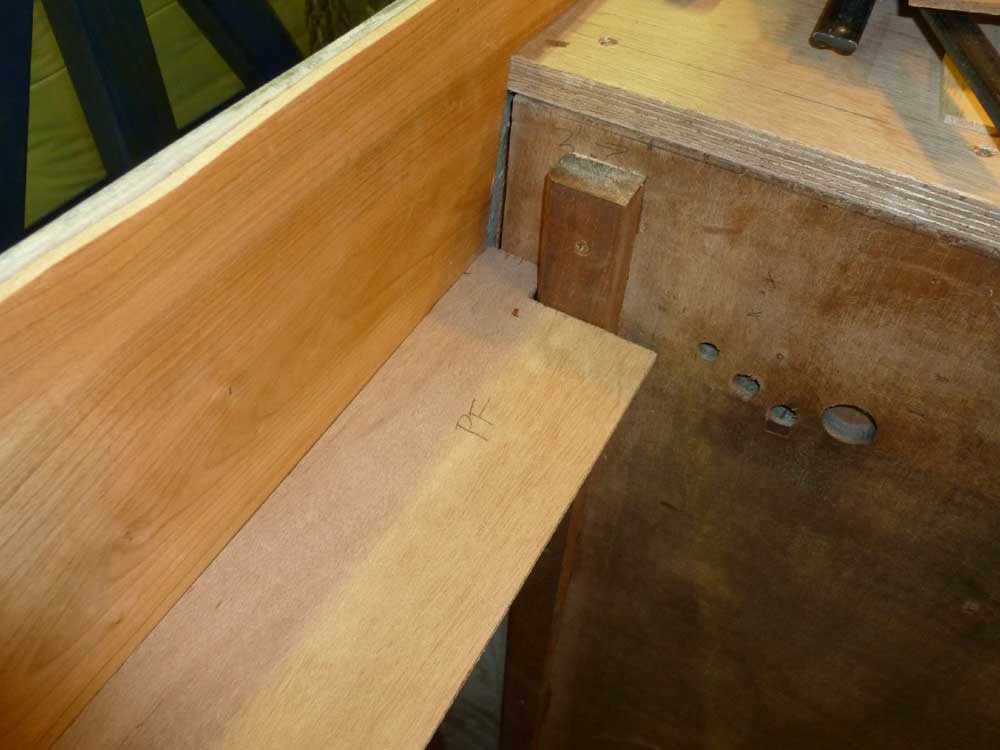
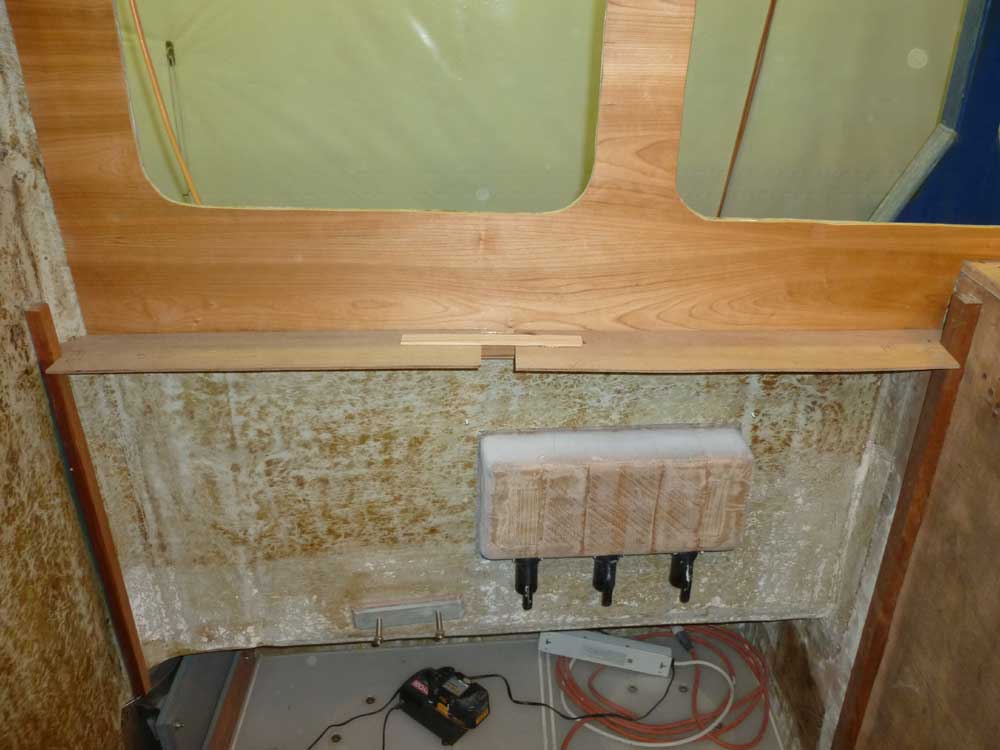
For the shelves, I made simple plywood templates of each
end of the two shelves, scribing each piece to fit the
necessary shapes. To make this easy, I cut two
template pieces for each side; they met just shy of each
other in the rough center of the shelf's length, and
once I'd cut the ends satisfactorily I simply connected
the two template halves with some paint sticks glued in
place, giving me the full-size template required for the
actual shelves. I marked the widths of the shelves
on each template as needed. |

 |
It was getting late, so I decided to leave remaining
shelf construction for next time. |
| |
Total Time Today: 3.25 hours
|
<
Previous |
Next > |
|
|