Project Log: Monday, January 3, 2011
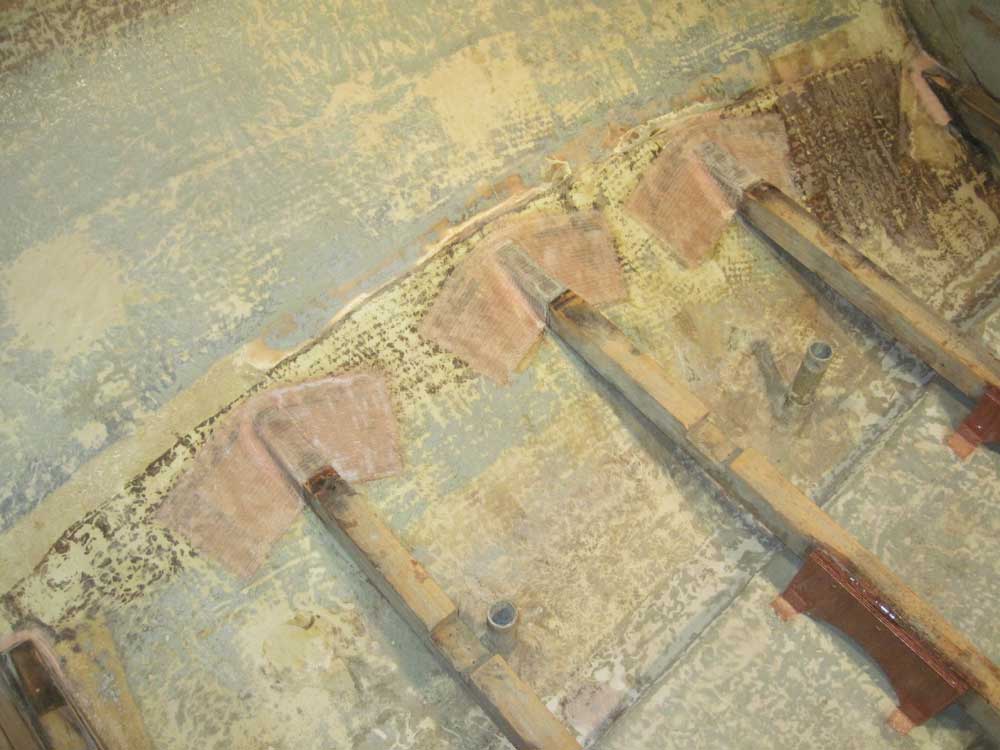
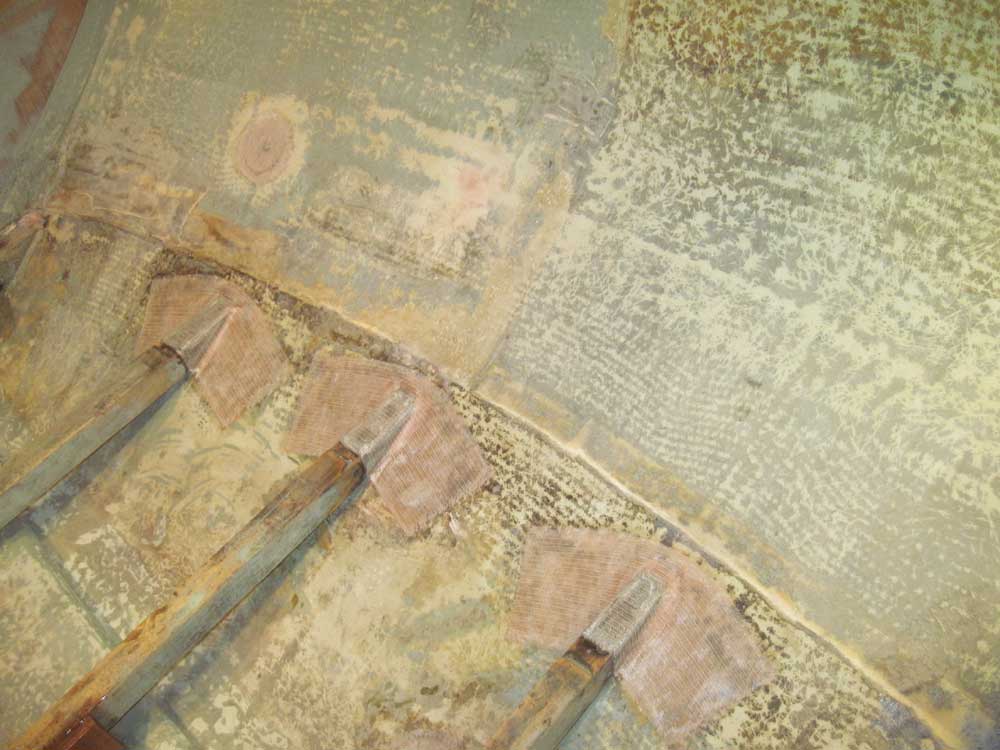
The cabin sole beams were greatly improved now that they
were fully tabbed and supported. It was nice to
move around without the beams bending, squeaking, or
creaking.
In my habitual way, I washed and briefly sanded the new
tabbing to remove rough edges and prepare it for later
painting steps. |

 |
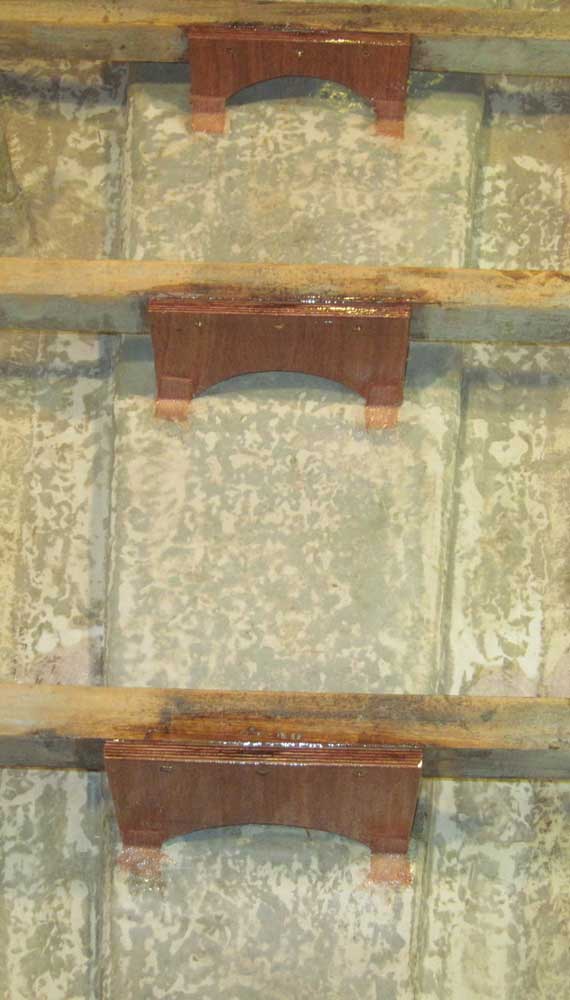
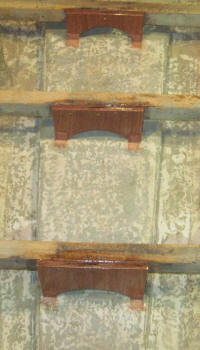
I coated the plywood center supports with epoxy to seal
the remaining raw wood, and then decided to install
small bits of tabbing at the base of each leg as a bit
of extra strength. Though the supports, which were
epoxy-glued to the bilge, would probably never see undue
strain, for 10 minutes' work I thought the tabbing was
reasonable insurance. |
 |
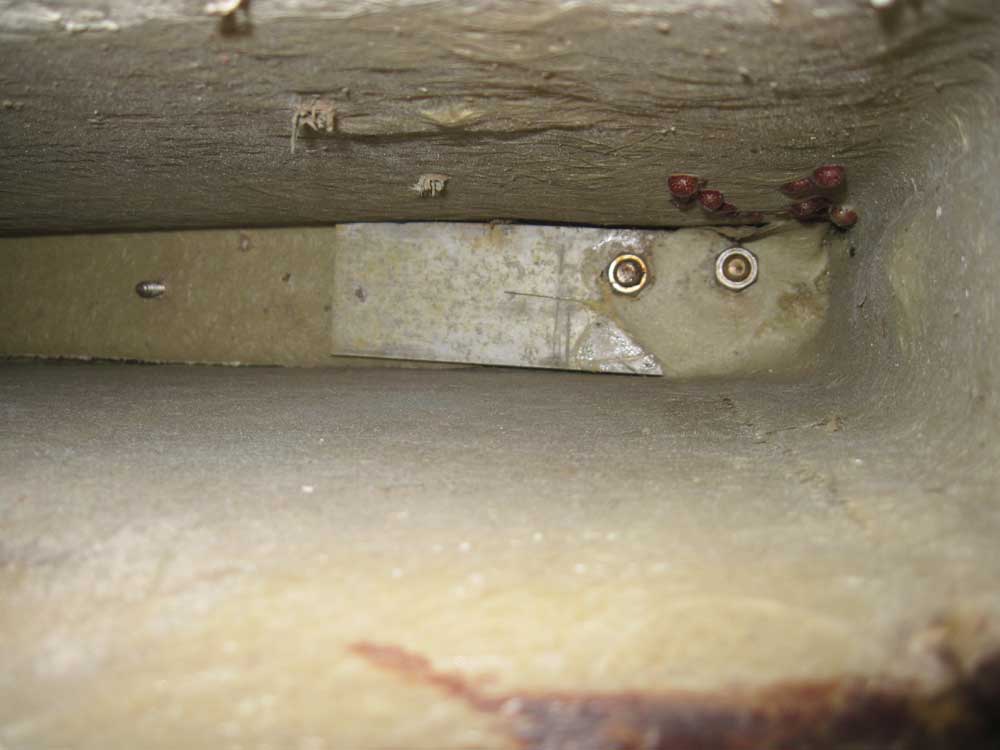
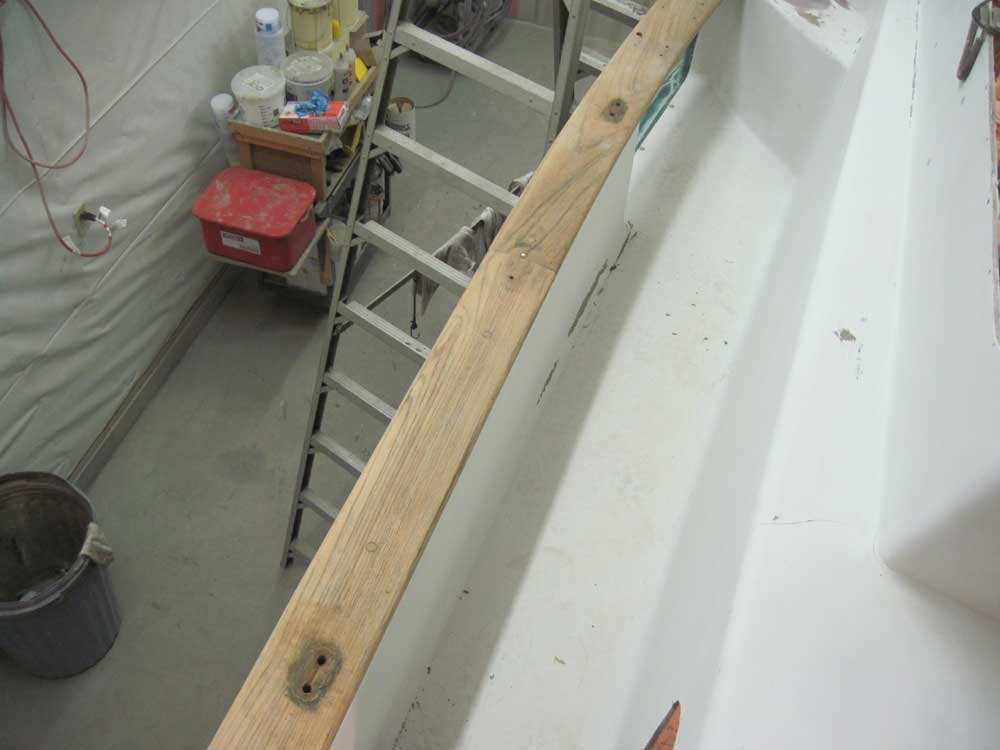
Now that I'd committed to removing and rebedding the
rail, I turned to the U-bolts through the caprail.
I assembled a long extension for my ratchet, and,
beginning with the broken U-bolt on the port side,
removed the nuts from beneath. (Tongue depressor
for scale) |
 |
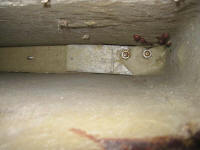
Access to the nuts with the extension was
straightforward, if tight, but with the boat empty it
was almost comfortable to lie against the hull, where I
could look into the molded recess formed by the
bulwarks, and remove the nuts. The nuts were easy
to remove and didn't even require any force to break
loose. The broken U-bolt was easy to remove once
the nuts were removed, as I could twist the whole
assembly and back it out. |
 |
In this manner, I removed the nuts for all eight U-bolt
assemblies that were accessible beneath the caprails
from the cockpit to the bow. Two additional pair
were located aft, outboard the cockpit coamings, and
their removal would have to wait till I'd installed the
access ports.
Pleased with how easily all the nuts had come off, I
knew that things would have to come crashing down sooner
or later. The U-bolts were installed through
aluminum backing plates, which, as aluminum in contact
with stainless steel is wont to do, had formed rings of
corrosion around the threads that tended to hold the
U-bolts firmly in place.
Oh, it would have been easy enough to break free this
corrosion if I'd been able to bang away on the studs
from beneath, but with the tight access inside the
bulwarks this wasn't possible, at least not with the
tools that sprang immediately to hand.
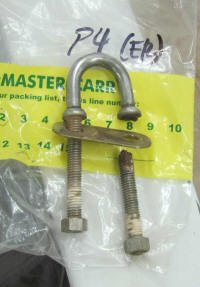
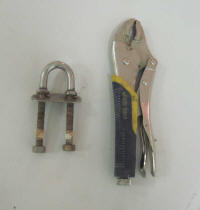
Somehow, I managed to remove two of the U-bolts on the
starboard side, though with difficulty. The rings
of corrosion were readily visible on the threads.
(Vice grips for scale only) |
 |
Continuing on, however, I ran into increasing difficulty
releasing the U-bolts from the aluminum's grasp, and
after fighting and banging away for a while on the next
two U-bolts on the starboard side, I decided to call it
quits for the moment and decide how to proceed.
I'd already decided to replace all the U-bolts, so my
first step was to ensure that I could get my hands on
the proper replacements (I could, and I ordered the
requisite 12).
I'd try to locate some sort of banging tool first, which
would allow me to hit the threads from beneath and
release them so I could pull them up from above; if that
didn't work, I'd simply cut off the U-bolts from above.
Either way, that'd be for another time. |
| |
Total Time Today: 3.25 hours
|
<
Previous | Next > |
|
|