Project Log: Friday, November 4, 2011
Beginning the day without clear and significant
direction, I fussed about with one of the plywood engine
room panels and several components of the fuel system.
All along, I'd known that I wanted to install the fuel
filters--a quick-change, 75500MAX dual turbine filter
unit from Racor--at the forward end of the starboard
engine room, where they'd be easily accessible not only
from the engine room itself, but, more importantly, from
the vertical engine room hatch leading into the main
cabin. I thought this access would be handy if I
needed quick access without disrupting the entire
pilothouse.
To this end, I determined the mounting location for the
filter. Although with the pilothouse sole removed
I'd have unfettered access and unlimited clearance from
above for servicing the filter (which I anticipated
would be the most likely scenario), since I had ample
room I chose to mount the filters low enough on the
panel to allow the requisite 4" clearance above for
element changes, so that it would be possible to change
the elements without necessarily removing the sole
panels above. This also left sufficient room
beneath the filter bowls for drainage; I planned to
replace the plugs with valves for ease of use.
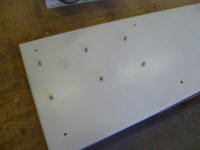
With the basic mounting decisions made, I marked the
mounting hole locations and drilled six holes, which I
tapped from behind to accept 3/8-16 hex screws.
Along with a bit of epoxy, the threads would hold the
studs securely, so that (in theory, anyway) I could
install and remove the entire filter assembly without
needing access to the back of the plywood panel. |
 |
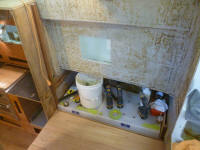
For a while, I played around with various locations for
my fuel supply and return manifolds on the aft portion
of the plywood panel, but decided I needed to wait till
I was actually running fuel lines to determine where
they should best be placed; I could install them much
later in the process with screws from the engine room.
Instead, I simply installed the panel in the engine
room, as much to get it out of the way as anything.
For now, I also left the filter assembly off and would
attach it later, but the studs were in place and ready
for whenever. |
 |
After some thought, I determined that my next course of
action needed to be the pilothouse. It was time to
design and install the new side panels (aka longitudinal
bulkheads) that would finish off the space, and which
would also allow me to complete the interior paneling (I
planned to line the pilothouse in wood, as I had the
rest of the interior), as well as configure the storage
and mechanical spaces outboard of the panels, in the
area above the saddle tanks on both sides. This
would be valuable space for both basic storage
(particularly tools, spare parts, and engine items), as
well as additional systems installations. My brief
time playing with the fuel system mockups on the panel
revealed the fact that certain systems
installations--notably the potable water system, with
its multiple inlets, water pump, accumulator tank, and
more-complicated-than-I'd-like plumbing to incorporate
the water heater, a filtration system, and supply to the
head and galley--would require some of this extra space.
In a way, it was only logical that I continue with the
"major" interior structures in this way, now that the
interior basics were in place in the saloon and forward
cabin, but the reality was that there were several other
chores I was also thinking about, including,
significantly, the cockpit reconfiguration and propane
locker, which I briefly touched upon a while back.
But getting the pilothouse interior squared away, at
least in a rough sense, was necessary for most of the
engine systems--like the steering system, fuel system,
and the engine installation itself--and other
interior-related systems, like the heating, water
system, and, not insignificantly, various navigation and
electronics planning and installations. Nothing on
a boat occurs in a vacuum.
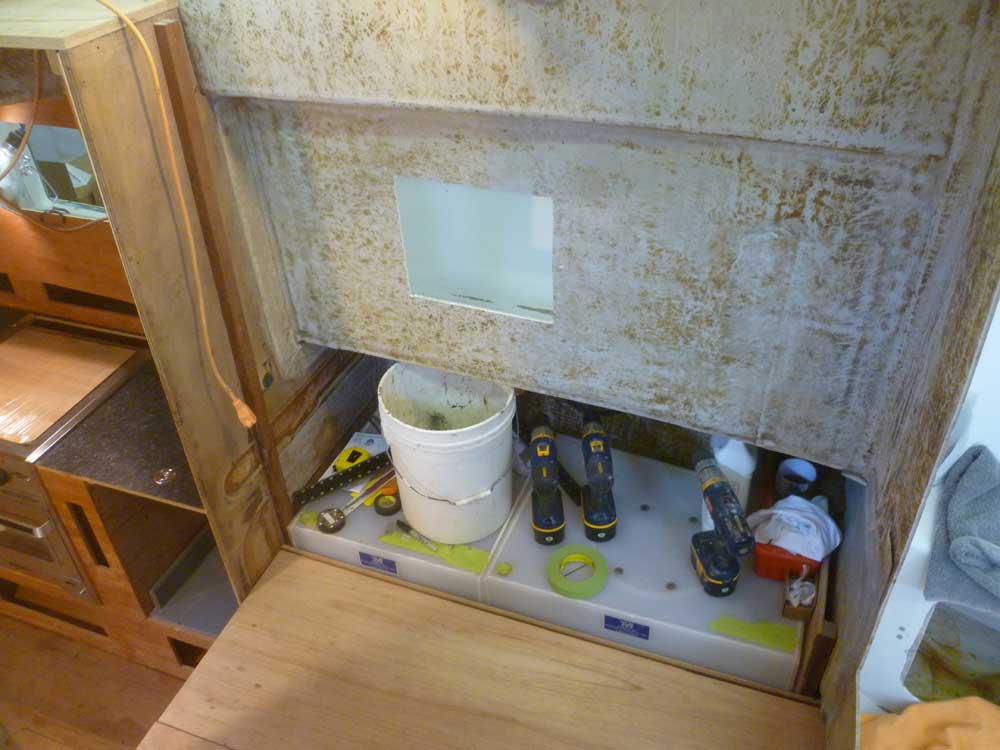
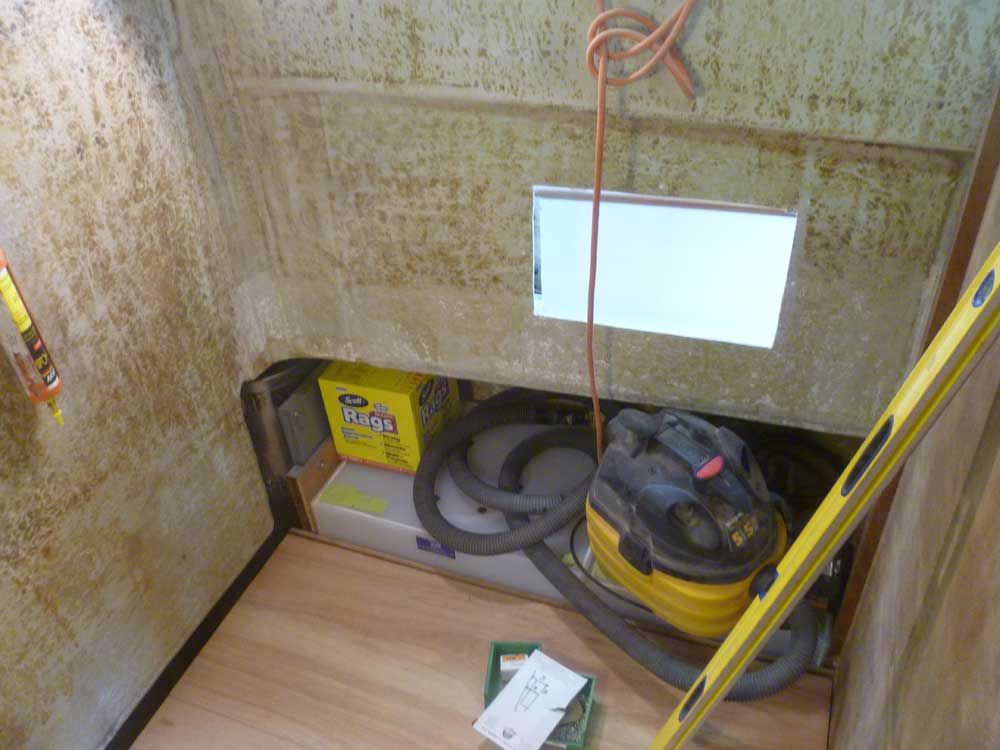
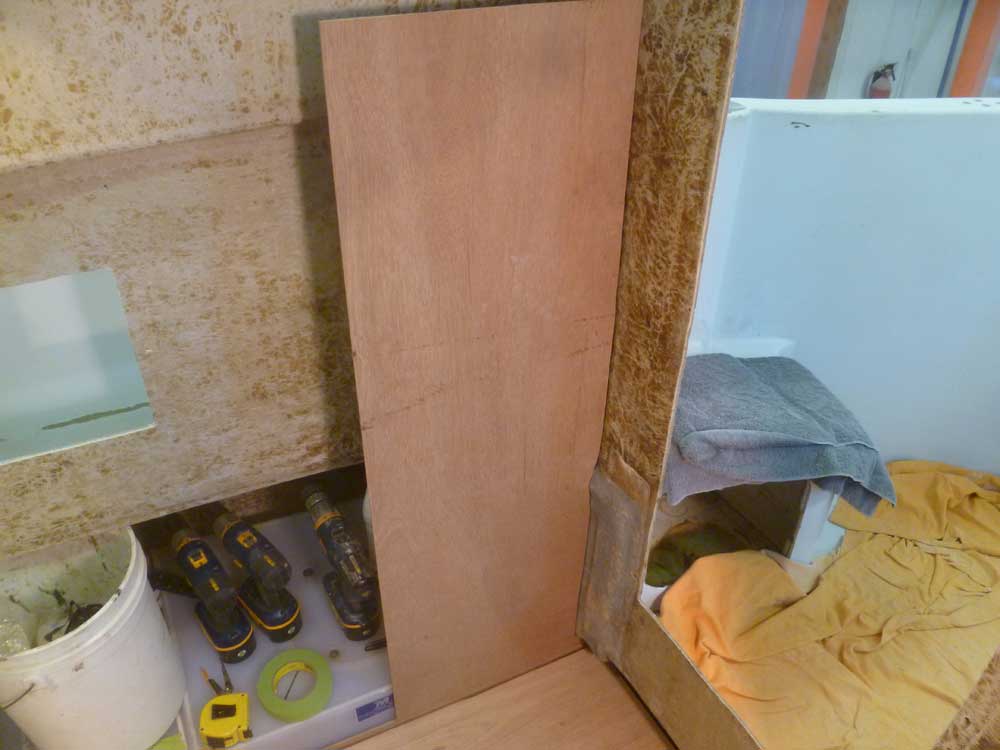
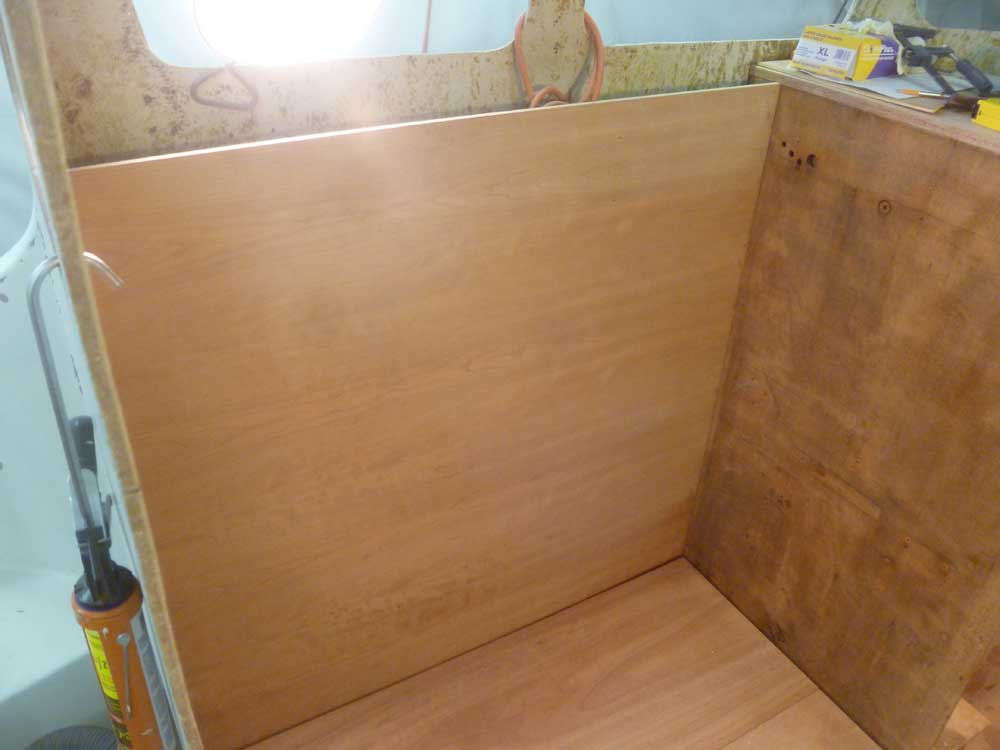
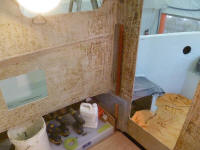
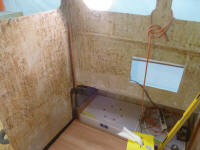
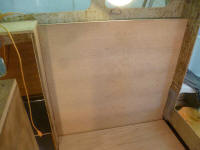
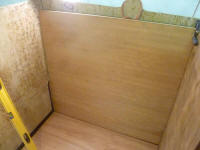
During an earlier stage of construction, I'd laid the
basic groundwork for the upper portions of the
pilothouse, so the initial layout of the two bulkheads
was fairly straightforward. These photos show the
spaces I began with. |
 |
I'd already installed--long ago--a support cleat at the
forward ends, which cleat was crucial to the layout and
installation of the engine room bulkheads beneath, and
these cleats, along with the existing bulkheads,
determined the positioning of the new bulkheads.
However, I needed to install support cleats at the aft
end, where the bulkhead would meet the aft side of the
pilothouse.
With a level, I extended plumb lines up from the
existing cleats beneath, and cut hardwood cleats to fit
as needed. On the starboard side, some existing
original fiberglass work created a lumpy surface, so I
omitted the cleat over that area, using two shorter
sections as needed. After preparing the surfaces,
I installed the cleats with 3-hour curing epoxy
adhesive, using hot glue to hold them in place while the
epoxy cured. On the port side, I was able to use a
bar clamp at the bottom end as well. |
 |
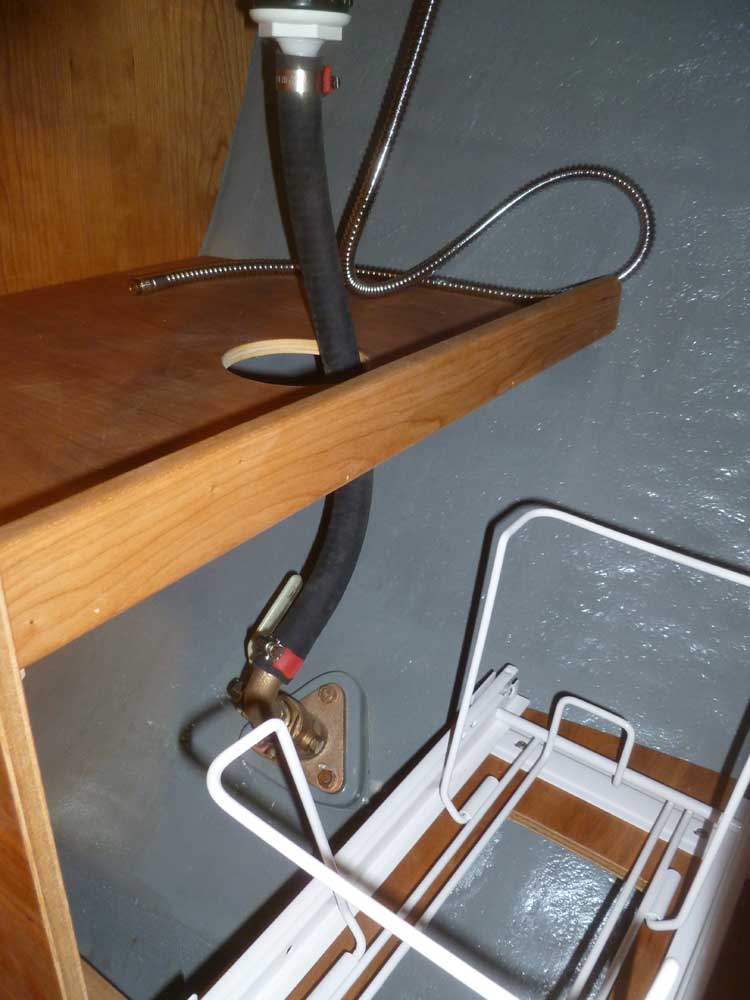
While I waited for the adhesive to cure sufficiently, I
took care of some odds and ends in the cabin, beginning
with the galley sink drain hose. |
 |
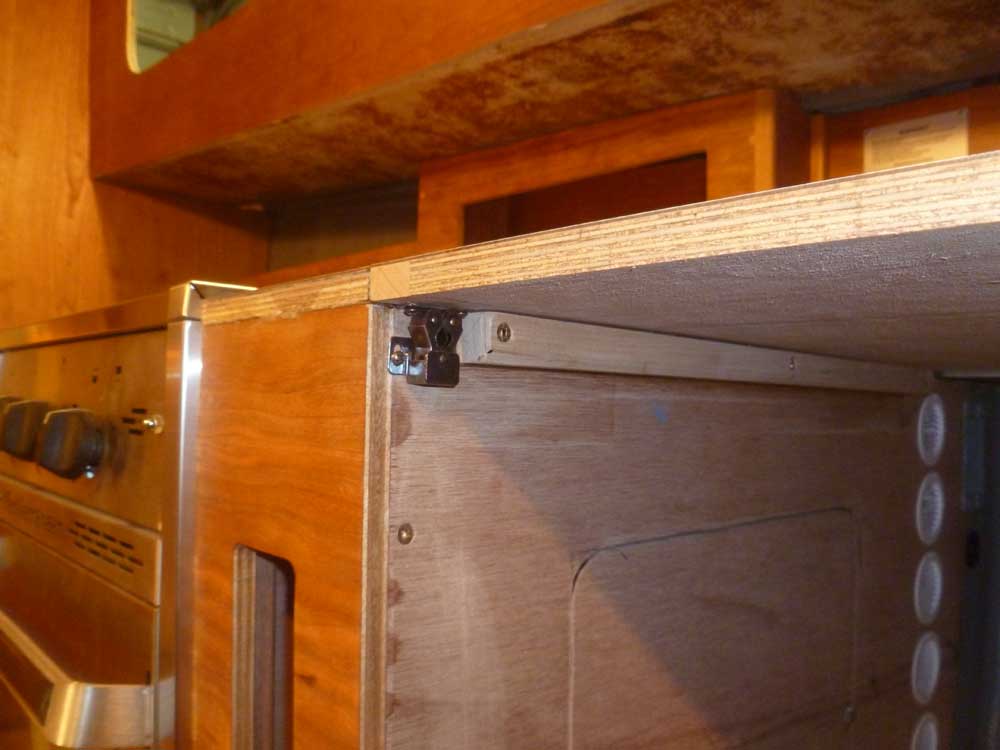
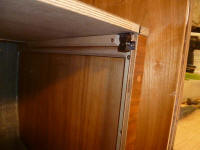
I installed a pair of friction catches on the
refrigerator compartment lid, to hold it securely in
place when closed. |

 |
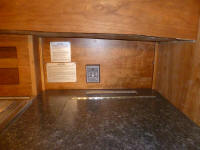
With the varnish on the electrical/plumbing chase
complete, I installed some placards and the propane
control panel, and put the panel into position for my
own enjoyment. |
 |
By now, the epoxy had cured enough that I wasn't worried
about jarring the cleats out of position, nor about
getting too much goop on myself or the patterns I'd need
to create for the bulkheads. The bulkheads would
be essentially rectangular, but the aft end of each
required scribing to the shape of the fiberglass.
For each side, I made a template from scraps of 1/4"
plywood, kept on hand for such an event. Once I'd
achieved the required shape for a close fit at the aft
end, I measured forward to the existing bulkhead, which
gave me the overall length required. |
 |
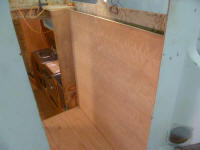
From here, it was straightforward to cut the panels for
each side. I left them full-height (48"), which
brought them to just beneath the level of the dashboard,
as planned. This was more or less how the original
cabinetry in the pilothouse had been configured (on the
port side, at least; in my case I was essentially
duplicating this to starboard in place of the original
awkward settee). The final details of their
height, or shape, would work themselves out as I went
forward.
I thought the panels seemed high, and indeed they were
currently higher than what had been there originally,
but there was time to figure out exactly where they
should end; in any event, I knew the panels had to
extend beyond the "jog" in the pilothouse (seen in the
photos of the open space above), and also high enough to
support a narrow shelf. Beyond those criteria,
however, there was leeway to shorten or otherwise modify
the tops of the panels. All in due course. |
 |
With the basic panels cut to size, my next task would be
to lay out and create any openings for locker access or
other storage needs. This would be a dynamic
process, as certain decisions relied upon upcoming
installations, but in the meantime I'd be able to
continue with other aspects of the pilothouse
construction. |
| |
Total Time Today: 6.75 hours
|
<
Previous |
Next > |
|
|