Project Log: Sunday, April
8, 2012
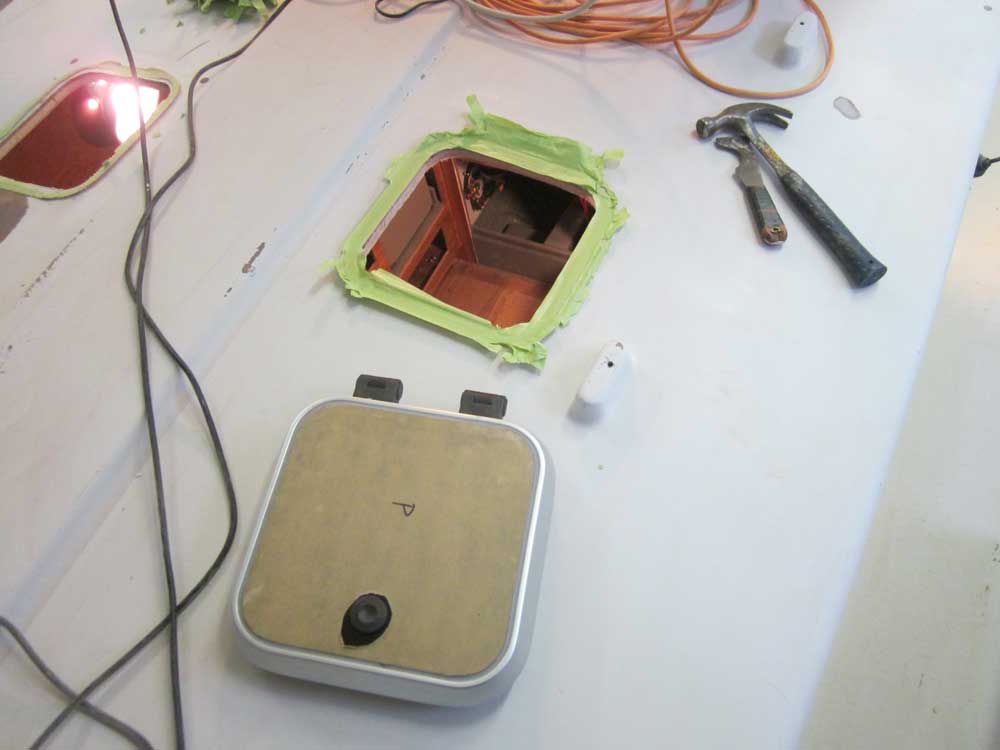
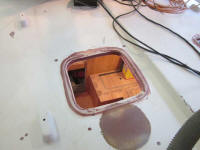
To begin, I peeled the masking tape away from the
hatches and carefully released the hatches from the tape
and epoxy beneath. The hatches released
without damage, leaving behind all the tape for my later
removal. |
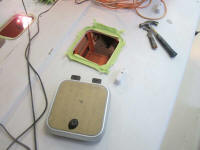 |
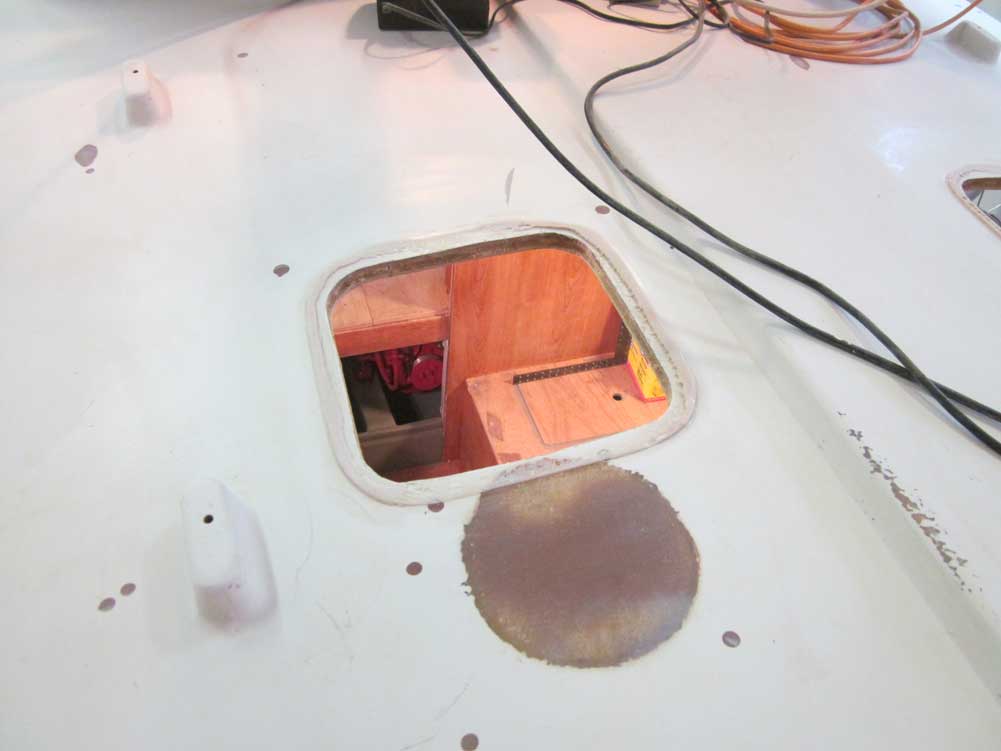
The tape was well-stuck to the epoxy, and it took a
while to peel and scrape away the remains, after which I
lightly sanded the surfaces as needed. At the same
time, I reamed out some of the core from around the
edges of the hatch opening, preparing it for an epoxy
fill. |

 |
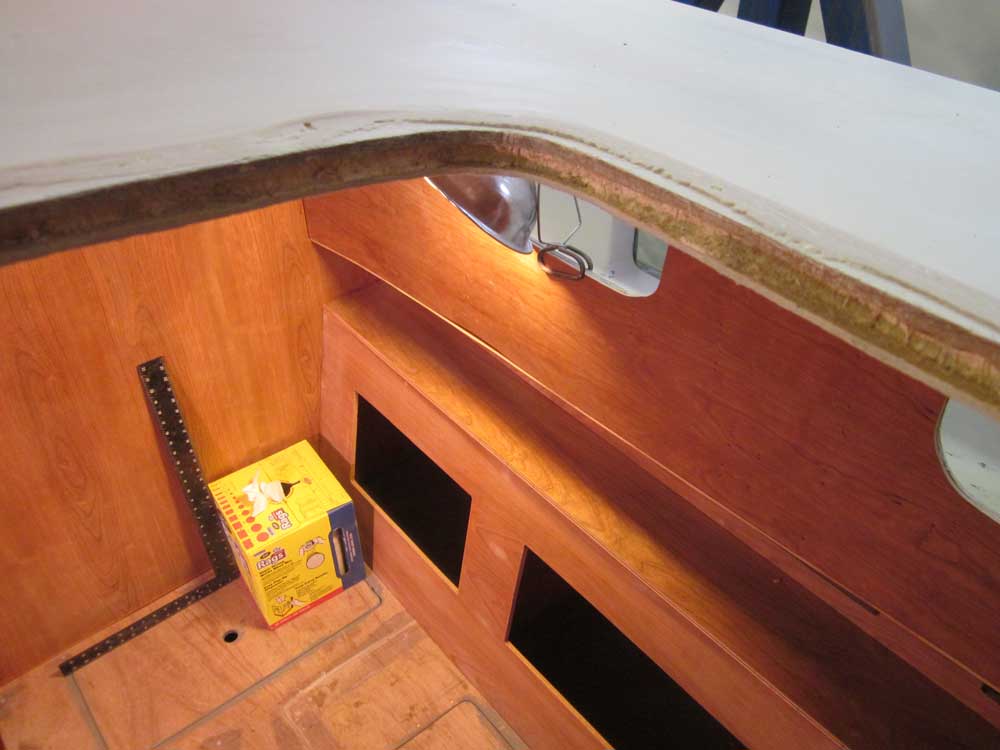
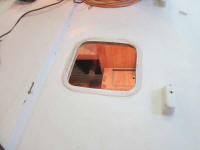
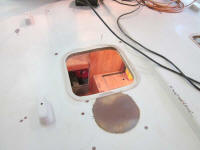
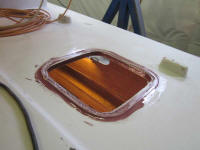
After cleaning up the debris, I filled the gap at the
edges of the openings with an epoxy mixture, and used
more of the same to form a small fillet around the outer
edges of the hatch opening as formed by the new epoxy
platform, to ease the transition and make the appearance
more pleasing. |
 |
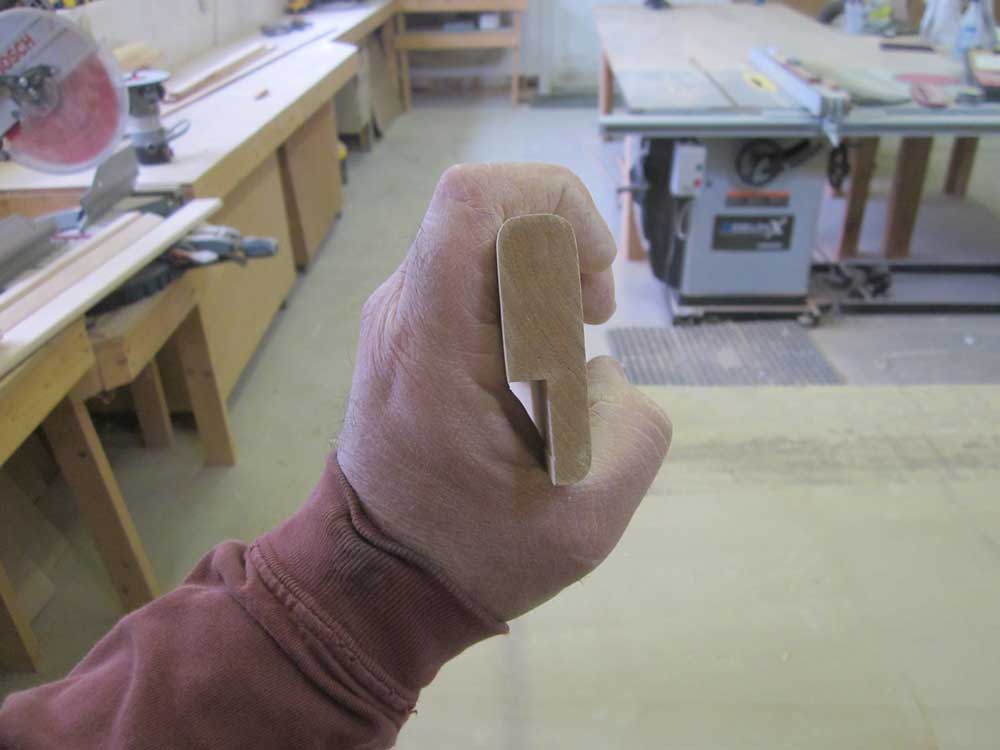
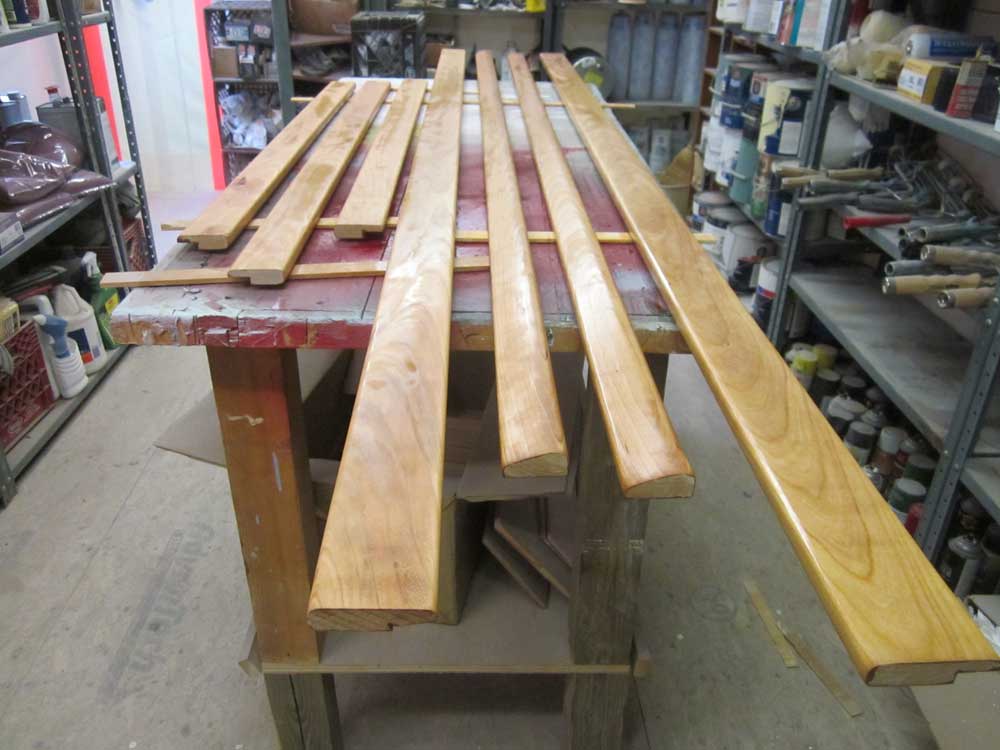
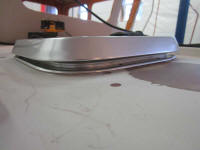
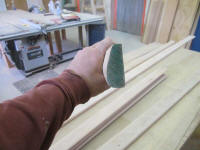
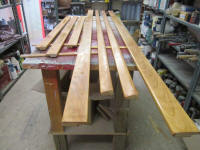
For the rest of the day, I worked on the new trim that I
milled earlier, sanding all the pieces through various
grits to remove milling marks and till the contours were
smooth and ready for varnish. It always takes a
long time to sand new trim.
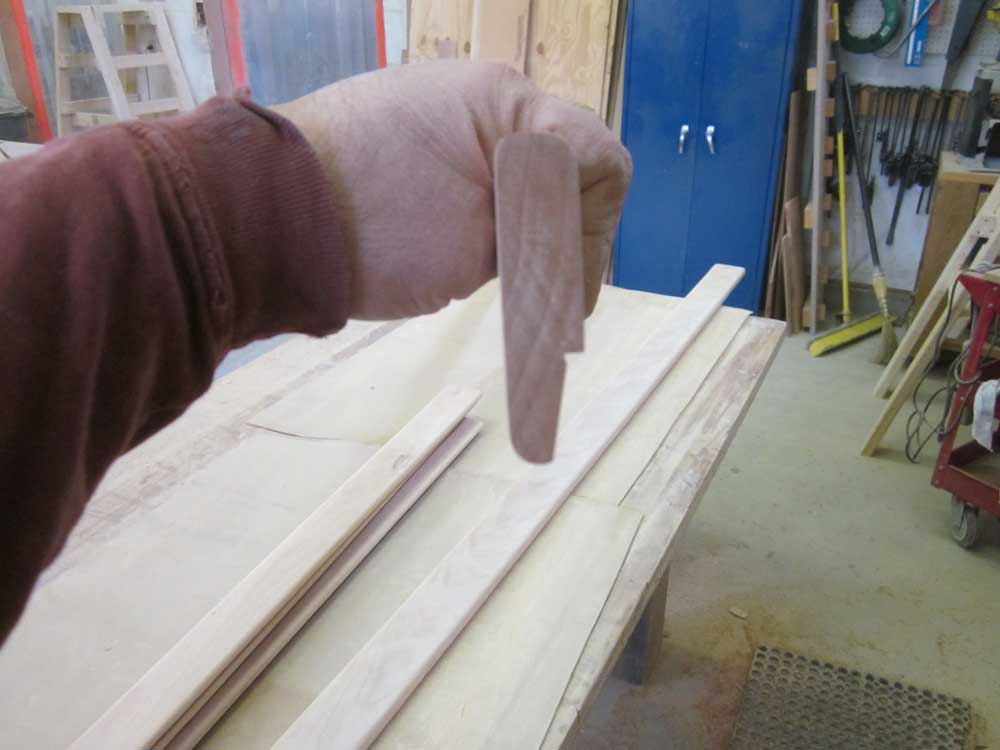
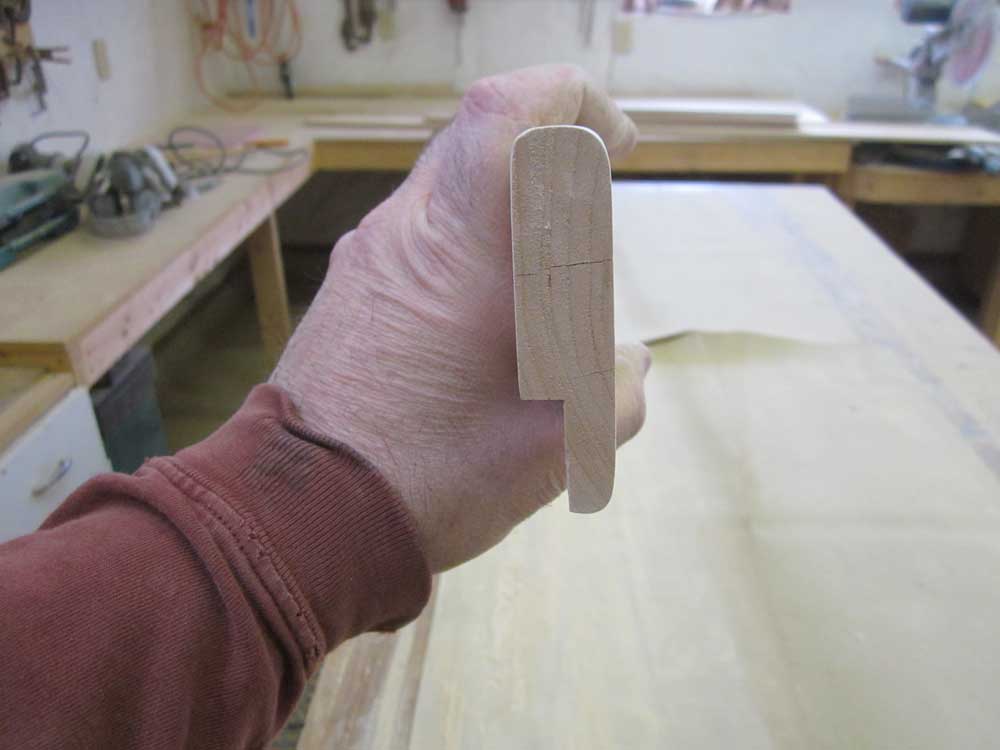
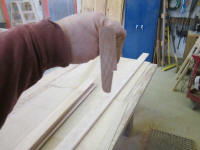
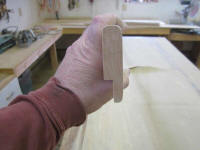
These photos show the various profiles:
|
Cabin Edge Trim
(To conceal indirect lighting source)
 |
Dinette Seat Cushion Fiddle
 |
Dinette Backrest Shelf Fiddle
 |
| |
Galley Countertop Fiddle
 |
|
After dusting and solvent-washing the various pieces, I
applied a sealer coat of varnish to all sides. |
 |
|
Total Time Today: 4.75 hours
|
<
Previous | Next > |