Project Log: Monday, January 2, 2012
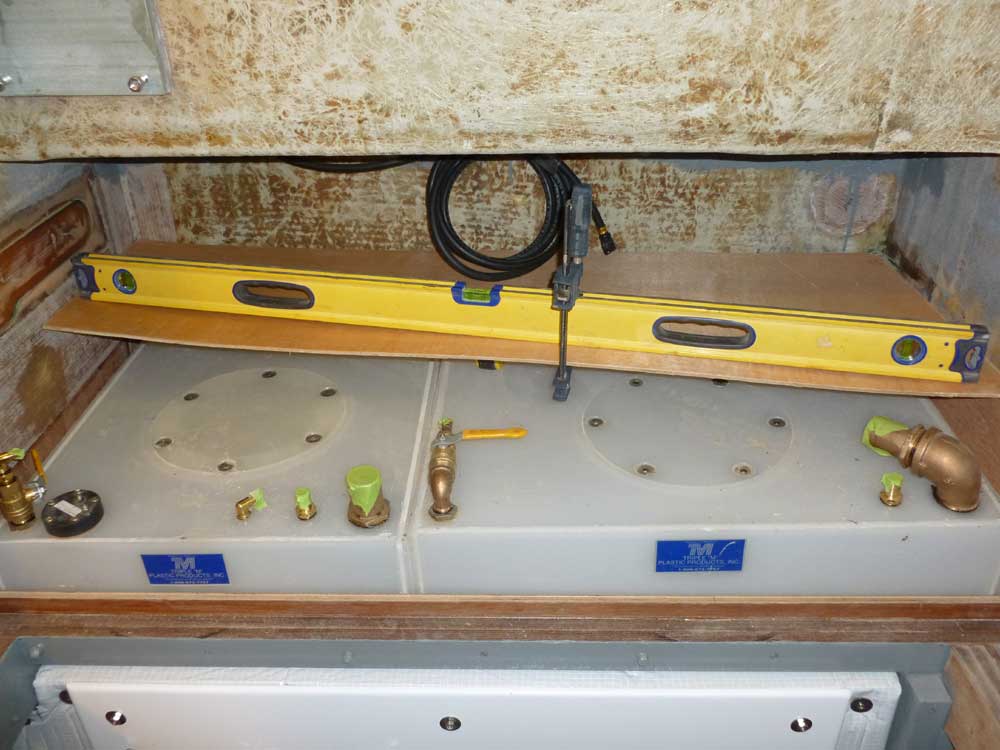
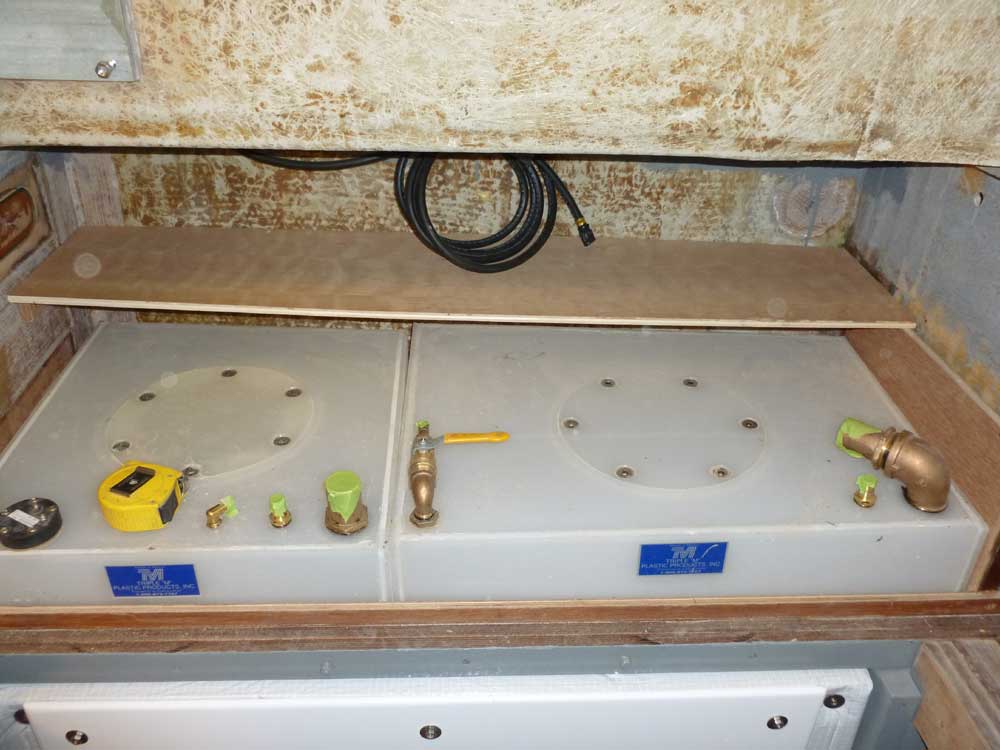
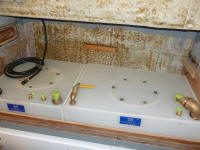
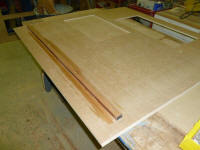
Using the template I made at the end of the day, I cut a
shelf for the port side of the engine room/tankage
space. I cut the shelf to 10-1/2" wide at
the ends, leaving ample clearance for access to the
inspection ports on the tank tops. I used leftover 1/2"
cherry plywood for the shelving, as that's what I had on
hand. |
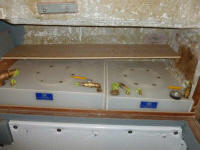 |
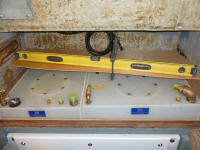
Using the same plywood template I'd used for the port
side, I created a template of the matching starboard
shelf, scribing the plywood to fit. The level and
clamp in this photo are holding the thin plywood from
sagging in the center. |
 |
I transferred the template shape to more 1/2" plywood
and cut out the starboard shelf. |
 |
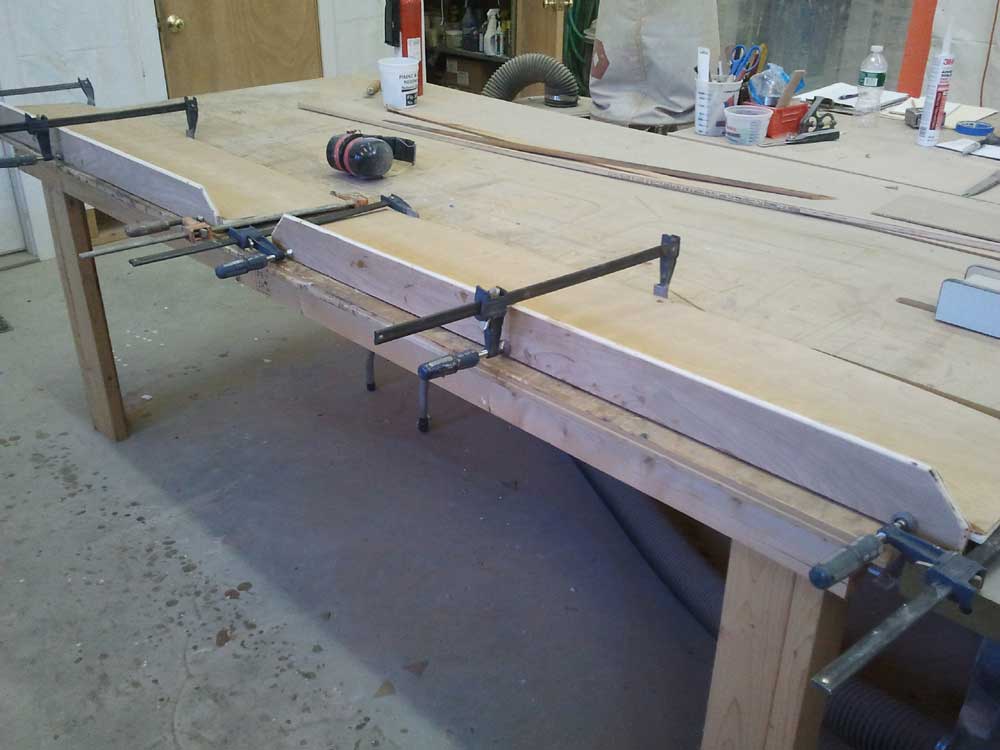
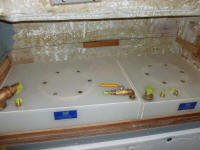
To finish off the shelves before installation, I glued
on a plywood doubler at the inboard, unsupported
edge of the shelves, which would help stiffen the
plywood over its length. Then, I secured a plywood
fiddle to each shelf with epoxy, chosen for additional
strength. These utility shelves would
eventually be painted, so I didn't worry about my epoxy
fingerprints. the selection of cherry plywood as
the material was simply because of its availability.
I would have liked to have built these shelves from 18mm
Meranti plywood, and would have if I'd had any on hand,
but wasn't about to buy a sheet just for this purpose. |
 |
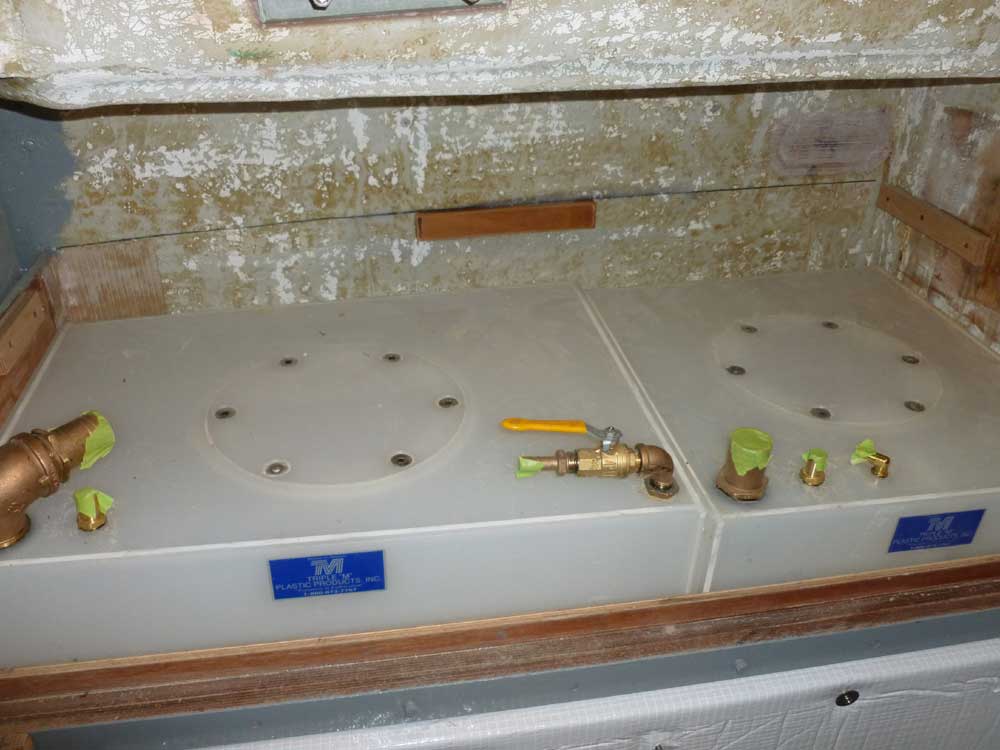
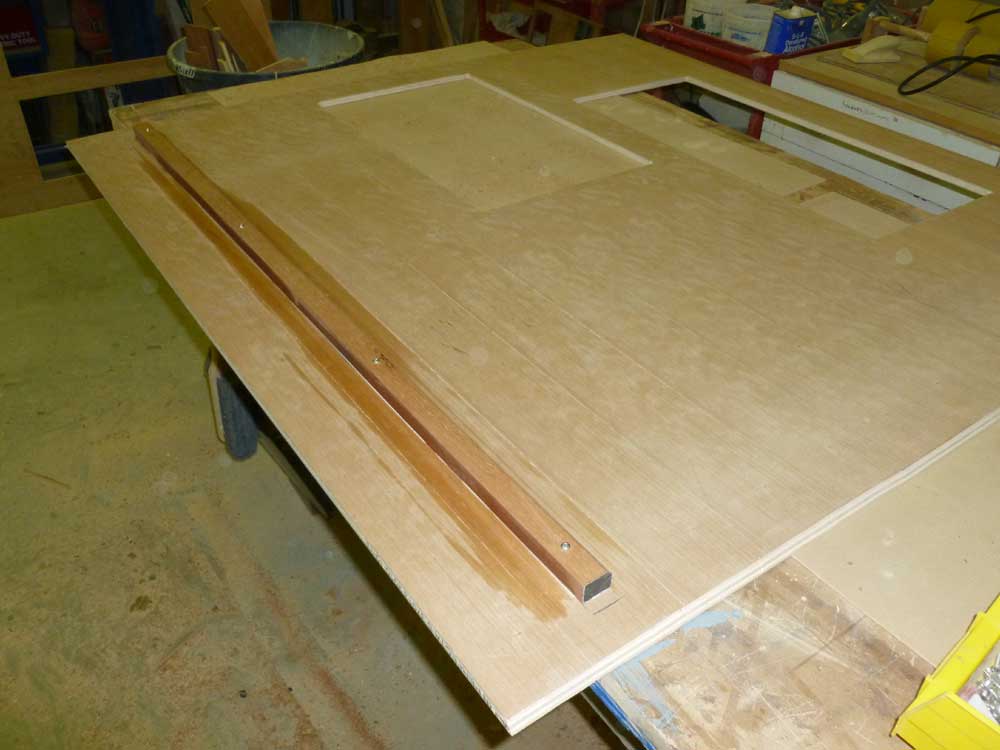
To help support the shelves, I epoxied mahogany cleats
to the hull at the centerpoint of the shelves.
There was no need for a full-length cleat. |
 |
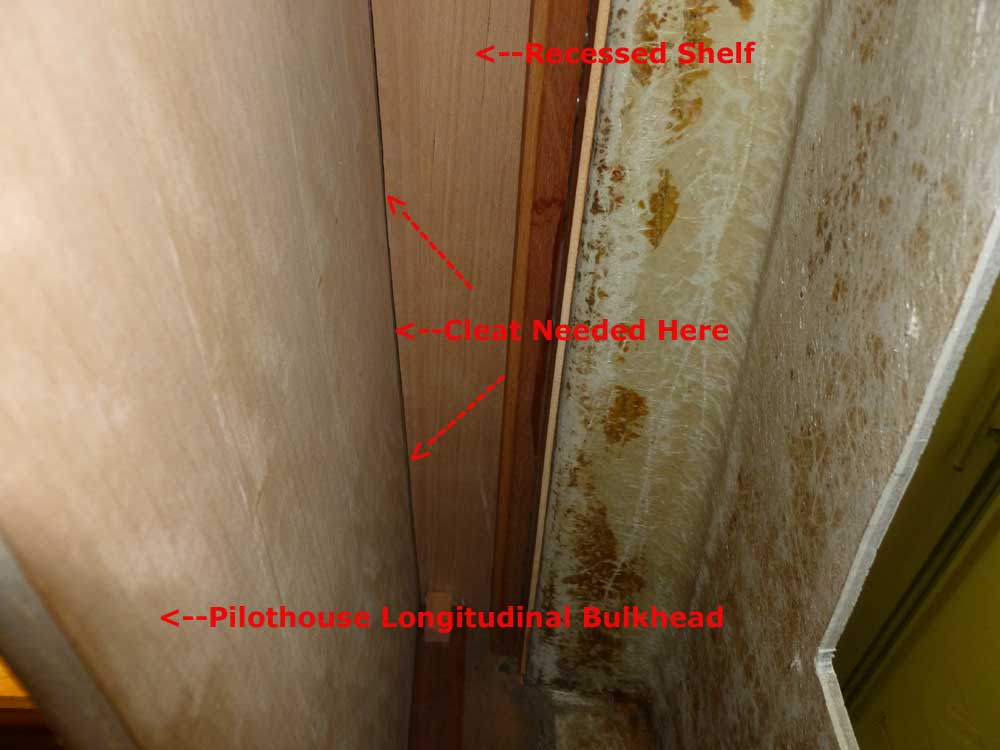
To support the narrow, recessed shelves at the top ends
of the longitudinal pilothouse bulkheads, I required an
additional cleat, located on the back side of the
bulkheads. In turn, I placed each bulkhead in
position and, working from the narrow space
inside--though there was plenty of access--I marked the
bulkhead beneath the inner edge of the shelf. |
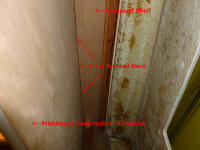 |
With the marks made, it was a simple matter to cut and
install hardwood cleats on the bulkheads with glue and
screws. I used panhead screws here (normally I use
flat head screws countersunk flush) as these cleats
would never be seen, and this saved me a couple steps in
the installation process. |
 |
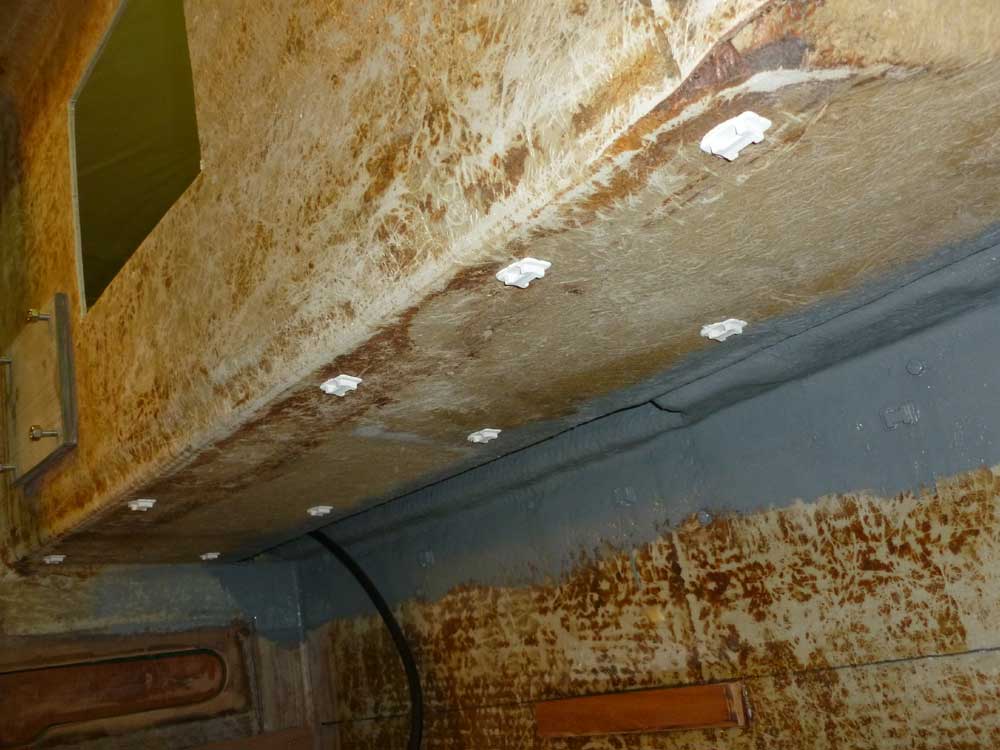
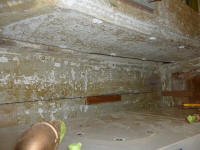
I knew there'd be wiring and hoses running through the
tankage spaces, and to prepare I installed a series of
wire tie mounts in a final step before painting these
areas; the mounts didn't stick well to painted surfaces,
so I took the opportunity now though I didn't know
exactly how or where the runs might be. |

 |
Behind-the-scenes work on this day revolved around
continuing fine-tuning of the electrical panels as I
approached the final specifications and near-future
ordering; I'd need the panel details finalized so I
could mock up and eventually build the helm and
navigation console. Details on the panels to
follow when appropriate. |
| |
Total Time Today: 3.75 hours
|
<
Previous | Next > |