Project Log: Saturday, May 5, 2012
With plans for varnish later, I lightly sanded all the
surfaces in the main cabin to prepare them for the next
rounds of work.
The day's main focus--the only focus, as it turned
out--was to build a heat shield above the galley stove.
While clearance above the stove was adequate, the center
burner was partially beneath the overhanging deck and
cabin trunk, and whether strictly necessary or not I
felt some form of heat protection was prudent. I'd
insulate the overhead directly above the stove (i.e. the
underside of the sidedeck), as well as a portion of the
vertical cabin trunk face above the stove.
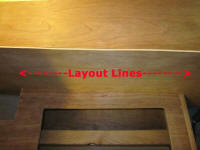
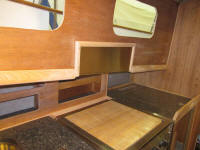
To begin, I checked the inside dimensions of the two
ports above the stove and determined that the trim rings
required an inch or less of clearance. After
checking that the port openings were level, as I
expected, I used two lengths of 1" tape to mark out a 2"
offset beneath the port openings, which gave me a
starting point for the insulation work. |
 |
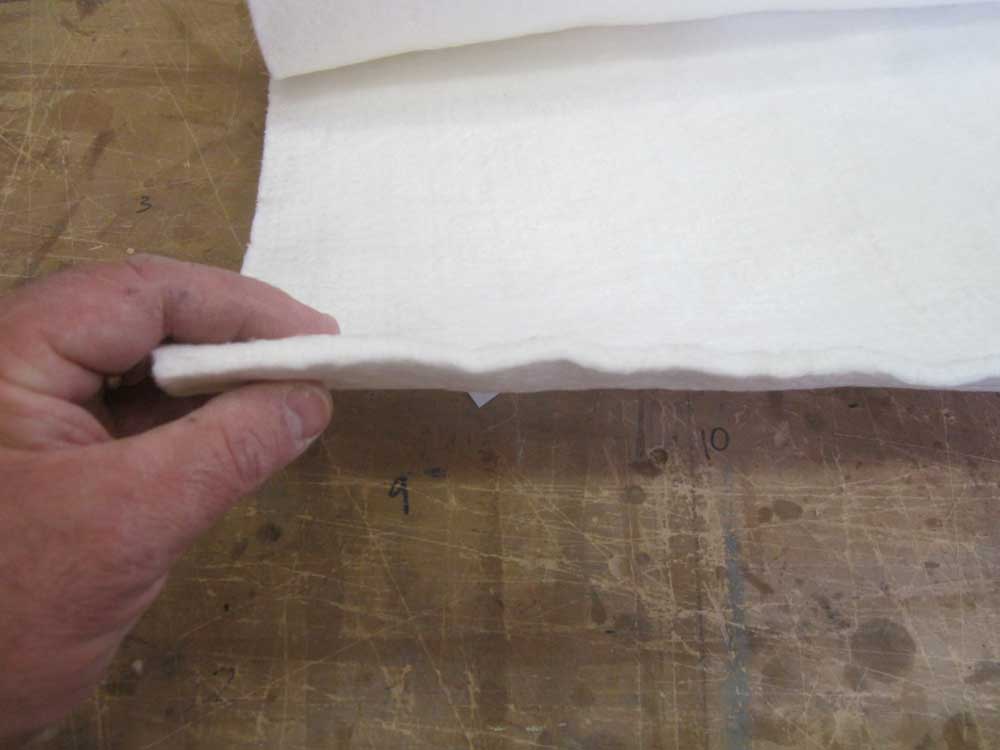
Metal heat shielding alone in this instance probably
would have been enough, but for additional heat
resistance I selected 1/4" silica insulation, a
fabric-like material that exceeded the recommended heat
shielding specifications set forth in the Dickenson
stove manual. I chose this material for its
various ratings as well as for its convenient
fabric-like form, which was easier to ship and easier to
work with. Over the top, for appearance and
additional protection, I ordered 24 ga. sheet stainless
with a #4 brushed finish, which matched that of the
stove itself. |
 |
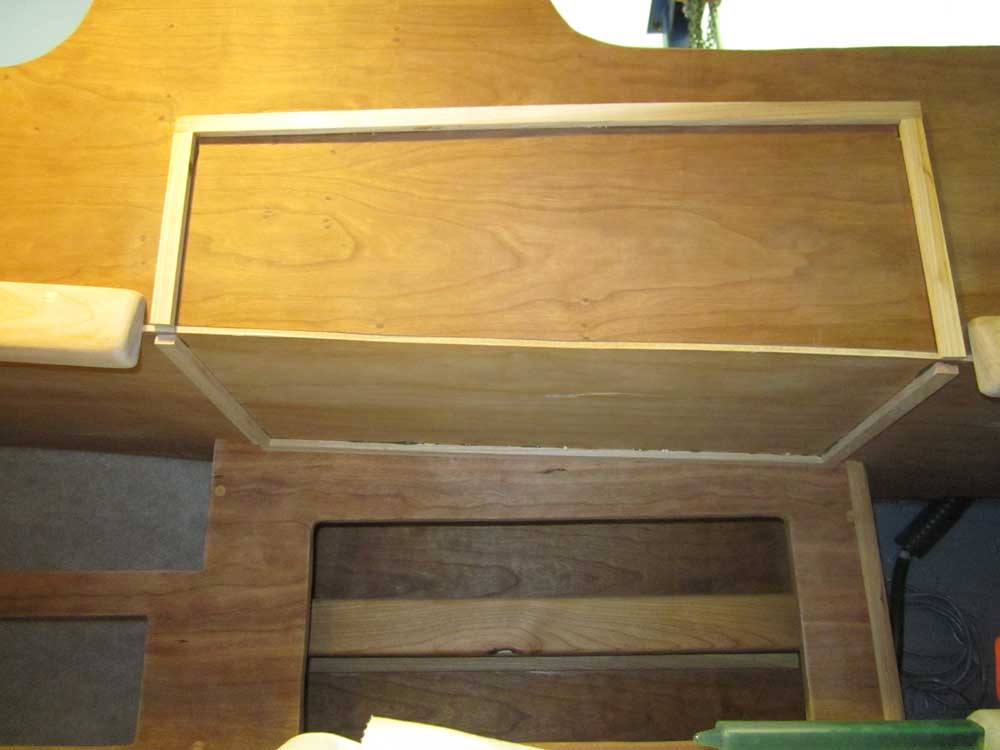
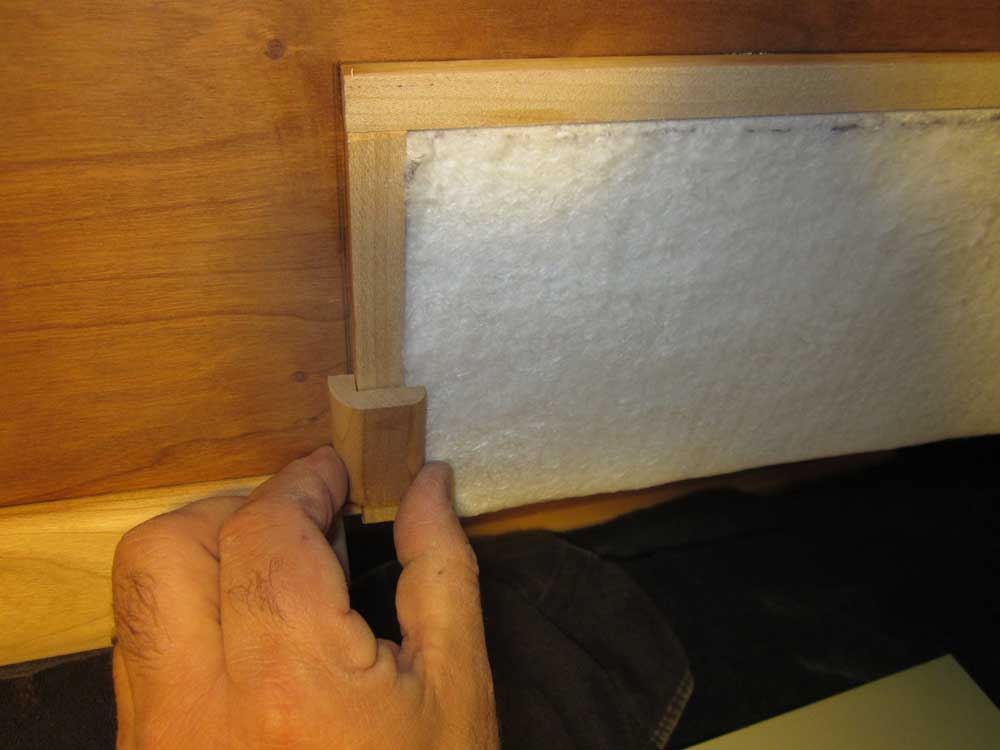
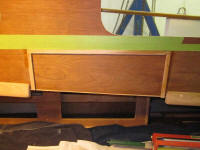
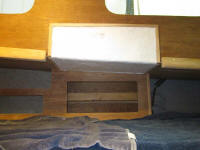
To avoid compressing the insulation, I needed to build a
way to support the metal sheeting over the insulation.
To this end, I prepared several pieces of 1/4" x 1/2"
cherry stock, which I used to build a little frame
inside of which the insulation would be installed; the
sheet stainless would be attached to the frame with a
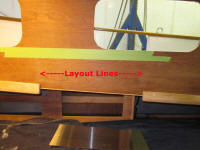
molding and screws. The bottom edge of the green
tape I applied to the cabin side demarked the top edge
of the insulation frame, and I drew additional layout
lines for the sides and the lower section as needed,
keeping the frame inside the cabin trunk corner trim I'd
installed earlier to allow room for the molding that
would secure the stainless panels. |
 |
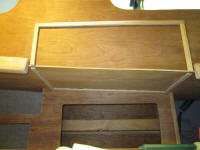
With the layout complete, I installed the hardwood frame
with 3-hour epoxy adhesive, using dabs of hot glue to
hold the pieces in place while the epoxy set up. |
 |
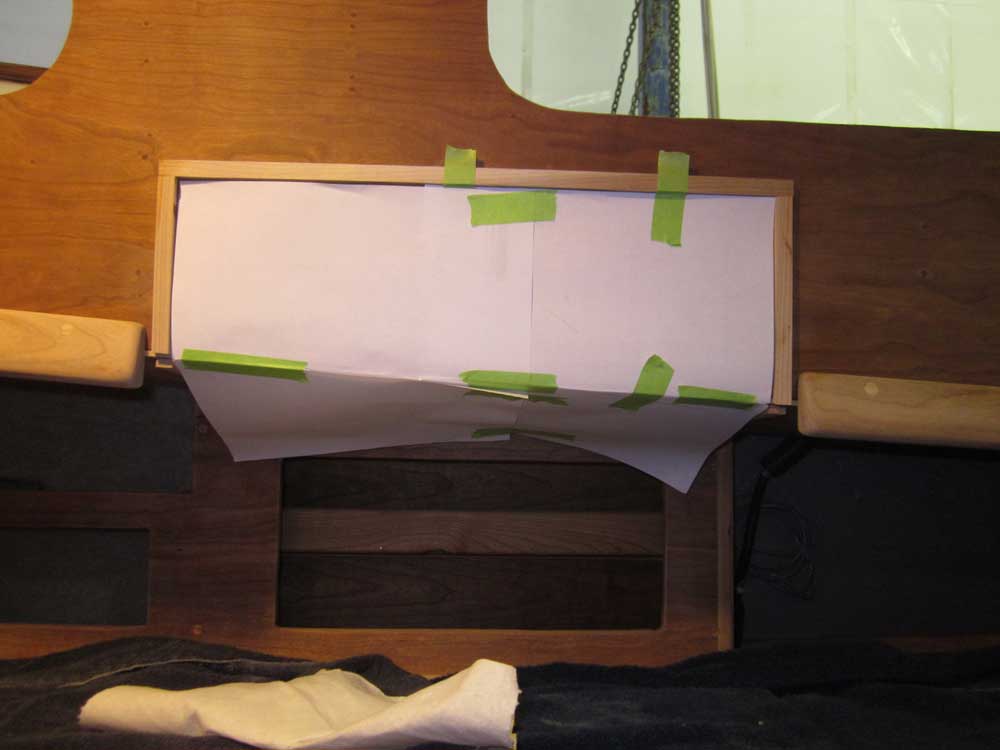
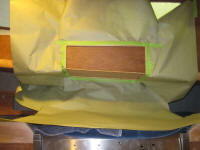
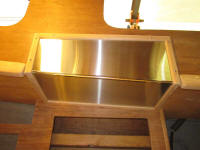
I made a pattern of the inside of the frame, then
transferred this to my sheet of insulation and cut it
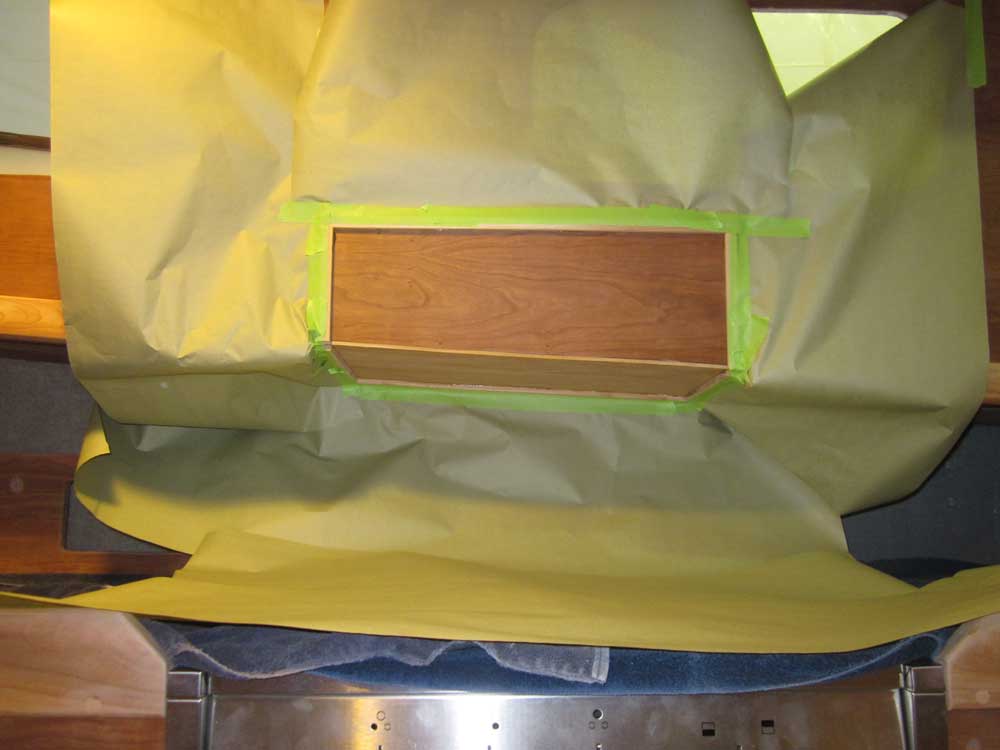
out. I installed the insulation with a light
application of spray adhesive, after first covering all
adjacent surfaces with paper to protect them; a few
weeks ago, I used the spray adhesive to secure a small
piece of hull liner cloth, and, as I'd not used spray
adhesive for many years, I'd forgotten (and
underestimated) how much overspray there was. That
lesson learned, the extra few minutes to cover all
surfaces versus cleaning up the overspray afterwards was
well spent, though the spraying took only about 4
seconds.
|

 |
Next, I milled a molding profile to cover and secure the
edges of the sheet stainless and finish off the
installation. The profile overlapped the
insulation frame, and extended well out over the field
of the area to hold the stainless in place. I'd
left just enough room between the frame and the existing
cabin trunk trim to allow the new molding to slip
through. |
 |
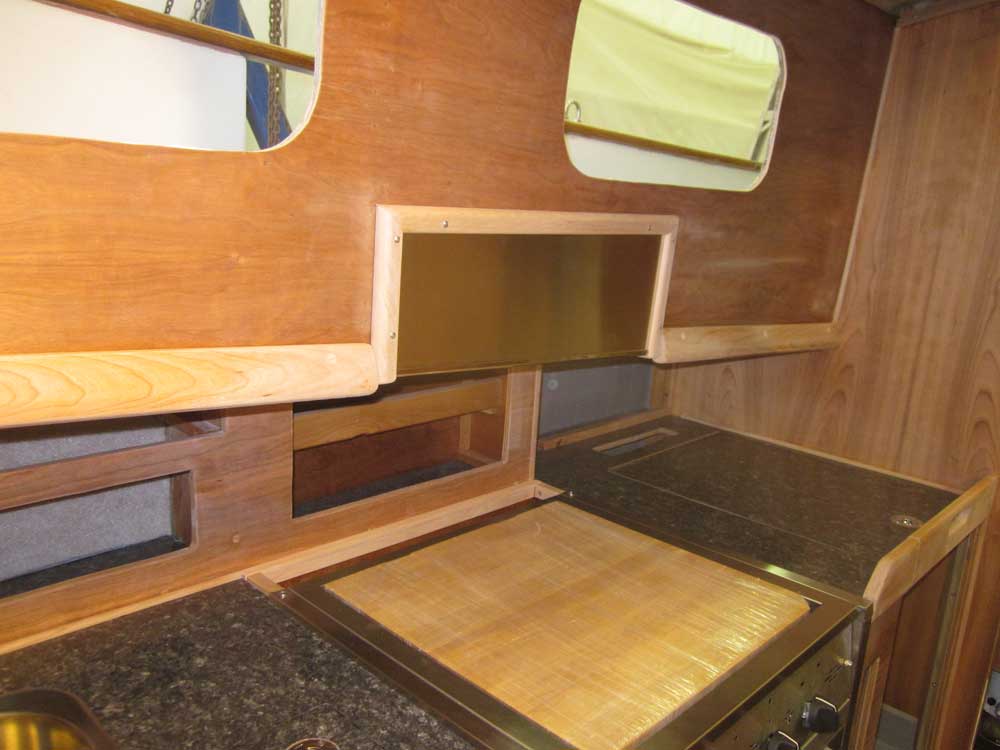
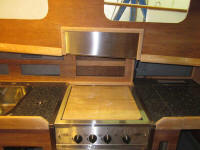
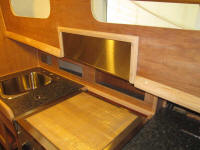
During the remains of the day, I trimmed the sheet
stainless to fit as needed and secured them temporarily
with hot glue (a special kind that worked on metal)
while I cut and fitted all the pieces of molding around
the edges to finish off the installation. I went
with exposed screw heads for the trim so I could replace
the stainless or the insulation easily should it ever be
necessary. For the 90° corner between the vertical
and horizontal sheets of stainless, I used a special
stainless steel corner molding designed for the purpose. |
 |
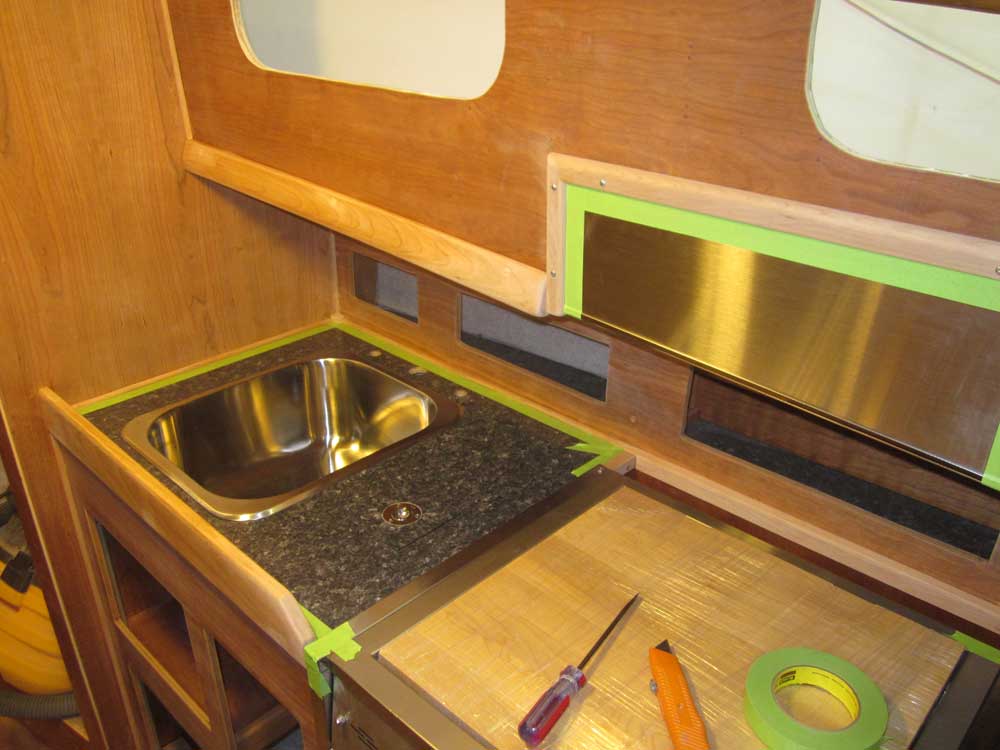
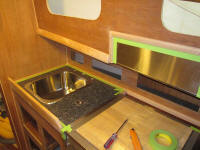
I didn't anticipate, necessarily, that the
insulation/heat shielding project would require over 6
hours to complete, but there you are. In any
event, this did not leave me enough time for the varnish
work that I'd planned, but before knocking off I started
masking off the areas required, beginning with the
galley countertop. |
 |
Total Time Today: 7.5 hours
|
<
Previous |
Next > |
|
|