Project Log: Sunday, September 9, 2012
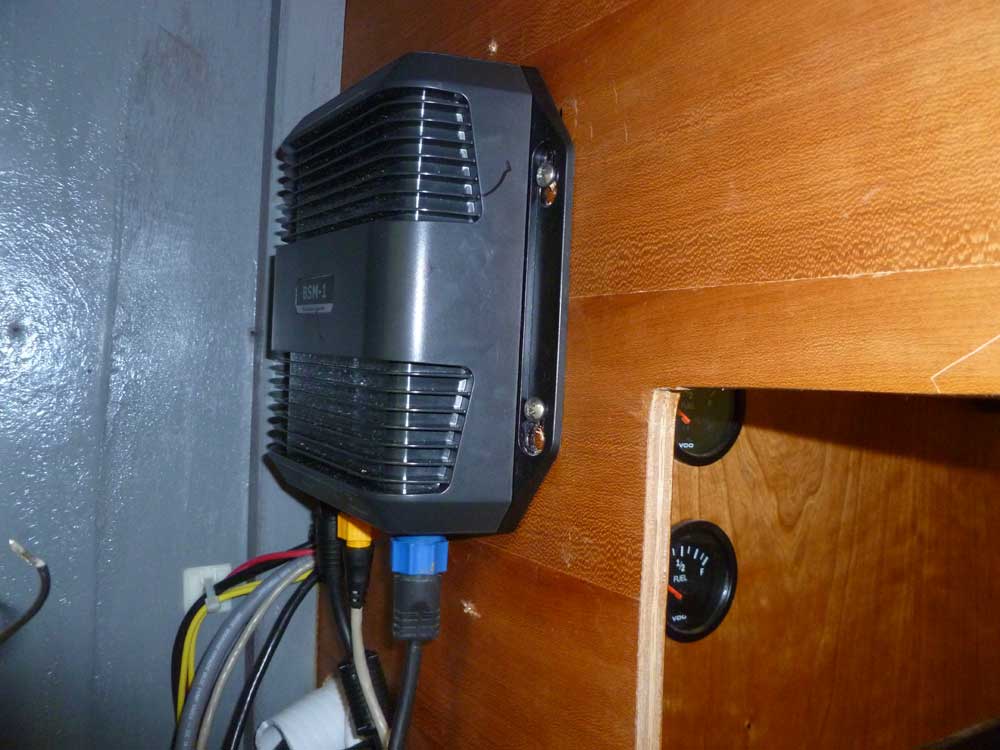
After various considerations, I decided to mount the
broadband sounder module outboard of the steering
console in the port utility space. There was room
on the back side of the longitudinal bulkhead, and this
location would be convenient for cable connection and
runs to their required locations (3 cables:
transducer; Ethernet (network); and power). Access
to the module was not something that was required other
than initial connections. |
 |
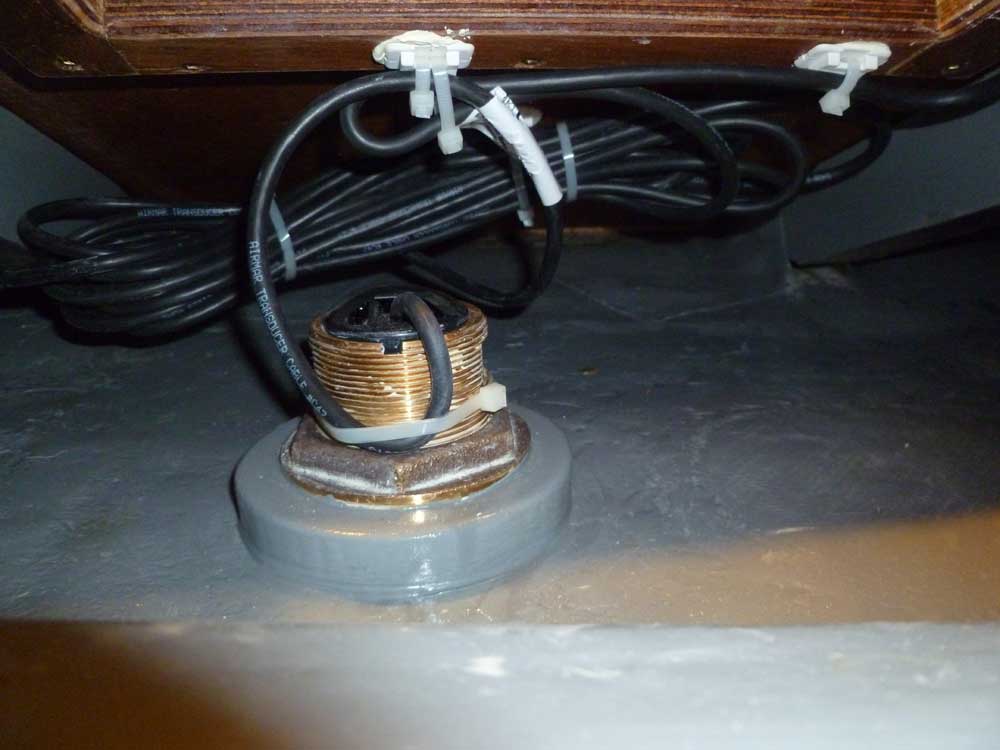
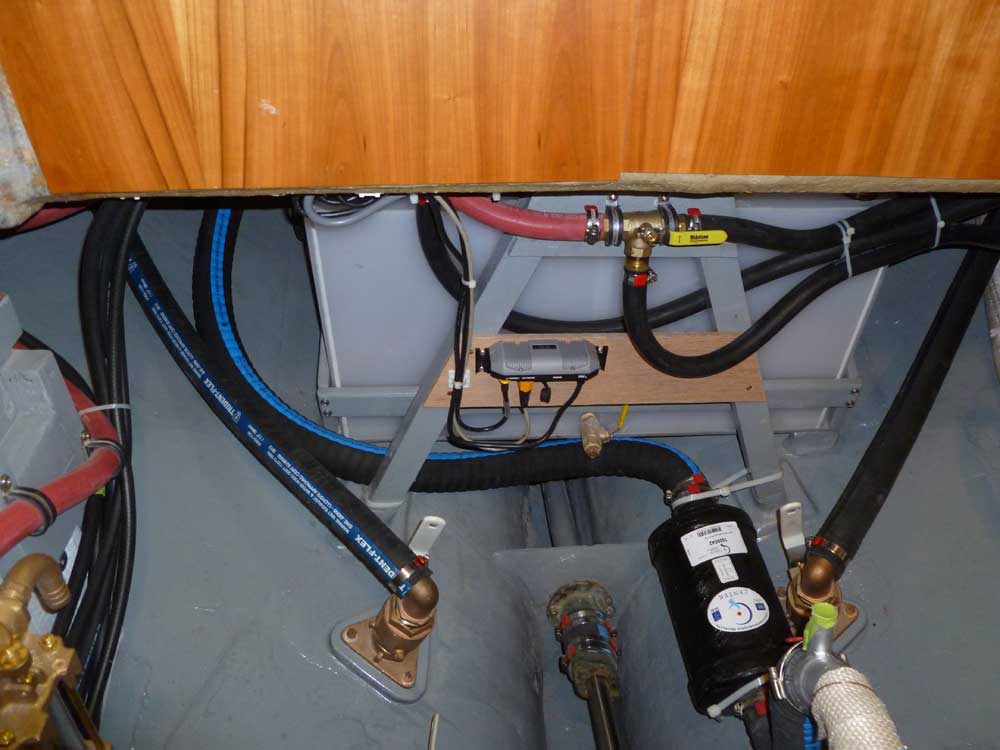
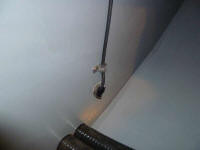
I ran the transducer cable up through the dinette
cabinet, into the engine room, and through the console
to the space around the sounder module, lining the large
holes required with lengths of chafe-reducing hose.
I connected the Ethernet cable to the back of the
display unit, ran the power cable into the console for
later connection, and secured the remainder of the
transducer cable out of the way beneath the cabin sole. |
 |
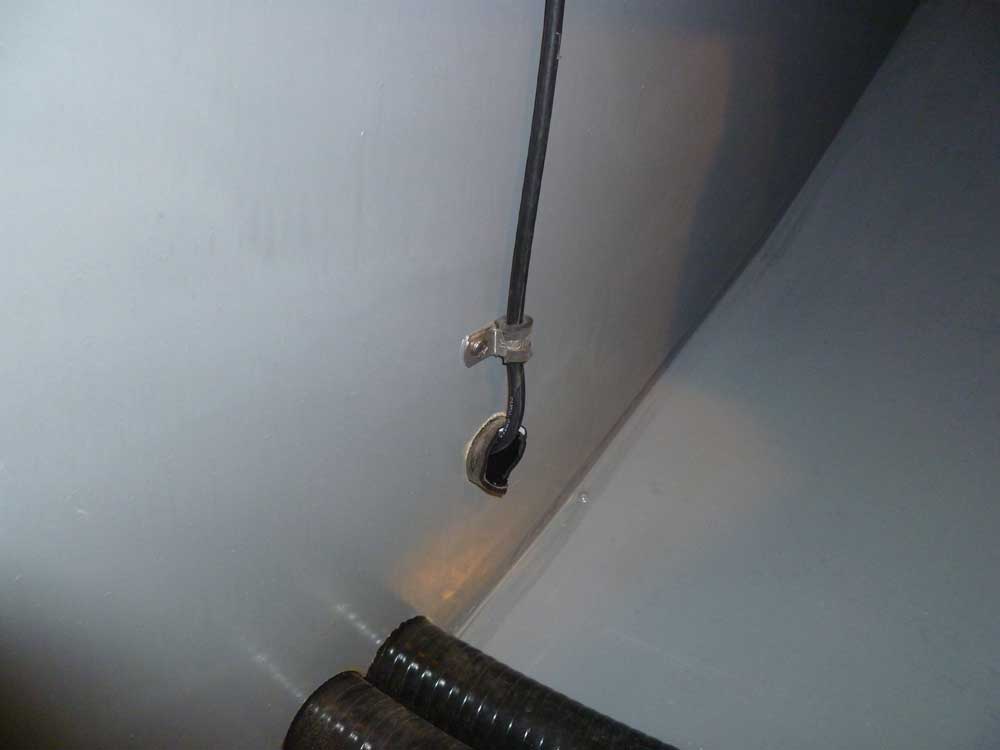
Adding a three-conductor wire to the Ethernet cable and
SimNet cable leading aft to the general area of the
mizzen mast step, I continued the cables' runs aft,
extending them through the port utility space outboard
of the engine room, through a couple lengths of hose for
protection, and eventually to the center part of the
engine room, beneath the mizzen mast step. This
torturous journey was easier to write about than to
complete, but I finally managed to get the cables
through. |

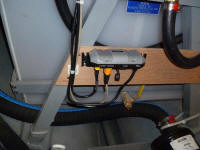 |
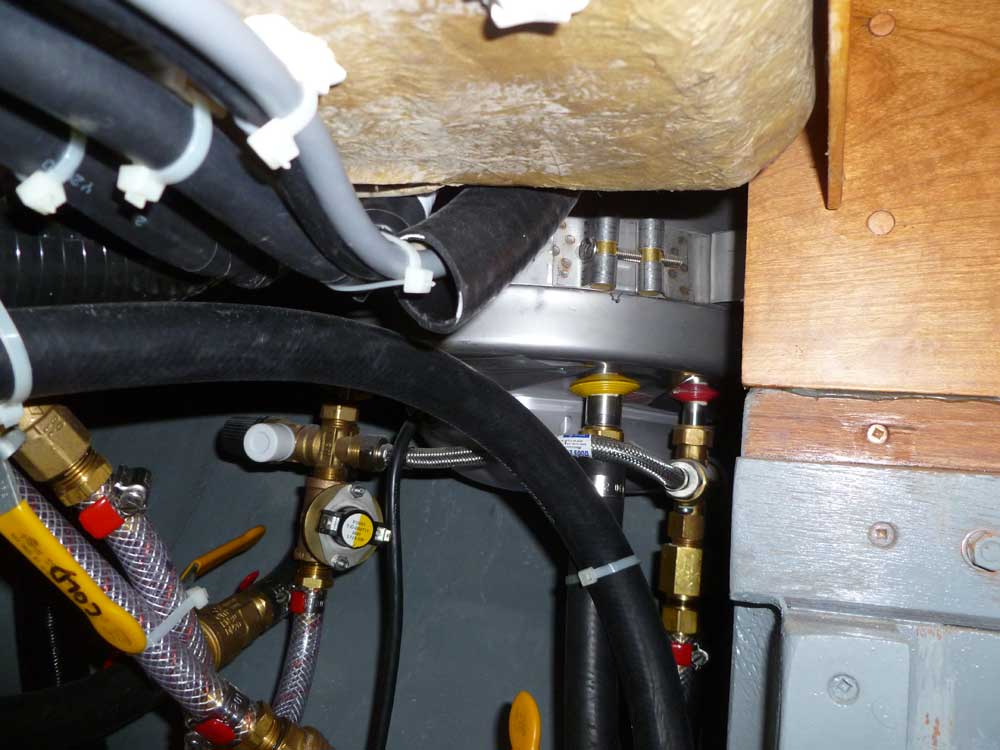
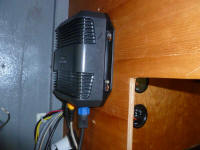
Once the cables were in place final connections were
straightforward. after installing a wooden
mounting plate, I secured the radar interface box, then
plugged in the Ethernet and SimNet cables, and made up
the three-wire connection with the attached power supply
wire. Much later, a cable from the radome itself
would also be secured to this box. The box was
well out of the way where it was, but I thought I might
add a cover around the box for a little extra
protection.
|
 |
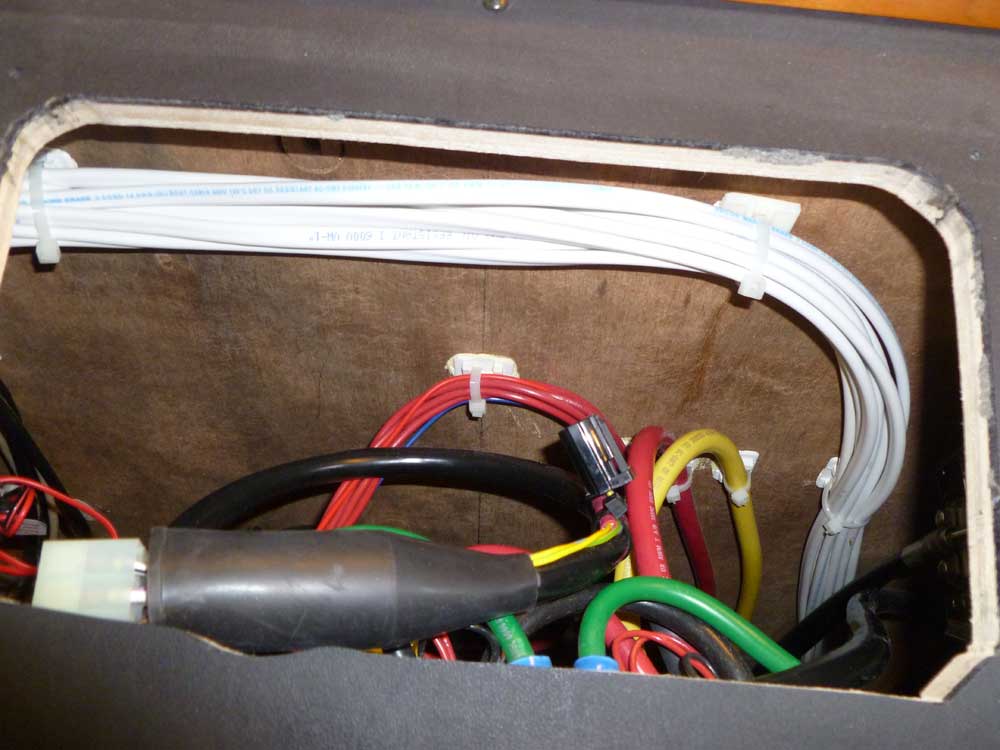
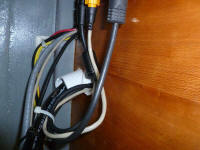
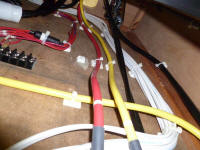
I had a mass of wires to deal with in the console, and
wrapped up the day by sorting them and creating routes
for the wires down to the bottom half of the console for
eventual final connections. I separated the duplex
sheathed electrical wires from the cables related to the
electronics and navigation gear, and led the large
bundle down the starboard side of the console; sometime
later I'd begin the process of separating the wires and
making up the final connections. |
 |
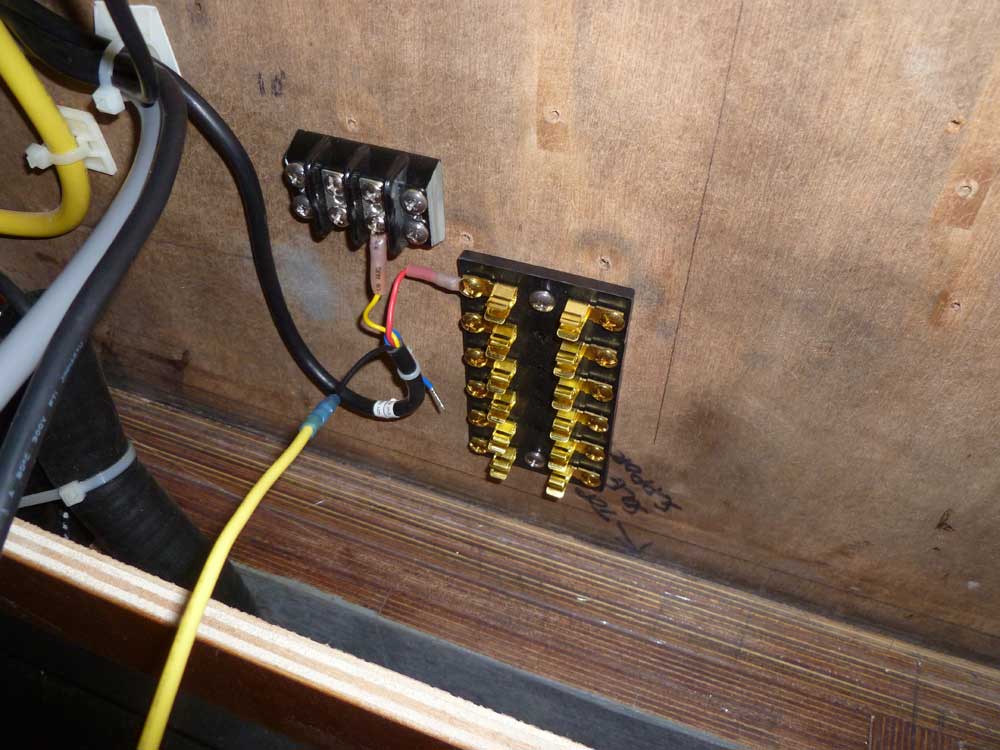
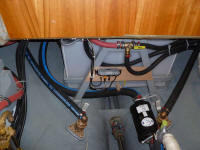
The various electronics would each require a protective
fuse in addition to the circuit breakers, so to this end
I installed a standard fuse block, through which I'd run
the applicable wires. The main display
wiring would also incorporate some common wires to allow
various things, like the radar and the sounder, to turn
on automatically when the main display is powered up,
and to create the common leads I installed a small
terminal bloc. I'd continue these connections
later. |
 |
| |
Total Time Today: 5.5 hours
|
<
Previous | Next > |
|
|