Project Log: Friday, December 31, 2010
Yesterday's patches had cured overnight, so I went
through the usual steps and water-washed, dried, and
lightly sanded the new fiberglass to remove sharp edges
and otherwise prepare the surfaces for whatever might
come next. |


 |
With the focus turning towards the most essential (in
the truest sense of the word) of interior structures, it
was time to literally start from the bottom up and work
on the transverse cabin sole support beams in the main
cabin.
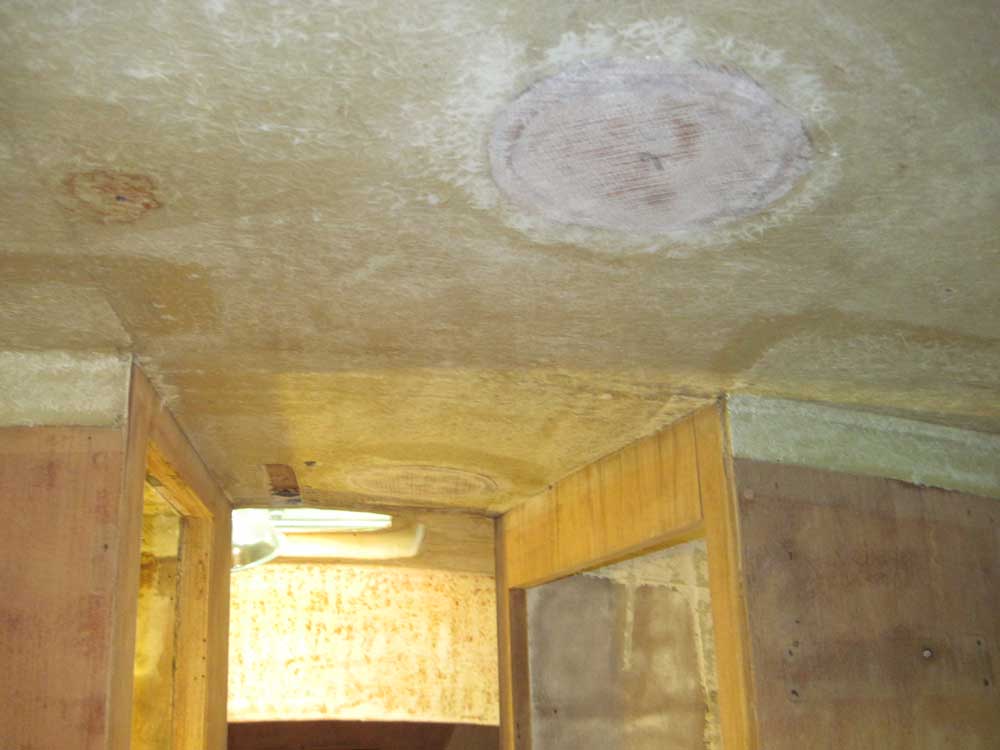
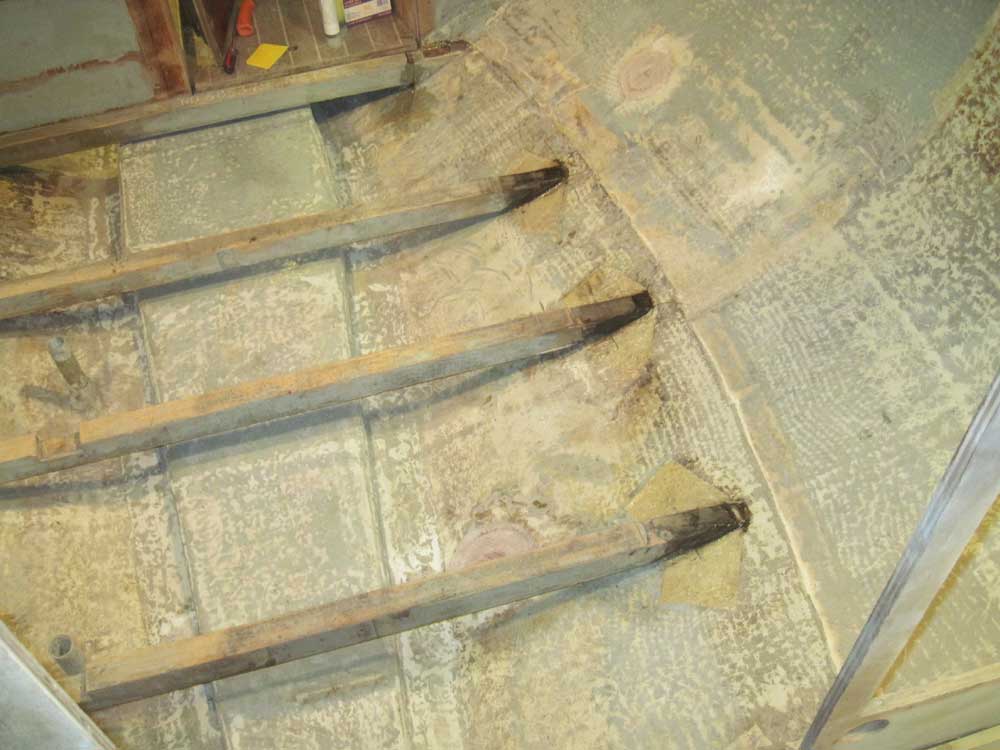
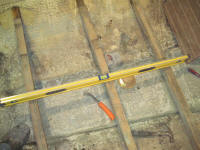
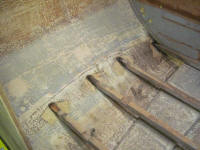
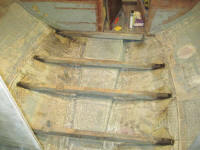
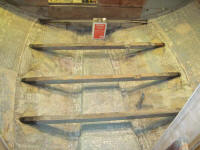
Three transverse beams spanned the width of the boat to
support the sole, along with an additional beam (but
technically a cleat) secured to the forward and after
bulkheads that defined the space, respectively.
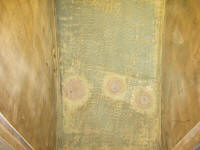
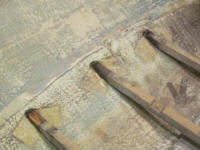
These wooden beams, roughly 2" square, were secured to
the hull at each end with one layer of polyester-soaked
fiberglass mat. Over time, the fiberglass had
released from the wooden beams, and with no other means
of attachment the beams creaked, groaned, and squeaked
horribly when trod upon, and flexed significantly in
their unsupported middles. These features were
completely unacceptable. |
 |
The wooden beams themselves were in serviceable
condition, and my initial thought (formed during endless
hours of mind-wandering sanding elsewhere on the boat)
had been to leave this basic structure as untouched as
possible while improving the beam-to-hull connections at
the ends, and better supporting the beams' centers.
To this end, I'd imagined that I might "inject" some
epoxy adhesive (using the long mixing tip supplied as
part of this product's caulking gun-like application
tool) into the spaces beneath the ends of the beams to
secure them, then retab as needed.
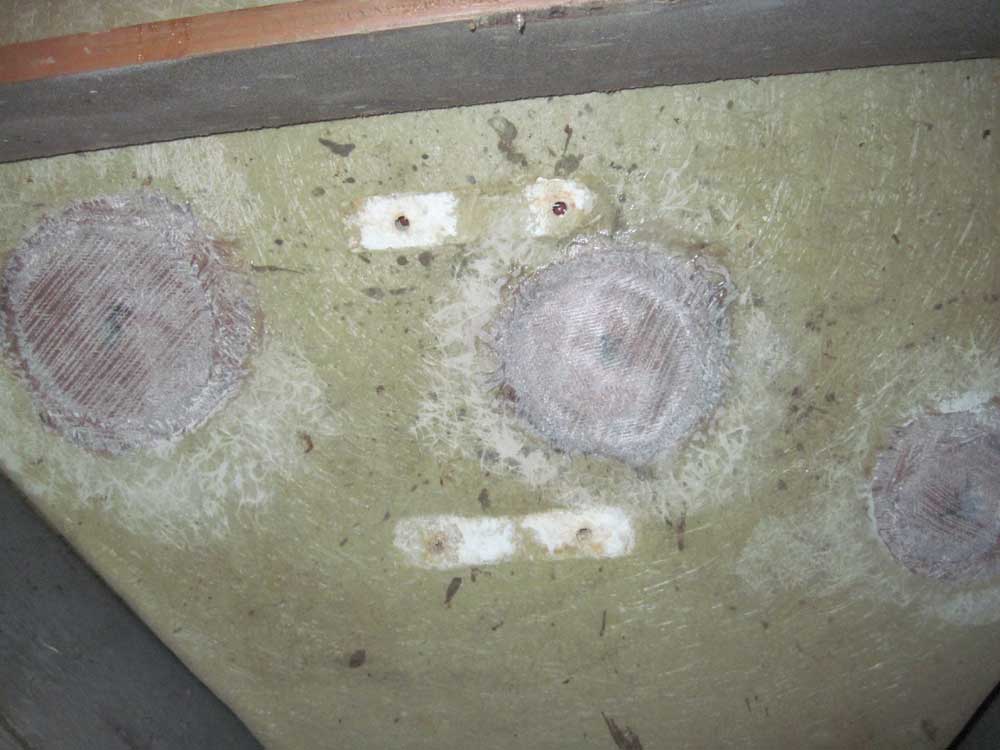
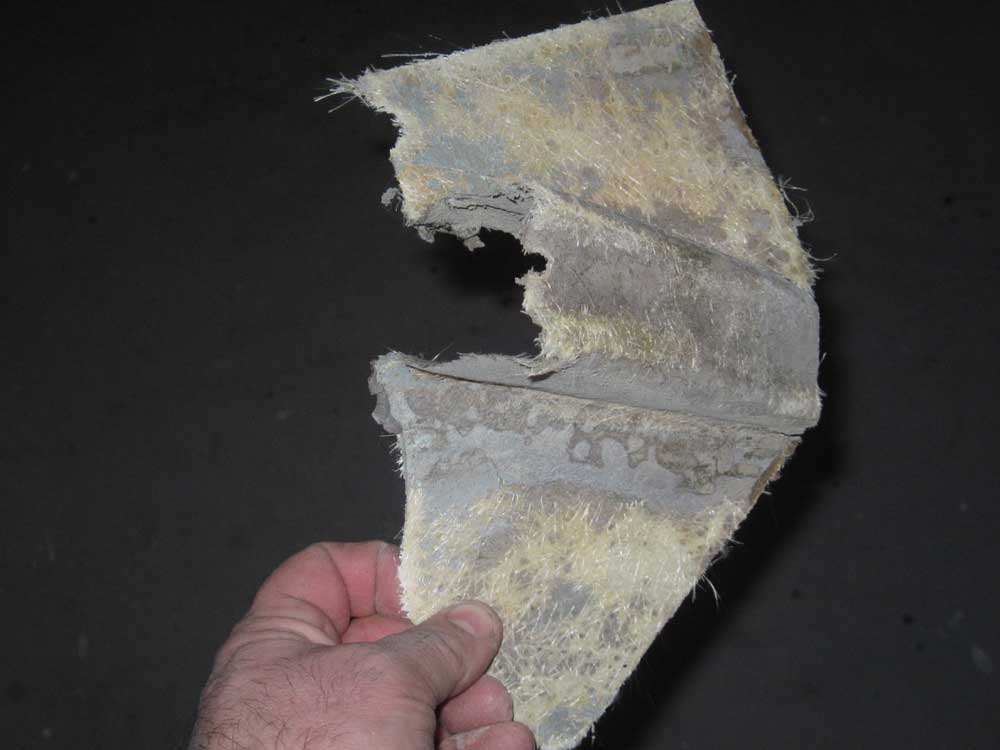
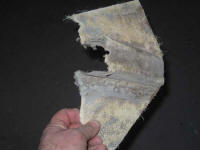
Of course, as soon as I made myself comfortable inside
the boat with this action in mind, I realized it
wouldn't be enough. The old tabbing was, frankly,
junk, and within minutes I'd already removed a couple
sections by ripping it free of the wood--and then the
hull--bare-handedly, sometimes with the entire section
of tabbing coming off intact and still holding its
original cured shape. |
 |
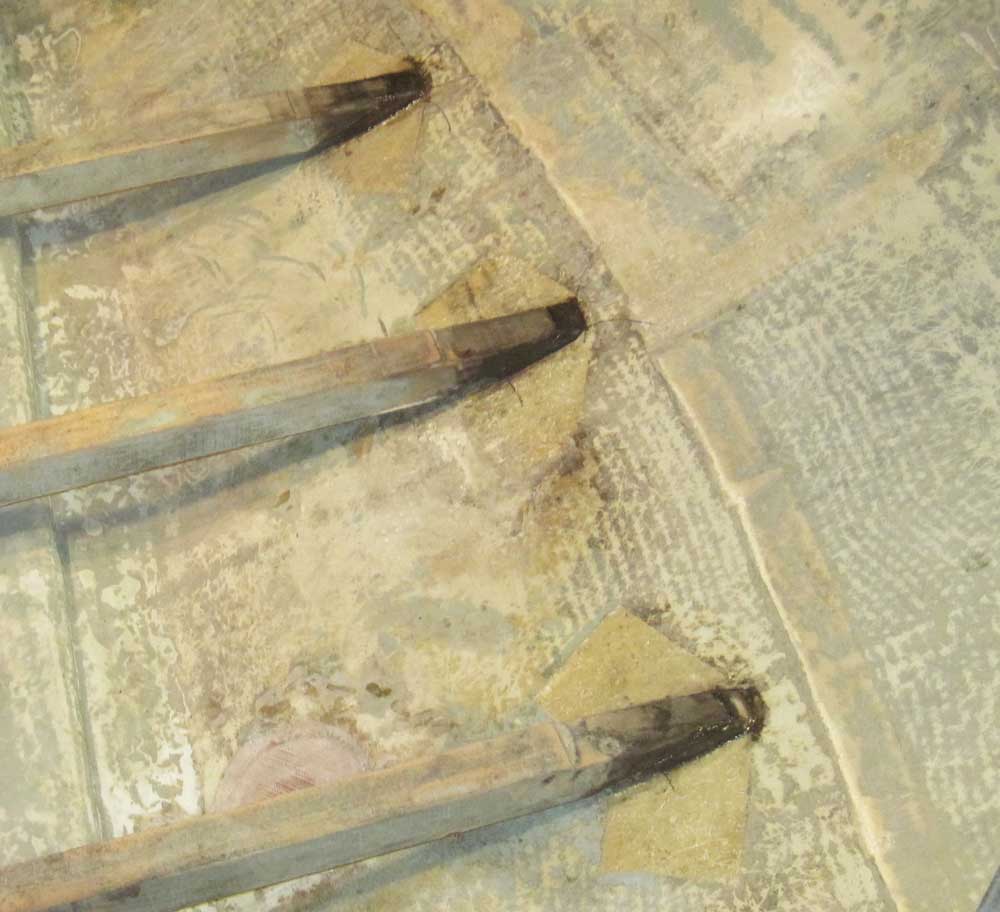
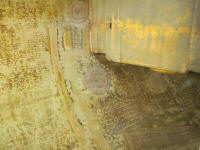
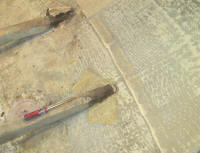
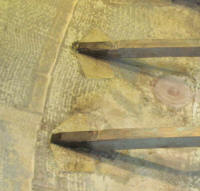
Beneath the tabbing, the beams were supported on
smaller, ancillary blocks of wood, rather than the beams
themselves extending all the way to the hull. I've
no idea why things were built this way, but the end
result was a sloppy, loose fit that was clearly going to
loosen further, fail, and then creak and groan itself
into oblivion. Not wishing to completely rebuild
this area with new material, and since the existing bits
and pieces were all reusable, I elected to retain the
odd bits of wood spacer. Sorry, I didn't seem to
take any photos of this.
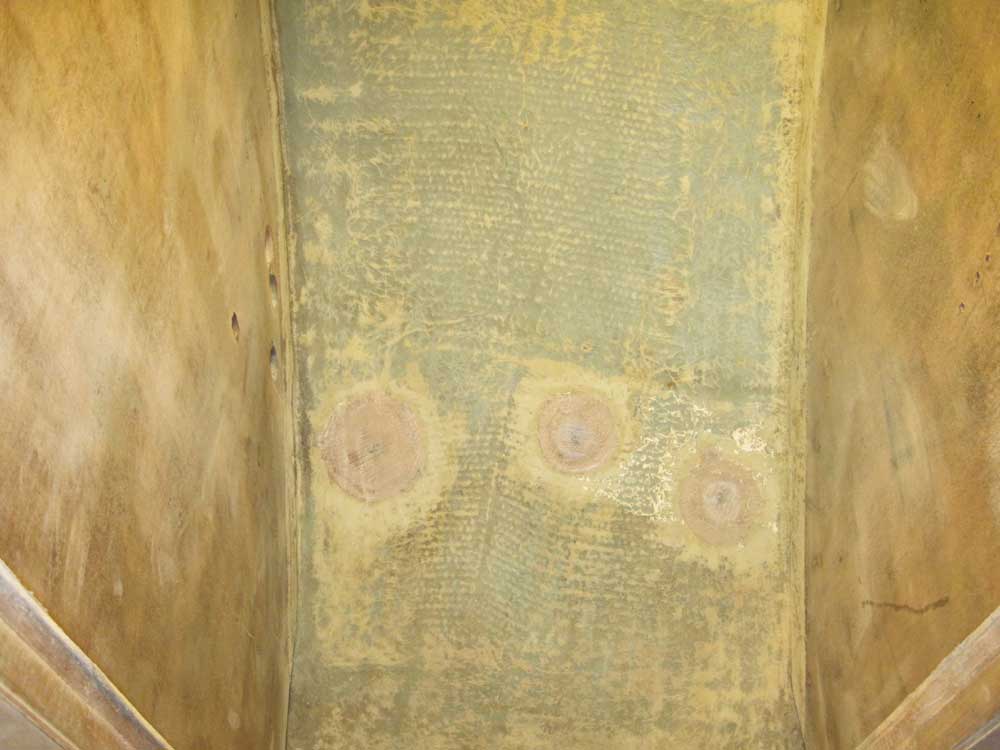
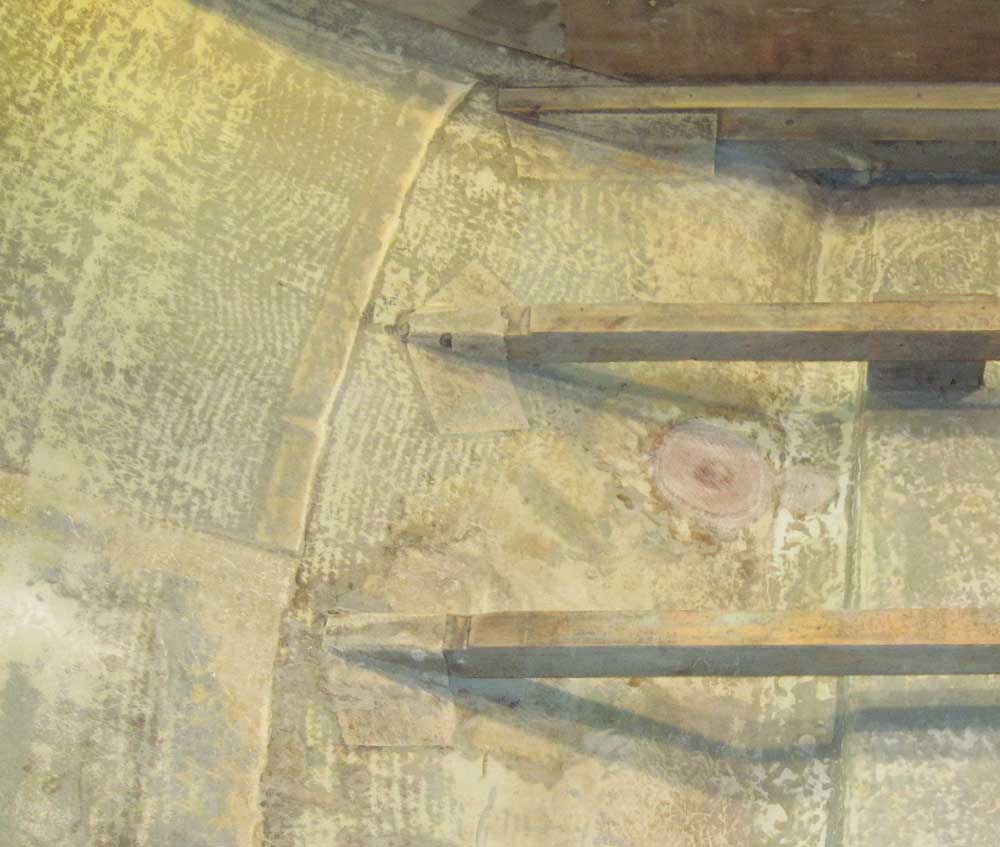
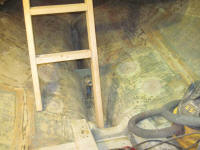
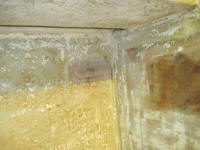
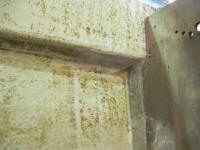
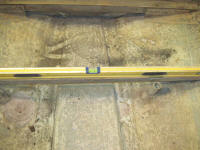
Before moving too far along, I used a marker to outline
where the beams and blocks landed on the hull at each
location, so I could easily reposition them and keep
everything level (I'd leveled the boat according to
these beams--and several other criteria--during her
initial placement in the shop).
With the locations duly marked, I scraped and sanded
away the remains of the old tabbing and other residue,
and thoroughly cleaned the mating surfaces of the wood
and hull with acetone, after which I repositioned the
various pieces and checked for level in both directions
to ensure proper placement before once again marking the
hull around each beam end to aid in alignment when I
reinstalled them. (These illustrative photos were taken
before I'd cleaned up the area.) |
 |
With everything ready, I secured the beams (and their
little end blocks) to the hull and each other with epoxy
adhesive, and left things to cure overnight. The
next step would be to install wide fillets and new
tabbing to secure the beams at their ends, and to build
and install supports at the center of each beam to
prevent sagging. Then, I could install a new,
permanent working cabin sole. |


|
Total Time Today: 3 hours
|
<
Previous |
Next > |
|
|