Project Log: Thursday, November 11, 2010
My down and dirty tank mockup for the new engine room
tanks served its purpose for confirming basic
dimensions, but its fit also suggested the need for
certain changes and improvements.
Disassembling the original mockup, I held the forward
and after ends in place against the hull; the simple
triangular shape left large amounts of wasted space
against the curvature of the hull, space that I could
gain back by changing the shape of the outboard side of
the tank. I also determined I could add four
inches to the height of the tank.
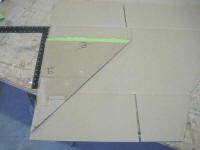
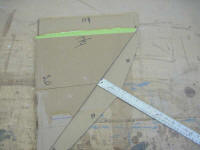
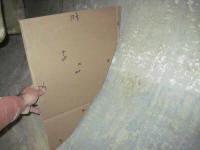
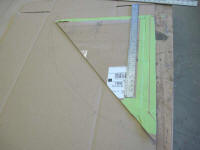
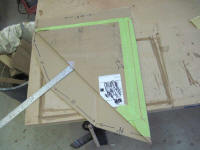
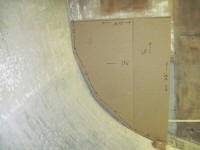
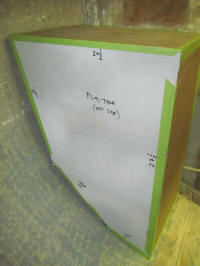
With a compass, I scribed the shape of the hull onto the
cardboard. Then, down on the bench I used these
rough templates (one for each end) to lay out a polygon
on new cardboard that better approximated the shape of
the hull at each end of the tank space. |
Aft End
Forward End
 |
My initial layout featured a four-sided outboard edge,
but I later simplified the shape by combining the top
two sections on each piece by connecting the top corner
with the bottom of the second segment, leaving a
three-faceted edge. This three-faceted shape is
what you'll see in the remaining photos of the tank
mockups.
With the shape of the forward and aft ends of the
overall tank space thusly determined, I proceeded to
connect the two pieces with a top and inboard side,
using the full length of the space as a measurement.
Although I had about 48" to work with, I used an overall
dimension of 47" length for the tank to provide ample
space for the two tanks.
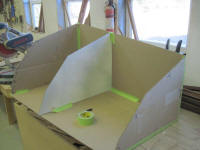
Once I had this three-sided, backless shape in place, I
had to divide it in two to create the pair of tanks I
intended for each side. I wanted the tanks to be
roughly equal in capacity, so rather than cut the mockup
in half midway along its length, I made marks 20" aft of
the forward edge, leaving 26-3/4" length for the after
tank, since the forward section was deeper and therefore
could be shorter.
With some layout lines drawn square to the tank, I used
a long straightedge spanned between the forward and
after ends to simulate the back (outboard edge) of the
tank at each of the three corners defining the facets,
and then measured straight up from the "tank" to
each corner, providing me with the measurements I needed
to cut the shape of the tank at this cut location.
I made a pair of templates this size since the aft end
of the forward tank, and the forward end of the aft
tank, would be identical. |
 |
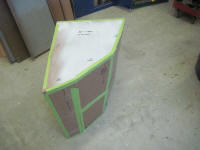
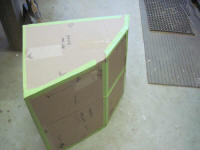
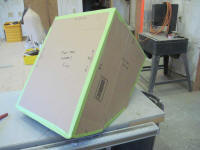
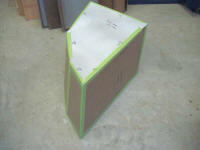
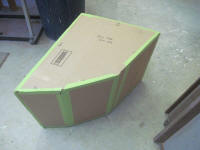
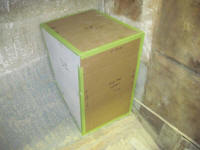
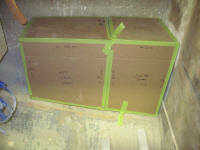
After cutting the main mockup in two along the
pre-determined line, I assembled the final mockups for
the forward and after tanks, incorporating back
panels as needed. |
 |
The new tank shape was now too wide to fit through the
19" wide pilothouse doorway, but they fit easily through
the large overhead hatch in the pilothouse. |
 |
I decided that I could further simplify the tank design
by combining the two lower facets into one, with minimal
loss of tank capacity, so I planned to make the
appropriate changes when I drew up the final tank
design. I found that these extra facets--besides
making the tank more complex to build--also interfered
with the hull, particularly on the aft end of the after
tank, and in the interest of the best fit and most
realistic simplicity, as well as seeing how the tanks
truly fit in their full three dimensions, it seemed
clear that this was the right course.
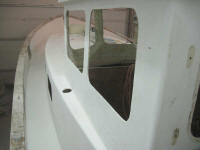
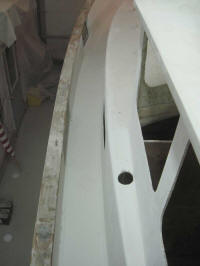
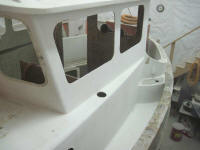
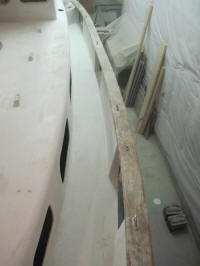
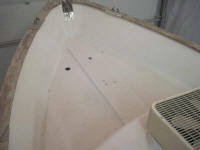
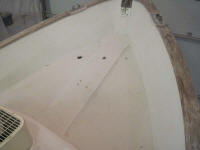
Later, I continued work on deck and sanded the port
sidedeck, cabin trunk, pilothouse, and bulwark with
80-120 grits on my vertical axis random orbit (VARO) sander.
Then, I similarly sanded the foredeck, forward end of
the cabin trunk, and the remaining bulwarks up to the
tip of the bow. |
 |
| |
Total Time Today: 6 hours
|
<
Previous |
Next > |
|
|


