Project Log: Saturday, October 30, 2010
Late Friday, I sponged out the leftover water that
remained in the bilge from the water tank's removal, and
cleaned up the other spoils remaining in the bilge,
including (inevitably) more mud from the hidden area
beneath the engine foundation/drip pan. I was
starting to think I might need to cut a hole in that so
I could clean out the area beneath once and for all, but
that was for later in any case.
While I was at it, I prepared tools, cords, and
breathing equipment for my planned work session on
Saturday.
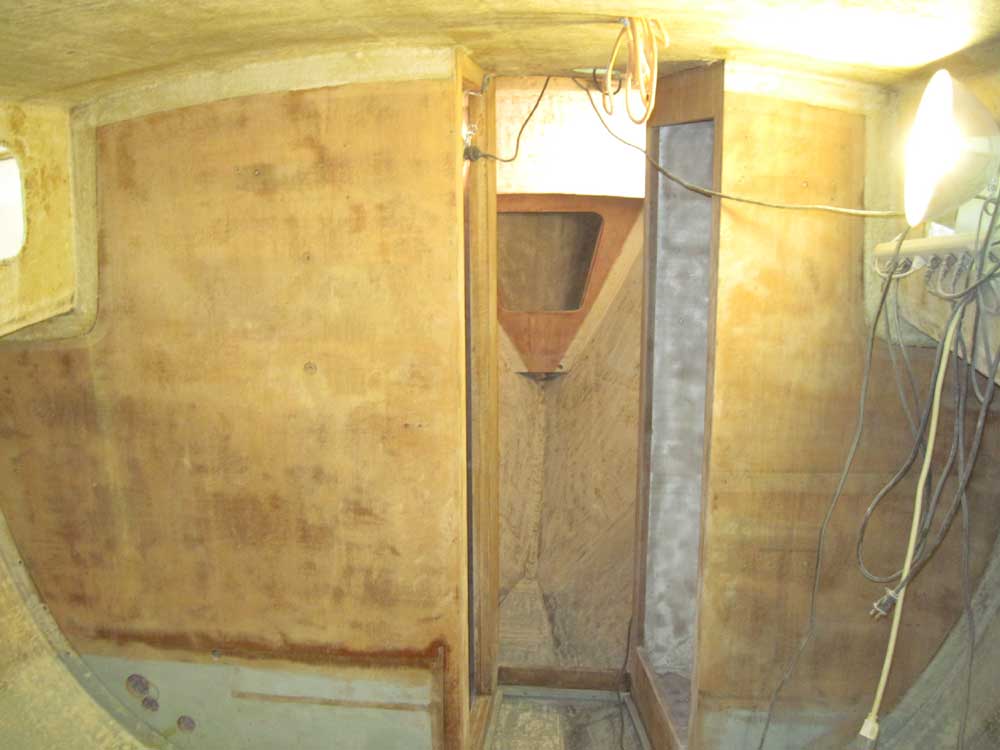
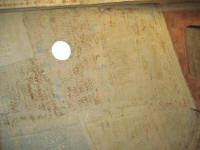
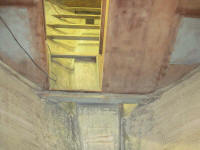
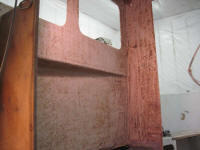
In the morning, I got to work in the forward cabin.
I was most anxious to clean up the mess remaining from
the old water tank supports, as well as to get rid of
the remaining blue-green adhesive blobs (which had held
on the plywood ceiling support strips) that I'd not been
able to chisel off the hull earlier. My goal for
the day was to more or less finish the bulk interior
sanding/surface prep, which would make me feel much
better and, to my eyes, greatly improve the appearance
of the inside of the boat. It's that obvious sign
of progress, and of things happening, that makes this
otherwise nasty job so satisfying to me somehow.
To me, a cleaned-and-sanded bare hull is a thing of
beauty and opportunity. From chaos comes the
beginning of some semblance of order.
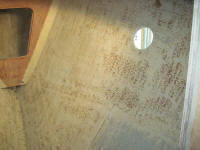
Irrelevant ruminations aside, I spend the whole work day
on the sanding. The forward cabin needed the
most work, what with the various old strips of tabbing
from its original structures and the blobs of gunk on
the inside of the hull. However, the area cleaned
up quickly and well. I started at bilge level and
worked my way up; this way, I moved progressively
farther away from the rapidly increasing piles of dust
and debris.
As before, I concentrated on removing rough edges,
obvious protrusions, and old tabbing, and scuffed as
necessary all other areas to remove old adhesive or
otherwise prepare the old paint or other surface for
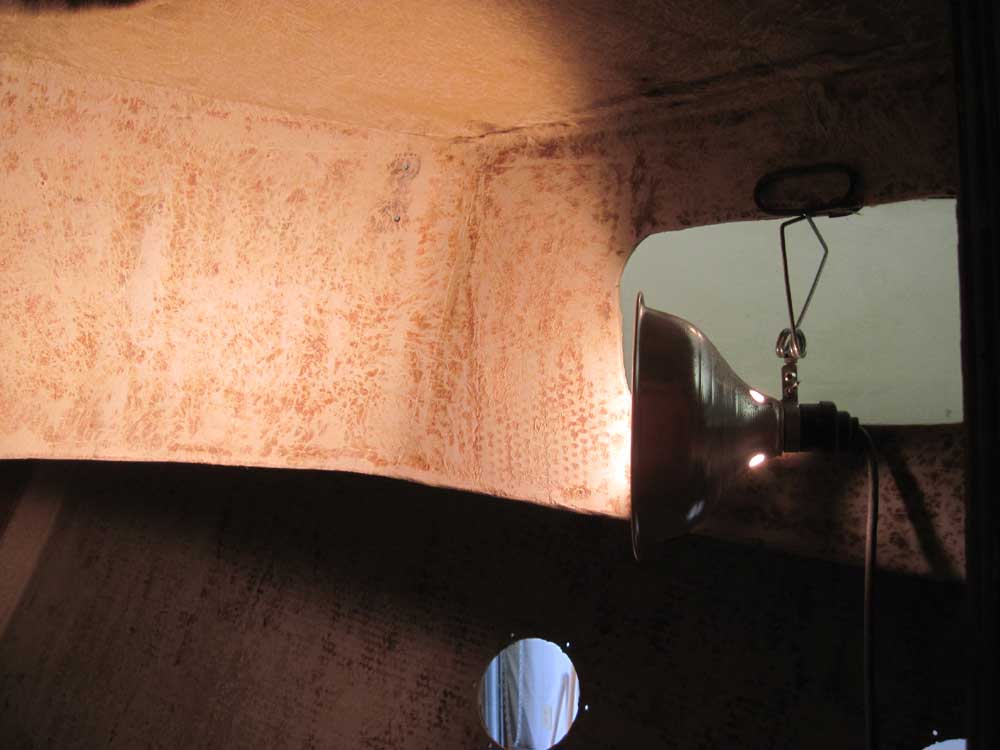
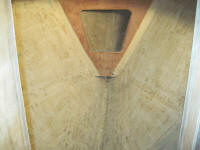
whatever was going to come next. I also lightly
sanded the chainlocker (which was bare fiberglass and
relatively smoothly-finished), and the overhead. I
sanded the wooden bulkheads to remove the old varnish
and prepare them for their eventual new coverings.
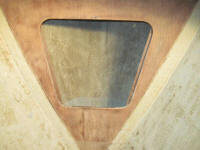
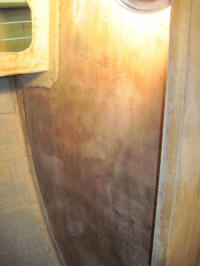
When the major work on the hull sides was complete, I
scraped and sanded away the adhesive remaining on the
inside of the cabin trunk, where the old vinyl liner had
been installed. |

 |
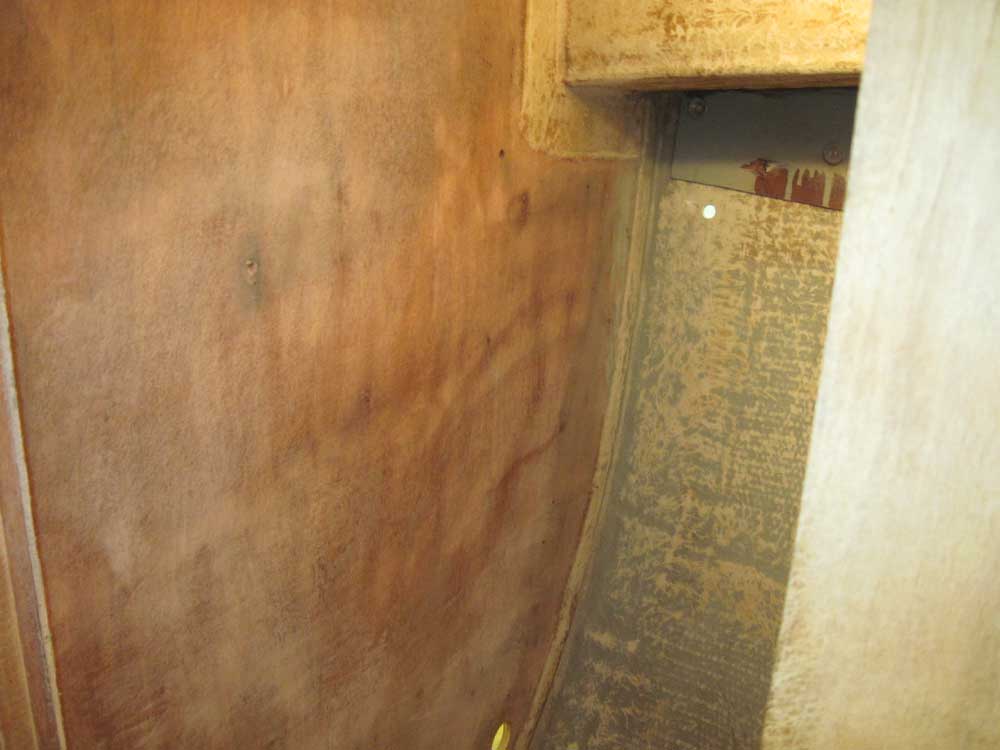
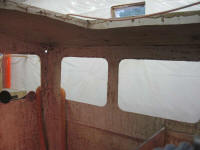
Next, I cleaned up the hanging locker, directly aft of
the forward cabin to starboard. I'd already
removed various shelves and support cleats during an
earlier stage, and now I worked on scuffing up the
existing paint to an extent where I was comfortable with
its appearance and state of readiness for new paint or
whatever else I might install there. Should I find
a need to fiberglass something in place later, I'd
remove additional paint in the applicable areas at that
time. |
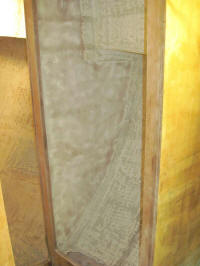 |
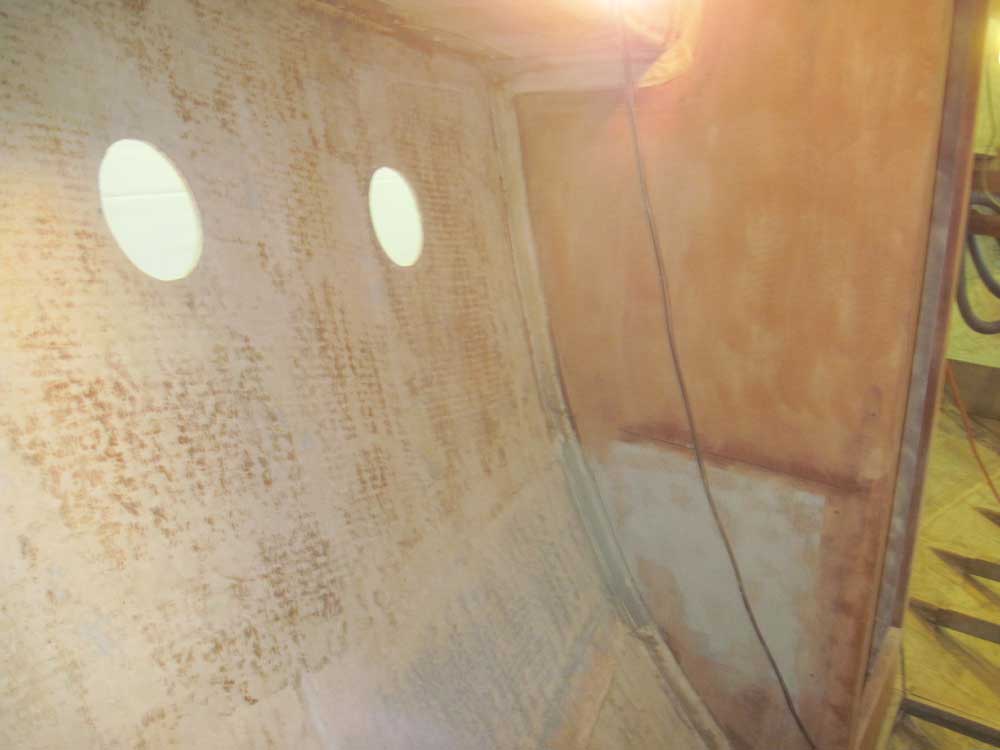
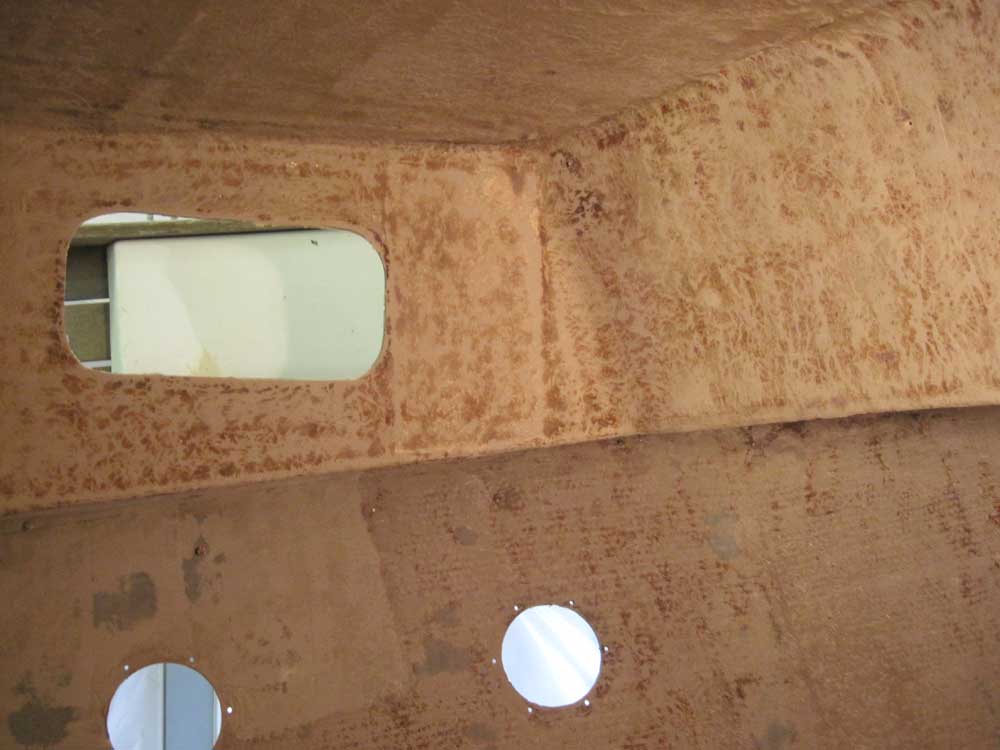
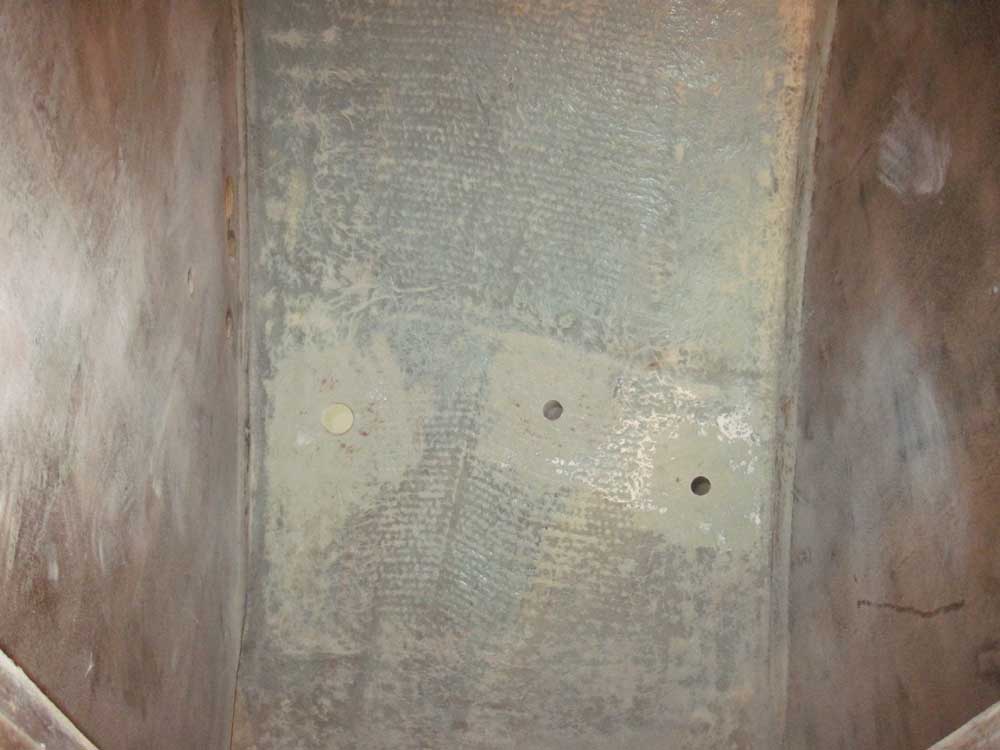
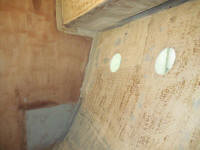
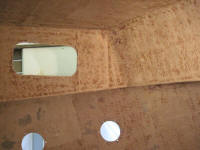
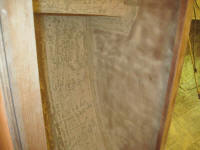
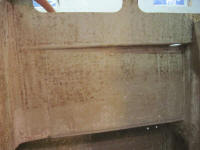
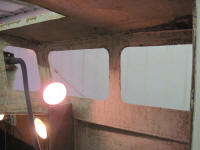
Similarly, I sanded out the head compartment, cleaning
up the old gray paint against the hull and removing
various adhesive and foam residues from the surfaces.
Up beneath the gunwale, a plywood panel had been
installed through which some bolts had been passed to
hold a heavy bronze vented loop (siphon break) in place.
I'd previously ripped out that unit, leaving ragged
holes in the plywood. However, the plywood was
captured by the bolts securing the external teak
rubrail, so I left it in place for now, planning to
remove it later when I removed and rebedded the rubrail.
(Aside: this was a task I hardly wanted to do, but
I didn't like the looks of the sealant beneath the
rail--there were many gaps--and it seemed it'd be
foolish to proceed with rebuilding the interior before I
rebedded this rail, given the clear access I had to all
the through bolts.) |

 |
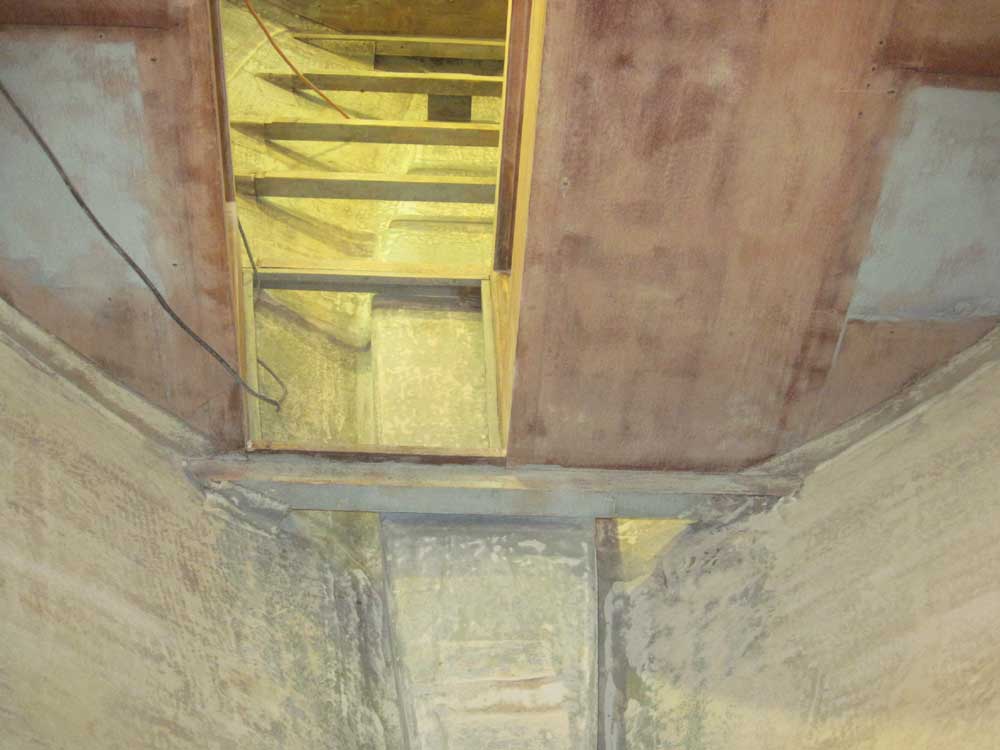
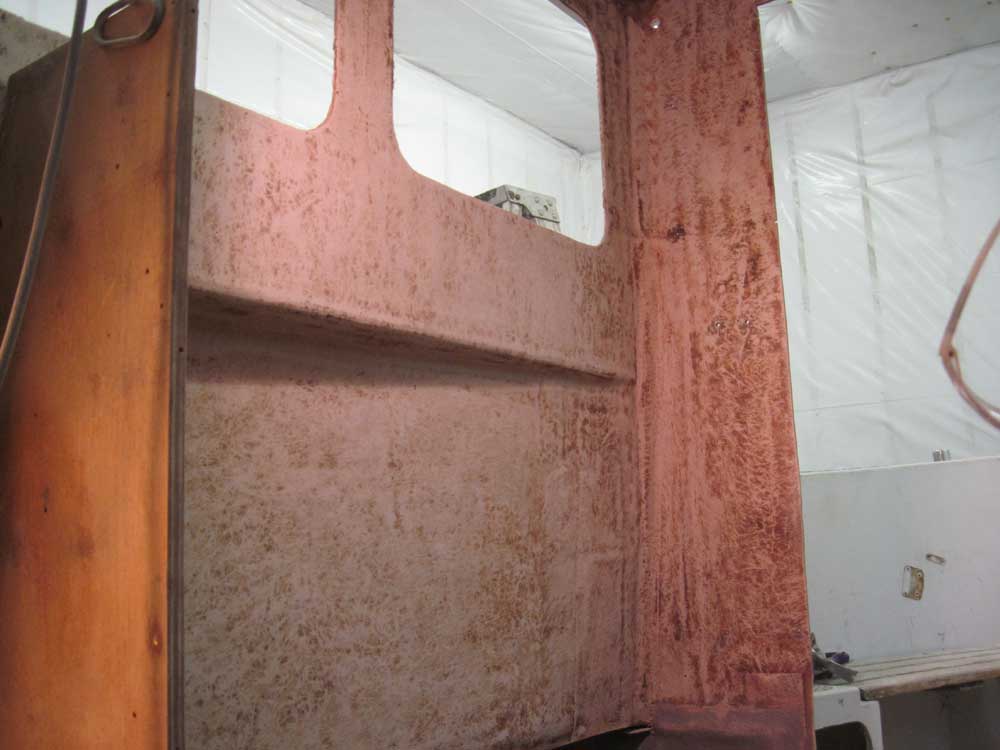
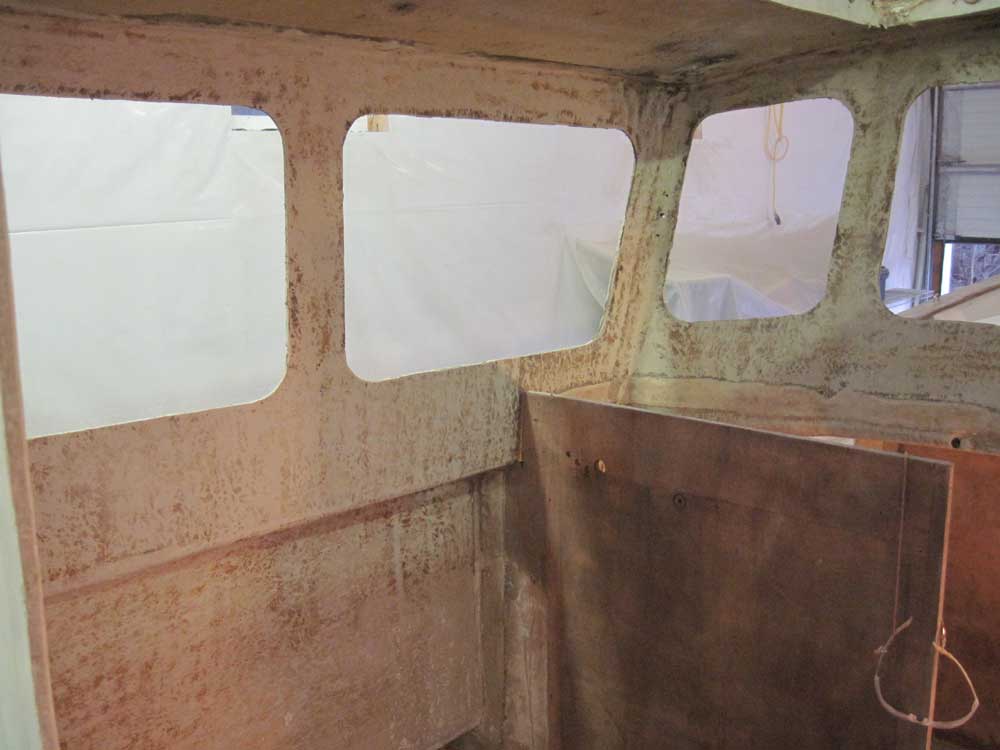
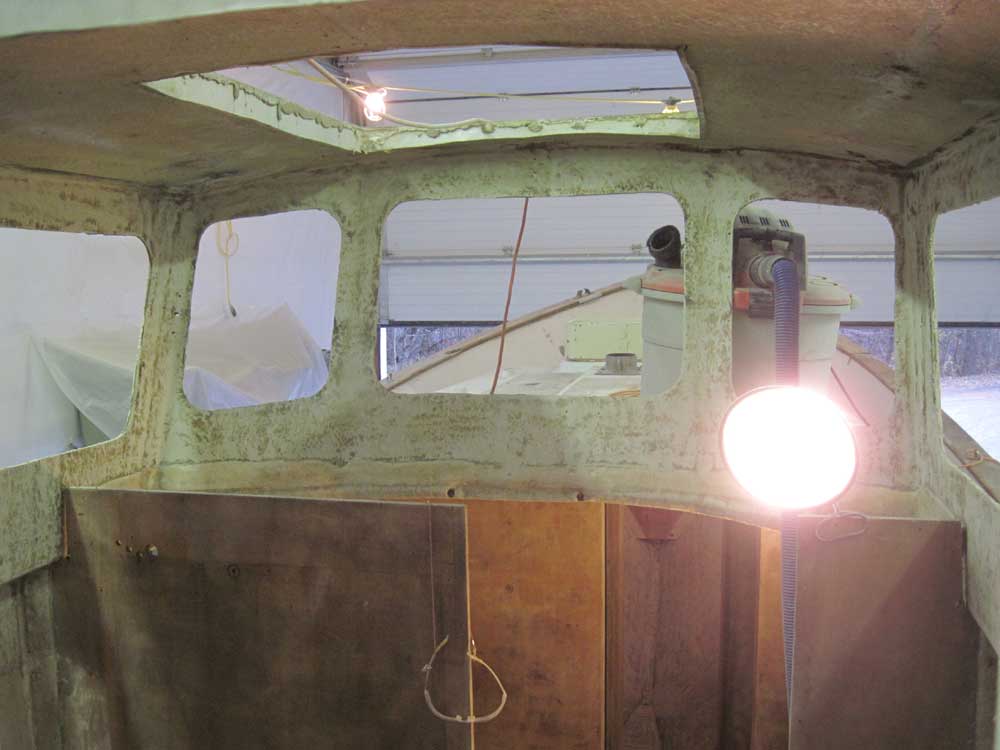
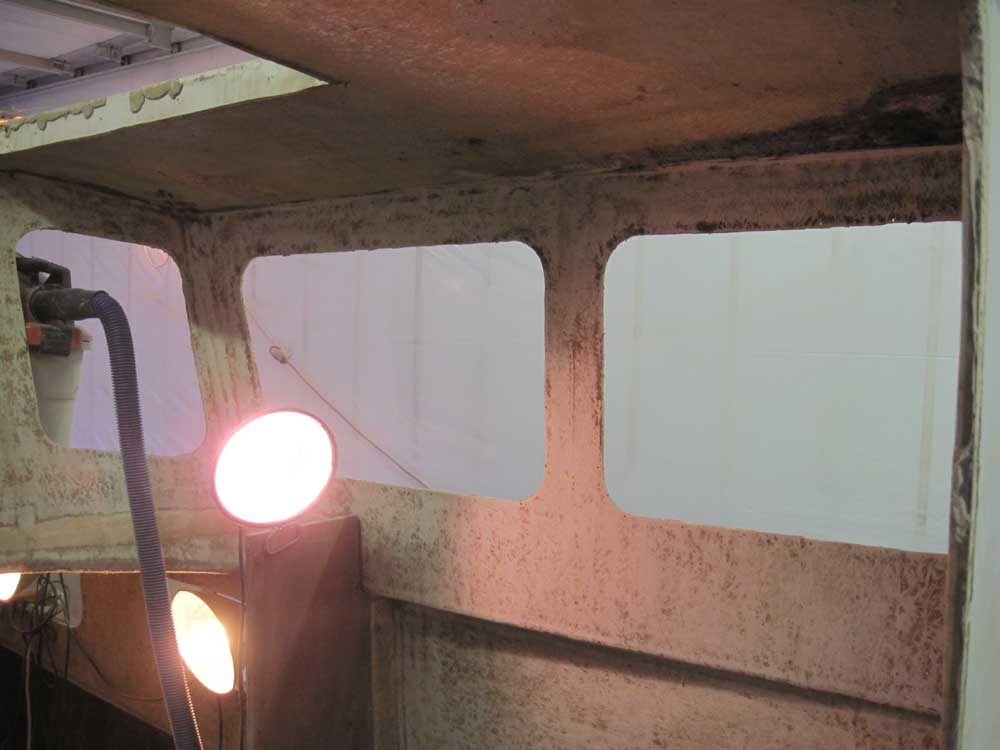
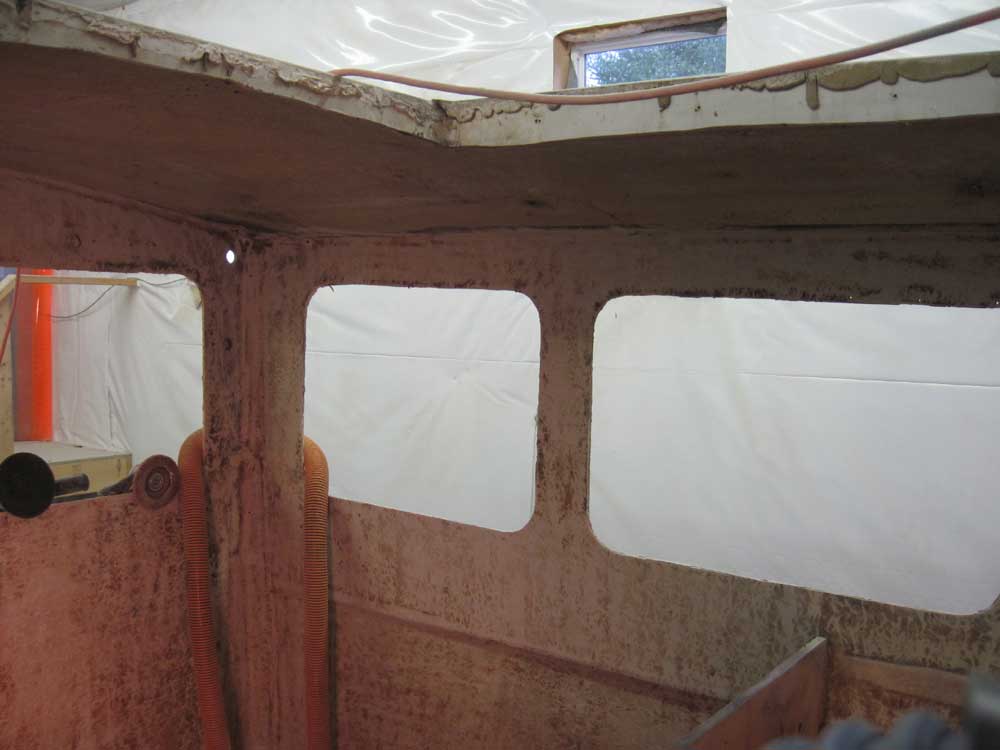
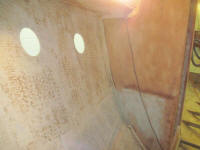
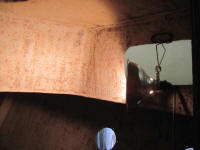
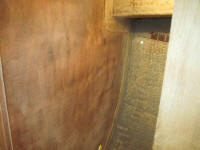
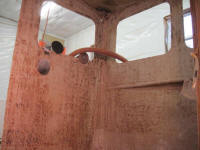
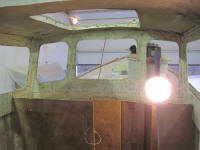
Now I could move on to the pilothouse once more.
Last week, I'd sanded everything below, and including,
side deck level, leaving the vertical bulkheads
for another time. Now was another time, so I
scraped away excess adhesive and cleaned up the inside
of the pilothouse with a sander.
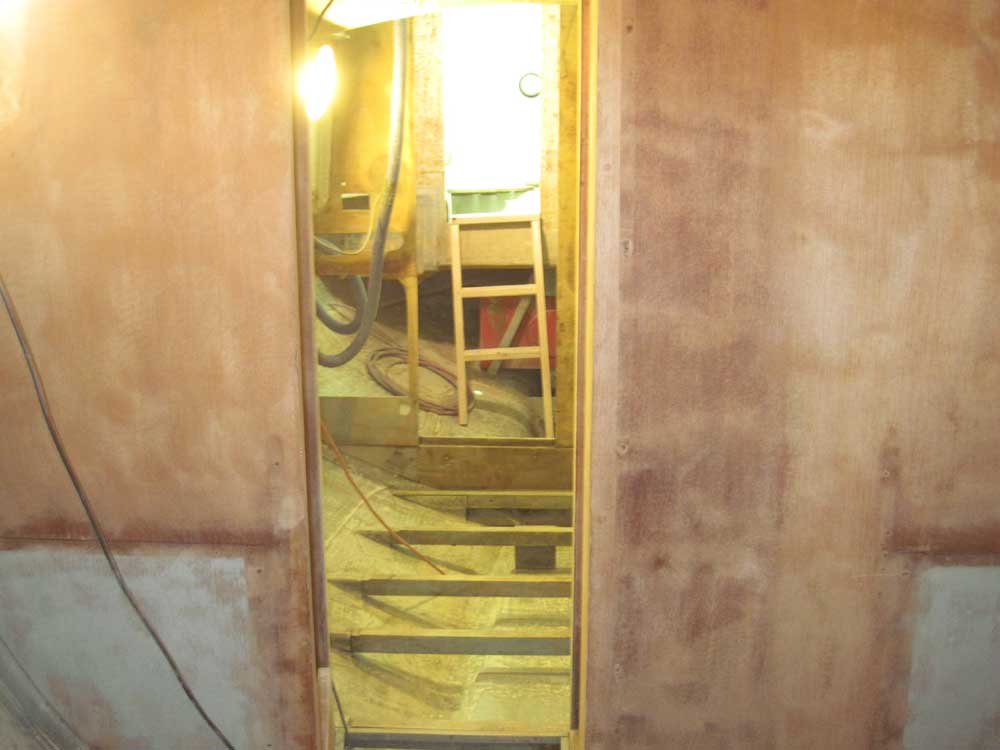
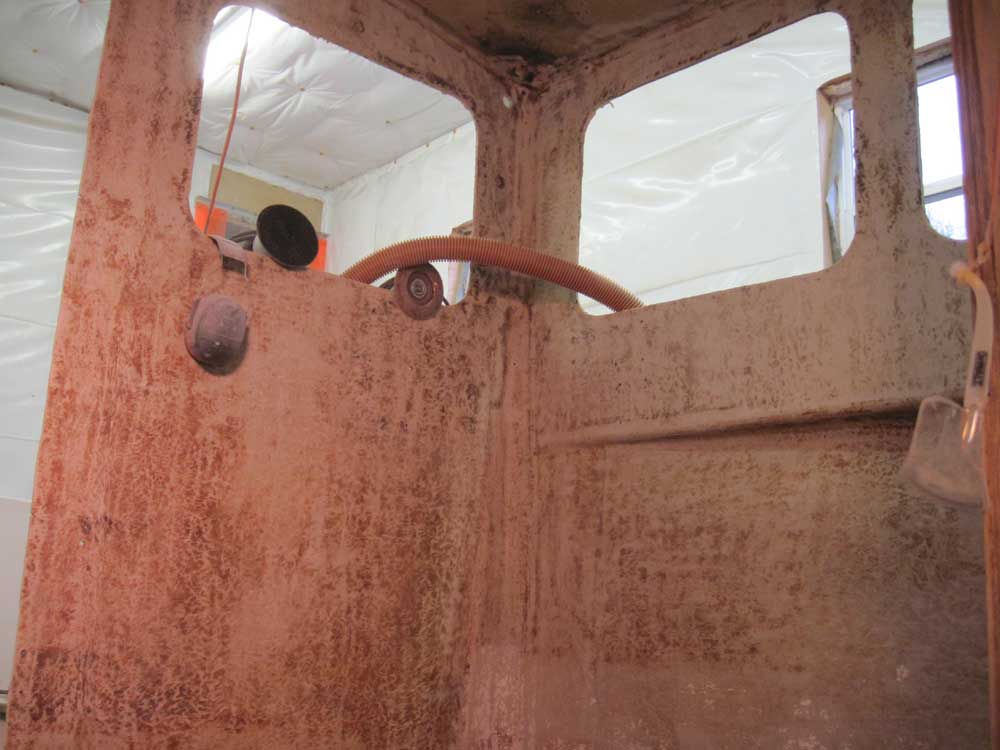
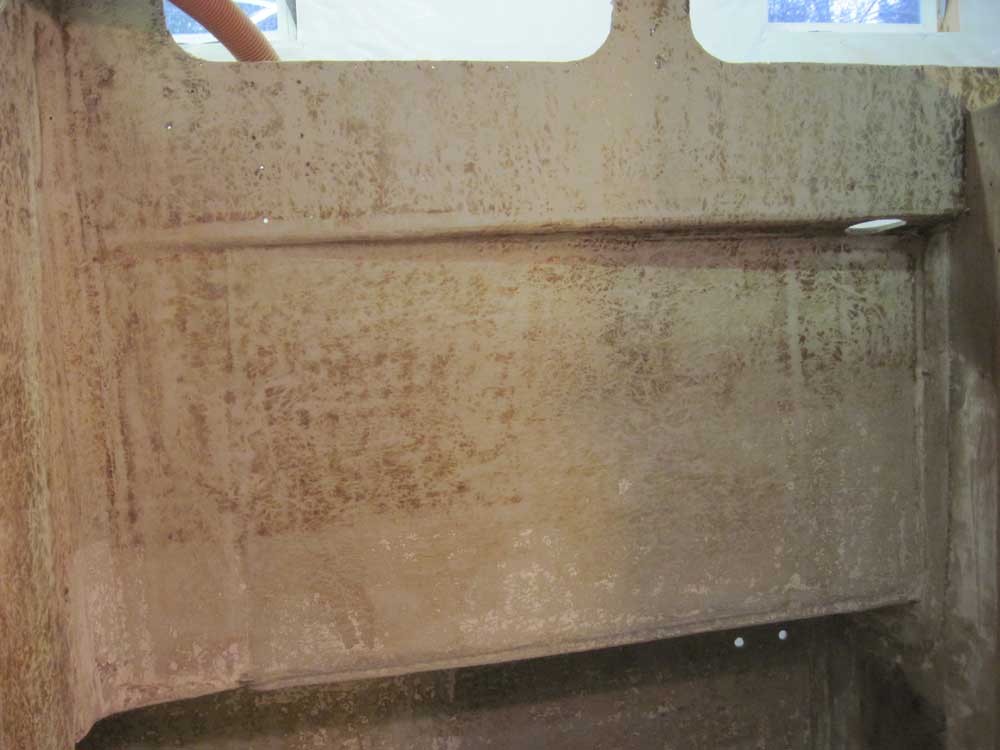
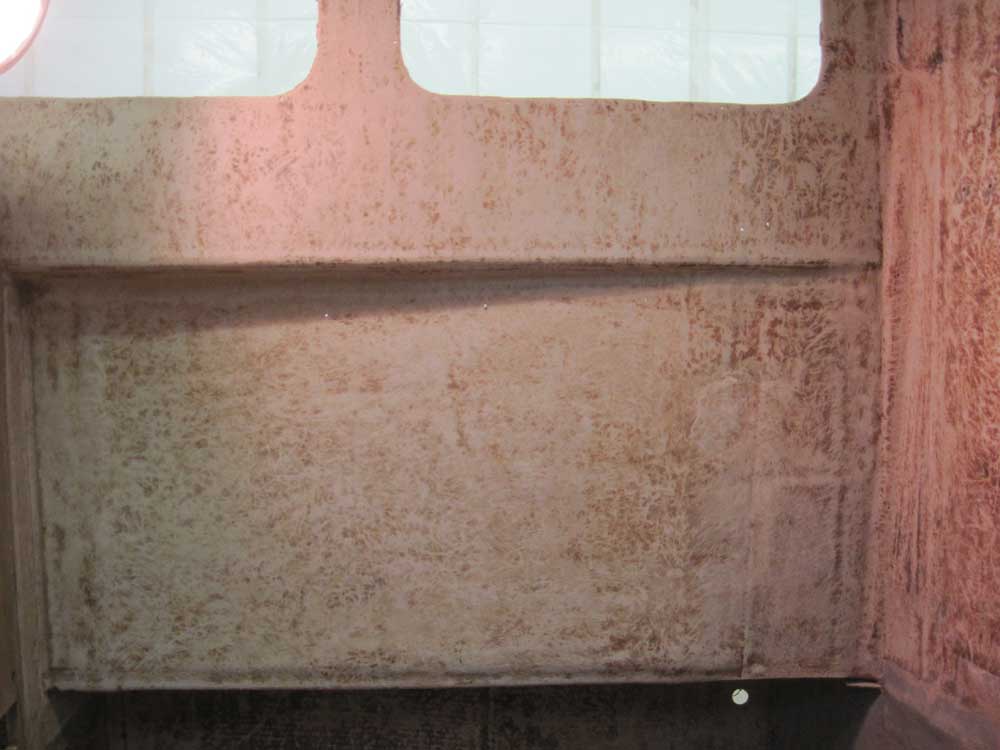
From the bilge, I could reach as far as the bottom edges
of the pilothouse windows, and at first I thought I'd
leave the remainder till I could install some sort of
temporary sole in the pilothouse. However, my
desire to rid the boat of all that nasty, loose,
wrinkled brown contact adhesive got the better of me,
and I found I could clean up the remaining areas--up as
far as the overhead--by leaning in through the windows
from outside. Phew. I left the overhead for
another time. |


 |
All that remained in terms of interior cleanout,
unbuilding, and surface prep was the area directly
beneath the cockpit, where the diesel fuel tank resided.
I needed to get some containers into which to siphon
whatever fuel (and other) was in the tank so I could
remove the tank (for inspection and cleaning, if not
replacement) and clean up this final area. I
planned to do this soon. |
|
Total Time Today: 5.5 hours
|
<
Previous |
Next > |
|
|