Project Log: Sunday, September 19, 2010
Although I'd set out initially to keep major demolition
and reconfiguration of this boat to a minimum, it became
clear throughout the processes accomplished so far that
it made little sense to keep and work around anything
but the main structural bulkheads in the cabin.
The combination of the existing structures' condition
(water damaged, sun-baked, hole-filled, or some
amalgamation thereof) with the ever-present mud and silt
from the sinking, which continued to crop up around each
hidden corner, led me to the belief that there was
little purpose in saving anything but the core
structures of the boat.
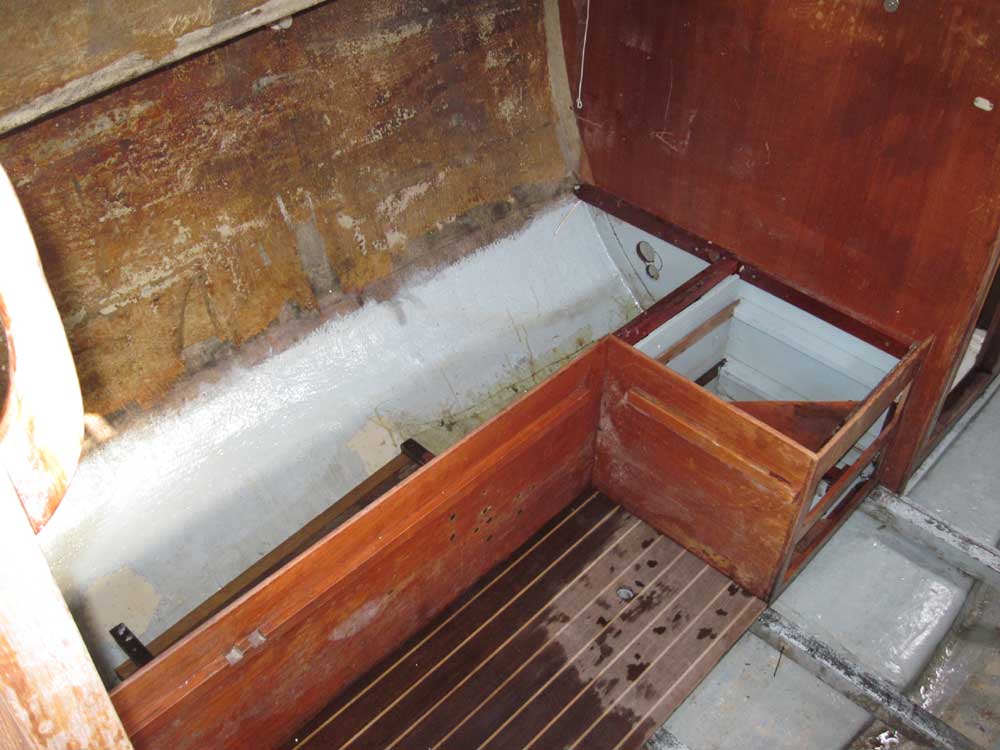
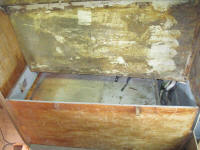
During my initial removal of various interior
components--mostly the galley--I'd left the port side
dinette structure in place, though I'd removed the back
cabinet during an early stage. But in the end, I
saw no benefit to keeping the original L-shaped
structure, which was of very basic construction to begin
with. Since I planned to rebuild the interior in
cherry, the only purpose the old dinette could serve was
as a backing for new cherry paneling, and that wouldn't
be any quicker or easier than simply rebuilding it from
scratch even though I didn't plan substantive changes to
the layout.
The old plywood front and drawer unit (at the forward
end) came out easily with a few screws' removal, along
with the remaining support cleats. For the moment,
I left the remaining plywood sole substrate in place,
though I suspected there was a good chance I'd remove
this--and its compatriot to starboard beneath the
galley--before all was said and done. |
 |
Since conceiving the project and latching on to the
Fisher 30, I'd found myself less than enthused with the
layout of the pilothouse, particularly the starboard
side, which featured a low, narrow settee that still
managed to project too far into the open space and
doorway while being far too low for the seated occupant
to see out the windows. So from the planning
stages, as I perused all available sistership photos I
could find, I'd determined to reconfigure the starboard
side of the pilothouse.
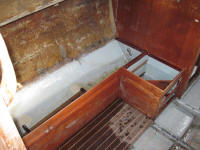
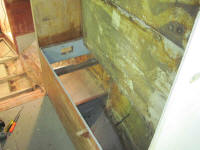
Additionally, the original design incorporated a narrow,
dungeon-like quarterberth running from aft of the galley
and beneath this pilothouse settee--an unnecessary and
unpleasant use of the space as far as we were concerned.
So it was clear early on that all this would have to go.
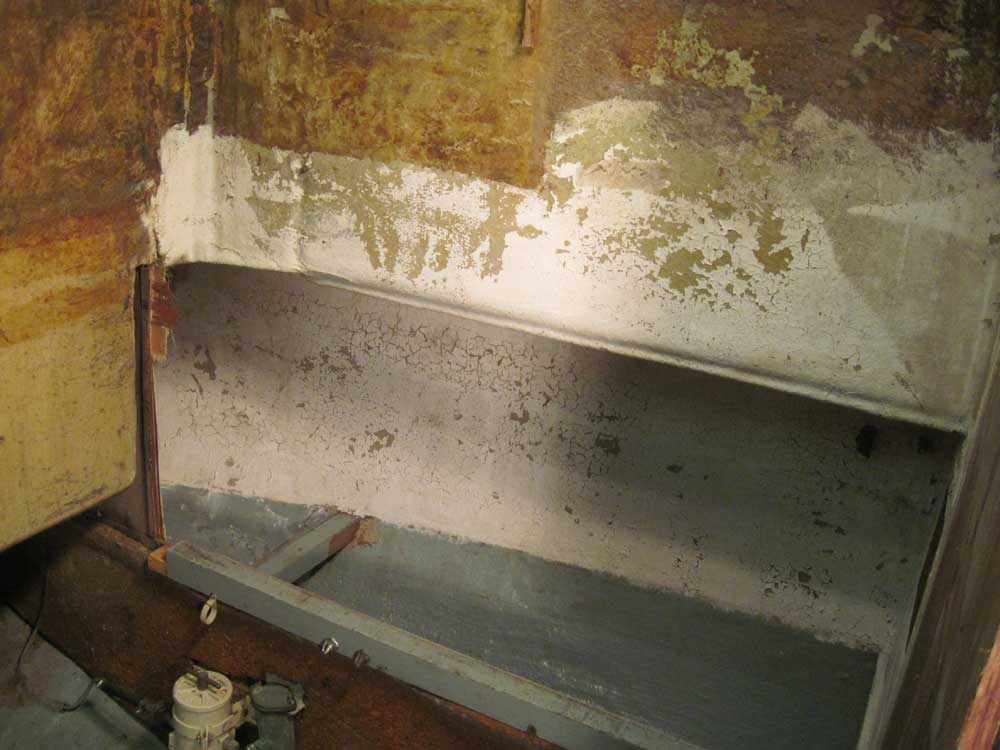
I'd held off removing the pilothouse settee because it
provided the means of support for the pilothouse sole.
However, it was time now to remove it, so I began from
above and unscrewed various plywood panels inside the
settee unit and removing them as necessary.
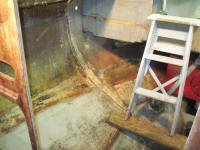
Eventually, I had the area cleared out, exposing the
quarterberth area below, complete with more mud, silt,
and debris. |
 |
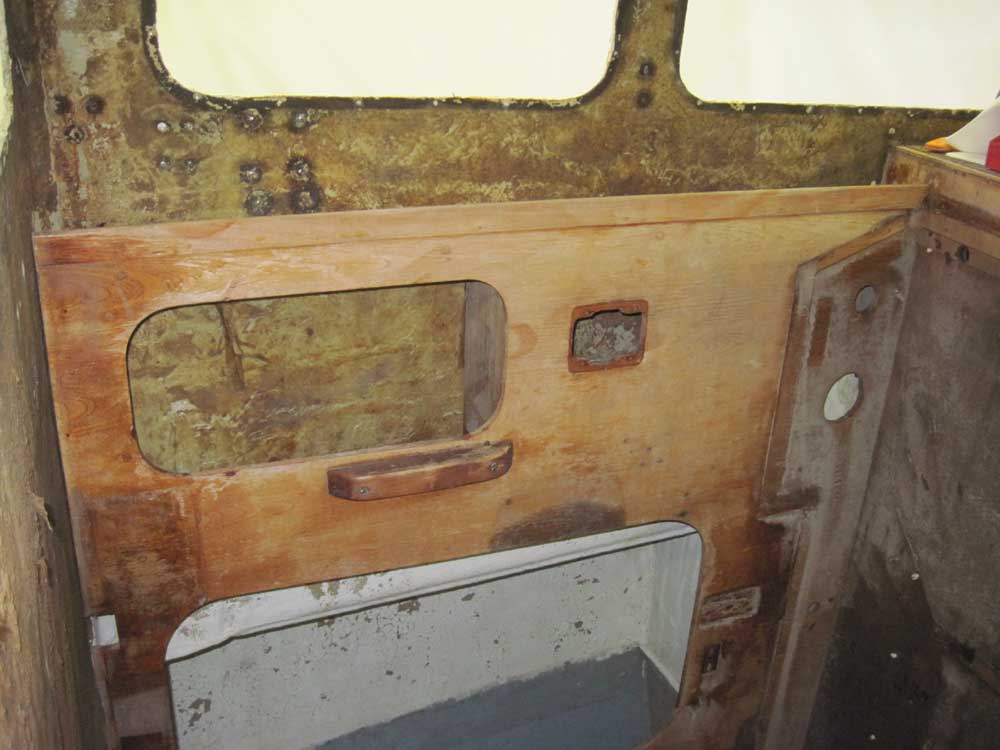
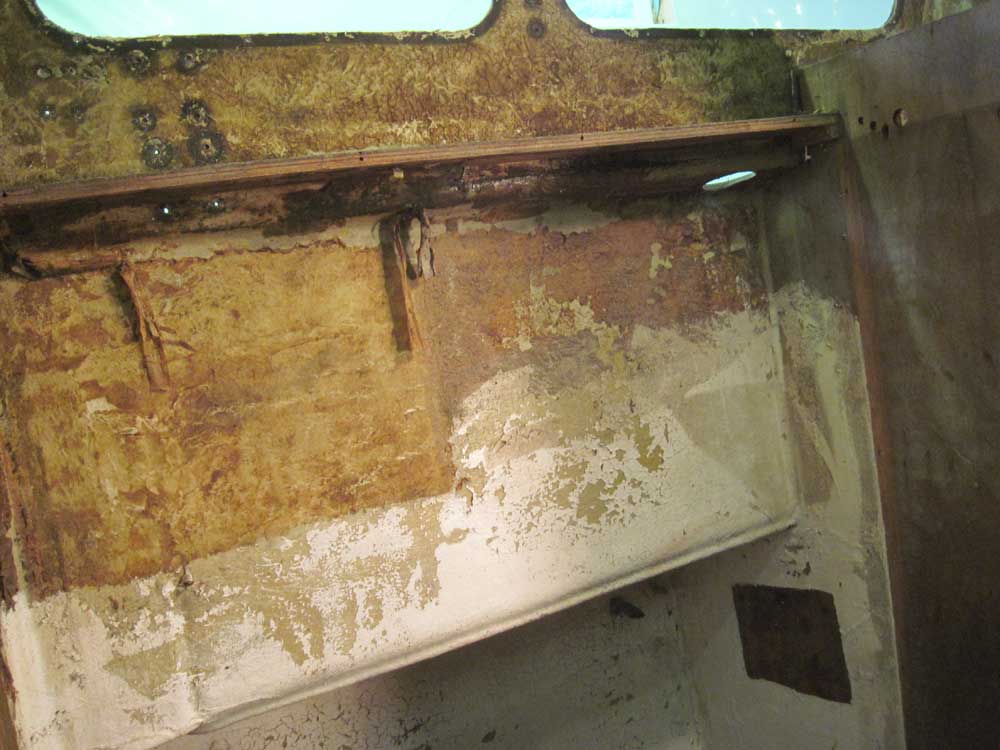
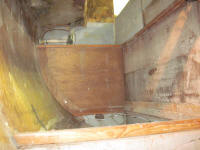
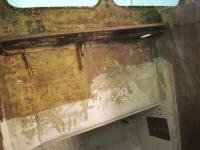
I had not originally planned on removing the port side
of the pilothouse, at least not until the boat came home
and I determined the condition of the original
cabinetry, which eventually caused me to change my mind.
With myriad holes left over from instruments, wiring, or
the original construction, and a surface that was badly
damaged by sun and water--along with my increasing
knowledge of just how simply-constructed the interior of
this boat was--I decided that the large plywood panel
defining the port side of the pilothouse would be best
removed and simply rebuilt with new material. |
 |
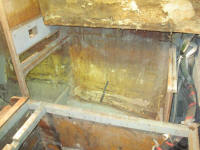
Part of the driving force behind my decision to
essentially remove the entire pilothouse interior, other
than the main bulkhead forward, came from a desire to
better utilize the space in the engine room below.
The original design had featured a huge wasted space to
port beneath the sidedeck, purportedly a captain's berth
but more like purgatory for stowaways. This
cavernous space, which we'd certainly never use as a
berth of any sort, needed to be better used. I
envisioned additional tankage and organized stowage,
which I could duplicate on the starboard side where the
quarterberth had been. |
 |
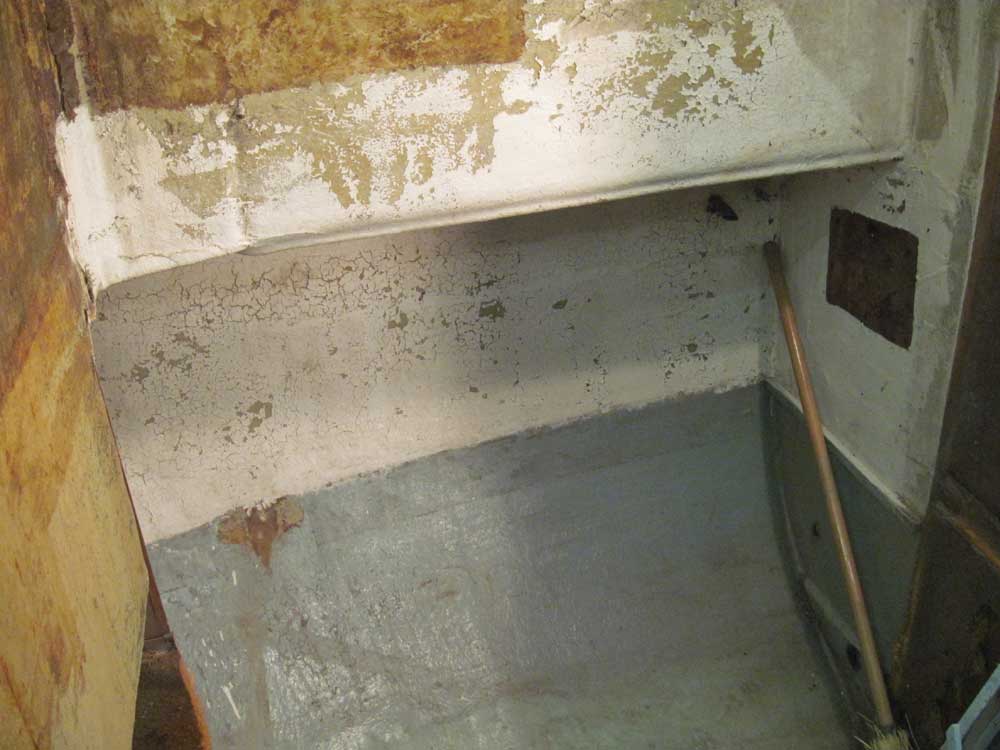
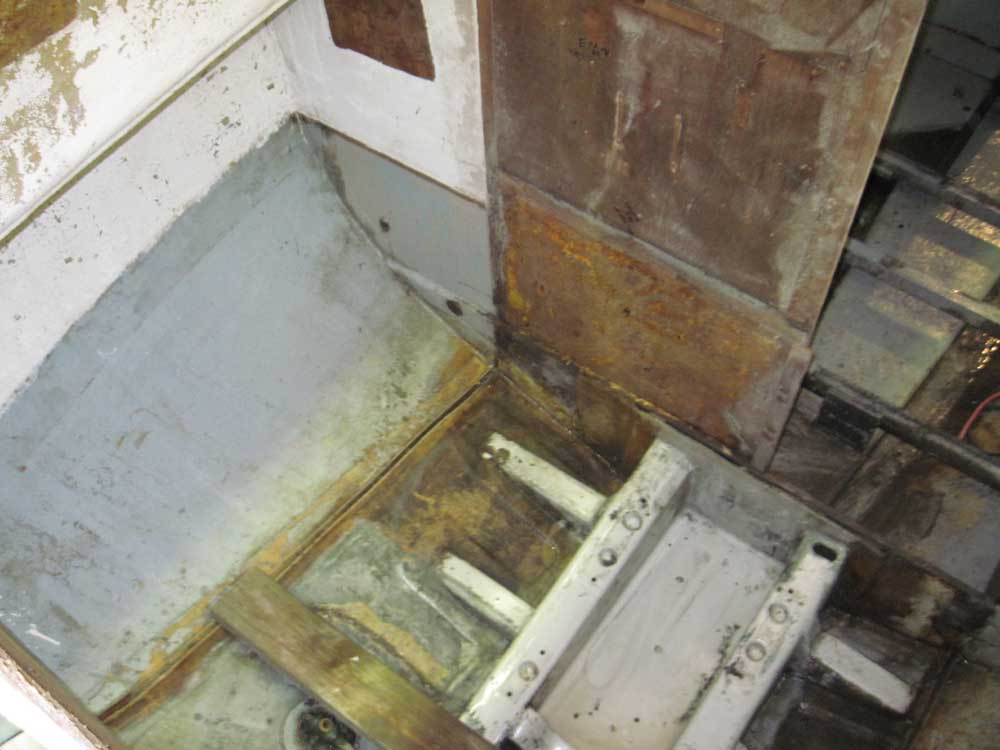
So it was out with the old. In two stages, I
removed the large upper plywood panel at the port side
of the pilothouse; it was secured with screws and cleats
at the forward end, screws and cleats at the lower end
(just below floor level), and some fiberglass tabbing at
the aft end. The small shelf at the top end was
tabbed to the side of the pilothouse, but the tabbing
was weak and pulled off easily. |

 |
Next, I removed the lower section of this longitudinal
bulkhead, back as far as the aft bulkhead of the
pilothouse. I cut the tabbing at the lower (hull)
end, and sawed through the plywood at the aft end.
Later, I removed the after portion of this bulkhead,
having deemed it unnecessary and in the way of cockpit
scupper hose access. |
 |
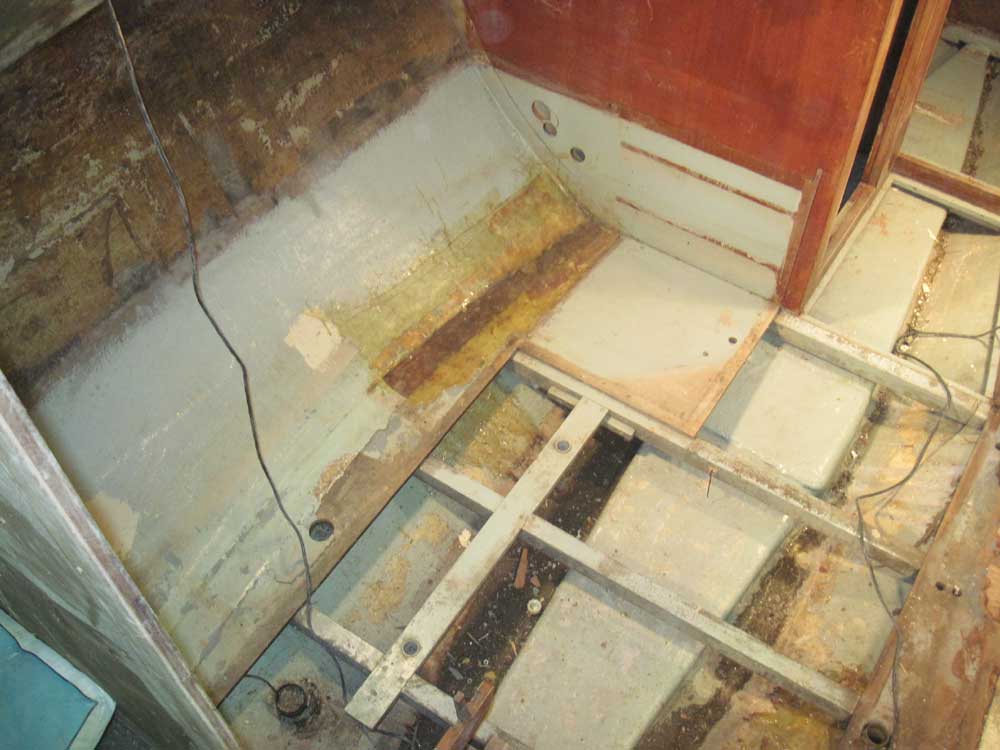
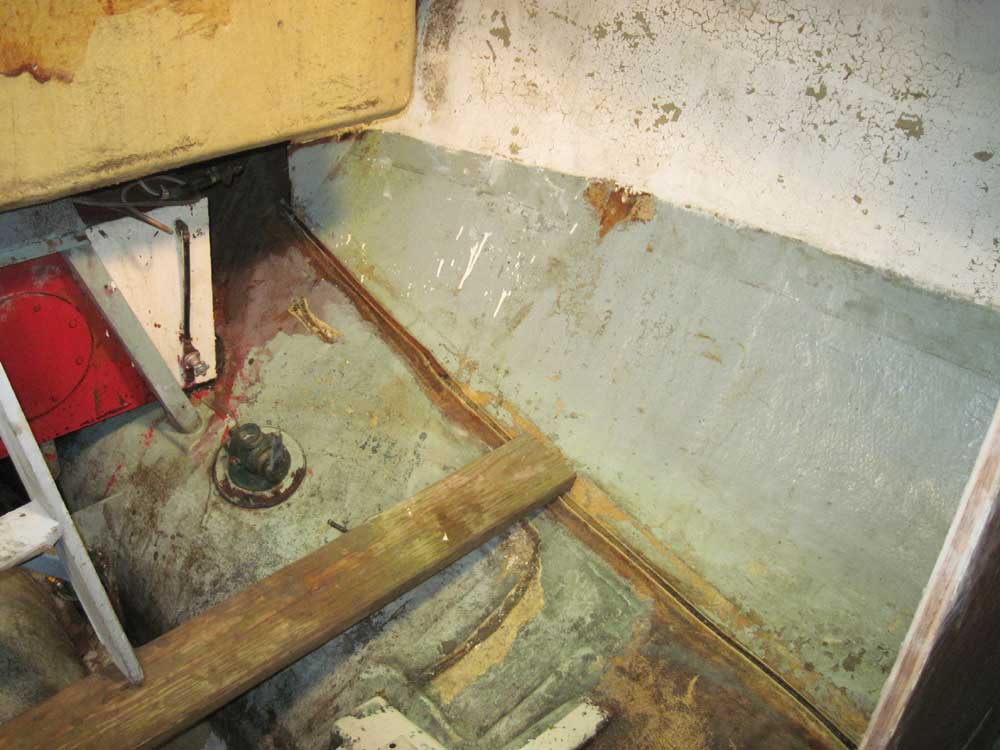
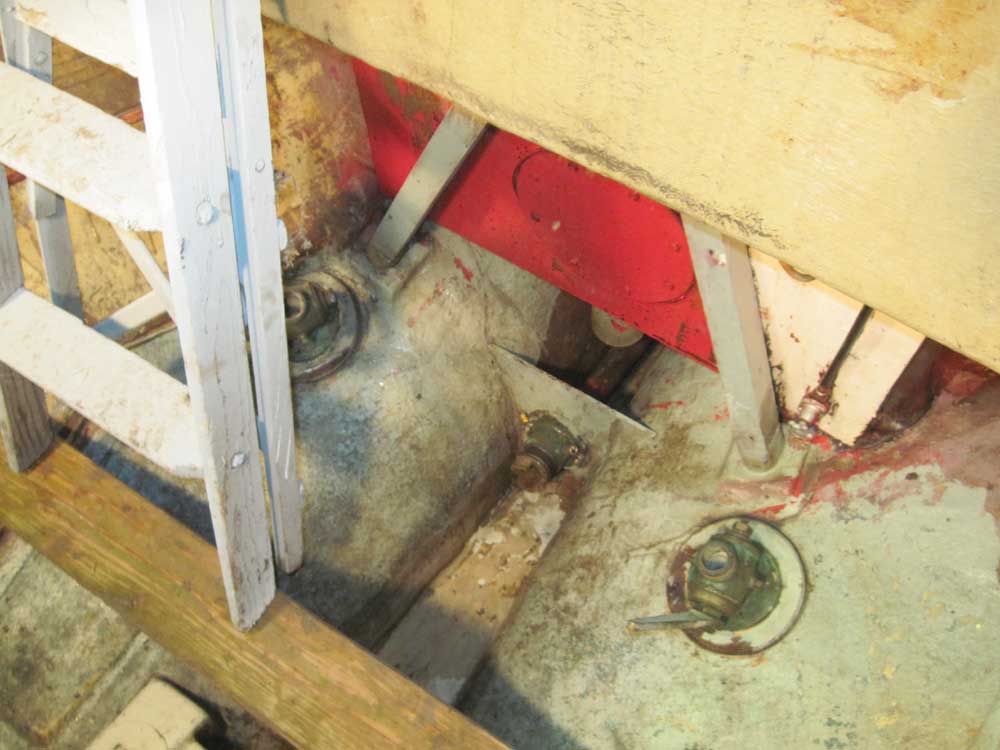
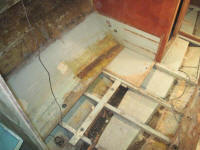
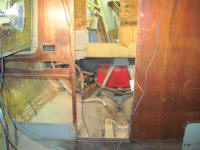
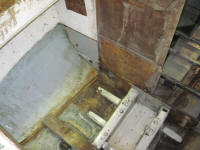
Similarly, I removed two bulkheads from the starboard
side, beneath where the old pilothouse settee had been.
The longitudinal bulkhead here was further towards the
centerline than its counterpart to port, but with the
overall reconfiguration underway this bulkhead would
eventually move further outboard and be symmetrical with
the port side, increasing space around the engine.
But that would be later in the process.
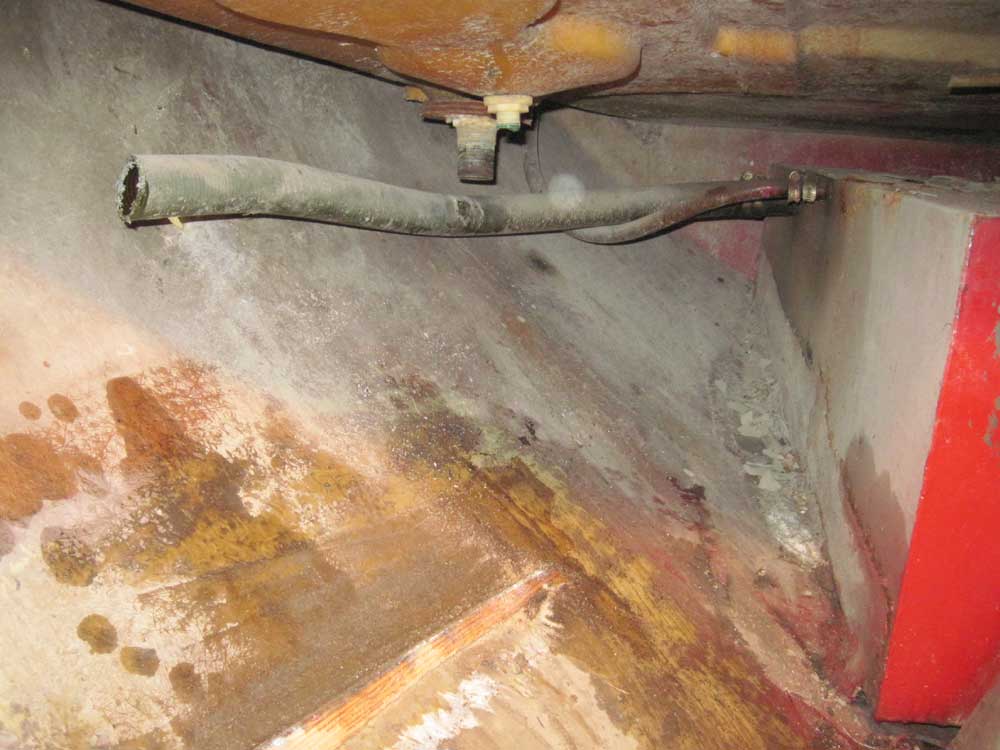
A short transverse bulkhead, which had defined the aft
end of the quarterberth, was next to go, exposing
various hose connections that would have been difficult
to access otherwise. |


 |
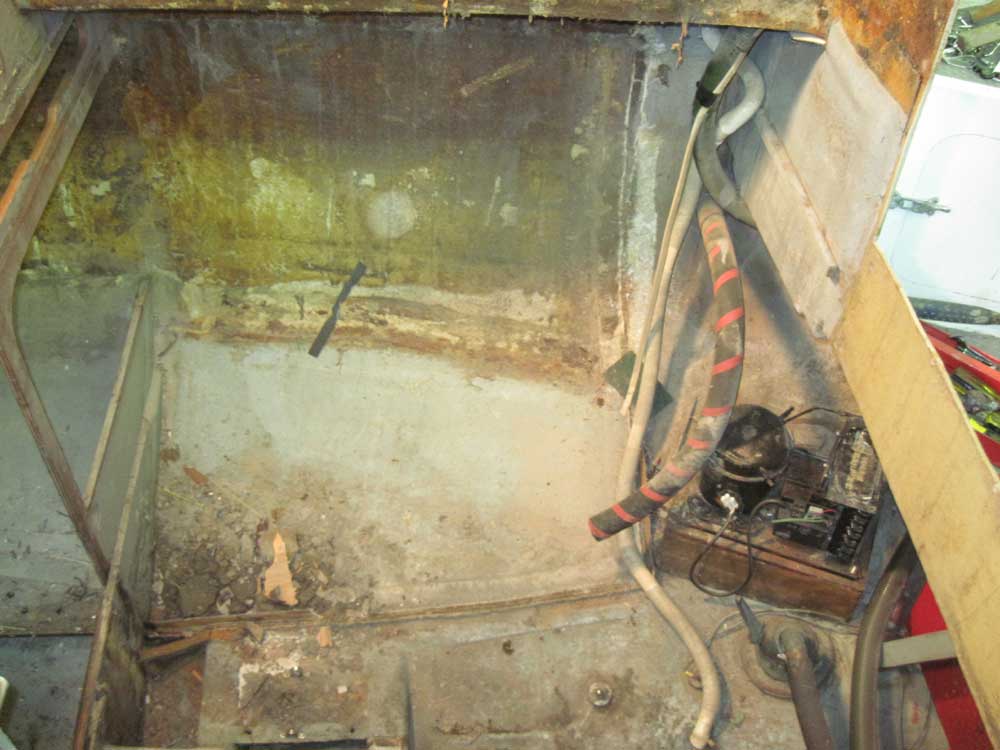
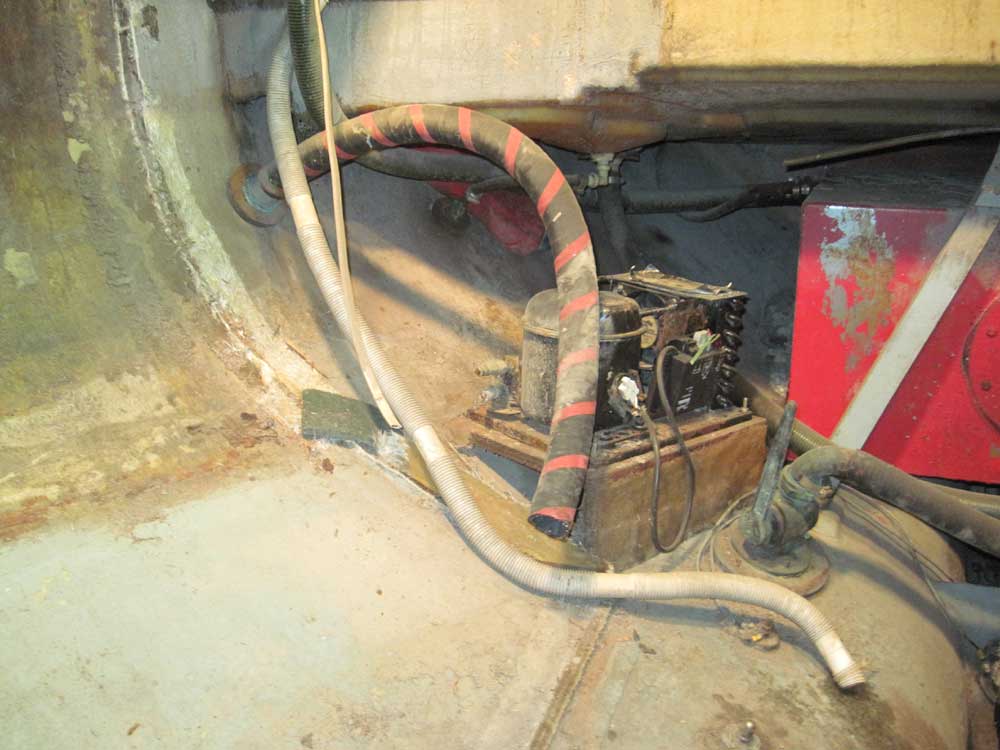
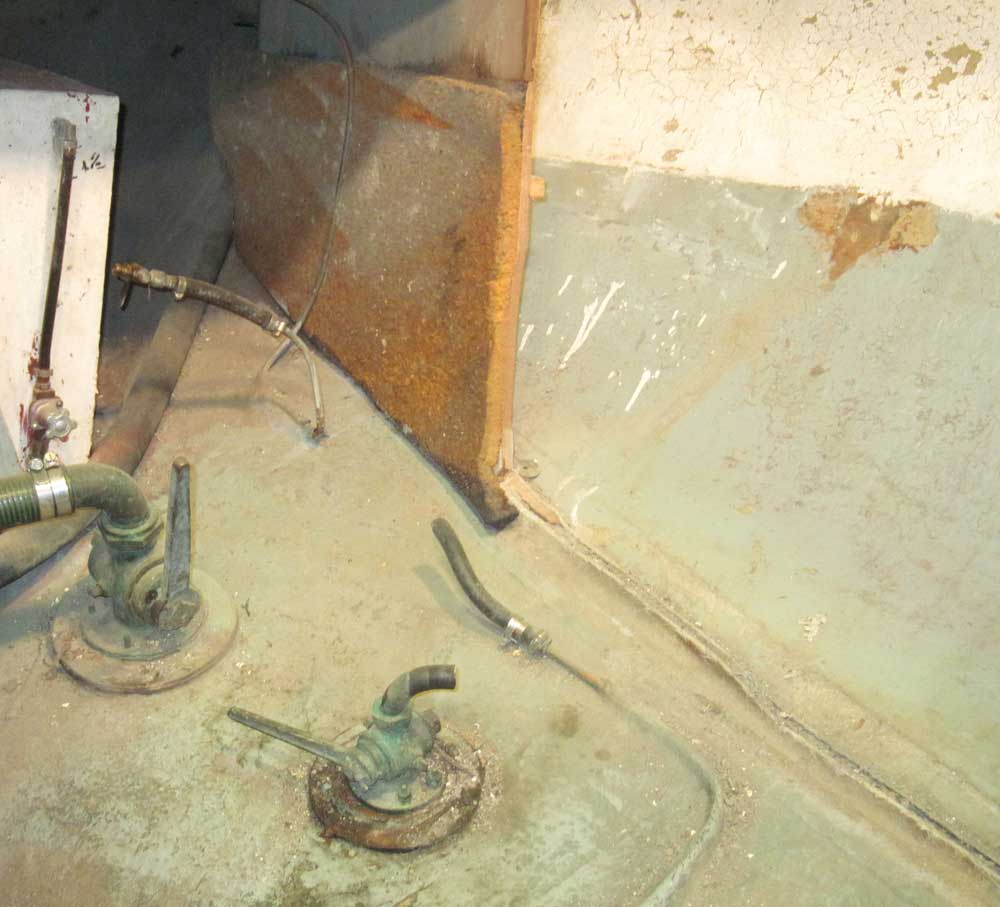
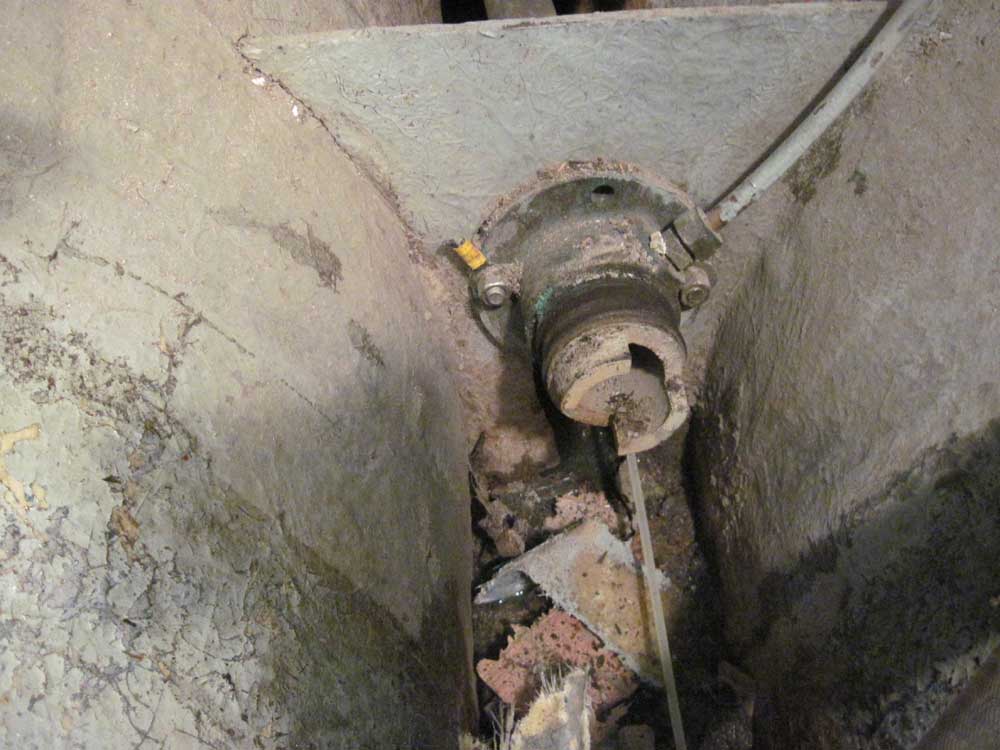
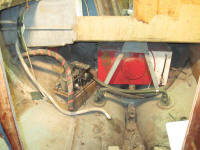
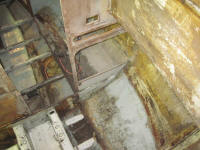
With all the bulkheads out of the way and the space wide
open, I spent some time removing the old hoses, through
hulls (where easily possible, mostly those above the
waterline that weren't throughbolted or had no valves
attached; later I'd concentrate on removing the
remaining seacocks and through hulls), the old
refrigeration system, and portions of the old fuel
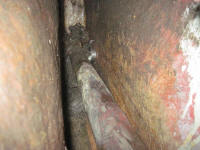
system. The original copper fuel supply line had,
oddly, been glassed to the hull in a couple places, so I
used a chisel to break the tabbing and pull out the old
line; for now, I left the line intact, complete with its
shutoff valve at the end, until I could deal with
whatever contents there were in the fuel tank. |
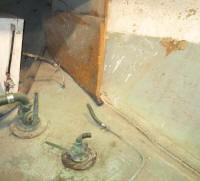 |
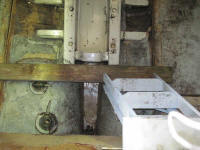
I removed the stuffing box and hose and set it aside for
possible reuse. |
 |
With the engine room and pilothouse cleared out, and
lots more dried mud and silt exposed throughout the
process and beneath each hidden component, it was time
to clean up once more. I began up forward and
vacuumed up various bits of debris through the
accommodation spaces, including dried mud and silt from
the bilge, as the forward parts of the bilge had had
time to mostly dry out.
Throughout the day, I'd been brushing debris and dried
mud into the engine room bilge, as I'd been under the
impression it was relatively dry, and that the debris
would help absorb any remaining liquid, making it easier
for me to clean out. Unfortunately, there was much
more liquid than I thought, so the bilge contained
roughly 2" of sloppy mud beneath the newer debris on
top. Nonetheless, I scooped this out for disposal,
which would have been fine had that been the end of it. |
 |
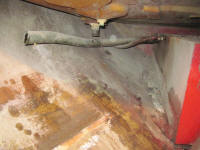
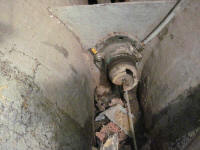
But I discovered that the narrow area behind the
stuffing box, beneath the fuel tank and nearly
inaccessible at this point, was full of mud, the depth
and quantity of which I couldn't really determine.
I tried vacuuming out the mess, as I could slide a vac
hose in there, but eventually this just clogged up the
hose and turned everything into a muddy mess.
I used a garden hose to wash down the engine room, and
to spray out the area beneath the fuel tank; this worked
to some degree, but the mud made a mess of everything
all over again, and now the bilge contained a few inches
of water, which, because of the aft-sloping design,
didn't completely drain out through the drain holes I'd
made further forward during my earlier cleaning efforts;
enough drained out to turn the shop floor into a
nightmare of water and mud, but the engine room bilge
still contained an inch or two of muddy water.
What a disgusting mess. I'd really not wanted to
resoak the boat with water, and had hoped to just remove
the bulk of remaining mud and leave the rest to dry for
later removal during the interior sanding. I was
muddy and soaked in Hudson river filth, and now I had to
vacuum out the muddy water, which was made difficult
since the vacuum wouldn't pull the water up the 4'
height to the vacuum, which was located in the cockpit,
and I had to use the suction to basically fill the hose,
then lift the hose up so the vacuum could manage to pull
the water into the container. Then, after a
death-defying struggle down the ladder with a
water-laden vacuum--which I completed without
incident--I managed to dump the contents on the floor
when I set the vacuum down. I bitterly regretted
my decision to re-introduce water into the boat.
In any event, I got most of the water out, as well as
most of the mud, but there was still mud and debris all
the way aft where I couldn't reach. I decided to
leave that alone for now, let things dry, and figure out
some way to get it out later. |


 |
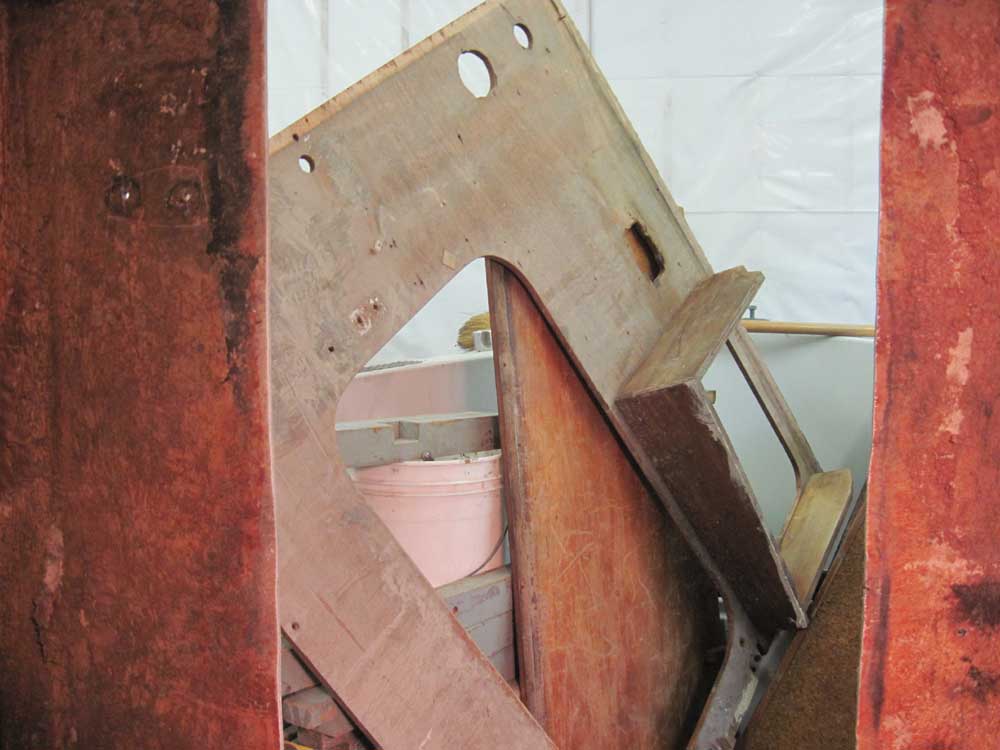
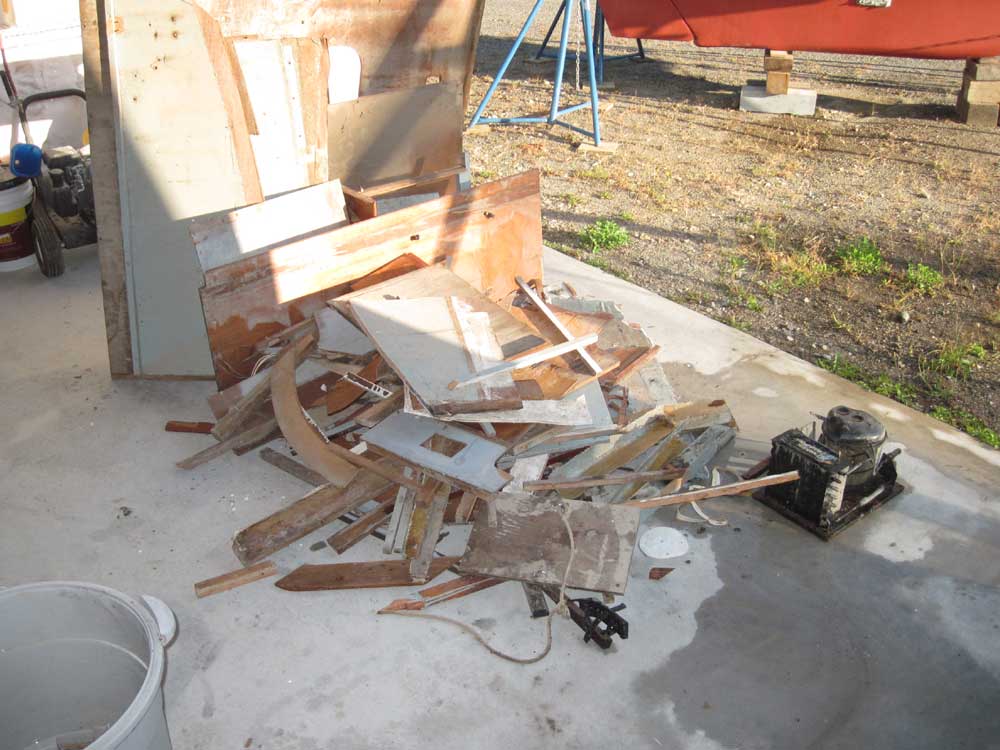
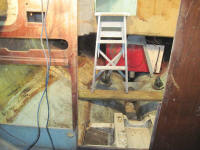
Here's the pile of the debris from the day's efforts. |
 |
Total Time Today: 7 hours
|
< Previous |
Next > |
|
|