Project Log: Tuesday, September 21, 2010
There were still six or seven through hull fittings
still in place, all of which I wanted to remove. I
planned to replace and relocate the fittings as
necessary; certainly the current collection was a
haphazard mix of original, decent-quality fittings
(including three Wilcox-Crittenden seacocks in the
engine room) and marginal ball valves located elsewhere.
Besides the obvious (to me) need to refit all the
through hull fittings with newer and better valves, I
thought the existing locations would end up being less
than ideal, and preferred to start with a clean slate.
During earlier parts of the unbuilding process, I'd
already removed a half dozen through hull fittings from
various places in the boat, mostly plastic vent and
drain fittings above the waterline.
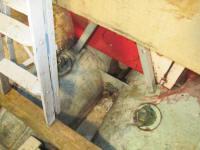
The three "real" seacocks in the engine room were the
only ones that were acceptably installed, though I'd be
glad to start over nonetheless. These flanged sea
valves, a tapered-plug type, were secured with through
bolts and backing plates. I probably could have
left these alone, but I didn't. In any event, the
engine intake seacock was only 1/2", far too small for
the cooling water requirements of modern diesel engines. |
 |
With the seacocks bolted to the hull, I first attempted
to remove the through hull fitting from the outside
using a special tool, thinking the through bolts would
hold the seacock from turning; in an ideal world, this
might have worked. Unfortunately, the tool didn't
work properly in the style of through hull fitted, so I
quickly gave up on the idea of being able to unscrew the
fitting from the seacock.
I scraped away the bottom paint around each fitting to
expose the screw heads that I knew would be there, and
was able to remove most of the through bolts without
difficulty. Not being one to waste time with
attempts to save fittings that have no business being
saved, I used a grinder to cut off the mushroom heads of
the old through hulls, thereafter enabling me to remove
the seacock and plywood backing plates easily from the
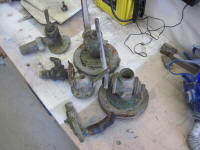
inside. Later, I'd remove the remaining threaded
section from inside the seacock, as the three W/C valves
would be worth saving for some future use or resale.
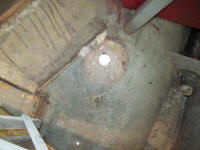
The three valves located in the head compartment were
cheesy and not worthy of any efforts to save, and their
installation allowed me to use a reciprocating saw to
cut through the through hull stem from inside, cutting
partially through the wooden backing plates in the
process. These fittings came out quickly. |
 |
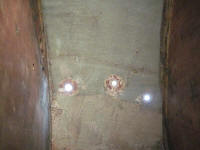
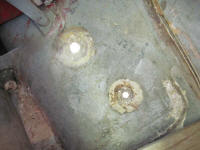
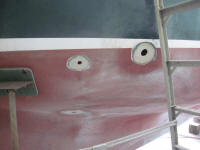
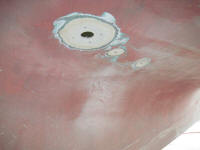
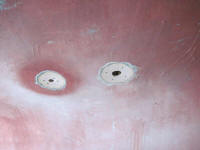
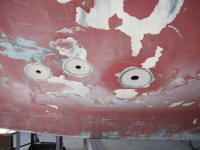
With all the fittings out, I ground roughly circular
dished areas around all the old holes in the bottom of
the boat, including the old engine exhaust (located
right at the waterline just aft of the starboard beam)
and propane drain just below. This prepared all
the old holes for future patching, which would take
place a little later in the process. At some point
during topsides prep, I'd similarly prepare the various
holes located in the topsides. |
 |
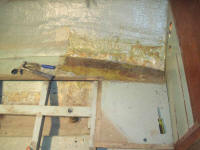
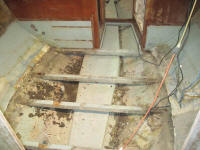
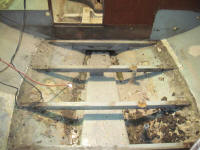
Next, I returned to the cabin and removed the small edge
sections of plywood from the cabin sole. (You
didn't really think I'd leave this in place, did you?)
These small sections, which had been inside cabinetry in
the original interior, were in poor condition, dampened
by water, and were barely secured with sections of loose
tabbing and poorly-executed repairs to other sections.
I removed a few screws and the sections came out pretty
easily, taking most of the tabbing with them.
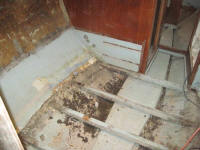
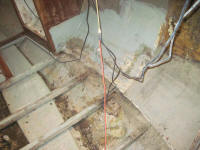
Beneath the port side was yet more mud, silt, and
debris, which I dug up and spread around to hasten
drying before I attempted removal. |
 |
In the forward cabin, I removed some remaining sections
of hose from the water tank, including the fill and vent
hoses, plus a hose leading to and old deck washdown
fitting. I discovered that the supply hose was
connected to a fitting on the aft lower side of the
tank, which fitting was buried behind the bulkhead and
foamed-in tank, so it became clear that I'd have to
remove that bulkhead for access. What a
thoughtless design. If I couldn't rebuild the
forward cabin in such a way as to preserve reasonable
access to this hose connection in the future, I'd have
no choice but to trash the existing tank, since I didn't
like the idea of a non-accessible fitting like this.
More on this later.
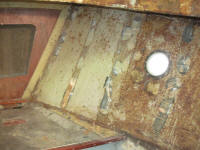
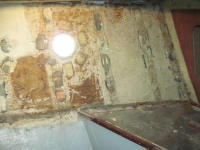
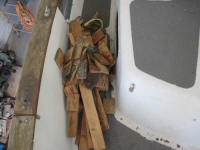
It seemed as good a time as any to remove the plywood
ceiling support strips that someone had installed in the
forward cabin. These strips were secured with some
sort of green-colored polyester paste. With a
chisel and hammer, I knocked them loose. Some of the
globs of adhesive broke cleanly away, while others
shattered and left clumps behind. Later, during
interior surface prep, I'd remove the remainder. |
 |
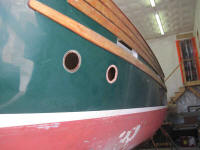
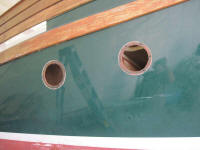
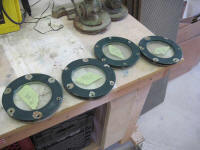
Finally, I unbolted and removed the four round ports
located in the hull in the forward cabin. |
 |
Total Time Today: 5.5 hours
|
< Previous |
Next > |
|
|


