Project Log: Saturday, August 20, 2011
The paint was dry, so my first step of the day was
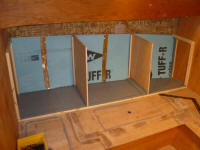
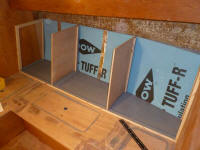
to prepare three sections of foil-faced 1/2" rigid foam
insulation, one for each of the locker areas. I
sized the foam for a friction fit, and pressed it into
place behind the cleats. I did not secure the foam
otherwise. |
 |
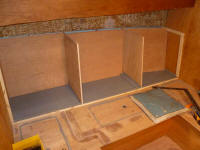
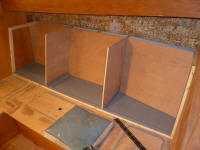
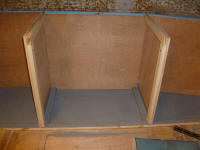
To cover the foam, I installed the cherry panels,
securing each with four screws. |
 |
For additional support, and to accept screws during
installation, I cut and installed hardwood support
cleats to each of the center dividers, placing the new
cleats on the side of the dividers facing the center
locker. |
 |
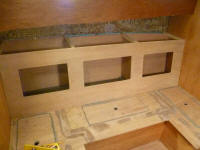
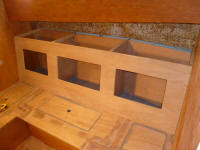
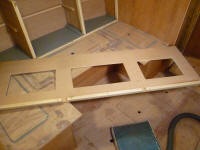
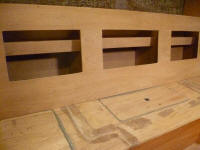
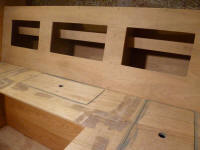
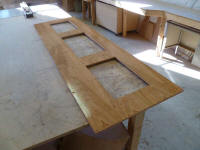
Next, I laid out for and cut the locker door openings in
the backrest panel. In doing so, I took into
account several factors: the height of the seat
cushion; the size of the eventual trim along the top of
the panel; ease of access; and aesthetics and symmetry.
Eventually, this led to openings with a height of 10".
I kept the reveal between the three openings and the
edges of the backrest equal for symmetry, and ended up
with a 20" wide center opening (as the center locker was
several inches wider than the two ends), and 16-1/8"
widths for the two end openings. |
 |
Having the openings cut allowed me to determine an
appropriate height for the shelves inside the lockers,
allowing for reasonable access to both sections of the
locker. Because the locker openings were
relatively small, I also planned to set back the upper
shelves by several inches to allow easier access to both
sections.
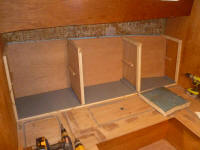
After determining the basic positioning of the shelves,
I made some measurements for support cleats, which I
then cut from cherry lumber. Each cleat featured
rounded edges and ends, since they'd be at least
partially exposed.
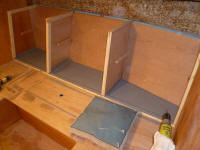
With the cleats cut, I secured them to my layout lines
within the lockers using glue and screws. |
 |
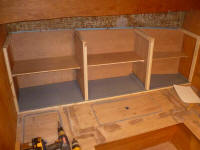
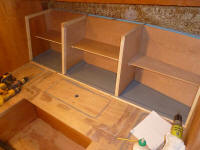
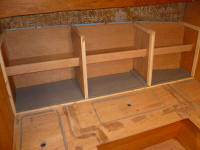
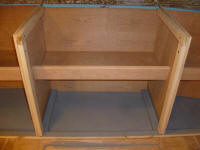
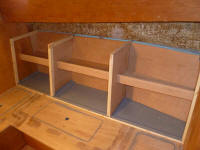
Afterwards, I cut the three plywood shelves to fit. Once
I had the shelves in place, I made a mark along the back
edge of each shelf so that I could add a longitudinal
support cleat there, directly beneath the shelf. I
cut and installed these cleats just like those on the
side, but didn't take specific pictures of their
installation; one of the cleats is visible in this
photo, however. |
 |
To cover the end grain of the plywood where exposed at
the front, and also to provide a fiddle to help contain
whatever contents might be on these shelves, I milled
and installed solid cherry trim for each shelf.
The trim (fiddles) featured rounded corners and a rabbet
to allow the piece to fit slightly over the plywood.
I glued these in place and secured them with stainless
brads, then installed the shelves. |
 |
I'd planned to remove the shelves for finishing, but the
relatively tall fiddle made angling the shelves into
position much more difficult than I'd anticipated, so
once they shelves were in place I decided they would
stay there, and I secured them with a screw on each
side, just so they couldn't slide around.
I probably should have positioned the shelves slightly
lower to account for the height of the fiddle; the shelf
position, just about halfway up the locker door opening,
was fine, but the additional height of the fiddle raised
the effective height one must work over; that said, the
position works better than might be suggested by the
photos below.
In
their final position, viewing the top shelf (and its
imagined contents) was awkward, though the overall
design of the backrest opening and the inset shelves a
few inches back from the panel made the operation of the
shelves and storage areas perfectly acceptable.
There was able room on both the bottom and top shelves
for tall items, and the setback of the shelf would make
placement of items on to the shelf easy, even though the
shelf was a bit higher than ideal. |
 |
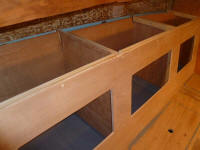
The backrest required additional cleats along its top
horizontal edge, to better support the shelf above and
allow screws a place to bite. I milled these cleats with
the appropriate angle, and glued and screwed them into
place from behind the panel. |

 |
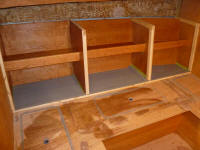
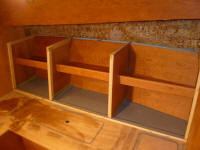
To wrap up the day's work, I applied a sealer coat of
varnish to all areas inside the lockers, as well as to
both sides of the backrest panel. |
|
Total Time Today: 7 hours
|
<
Previous | Next > |
|
|


