Project Log: Sunday, December 18, 2011
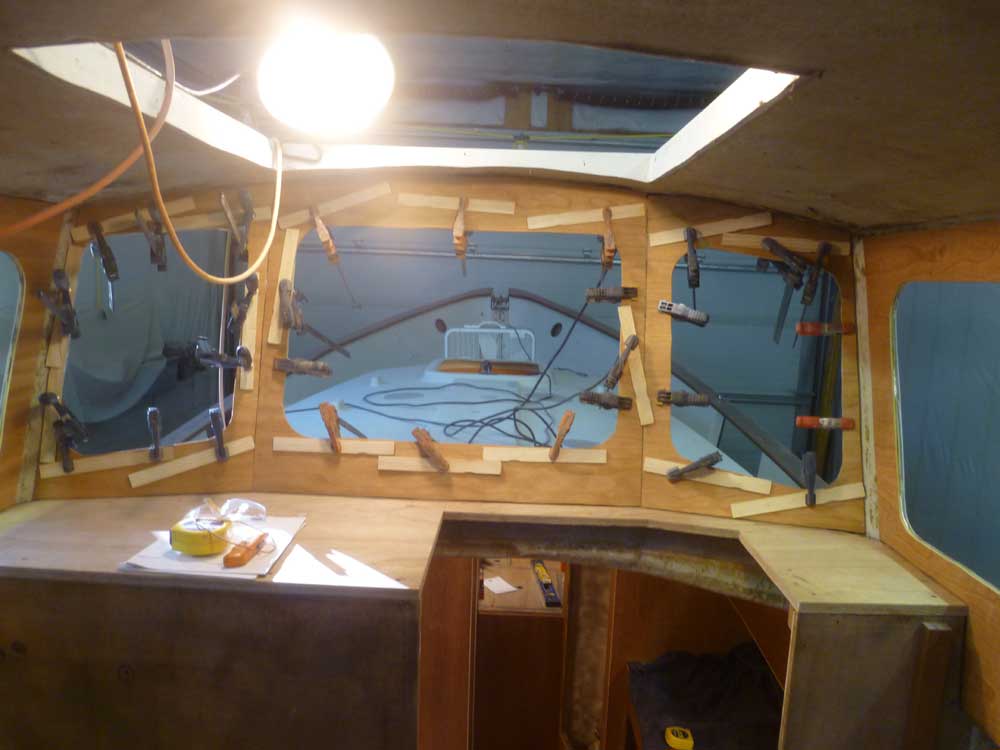
The adhesive securing the side panels in the pilothouse
had cured sufficiently overnight, so I removed the
clamps and repeated the process with the three small
panels lining the windshield, using plenty of clamps to
secure them. |
 |
Next, I turned to the overhead in the living spaces.
I didn't plan to emulate the original overhead
construction, which featured thin, vinyl-covered plywood
panels secured directly to the underside of the deck
with screws. My basic pan involved short support cleats
to which I'd secure painted plywood panels, leaving an
open space above for insulation and, if needed, wire
runs for overhead lighting; the panels would also allow
relatively easy access to the spaces in the future, as
needed. I'd been postponing
installing the support cleats for some time, focused as
I was on some of the more "fun" aspects of
reconstruction, but now seemed like the time to get a
start on the overhead.
Before I could begin the layout for the cleats, however,
I had to think about ventilation hatches. From the
beginning, I'd planned on installing two small deck
hatches in the main cabin, one directly over the galley
for good ventilation and additional light there, and
another on the opposite side above the dinette. I
had to think about where I'd put these hatches so I
could plan the cleats around the openings.
After looking at the offerings from several
manufacturers, I didn't make any clear decision on the
exact hatches, though I knew they'd be the smallest size
available to fit in the given spaces on either side of
the wide raised center section of the coachroof.
I didn't really want to buy the hatches just yet; in
fact, I didn't even plan to cut the openings yet, but I
needed to know where the hatches would go, and how large
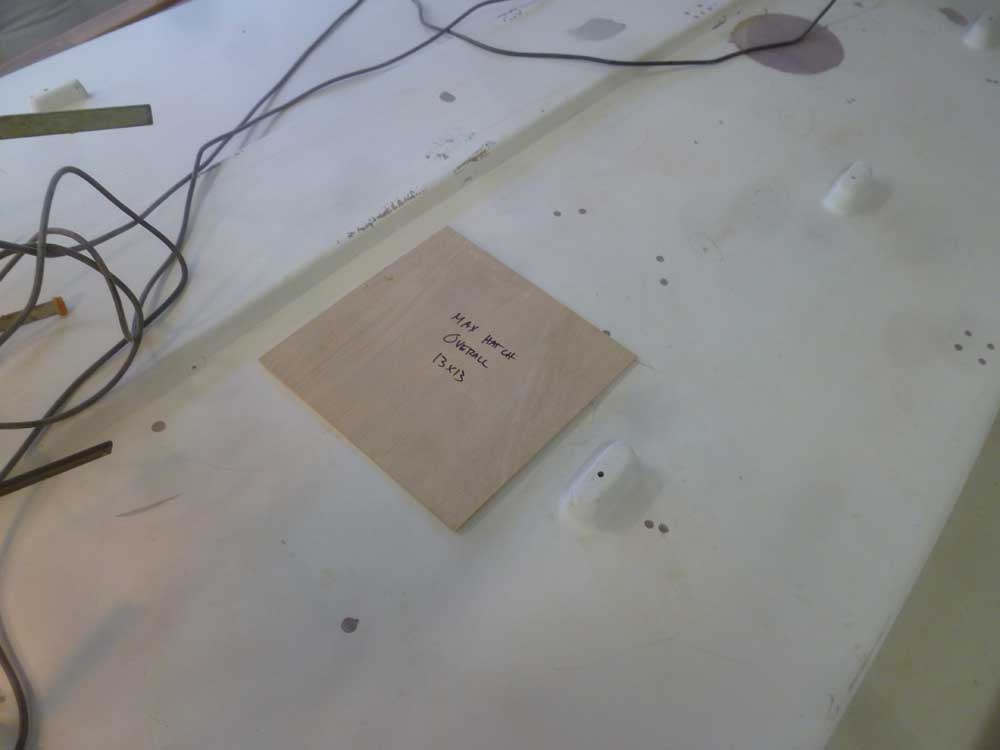
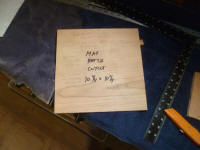
the cutouts would be. So I based my measurements
on the largest overall size and cutout dimensions of the
several hatches under consideration and made two square
plywood templates to represent the cutout (10-3/4"
square max) and outside dimensions (13-1/4" square max),
for ease of current and future reference and layout.
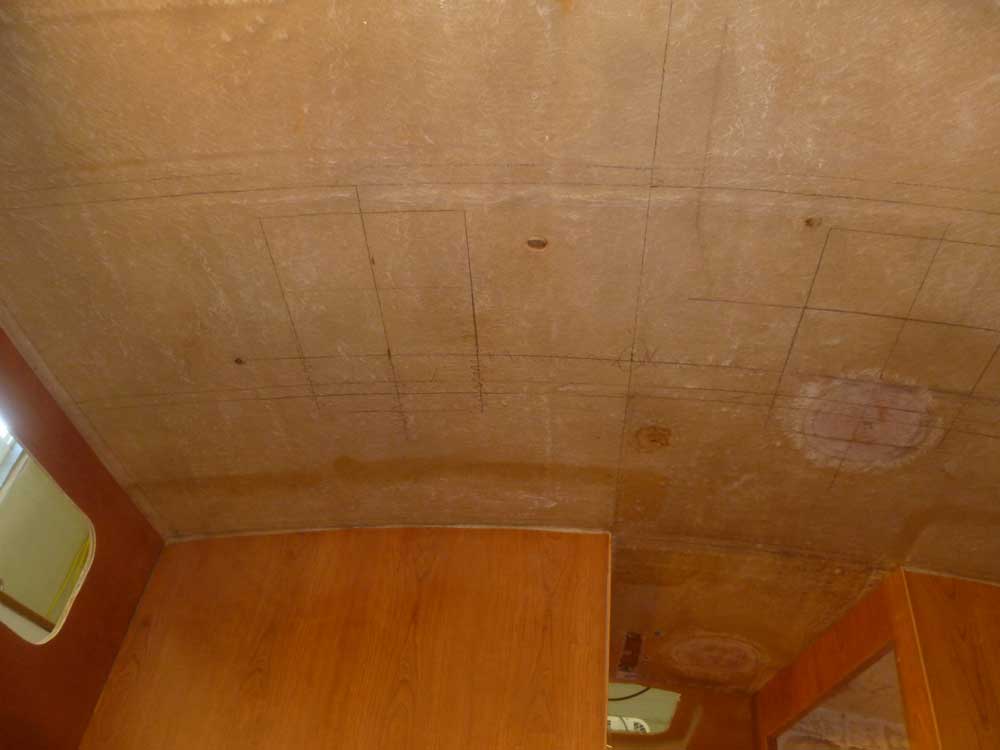
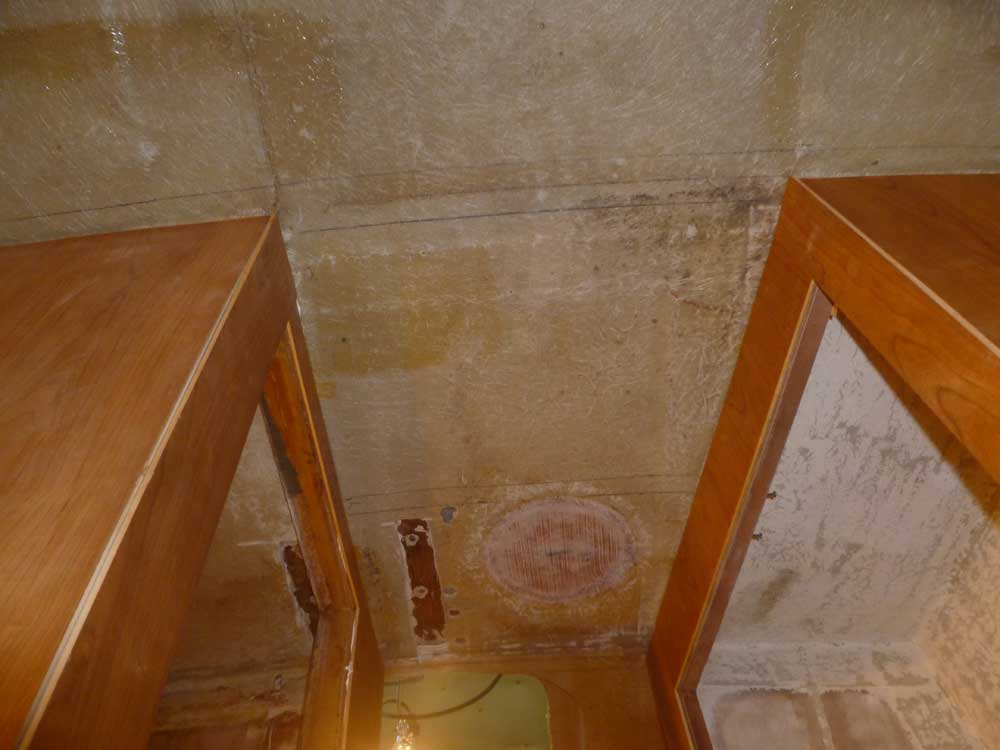
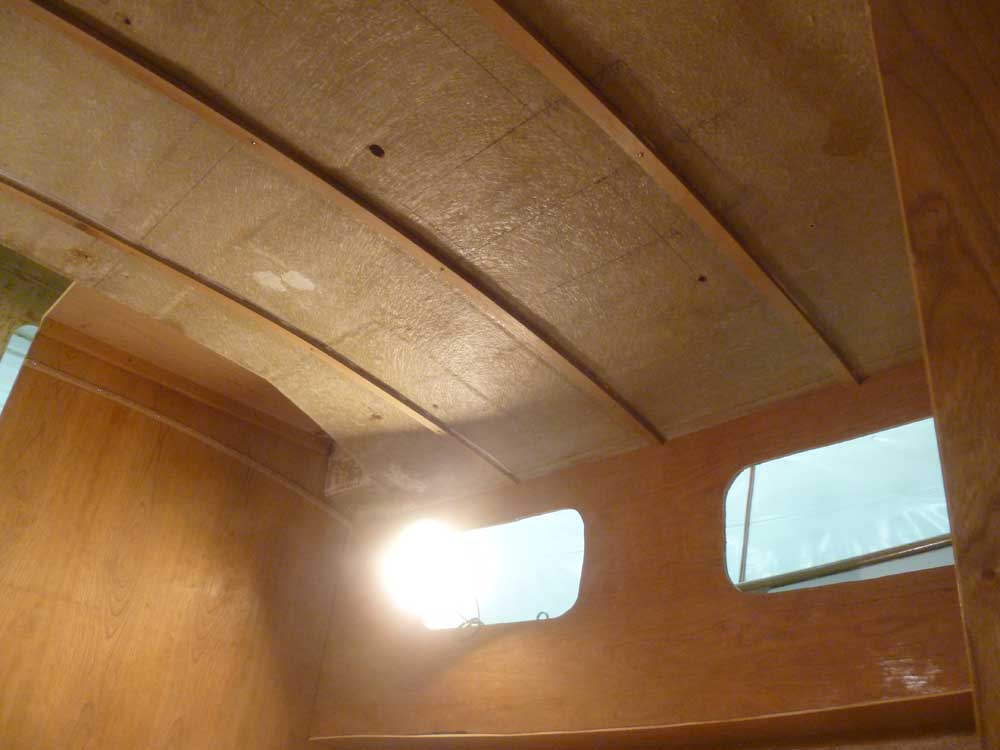
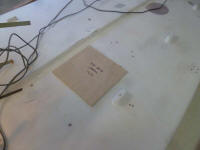
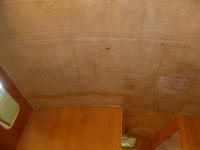
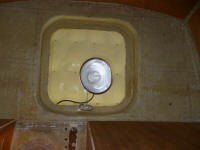
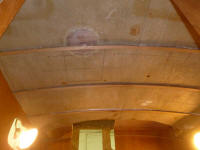
Working from above and below decks, I determined a
possible hatch location. I wanted the hatches to
look good and be appropriately symmetrical from above,
while being placed in the most advantageous location to
actually ventilate the cabin as desired. My first
thought, as seen in the first series of photos, was to
align the hatch with one of the molded handrail bases,
and centered in the deck between the handrail and the
raised center section of the coachroof, and a few feet
forward of the pilothouse. |
 |
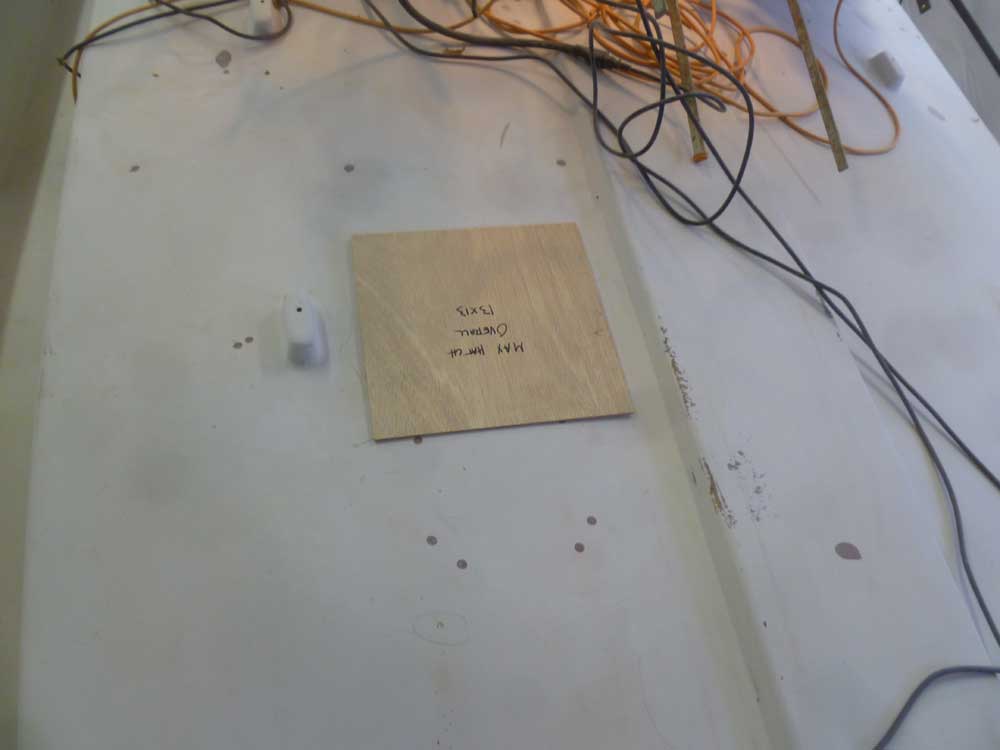
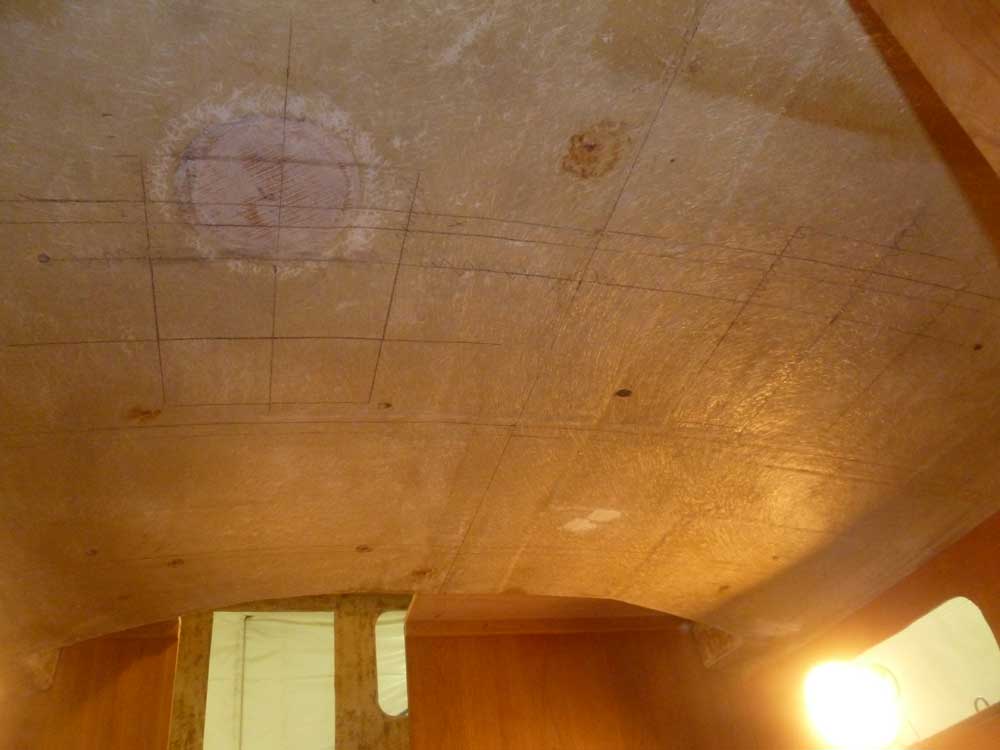
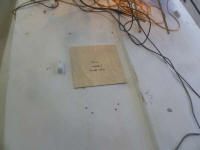
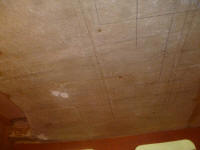
This actually positioned the hatches a little further
forward than I wanted, and completely out of whack with
any semblance of conventional overhead cleat layout and
spacing, so eventually I moved the proposed hatches aft
by several inches, which placed the starboard hatch
almost directly above the galley stove (where I wanted
it) and brought the openings into better alignment with
possible cleat spacing. |
 |
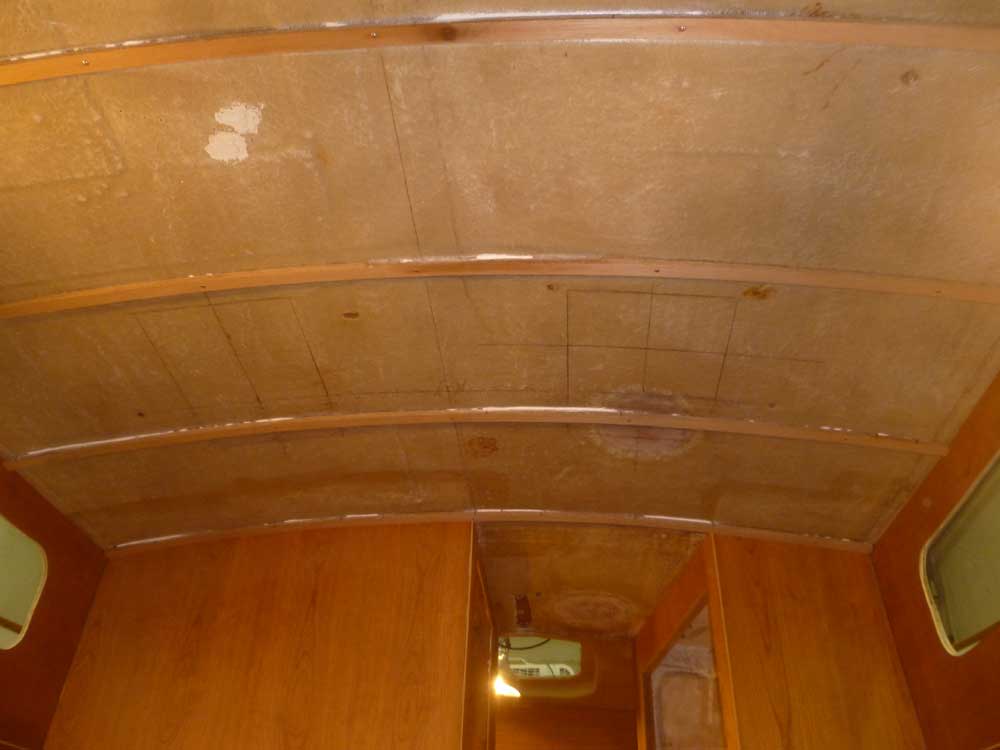
I chose to layout the overhead cleats on 16" centers, a
standard convention that would fit well with the nominal
dimensions of plywood to give me the most efficient
options for the eventual panel layout itself. Logical
and even spacing was also aesthetically important, since
eventually there'd be wooden trim along these cleat
lines to hide screws securing the overhead panels
themselves.
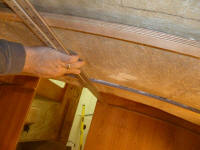
Beginning at the main bulkhead forward, I laid out and
drew in the cleat positions, using a 1" wide template
cut from 1/4" plywood (as I planned 1" wide cleats).
This allowed for four support cleats along the length of
the overhead running aft, and ending a bit forward of
the pilothouse area. |

 |
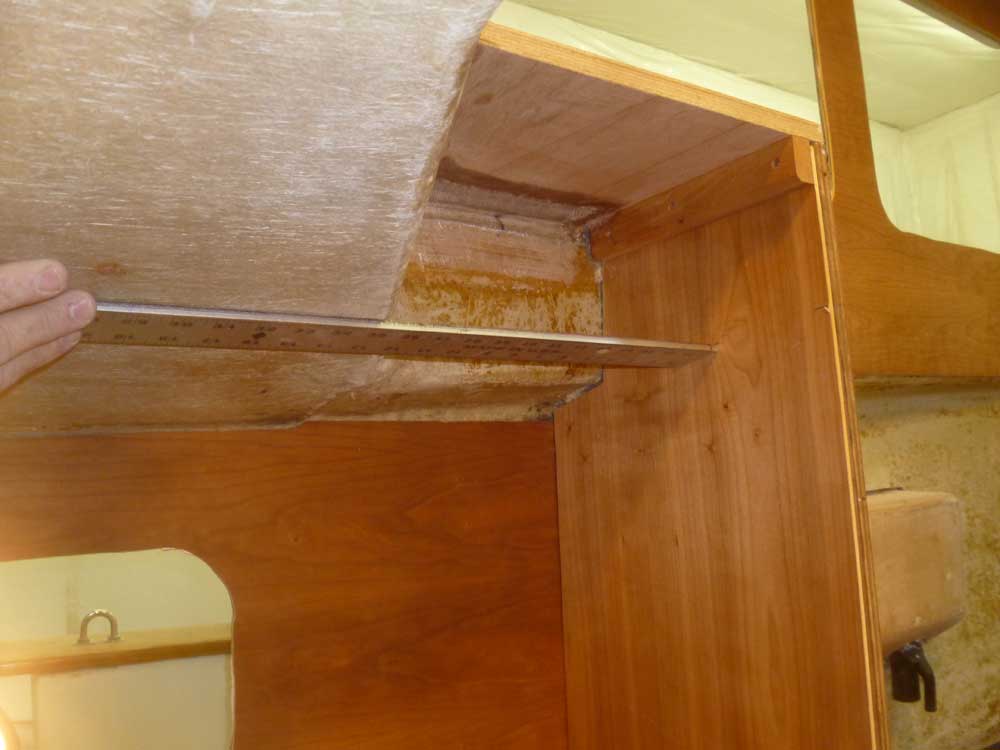
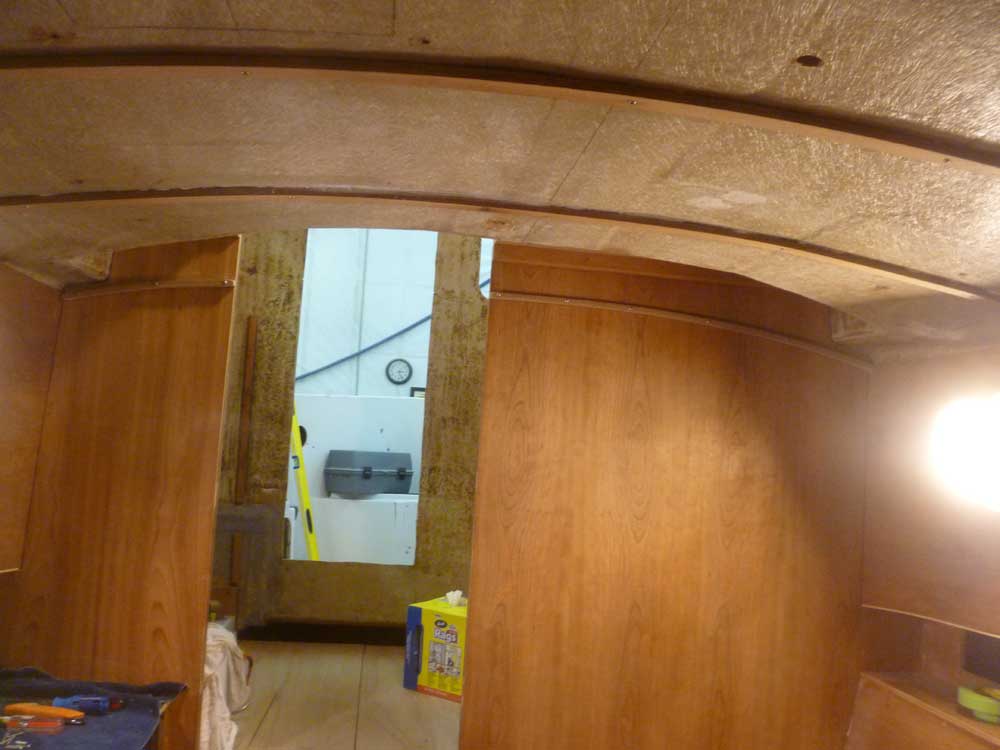
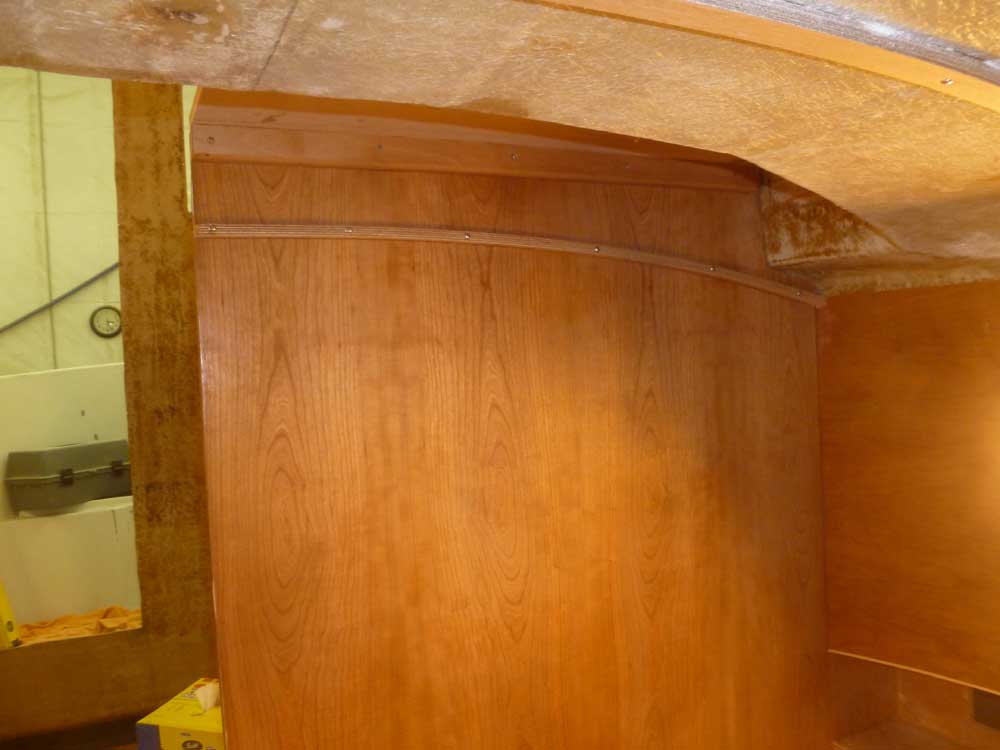
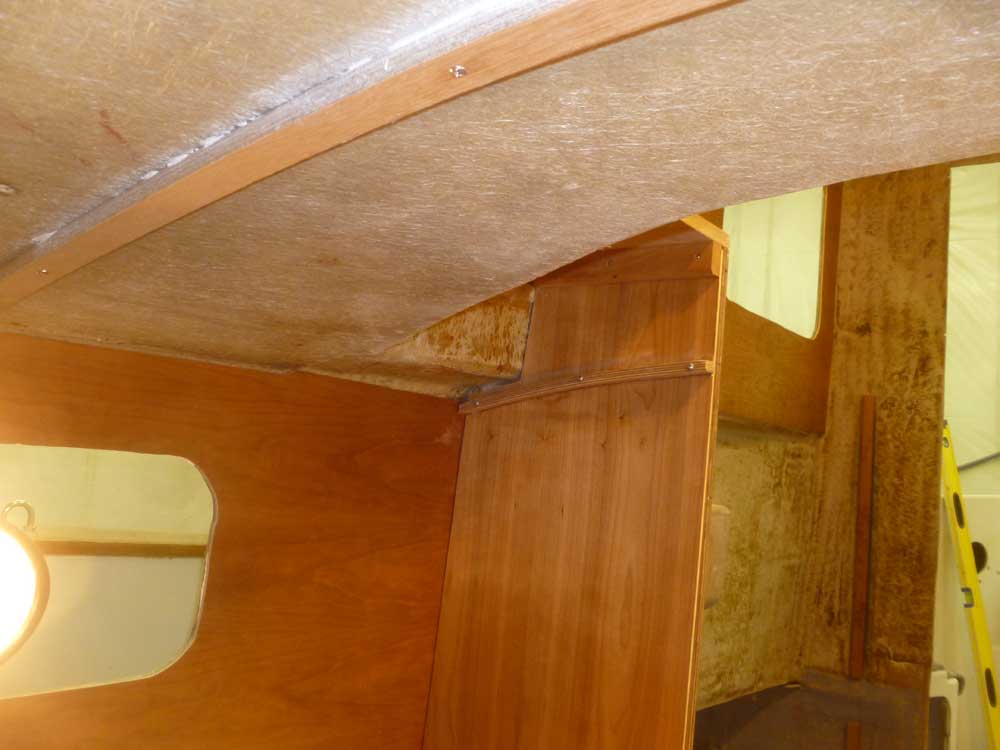
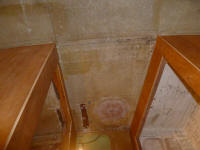
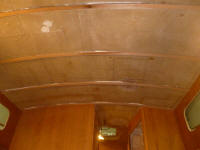
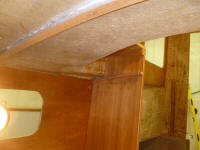
At the aft end, the molded pilothouse projected into the
main cabin space a bit, and the overhead would have to
span this opening and run all the way to the aft
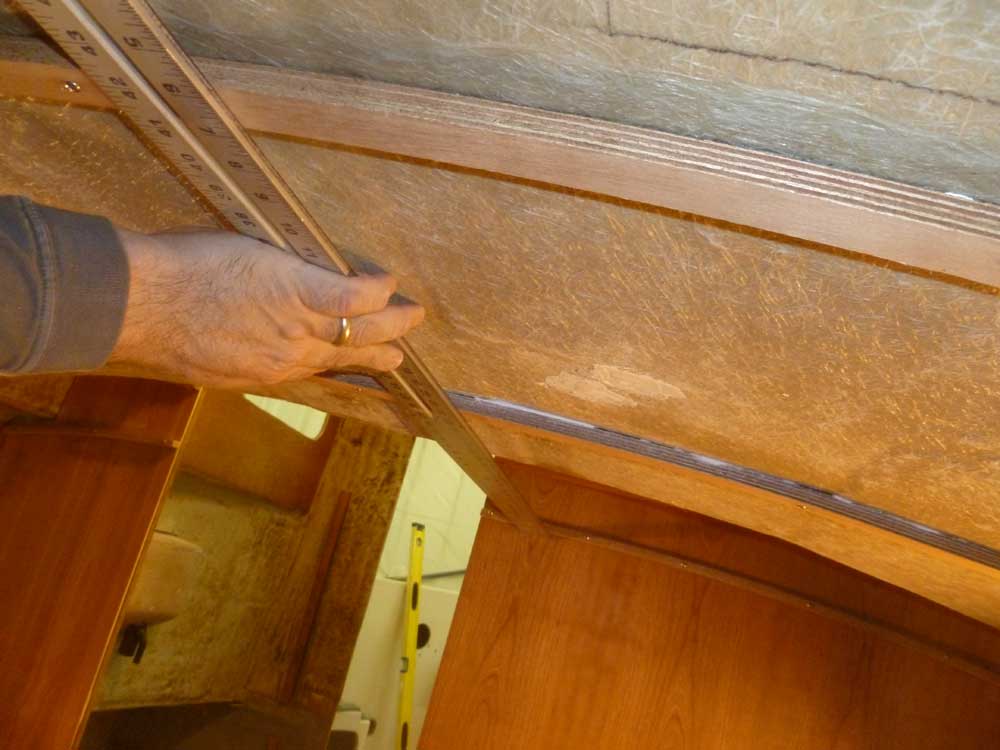
bulkhead. Using a stiff steel rule, I transferred
the basic shape of the overhead aft to the bulkhead,
making a series of marks on both sides of the
companionway opening. |
 |
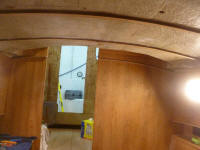
Continuing forward from the main cabin and working off
the main cabin's cleat spacing, I laid out additional
cleat locations in the passageway. |
 |
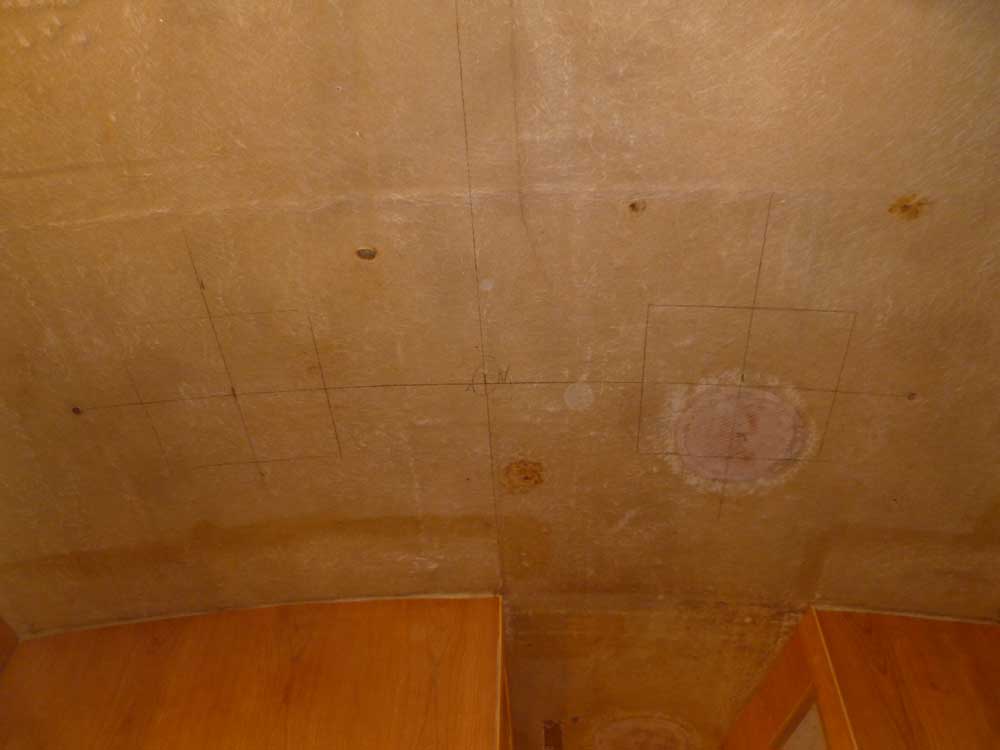
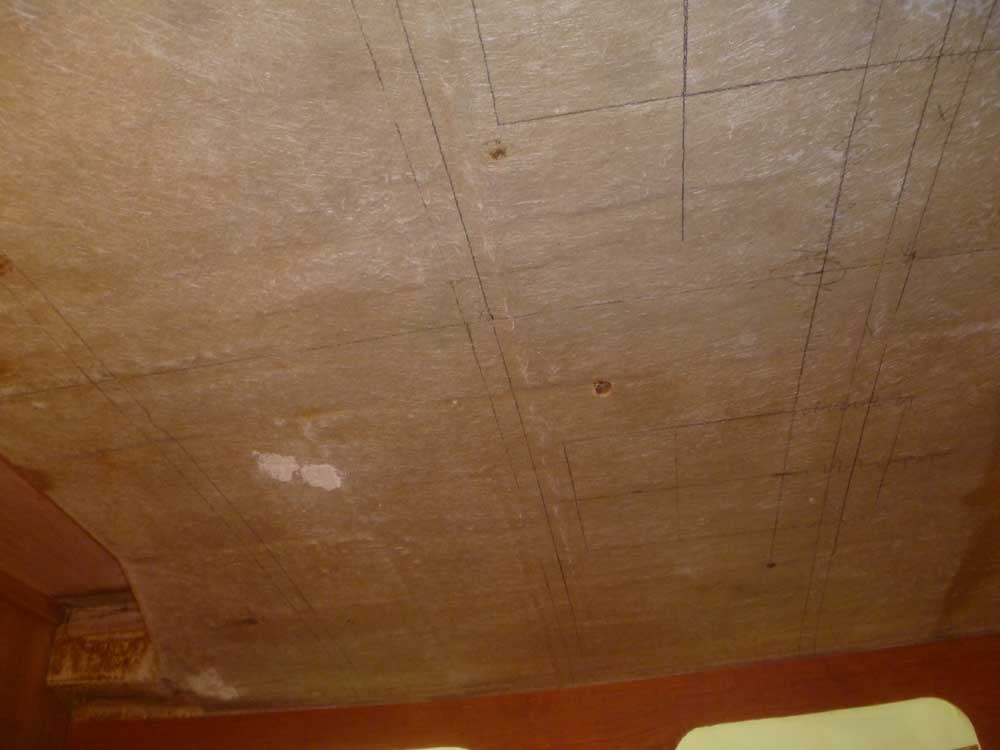
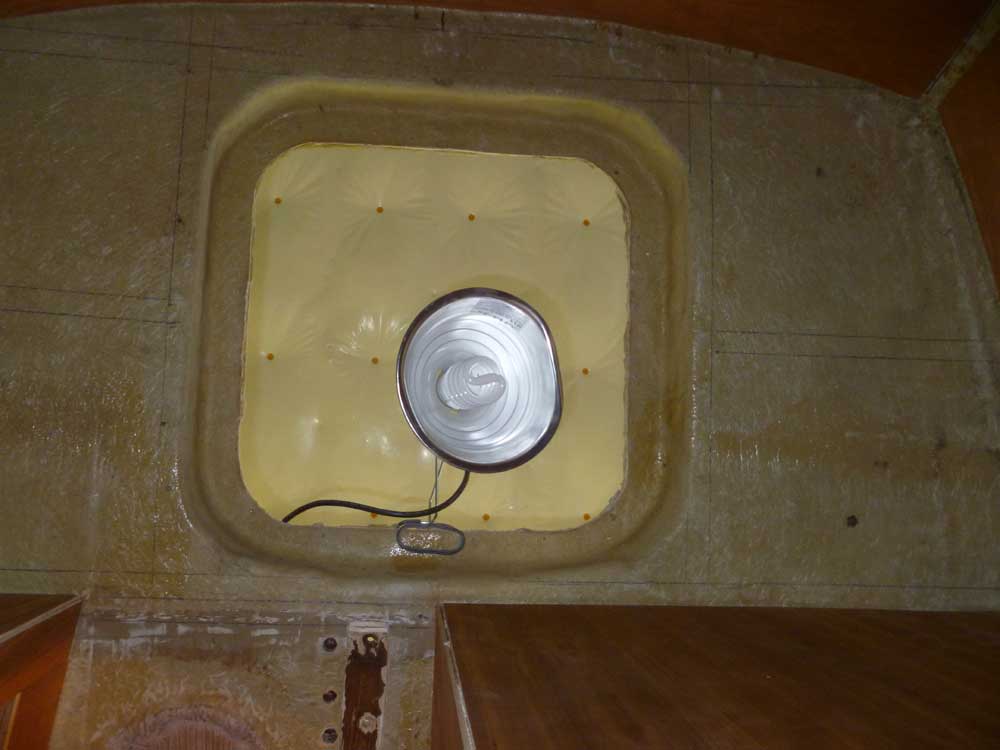
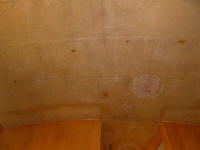
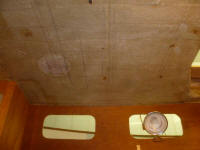
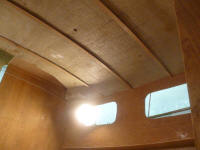
Finally, I laid out cleats in the forward cabin,
beginning with marks all around the existing molded
overheat hatch opening and creating a logical and
aesthetically pleasing layout for the athwartships
cleats in the space. In this photo looking
directly upwards, forward is towards the top of the
photo. |
 |
From some leftover 12mm meranti marine plywood, I cut a
series of 1" wide strips, which I then cut, fit, and
installed in the main cabin, using polyurethane
structural adhesive
to secure them. I used small temporary screws to
hold the cleats in place while the adhesive cured.
Much earlier in the project process, I'd sanded the
overhead, so all I had to do was lightly wipe the
bearing surfaces with acetone before securing the
strips.
Fortunately, the fiberglass overhead was flat and
relatively smooth, without extreme camber and (most
fortunately) without unevenness and bumpy, messy
laminate. This made the cleat installation easy,
as I didn't have to worry about scribing to fit or other
heroic efforts to achieve a fair line once the cleats
were installed, and the plywood bent easily into
position and stayed there without much help. Where
there were minor undulations or hollows, I let the
cleats naturally span them, creating a fairer line; I
filled the small gaps with additional adhesive. |
 |
Sometime later, once I decided upon the actual hatches
I'd use in the main cabin, I'd cut the openings and
install additional cleats around them as needed.
This would be straightforward.
At the aft end of the cabin, I installed the final
cleat (on the bulkhead) a bit differently. In the
process of cutting the 1" cleats for the rest of the
cabin, I'd ended up with one piece about 3/4" in width,
the leftover from the plywood scrap I was using.
This was perfect for the aft end, as I could secure the
thinner strip through its width directly into the
bulkhead while easily conforming to the curve required.
Using a full-width section and temporarily spanning
directly across the companionway opening, I dry-fit the
cleat to the layout marks, which marks I'd confirmed and
fine-tuned as needed once I had the other overhead
cleats installed. I secured the cleat with screws,
predrilling a hole through the plywood large enough for
the screw shank to avoid splitting the wood.
Once dry-fit, with all the screws in place, I removed
the cleat and then reinstalled it with glue, using my
usual waterproof wood glue this time. Once the
cleat was installed, I cut out the portion across the
companionway. |

 |
It'd be relatively quick and easy to cut and install the
remaining short cleats in the passageway and forward
cabin on another day.
|
Total Time Today: 5.25 hours
|
< Previous |
Next > |
|
|