Project Log: Saturday, February 19, 2011
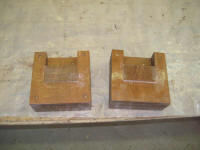
Early in the week, during a slack moment, I cut some
scraps of 18mm plywood to correct the error in my aft
pilothouse beam support blocks, which mistake I detailed
in the previous log entry. I epoxied the extra
sections in place and left things to cure.
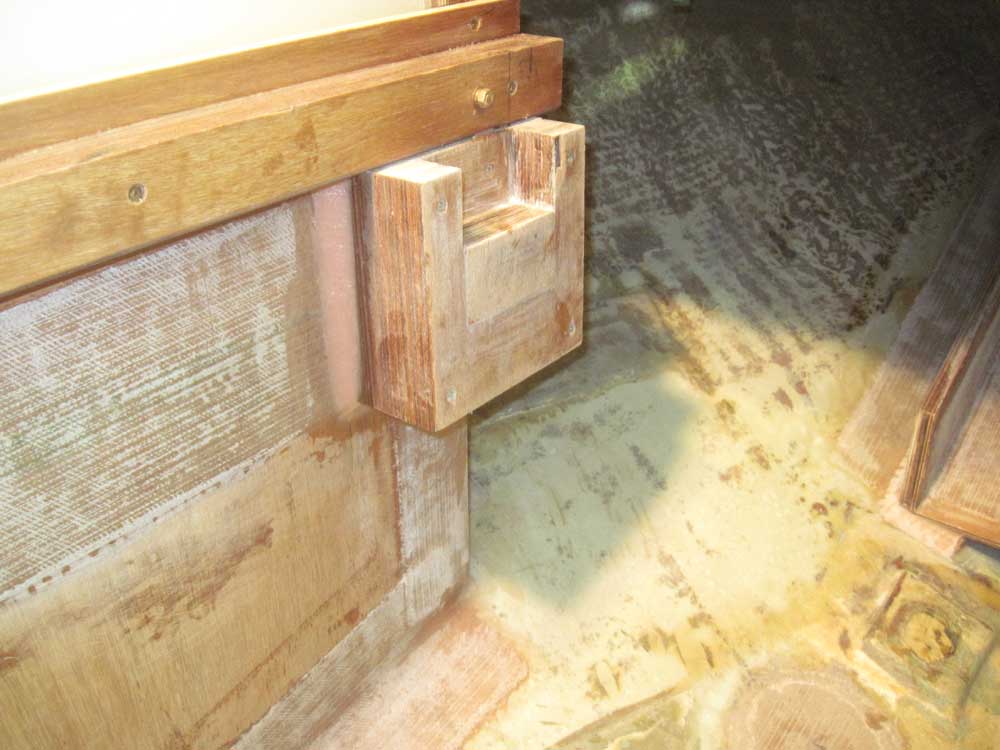
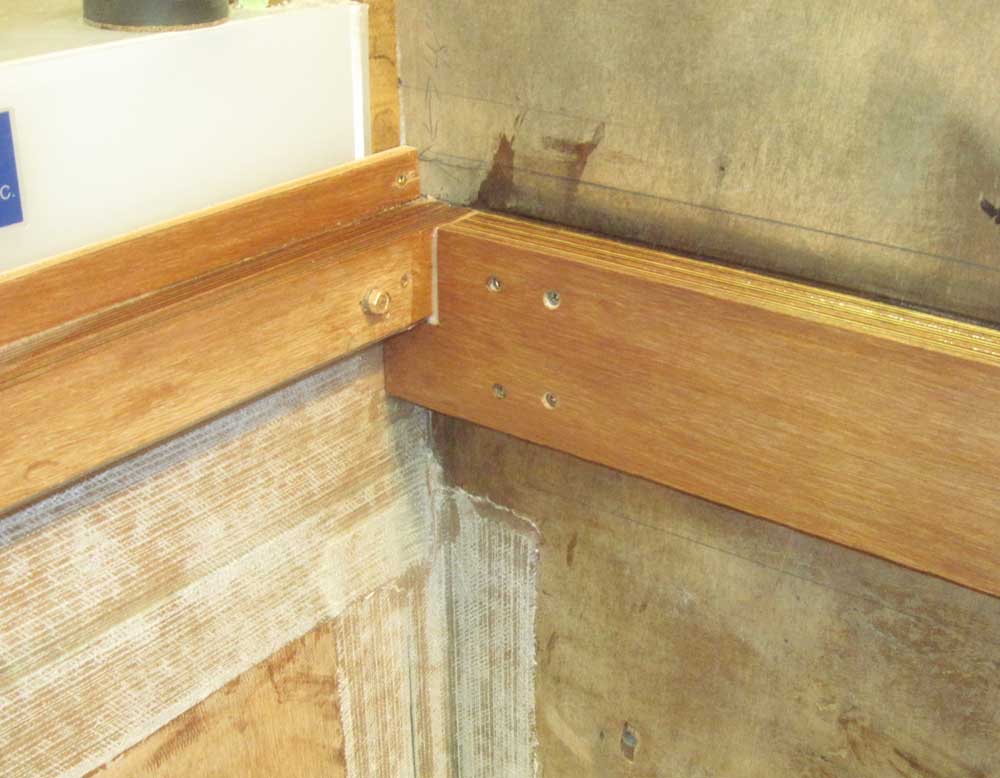
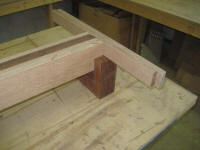
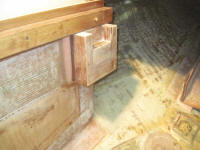
The second photo shows a mockup of how the blocks, beam,
and side supports tied together. Later, when the
support blocks were permanently installed, I might
extend the sides up with additional blocks to better
secure the beam in its pocket and make up for the 2"
"mistake" I had to fill in the original blocks. |
 |
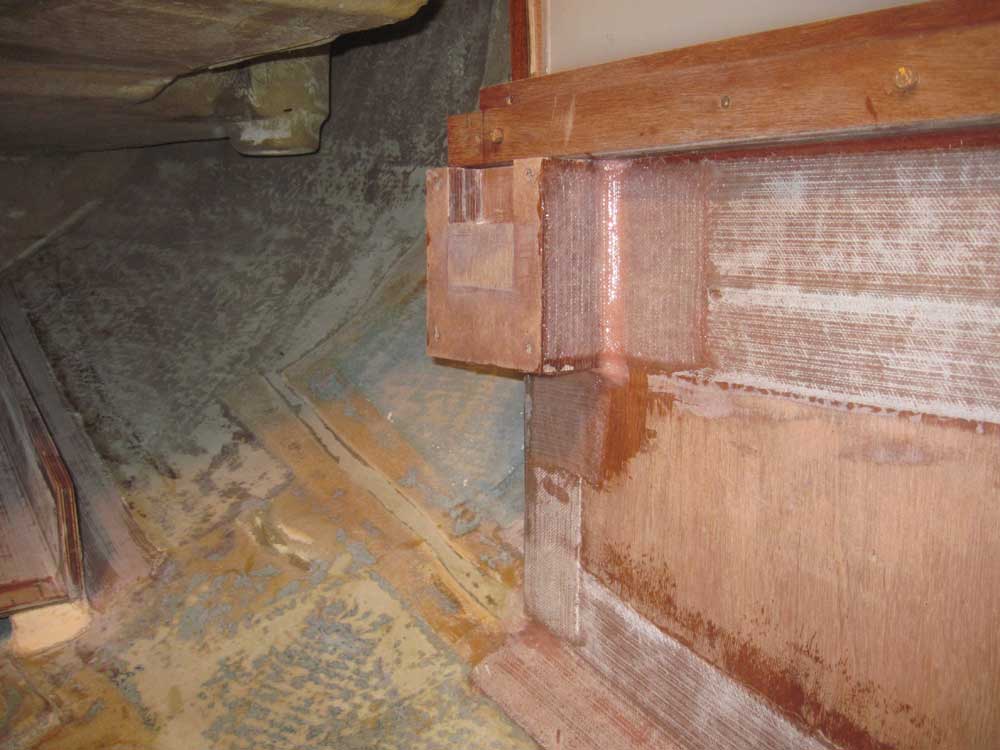
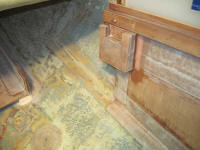
With the support blocks now repaired, cured, and sanded
as need be, my first task of the day was to install them
in the boat. After some brief layout, I secured
the blocks in place with thickened epoxy adhesive, using
a couple dabs of hot melt glue to hold the blocks while
the epoxy cured since I couldn't find a successful means
of clamping. I used additional thickened epoxy to
create broad fillets on all sides of the blocks for
additional strength.
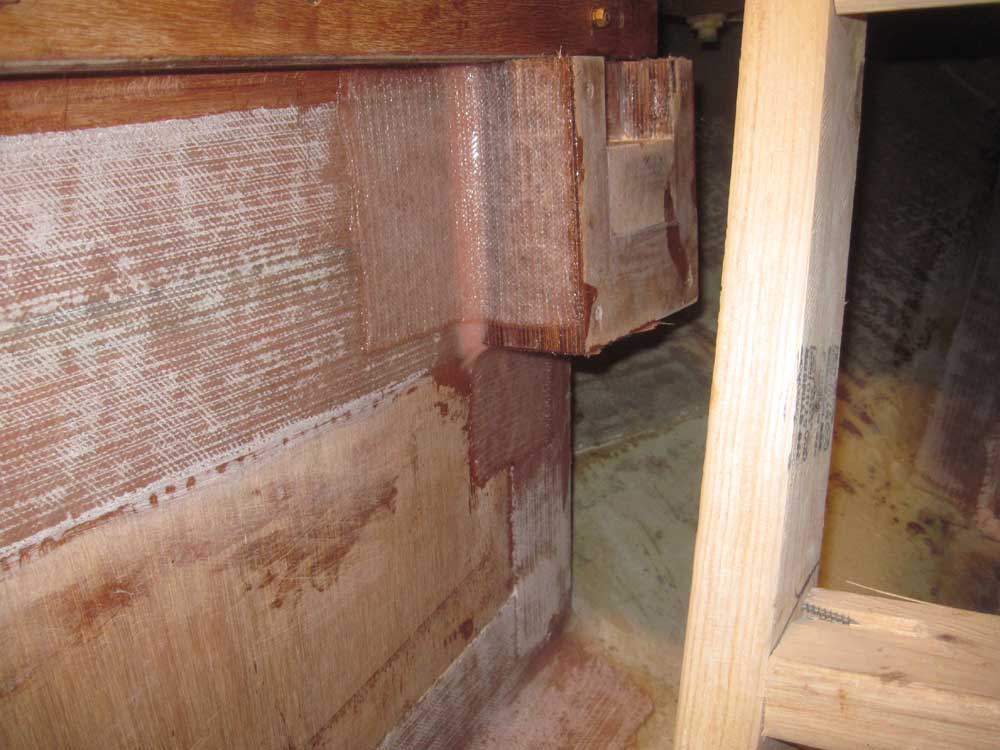
Later, I installed three sections of biaxial tabbing on
each block--forward side and bottom, as seen below, and
aft side (not seen in these photos). |

 |
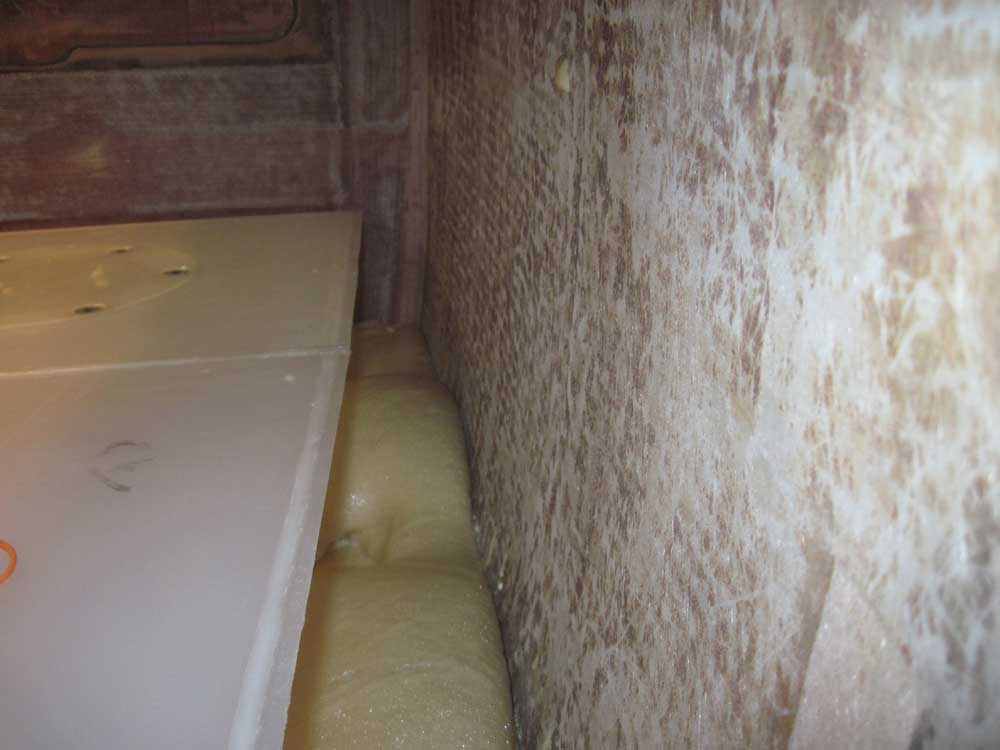
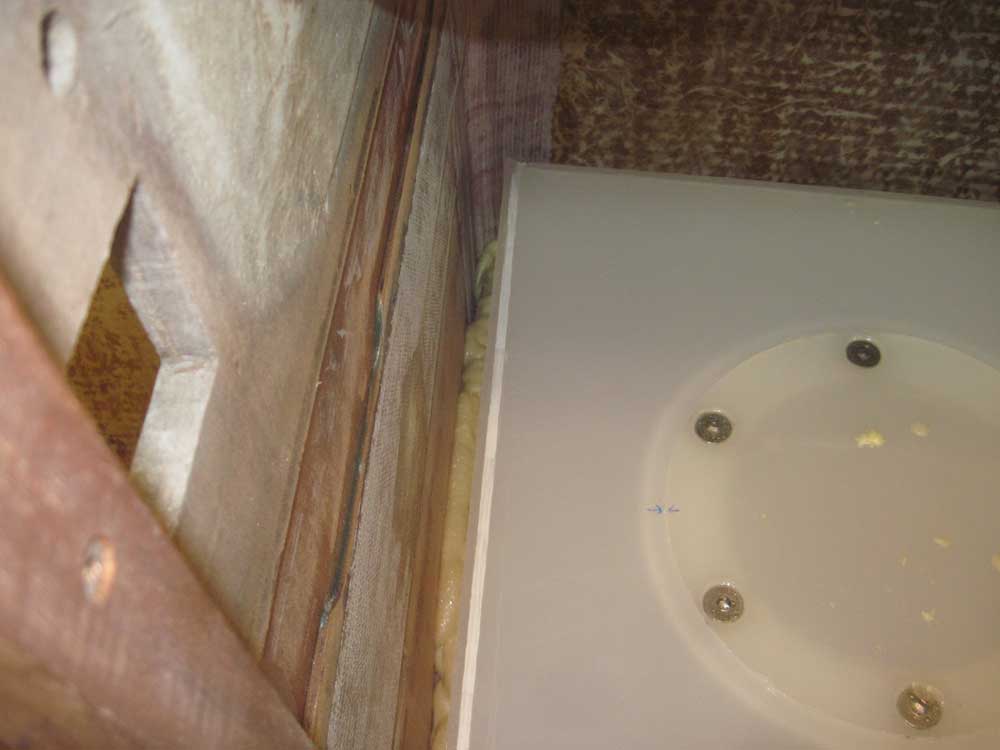
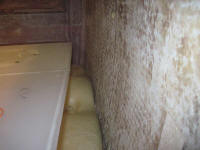
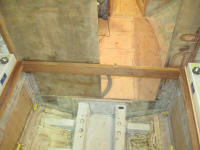
With more pour foam now in stock, I finished up the
expanding foam installation to secure the starboard
engine room tankage. I saw no reason to bring the
foam up to the very top of the tanks, and it seemed
wasteful to do so, so I left a space of a few inches. |
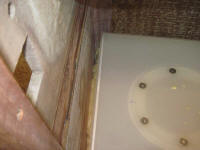 |
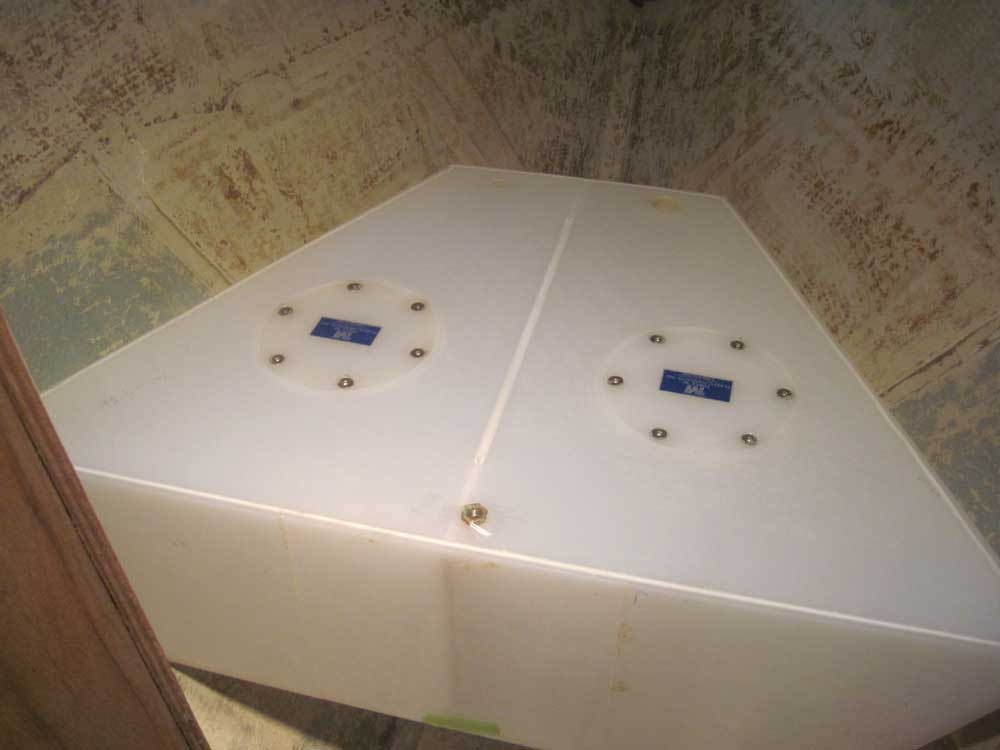
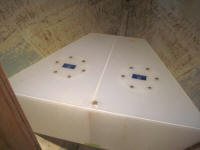
I lugged the large forward water tank up into the boat,
temporarily storing it in the forward cabin. I had
more work ahead before I could finalize the
installation, but wanted to be sure that I got the tank
into the boat before some construction stage or another
closed off an opening that might prevent it from passing
through, and also to ensure that the tank fit as
required.
In the photo, the tank is well aft of its final
position, which would be near the forward end of the
space. I'd address its final installation soon. |
 |
I was closing in on completing the underpinnings of the
pilothouse sole. To continue, I built the forward
transverse support, which spanned the distance across
the forward bulkhead. As with the other portions
of this support structure, I built the beam from
laminated plywood--partly for the strength and
resistance to bending this material would exhibit, but
also because I had sufficient scrap plywood on hand to
complete the job.
After measuring and cutting sections to fit, I built the
beam in two sections: first, a 1-1/2" thick base
section (three thicknesses of 12mm marine Meranti
plywood) that I epoxied and screwed together, then
epoxied and screwed to the bulkhead itself. |
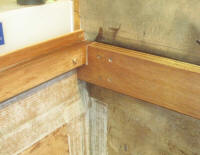 |
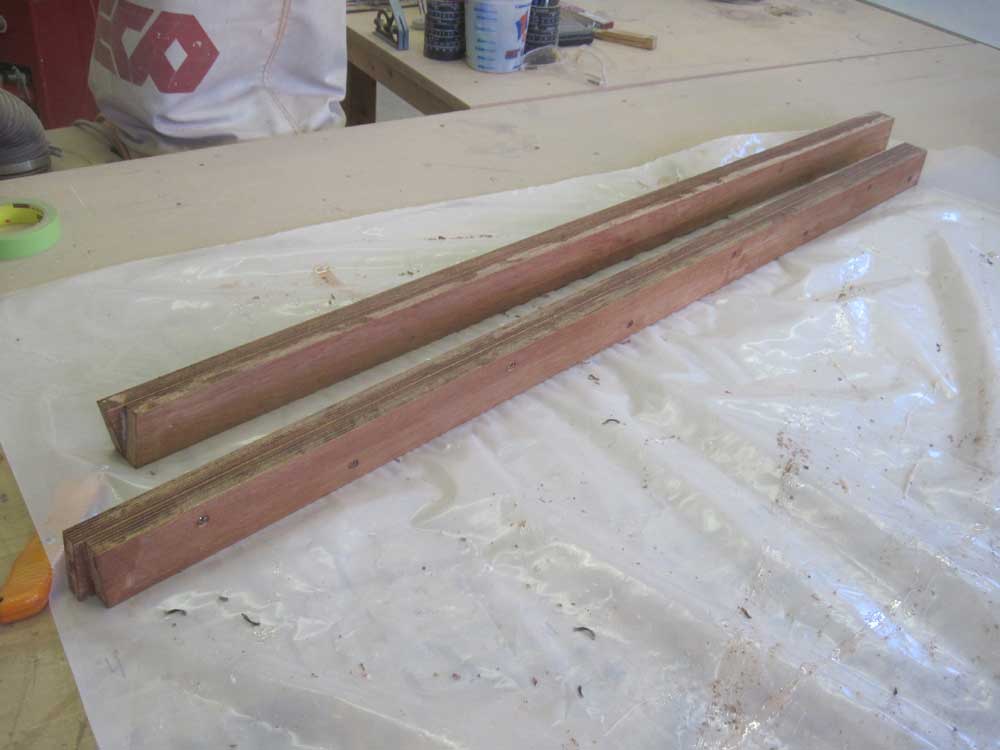
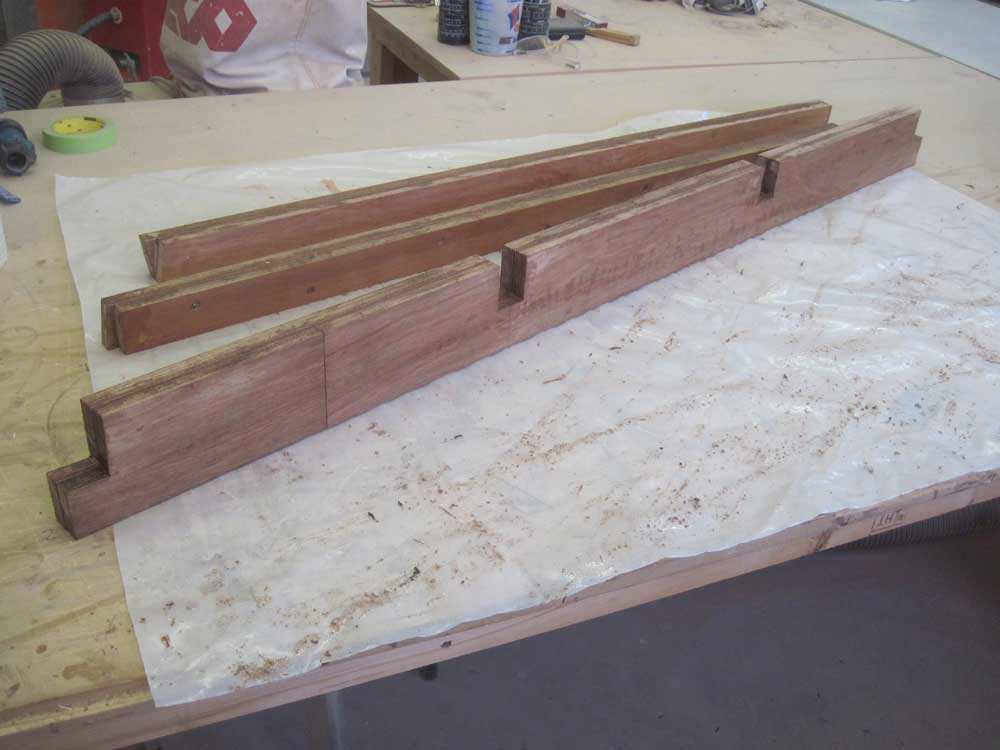
Then, I constructed a second section, into which I cut
notches to hold the removable interim beams that would
run longitudinally between the forward and after beams
to support the sole material.
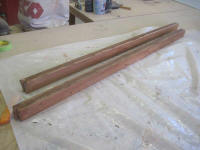
I made the forward beam 4" in depth to allow for plenty
of support material beneath the notches I cut for the 2"
deep interim beams, overlong blanks for which I glued up
from two thicknesses of 18mm marine plywood; I'd cut
these to an exact length once I had both the forward and
after transverse beams in place.
I left the final three glue-ups to cure overnight. |

|
Total Time Today: 6.75 hours
|
<
Previous | Next > |
|
|