Project Log: Thursday, January 27, 2011
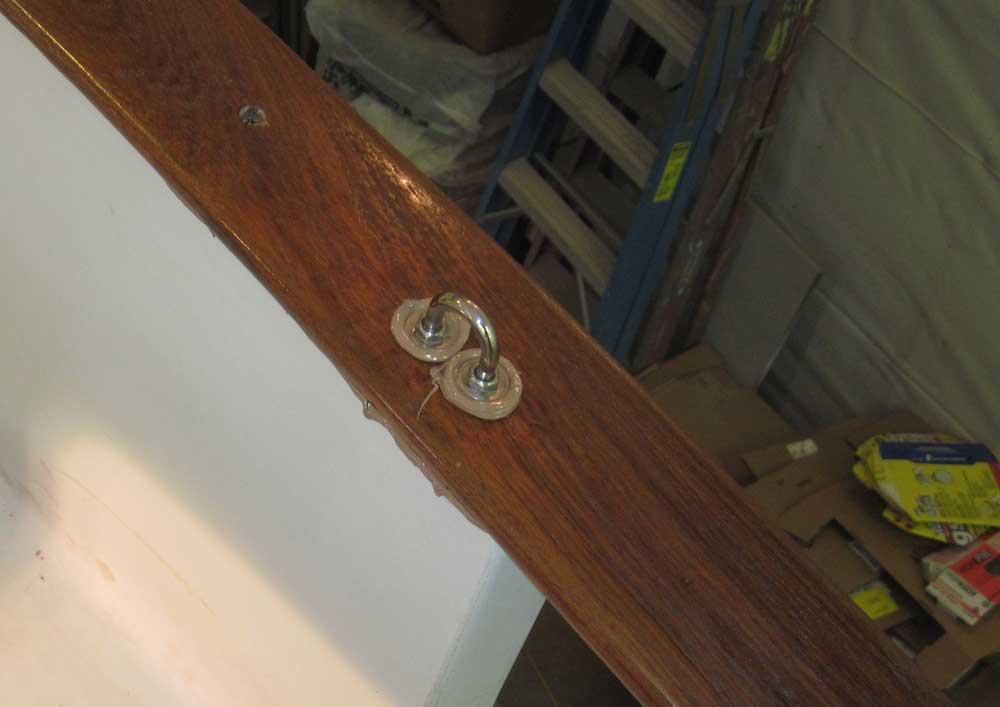
Equipped with a new-day attitude and impressive mental
fortitude, plus a new approach to the problem--and some
slightly-elongated holes--I managed to install the nuts
on the starboard forward U-bolt that I'd had difficulty
with yesterday.
Although I cleaned up the excess sealant around the
U-bolts and fasteners, any squeezeout beneath the edges
of the caprail I left alone for now, as cleanup would be
easier once the sealant solidified. |
 |
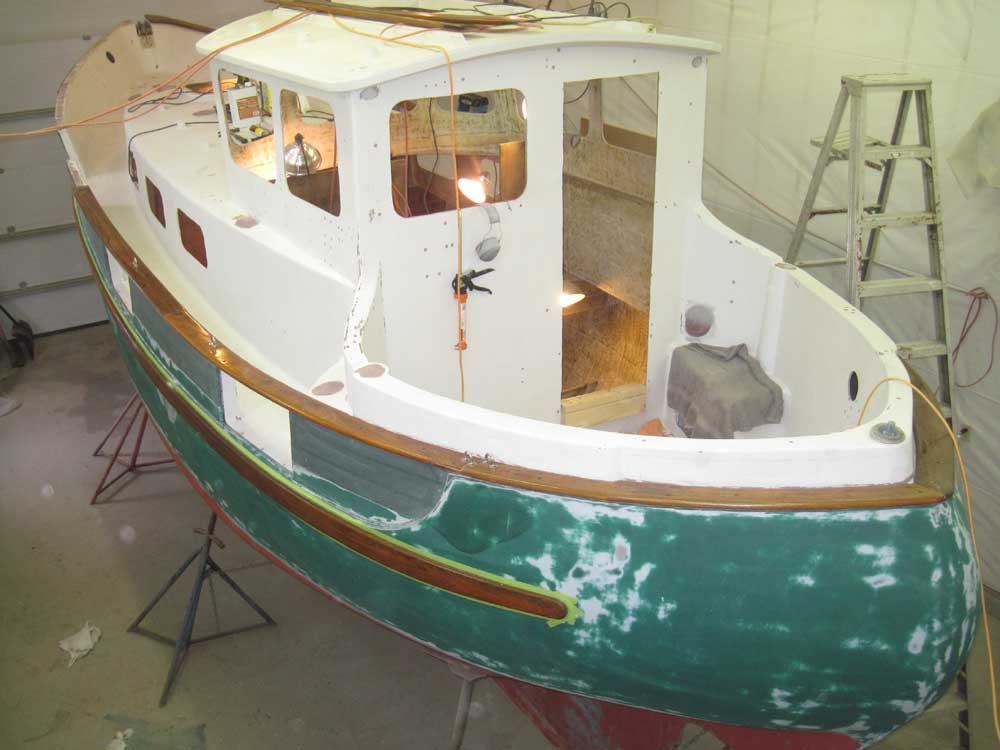
With only a couple tubes of sealant still on hand--and
with low expectations for how much usable product I'd be
able to extract from them--I knew I'd not be able to
complete the installation of the port caprail.
Planning ahead, I ordered more sealant from a different
supplier, hoping that the partially-cured tubes I'd been
fighting with were the result of bad inventory
management at the original supplier, not a core
manufacturing problem. In any event, I ordered
more than I'd need to complete the job later.
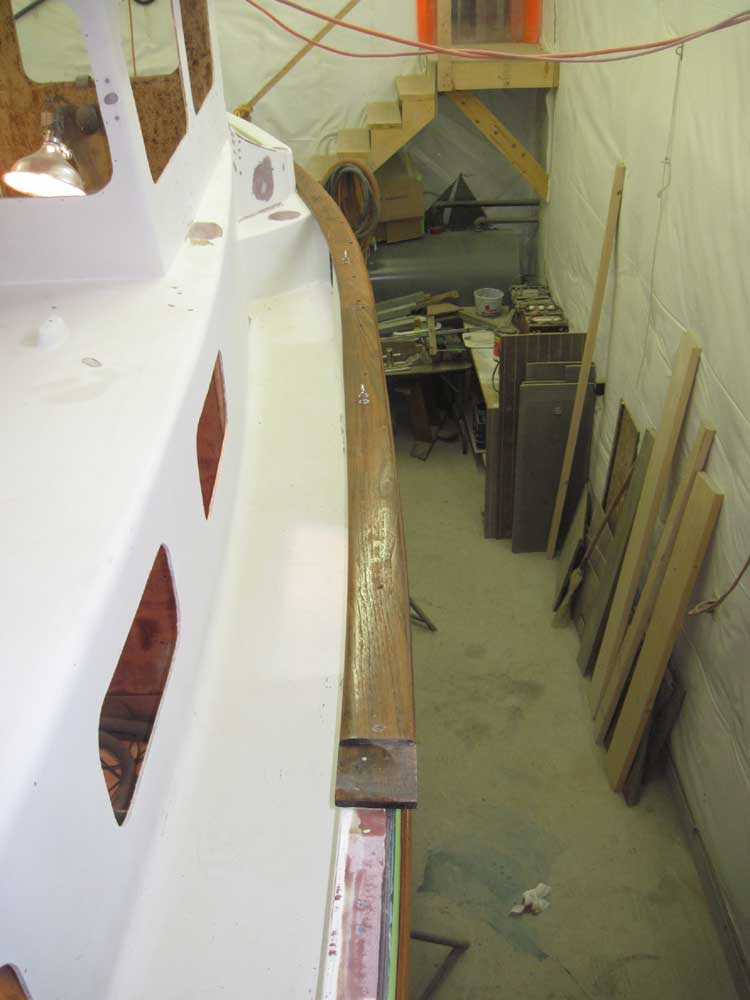
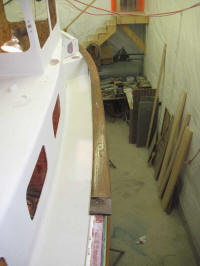
With the sealant on hand, I managed to install three of
the five sections of port caprail. |
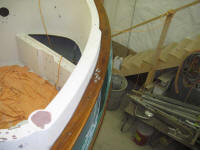 |
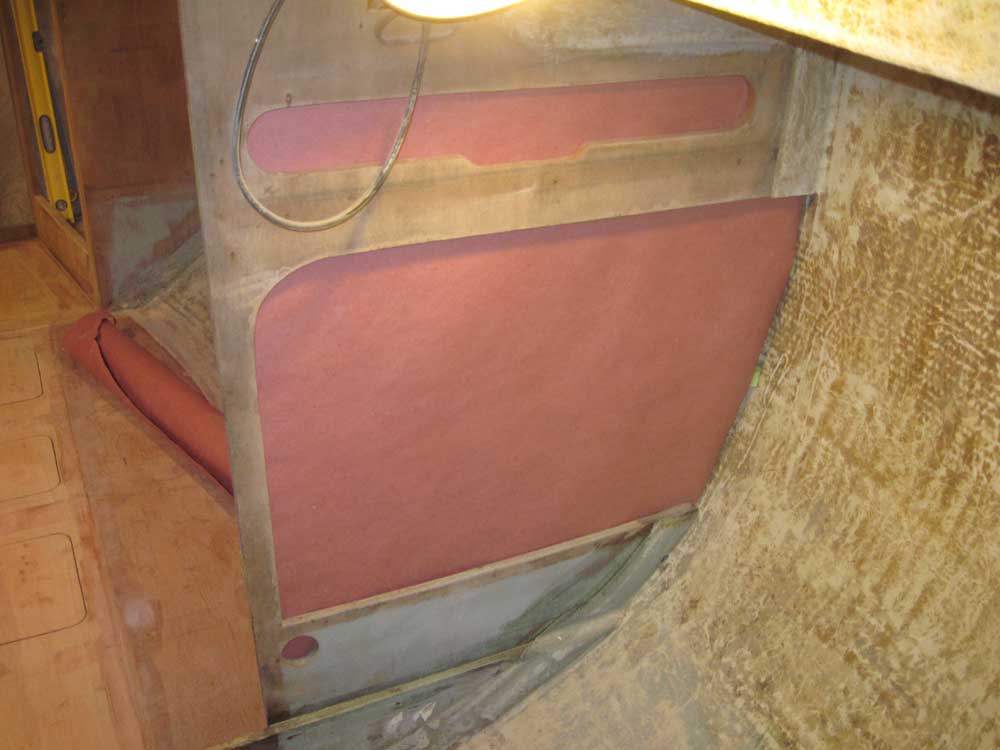
The starboard bulkhead at the forward end of the
pilothouse featured some large openings left over from
the original boat's configuration. Since I'd
eliminated the old quarterberth, and the chart-storage
slot above it, I needed to fill these holes. The
exposed portions of the bulkhead would later be covered
with 1/4" veneer plywood for the finished interior.
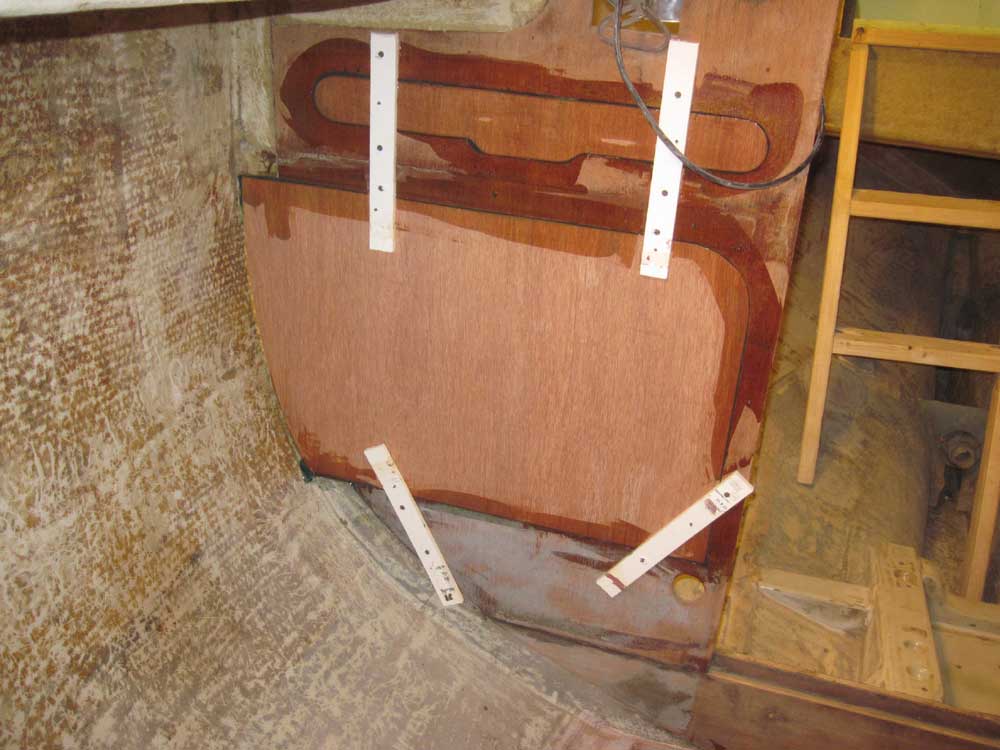
I made simple patterns of the openings on some red rosin
paper, then transferred the patterns to 12mm Meranti
plywood, from which I cut the filler pieces. To
install the patches, I first screwed some HDPE strips to
one side of the bulkhead, which would hold the plywood
patches in place while the adhesive cured; the slippery
plastic wouldn't stick to the adhesive.
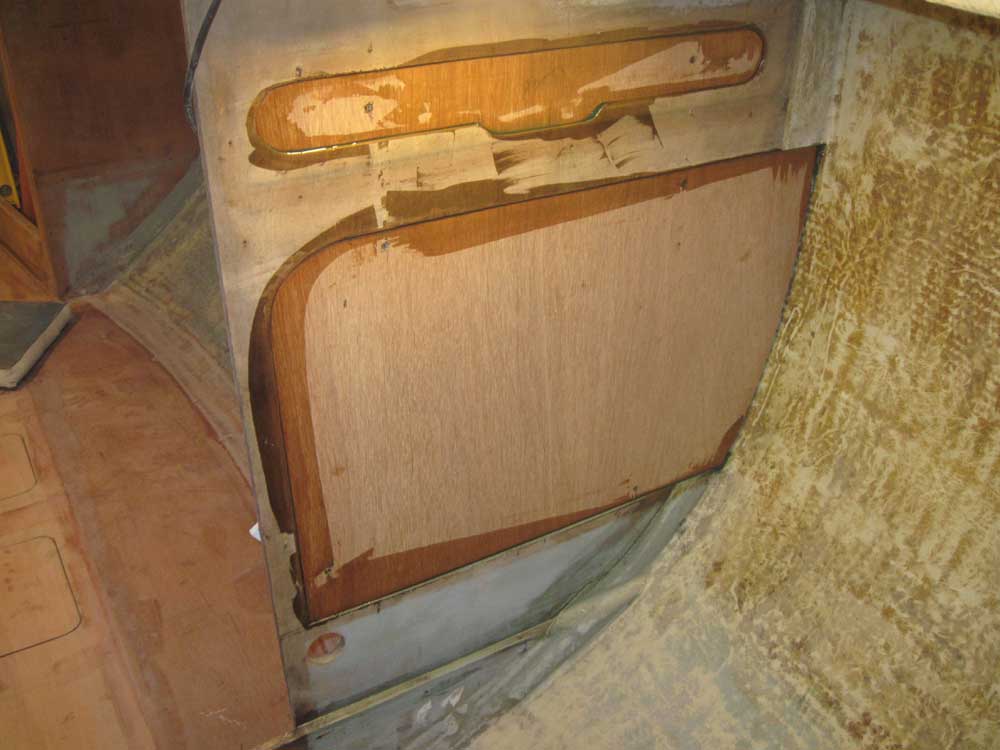
I applied beads of epoxy adhesive to the edges of the
openings, and inserted the patches, screwing them to the
plastic guides as need be to hold them in the proper
position. I squeegeed the adhesive clean and flush
around the edges of the patches and left it to cure.
Later, I'd install epoxy fillets and tabbing to secure
the large patch to the hull. |


|
Total Time Today: 5.5 hours
|
<
Previous | Next > |
|
|