Project Log: Friday, January 28, 2011
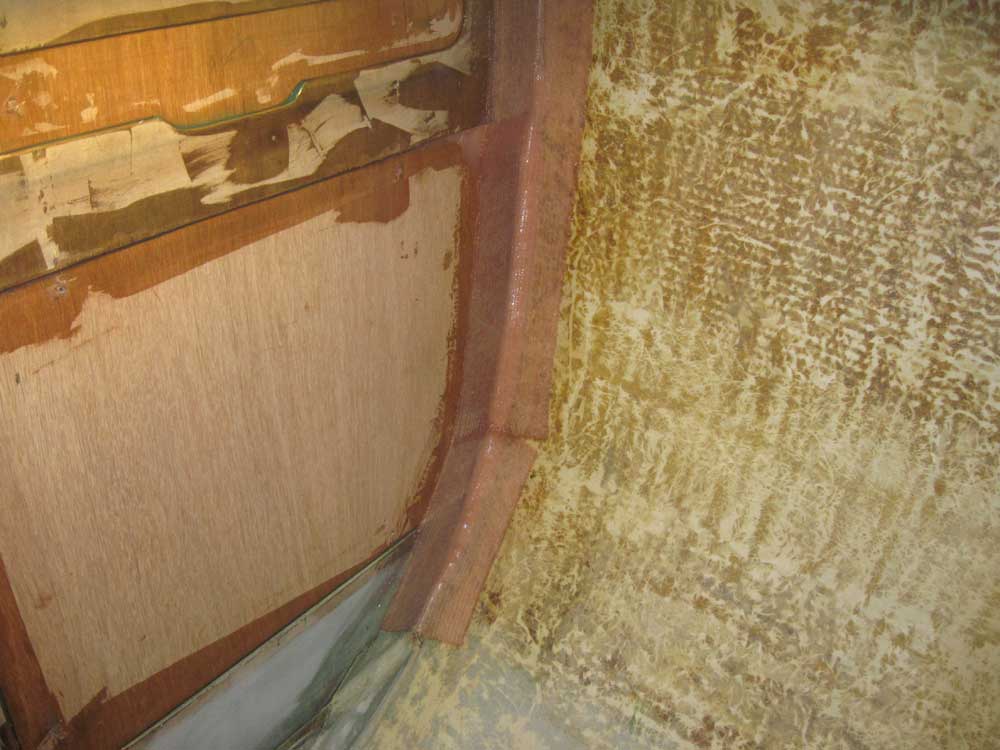
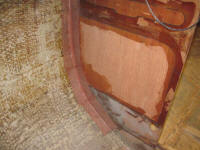
After removing the temporary, screwed-in alignment
clamps from the bulkhead patch, I applied thickened
epoxy fillets to the seam between the bulkhead and hull
on both sides, and let it cure partially over a couple
hours while I worked on other things.
When the fillets had gelled, I applied a layer of 6"
biaxial tabbing to each side of the bulkhead. |

 |
As I moved forward with the preliminary steps towards
installing the various new structures and tankage in the
engine room, there'd necessarily be periods of minimal
visual impact--and this was one of those periods.
I sat in the engine room for a while and visualized the
various issues I'd likely come up against, attempting to
foresee any access issues that might arise as I began to
close off parts of the space, and to work through in my
mind what was to come.
The main centerline fuel tank--as per original--would be
installed beneath the cockpit, and, once installed,
would effectively close off all access to the narrow
bilge beneath, as well as to the stern tube and related
components. Before moving forward on this tank's
installation, I needed to sort out some small issues in
this area.
During my earlier disassembly of the shafting and stern
bearing, I'd tried to figure out the exact setup.
Between then and now, I'd eventually determined that
what I'd initially thought was a removable bearing
casing was in fact not so, and that the shaft (Cutless)
bearing did indeed fit inside the external bronze stern
bearing.
I had decided to leave well enough alone and not attempt
to revamp any of the basic running gear arrangement, so
before I moved ahead with tank installations that would
limit access to the area I confirmed the measurements of
the stern tube and stuffing box assembly so I could
source new hoses, bearings, and related items to fit
properly. The measured sizes matched
readily-available parts, so I was all set there. |
 |
I really wanted to install a proper garboard drain,
being a firm believer in their utility and
requirement--and having sorely wished there'd been one
as I struggled to rid the boat of disgustingly muddy
wash water early in the project--so I decided now was
the time to determine the drain's location and do what
was necessary to ensure its ease of installation later.
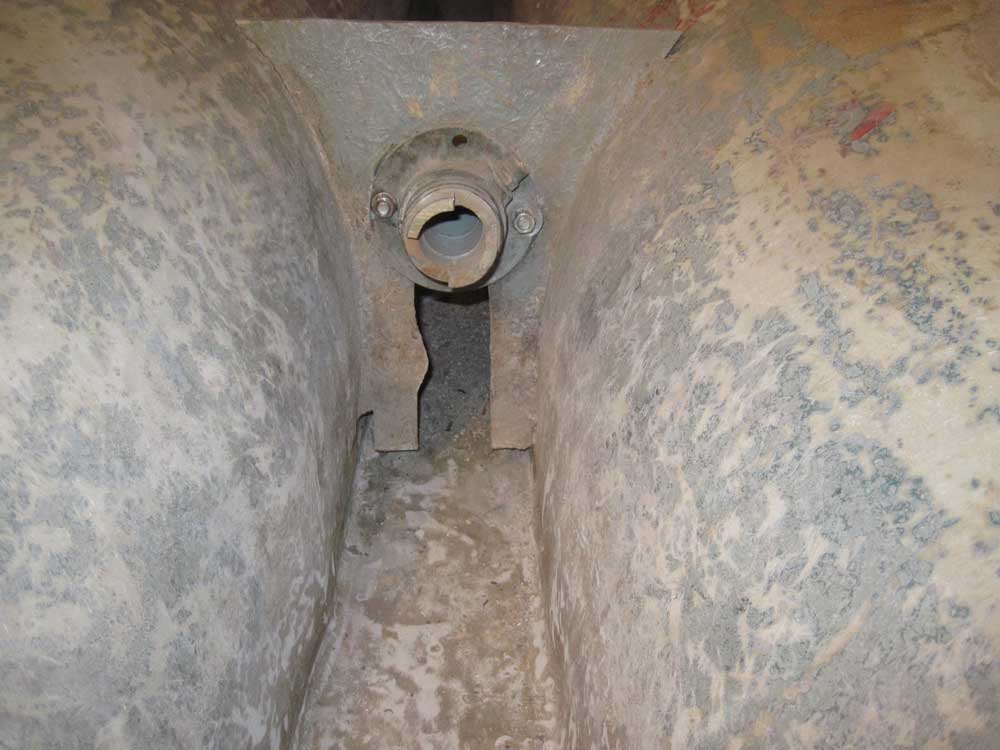
The main problem at hand was to translate what was
happening inside the boat to the outside, as there was
no ready reference point available. The deepest
part of the bilge was all the way aft at the deadwood,
in the inaccessible space beneath the stern tube, and I
wanted to install the drain as closely as possible to
the deepest part of the bilge for best utility.
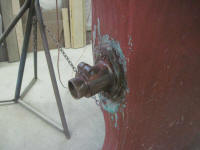
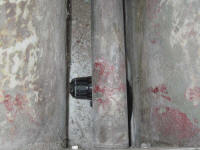
My first thought was to possibly drill a hole from the
outside in. There was a chance I could fit a right
angle drill in the space beneath the stern tube, but
first I needed to improve the access through a little
bulkhead that secured the stuffing box housing in place.
Besides, the existing opening just looked sloppy.
With a reciprocating saw, I angle-cut the opening
towards the bottom, which greatly increased the access
to the space behind and looked better to boot. |
 |
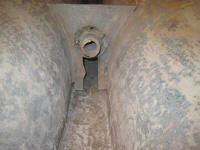
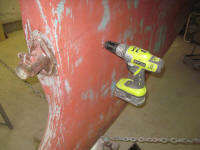
Unfortunately, even at the widest point of the bilge
behind this bulkhead (which was further forward than I
hoped for anyway), the drill housing barely fit even
without a drill bit installed, so there'd be no way to
drill from inside. |
 |
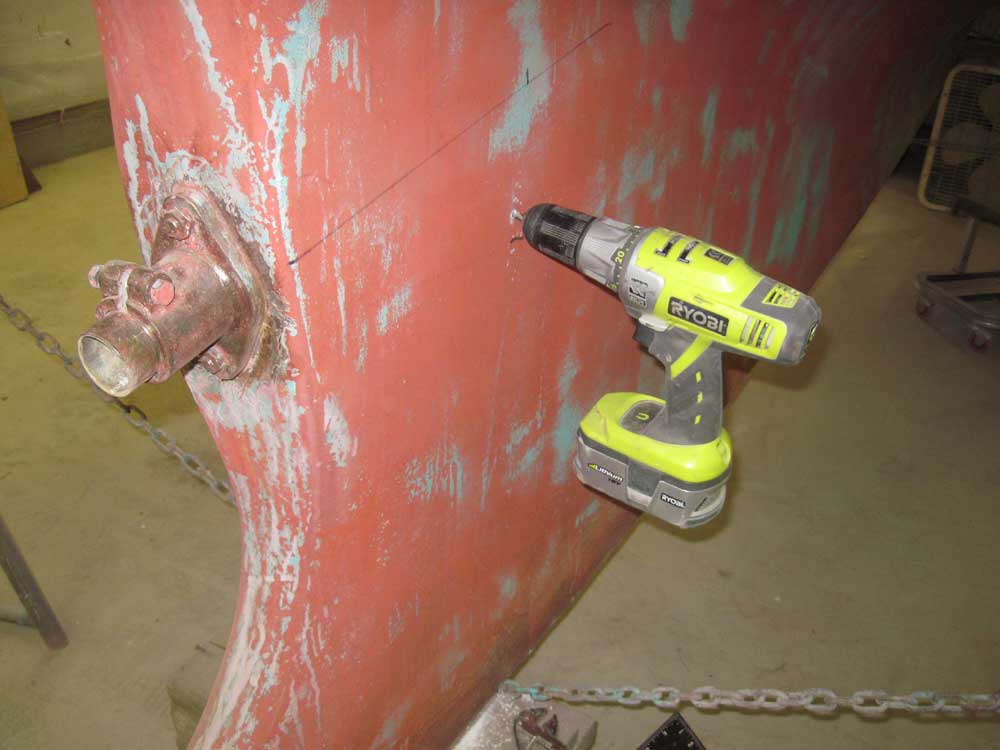
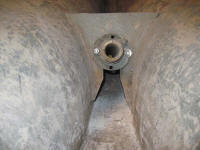
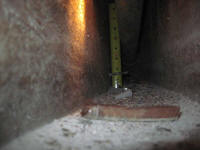
Instead, I made some measurements from inside to help me
locate the bottom of the bilge from outside the boat.
With these measurements, and some careful sounding, I
determined a point at which to drill a pilot hole from
outside. This worked: the hole ended up in a
good position, and just high enough above the bottom of
the bilge to allow for the lower radius of the intended
garboard drain to be close to the bottom when I drilled
the larger hole using the pilot hole as its center. |
 |
Yes, it was a mess back in that inaccessible bilge area,
but I'd clean it out soon enough--worry not.
The drain fitting would be installed entirely from
outside the boat, so with the location now determined
and duly marked, I could install it at my leisure.
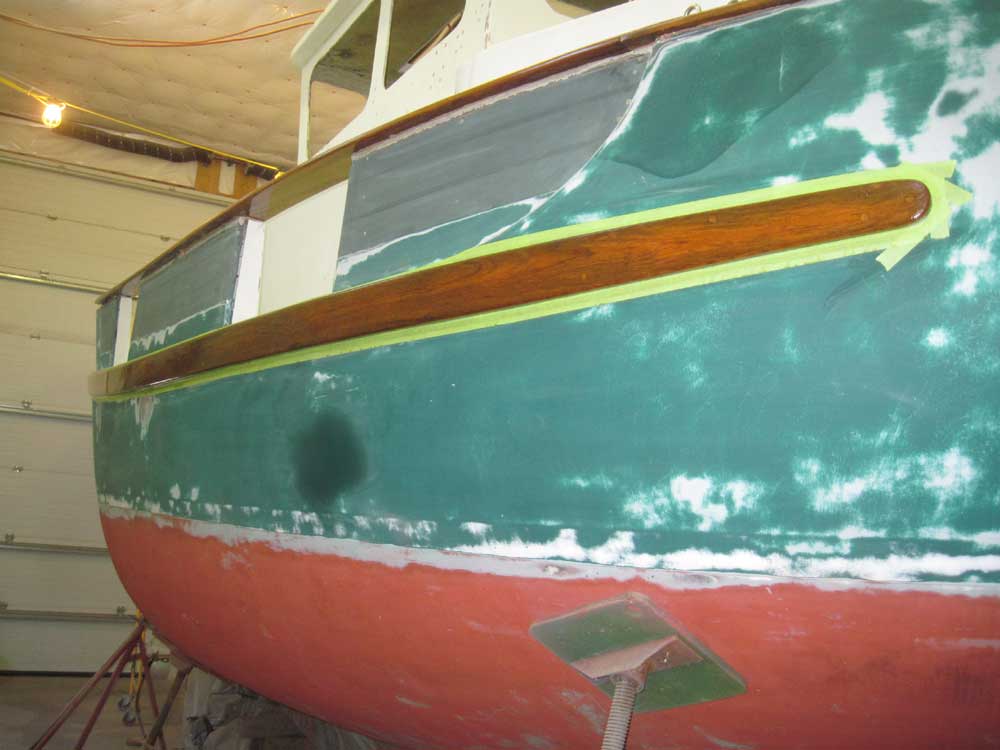
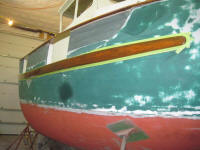
I'd been anticipating the arrival of new sealant so I
could complete the port caprail installation, which had
been my plan for the afternoon. Unfortunately, it
didn't arrive; not sure why, as normally I get one-day
delivery from the supplier, but in any event that
quelled my afternoon plans.
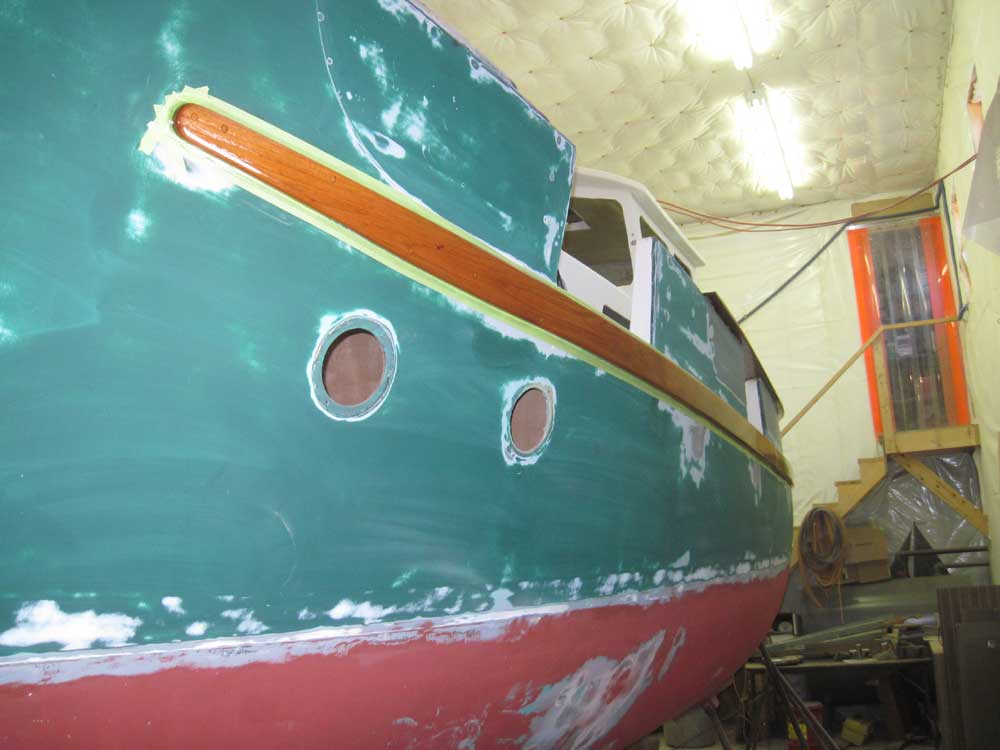
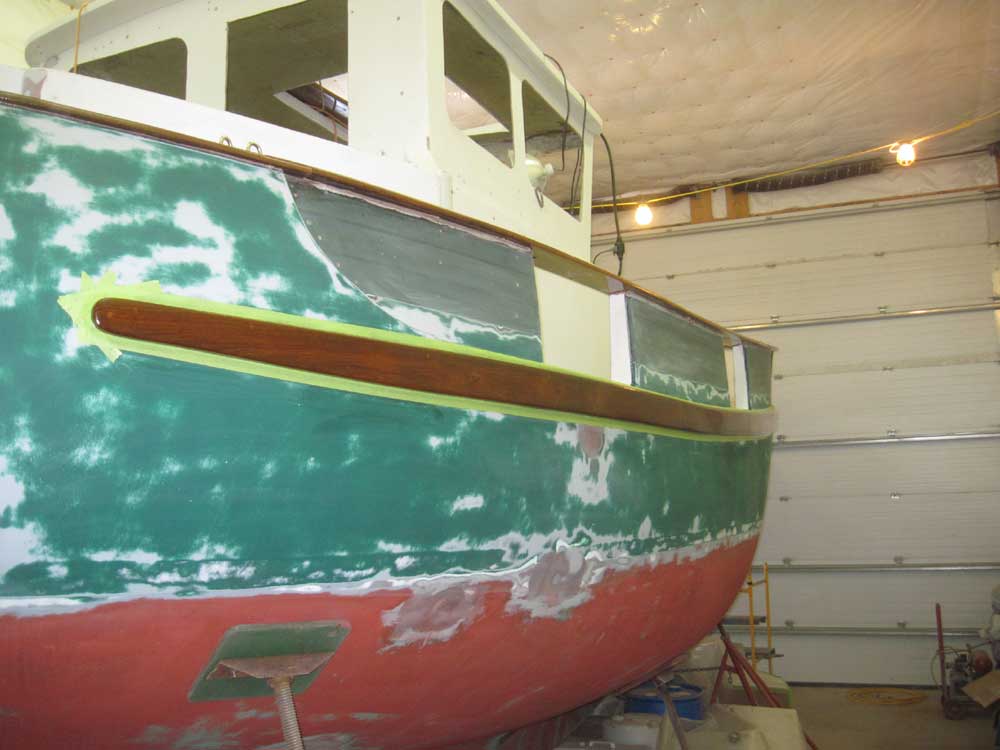
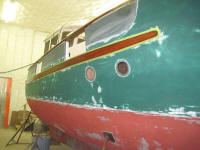
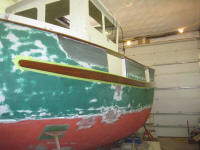
Instead, I decided to sand and varnish again the rubrail
(3rd coat). |

 |
Afterwards, I worked on some materials lists for things
I needed to have on hand soon, including various
fittings for the new tankage, and took an early end to
the day; it was my birthday, after all--and a Friday.
|
Total Time Today: 4 hours
|
<
Previous | Next > |
|
|