Project Log: Saturday, January 29, 2011
Perhaps one of the more challenging parts of a large
rebuild like this is the transition points between
various aspects of the project: getting going on a
new stage often takes a little bit. And so it was
the past couple days at the shop.
I began the day by wrapping up some parts and materials
listings that I'd be ordering soon for some of the
immediately upcoming work on the project, and, when I
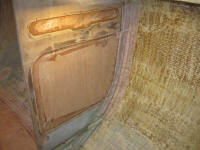
tired of that, I climbed into the boat and
washed/lightly sanded the new tabbing on the starboard
pilothouse bulkhead patches. |
 |
My new focus for the immediate future would be the
engine room, specifically installing new bulkheads on
either side to accommodate the new tankage, and other
work as required to eventually satisfy the ultimate goal
of rebuilding the pilothouse sole. I was weary of
climbing in and out of the depths of the engine room to
access the remainder of the boat, and looked forward to
once again having a platform in the pilothouse.
Also, having the platform back would enable me to better
work on the inside of the pilothouse as need be.
As a bit of advance warning, be advised that although I
try to explain my ideas for the eventual layout of this
space as accurately as possible, you, dear reader,
cannot be inside my head (I certainly hope not) and
therefore it's likely that you may not be completely
clear on what I'm working to accomplish. Please be
patient and allow things to naturally come together on
this site over the coming days, at which point any
questions should be resolved. Sometimes,
explanations can over-complicate what are essentially
straightforward plans.
During earlier mock-up efforts when I designed the new
tankage, I'd already determined some of the rough layout
and positioning for the new bulkheads, which would be
symmetrical on each side of the engine space; the new
tankage had been designed within these limits.
From these basic layout marks would arise the new
structures. To begin the layout process, I installed a
temporary screw eye in the forward bulkhead, choosing a
point coincidental with two layout lines I'd apparently
marked on the bulkhead during my earlier efforts.
Later, I moved the eye screw down a few inches so that
it was even with a reference mark I'd made indicating
the height of the original support cleats for the
pilothouse sole. The eye was to allow me to secure
a layout string. |
 |
Next, I hot-glued a scrap of wood to part of the
protruding underbelly of the cockpit molding, allowing
the stick to hang beneath the cockpit, and used this as
the support for the second end of the layout string;
some basic measurements determined a rough location for
the stick, which I fine-tuned a little later.
The alignment didn't have to be perfect at the moment,
as the string would ultimately be a simple guideline to
allow me to template the longitudinal bulkhead's shape. |
 |
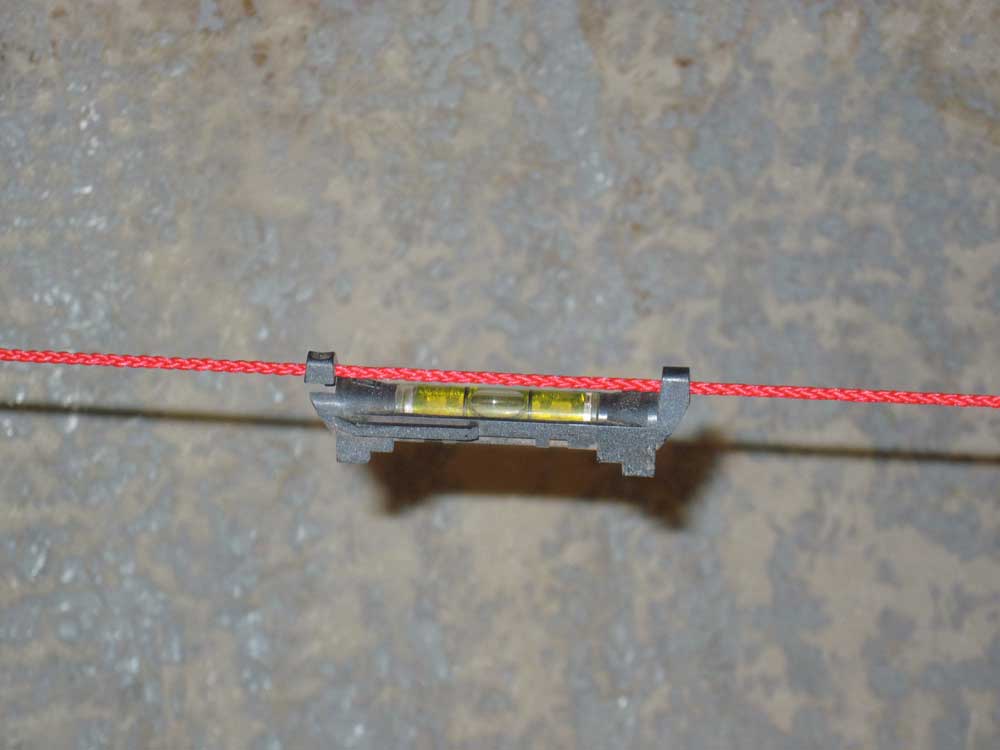
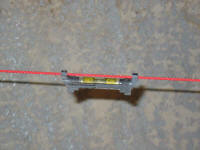
By stretching the string tightly between the two points,
I could use a string level to create a level reference
line through open air. The string also
approximated the height of the bottom of the sole (i.e.
top of the support cleats). |
 |
After some playing around with the cardboard tank
mockups (water tank mockup not shown here, as it didn't
like to stay in position on its own), I decided that for
several reasons it would be best if the initial stage of
the new support bulkhead was low enough to allow the
tanks to be twisted into position above the bulkhead,
rather than my initial thought of building the bulkheads
so they'd be even with (or even higher than) the
pilothouse sole.
Why, might question the inquisitive mind? The main
reasons were these:
1. If the bulkhead were taller, I'd have to have
both tanks in place behind it before installation, which
would complicate things and would also prevent me from
being able to tab in the lower edge of the bulkhead from
the inside (which I wanted to do for strength)
2. I didn't yet have the water tanks on hand
(which fitted in the space aft of the fuel tank mockup
shown in the photos), and if I could install the tanks
later, I could move that much further ahead on
construction now
3. Forward-thinking in construction and avoiding
locking the tanks in place in such a way that future
removal--should it become necessary for whatever
reason--could be accomplished with the need to entirely
demolish the interior and structures seemed to be a
worthwhile goal.
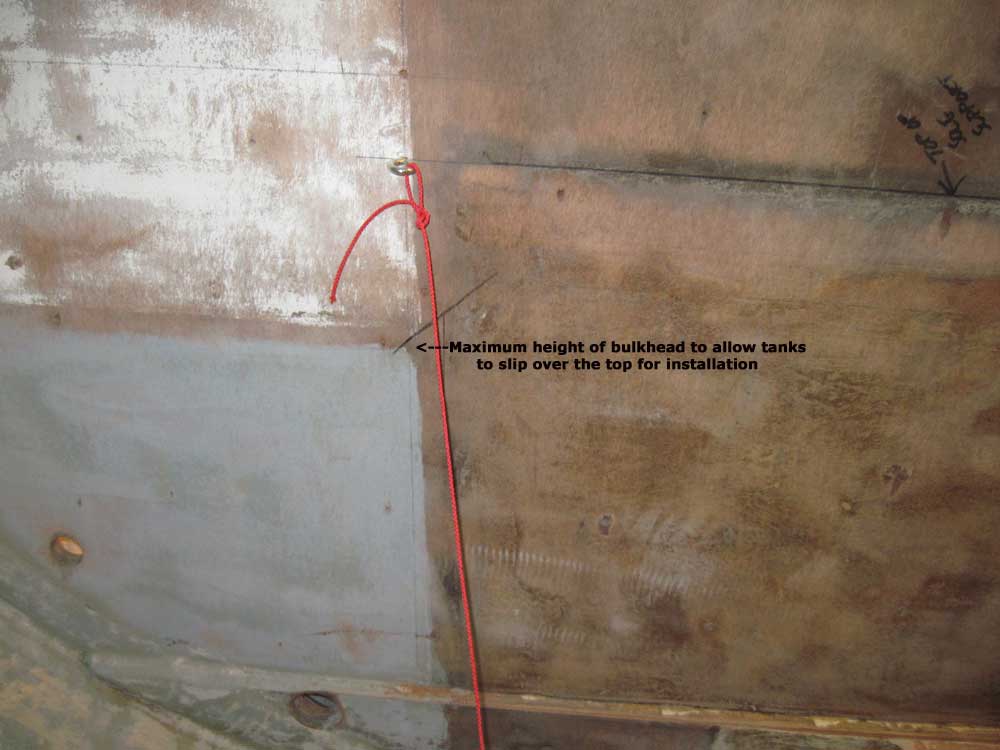
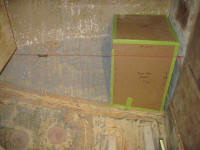
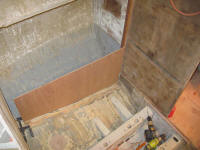
To this end, the new bulkhead would need to be somewhat
shorter than the height suggested by the red string.
To determine this height, I removed the string and held
the fuel tank mockup in position at an angle, simulating
its installation over an imaginary bulkhead, and made a
mark on the forward bulkhead showing the maximum height
of the permanent bulkhead. |
 |
If this all seems unclear, bear with me through the
construction and all shall be made evident. As
of this writing, I wasn't even completely sure how exactly all the
pieces would fall into place, but that would make itself
evident to me in due course. What was important
now was that I had the information I needed in order to
build the first--and permanent--new bulkheads.
This was the thrill and challenge of design-on-the fly.
After restringing and leveling the reference string, I
made several measurements between the string and the
hull beneath, allowing for the difference in height
between the string and the eventual top of the bulkhead,
and used these rough measurements to create a blank for
the bulkhead that approximated the shape of the hull
against which it would rest.
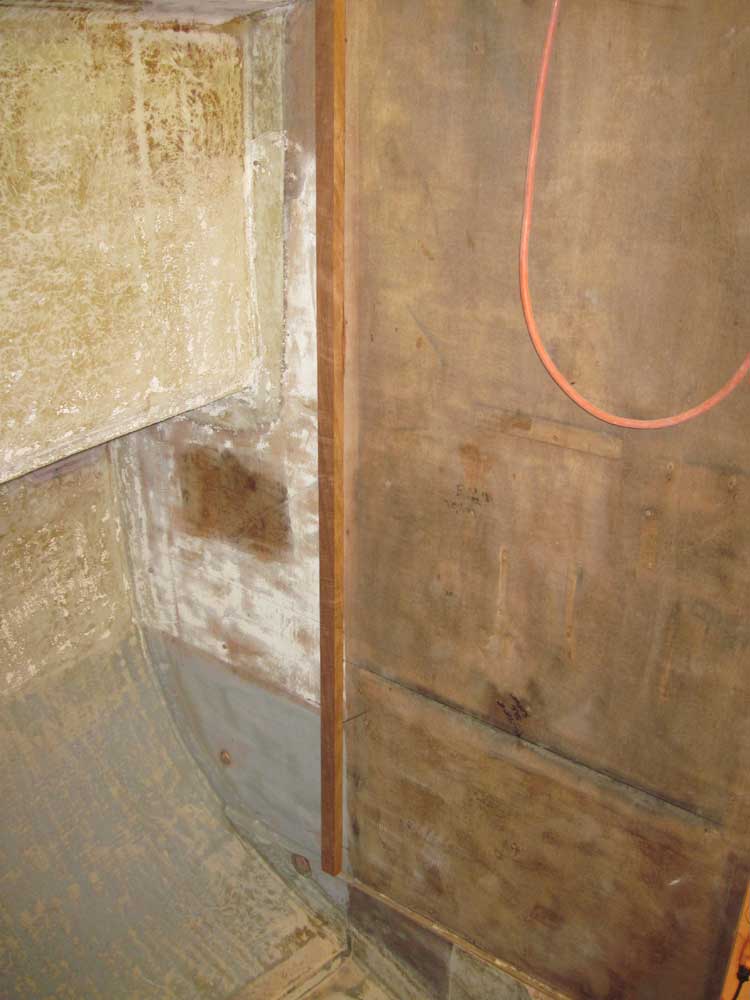
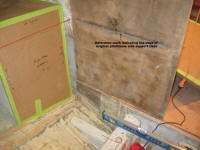
Before continuing, I milled a hardwood support
cleat and installed it on the pilothouse bulkhead; this
cleat defined the edge of both the tankage bulkhead in
the engine room and the new bulkhead that would form the
inside of the pilothouse (and which was generally in the
same position as the original port bulkhead that I'd
removed from the pilothouse some time ago).
I secured the cleat with glue and screws according to a
layout line already on the bulkhead, plumbed with a
level. |
 |
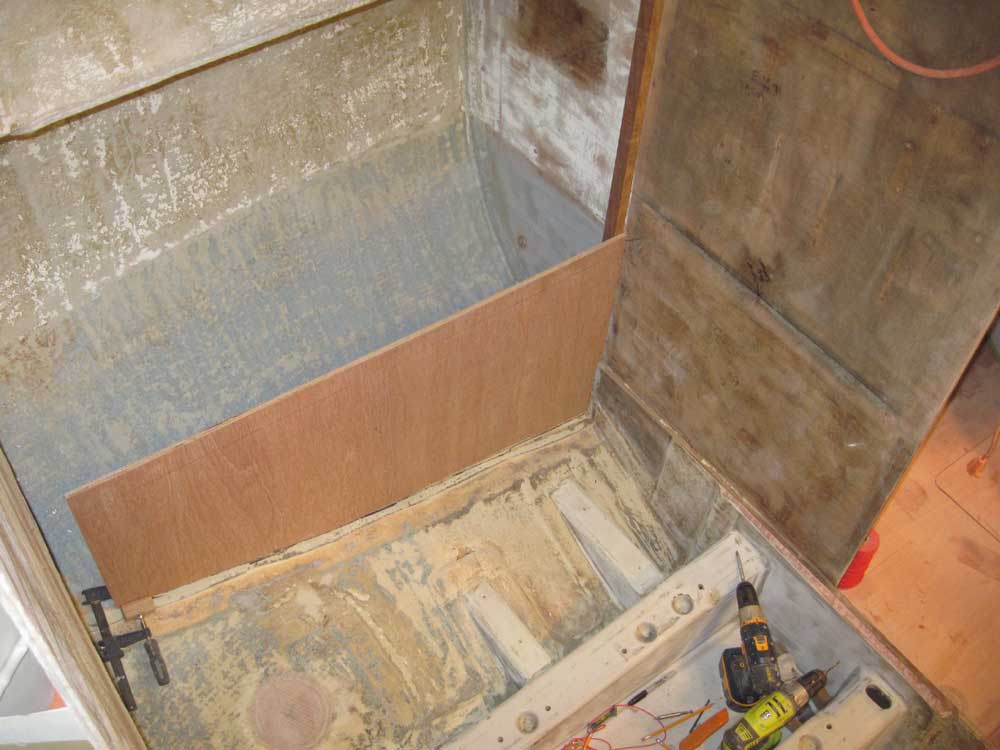
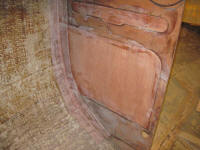
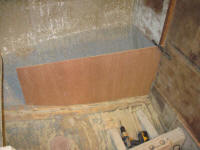
I left the new blank a bit tall, and clamped the result
in place against the cleat. With a long square, I
held the bulkhead blank perpendicular to the existing
bulkhead and made some reference marks on the hull.
With a compass, I scribed the shape of the hull onto the
bottom of the roughly-shaped bulkhead blank. |
 |
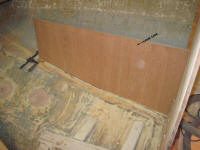
Afterwards, I recut the lower edge to the scribe mark
and temporarily reinstalled the blank, this time with
some temporary screws into the cleat. Again I
squared the blank to the forward bulkhead, then glued a
temporary clamp block near the aft end that allowed me
to hold the plywood in place.
I'd still left some excess plywood at the top, as I
thought it'd be easier and more accurate to strike a
level line off the reference mark at the forward end
once the bulkhead was in its final position; this I now
did, but left the final cut till next time. |
|
Total Time Today: 5 hours
|
<
Previous | Next > |
|
|