Project Log: Tuesday, June 21, 2011
I planned to epoxy and tab the V-berth platform all
along the hull sides, but to ease this process and also
add additional support from beneath, I decided to
install some interim supports on each side.
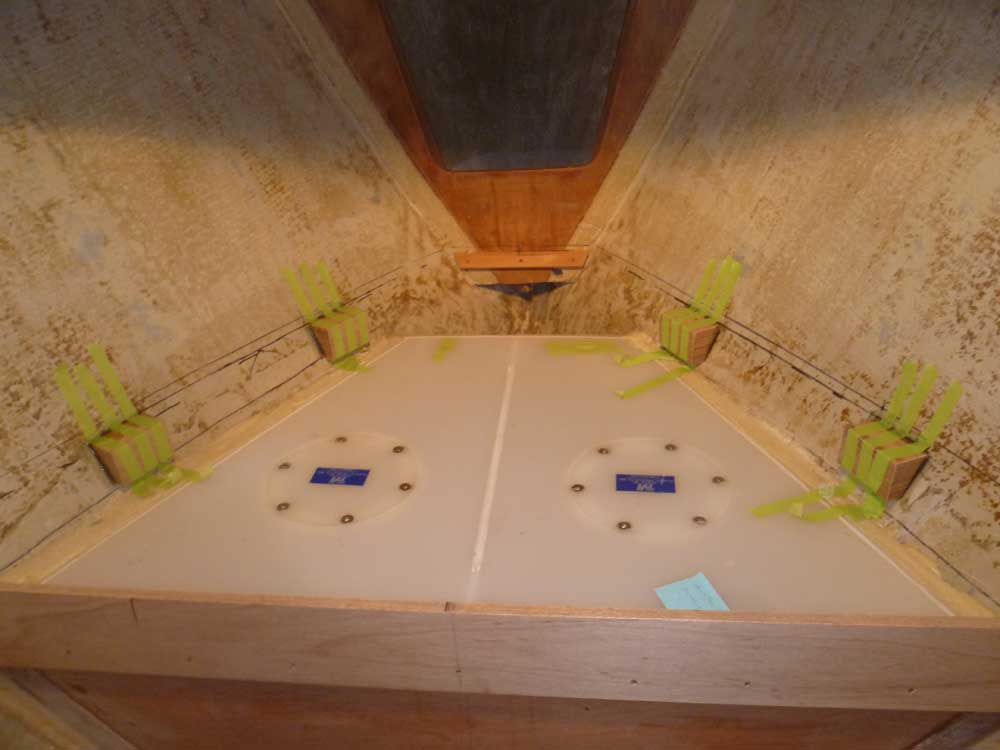
From a laminate of plywood and epoxy that I had left
over from another job, I cut four wedge-shaped blocks to
fit the angle of the hull; the tops of the blocks were
level with the platform. In two equally-spaced
locations on each side, I glued these blocks to the hull
just below the level of the base of the V-berth platform
with epoxy adhesive, using tape to hold them in place
while the adhesive cured.
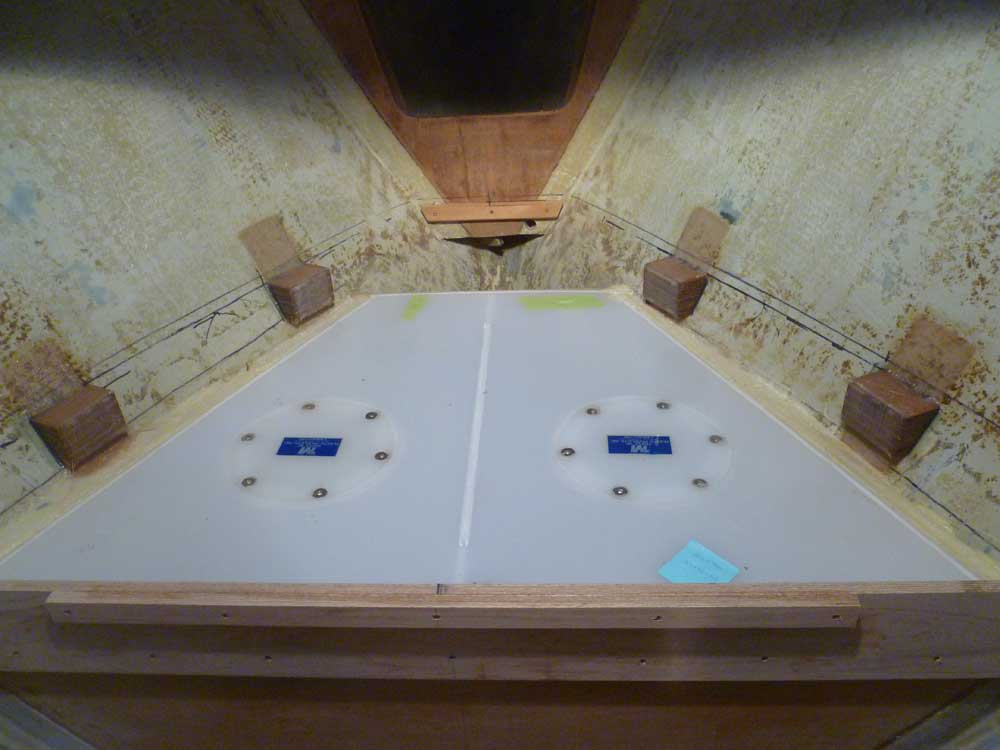
Several hours later, the epoxy had cured to the point
that I could remove the tape, epoxy-coat each block all
over, and install lengths of 4" wide tabbing to help
secure the blocks to the hull. |

 |
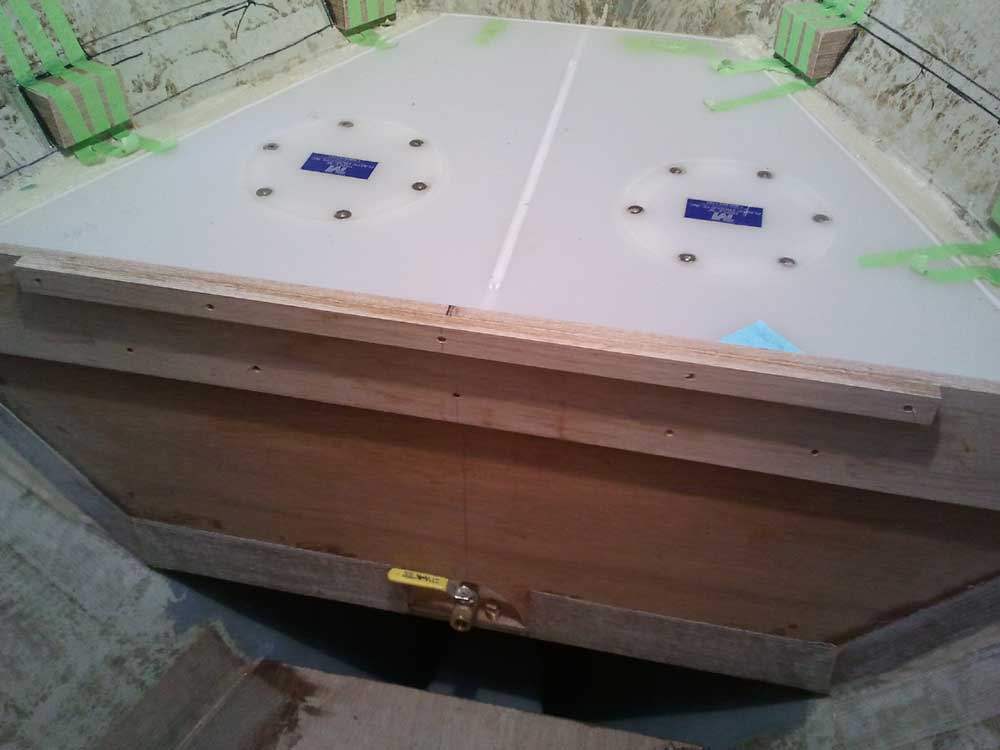
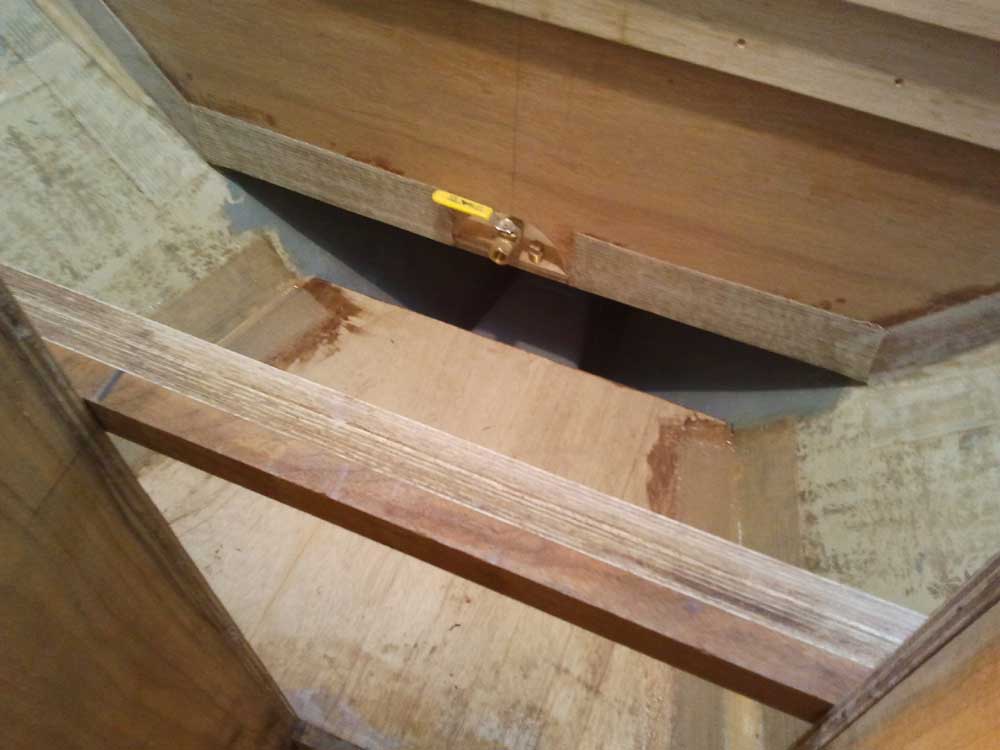
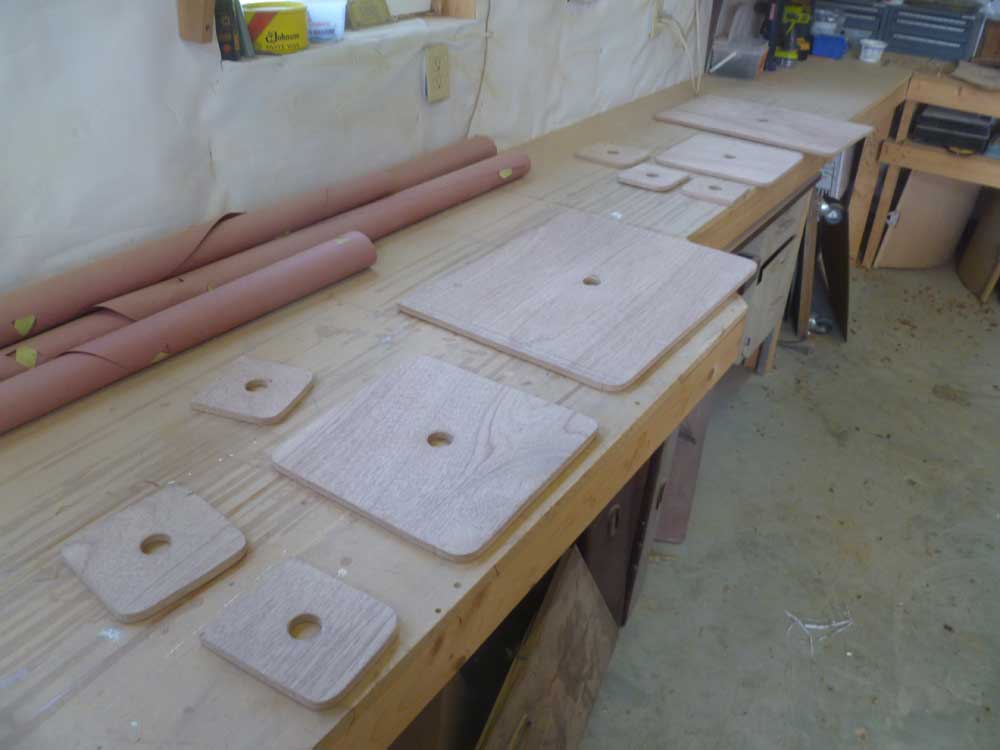
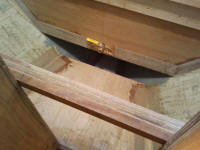
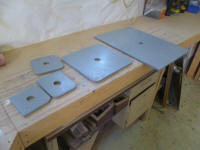
The large aftermost access hatch in the V-berth platform
required additional cleats on the two athwartships
supports (at the aft end of the water tank and along the
aft bulkhead). I cut plywood cleats to appropriate
length and installed them with glue and screws.
These cleats would support the forward and after edges
of the access hatch. |

 |
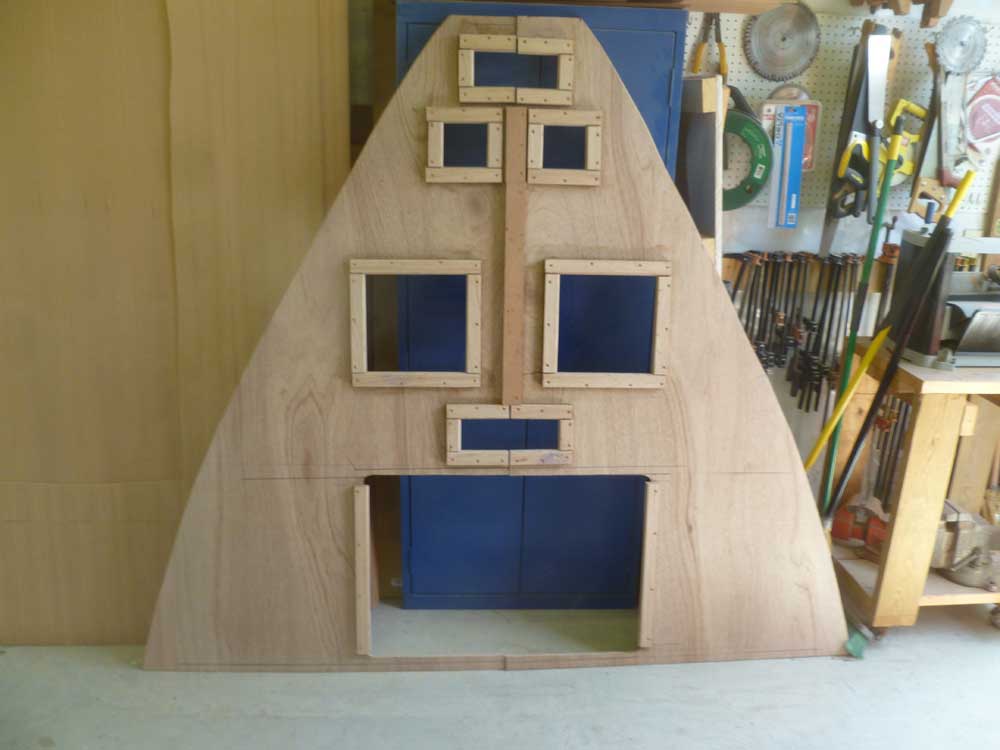
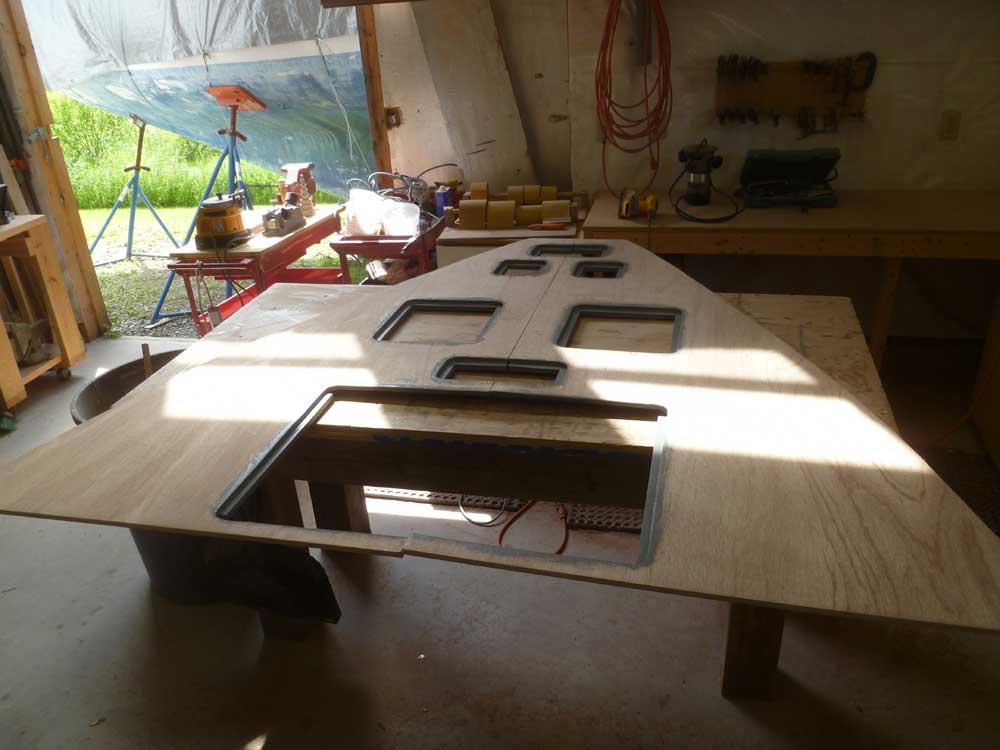
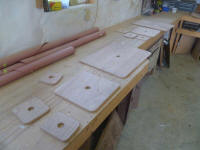
Meanwhile, I prepared cleat stock for the platform
itself, and cut, fit, glued, and screwed the cleats in
place around the myriad access hatches in the two
sections of V-berth platform, and also drilled finger
holes in the hatches after cleaning up the cut hatch
edges with some sandpaper. |
 |
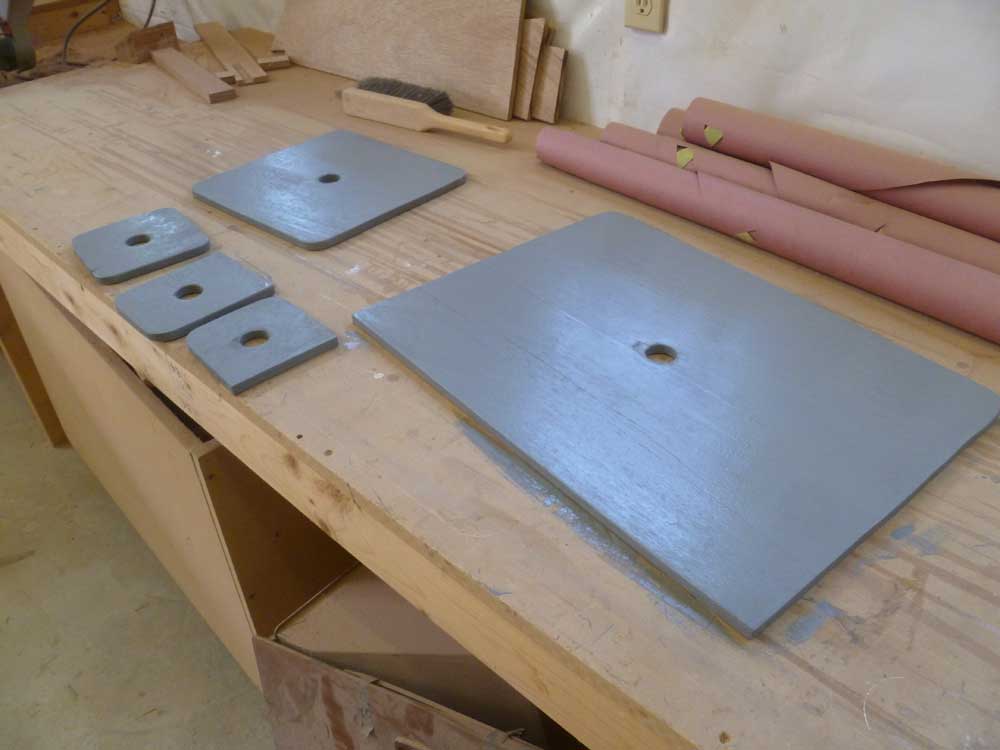
Later in the day I applied some paint to the underside
of the V-berth access hatches, as well as to the cleats
around the openings in the platform itself. |

 |
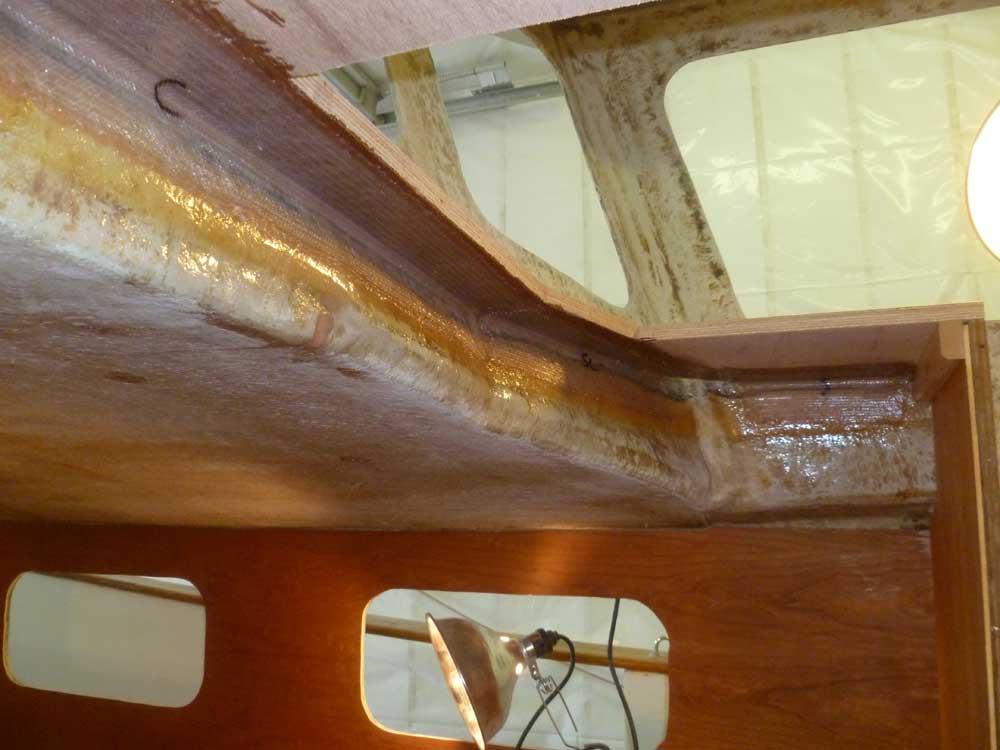
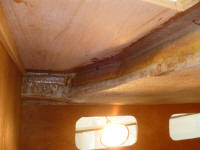
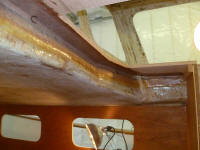
I returned to the pilothouse, where I installed an epoxy
fillet along the bottom corners where the new dashboard
met the pilothouse walls. Once filleted, I cut and
installed 4" wide biaxial tabbing to reinforce the joint
and complete the basic installation.
I intentionally left small spaces at the forwardmost
corners to provide a channel for wiring later on. |
|
Total Time Today: 5.5 hours
|
<
Previous | Next > |
|
|