Project Log: Sunday, March 20, 2011
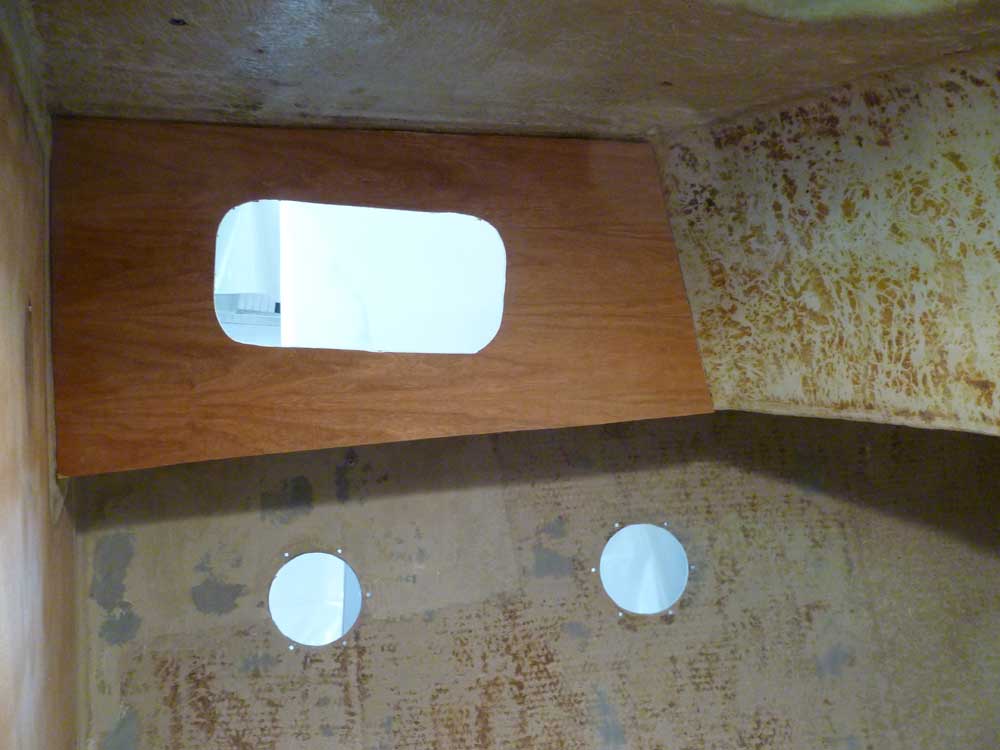
First thing, I removed the bracing and clamps and paper
and tape from the cherry panels covering the cabin sides
in the forward cabin. Then, I used a router to
trim the plywood flush with the openings in the
fiberglass, and also trimmed the bottom edge of the
panel flush with the underside of the deck. I made
a flub with the router and chipped some of the cherry
veneer at the forward end of the starboard side, but
fortunately this area would later be covered by trim. |

 |
Some of you with sharp memories may recall that long
ago, I wondered aloud whether or not to replace the
ports in the forward cabin, which were of a different
design than the remaining ports. Clearly I decided
not to make substantive changes to these ports, though
I'd already researched replacements and determined that
I could install new versions of the rather decrepit
ports I removed without reworking the openings.
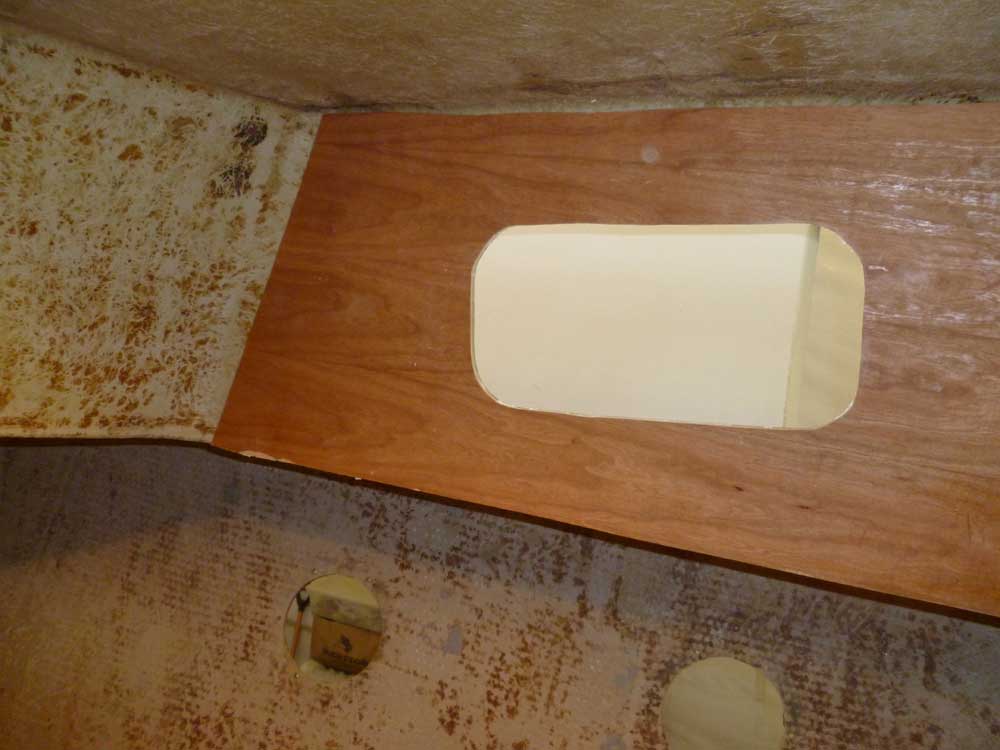
Onwards. I anticipated the forward section of this
paneling to be the most difficult to install, as I'd
have to bend the plywood into a (relatively) sharper
curve than any of the other panels installed so far;
there was no port opening, so no way to clamp the panel
in place at all; and in addition the forward side of the
cabin trunk sloped at an angle, further compounding the
challenge of bracing the panel in place tightly and
securely.
This anticipated challenge was the main reason I'd not
tried to install this panel at the same time as its port
and starboard compatriots (in addition to poor access
with all the clamps and bracing in place for the side
panels). Waiting for a new day turned out to have
been a wise decision.
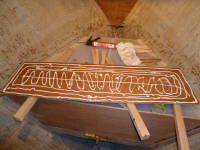
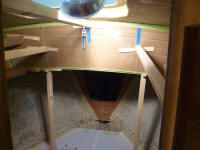
To begin, I prepared the panel for installation by
cutting to shape and taping into place some corrugated
cardboard over the face of the panel. I chose the
cardboard this time around because I knew that I'd
require more aggressive bracing pressure to hold the
panel tightly to the necessary curve, and thought the
extra protection would be worthwhile.
Inside the boat, I dry-fit the panel and measured for
some bracing, which I cut from scrap wood. As
expected, bracing the plywood into position tended to
cause it to slip downwards under the pressure, so I
prepared some stops that I planned to install
temporarily to the underside of the foredeck, and which
I hoped would hold the panel from sliding downwards.
I applied plenty of adhesive to the back of the panel,
and put it into place. With the adhesive in place,
the panel refused to stay in its proper vertical
position at all, once I'd put the braces on, and the
horizontal stops I'd hot-glued to the underside of the
foredeck weren't beefy enough (they were just glued up
of several wooden stir sticks, an abundant supply of
which I had on hand in the boat)to hold the panel where
it needed to be, bending downwards and allowing the
panel to slip. |
 |
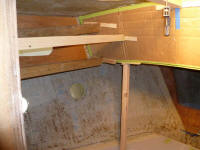
Therefore, I had to hurry and measure/cut/install a pair
of vertical braces, running from the panel to the water
tank beneath, in order to properly support the panel;
afterwards, I identified a need for two or three
additional braces to the bulkhead behind, in order to
press various corners of the panel tightly into place,
so I cut and installed those. |
 |
It would be at least a couple days before I could return
to the project, and I'd leave the bracing in place as
long as possible.
|
Total Time Today: 2.75 hours
|
<
Previous | Next > |
|
|