Project Log: Friday, October 7, 2011
Now that the backing blocks for the through hulls were
in place, I could complete the installation.
Briefly, I sanded the epoxy fillets around the blocks,
and used a drum sander to clean up the holes just a bit.
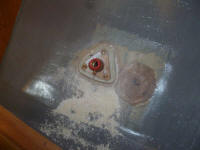
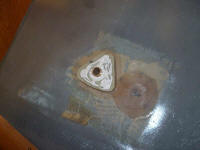
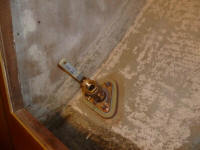
From outside the boat, I taped the through hull fittings
in place, then went inside and threaded on one of the
flange adapters so I could drill the holes for the
through bolts. With each base properly aligned, I
drilled the holes from the inside, inserting a bolt into
each hole one drilled to ensure alignment through the
process. |
 |
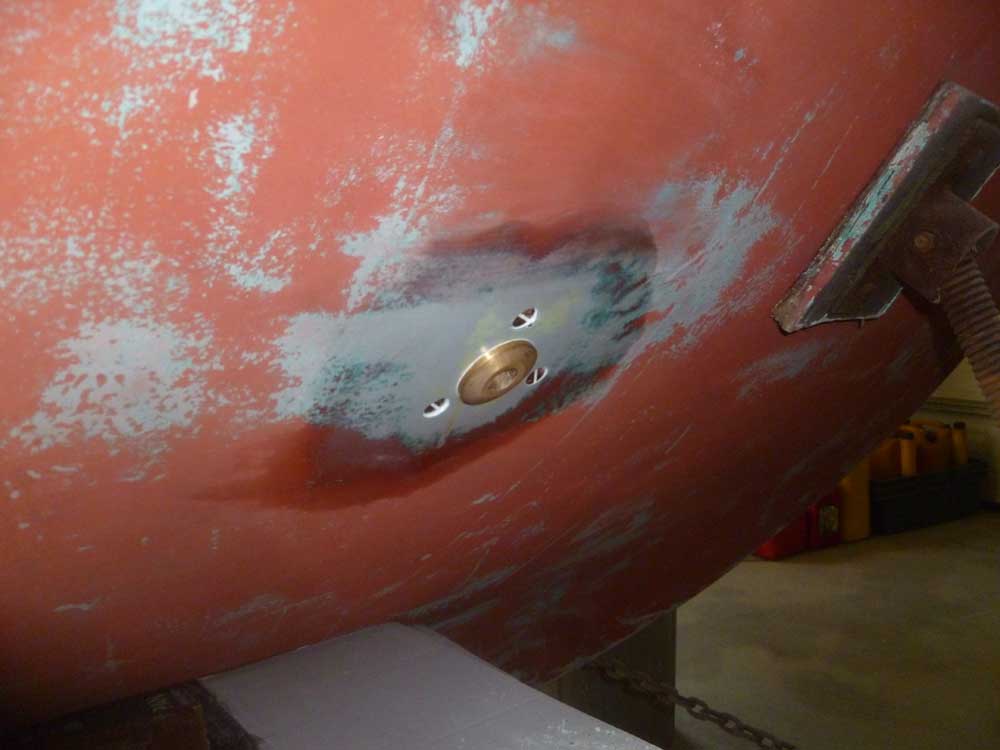
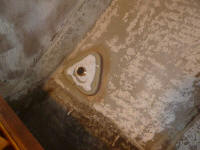
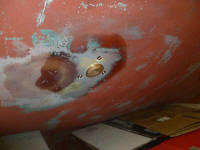
Outside, I milled countersinks so the flat head
fasteners would be flush or slightly recessed with the
hull. Then, I cleaned up and prepared all areas.
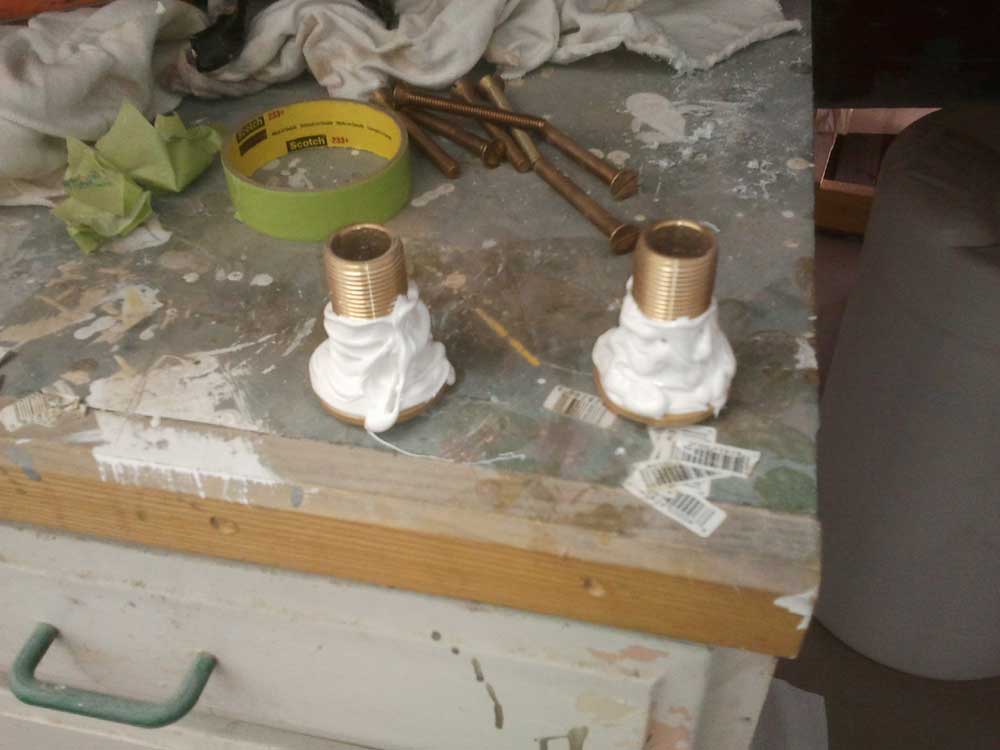
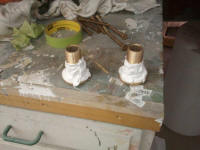
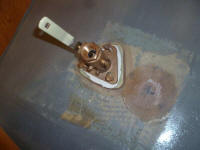
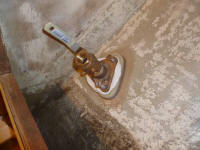
I pre-assembled the ball valves onto the flange bases
before installation.
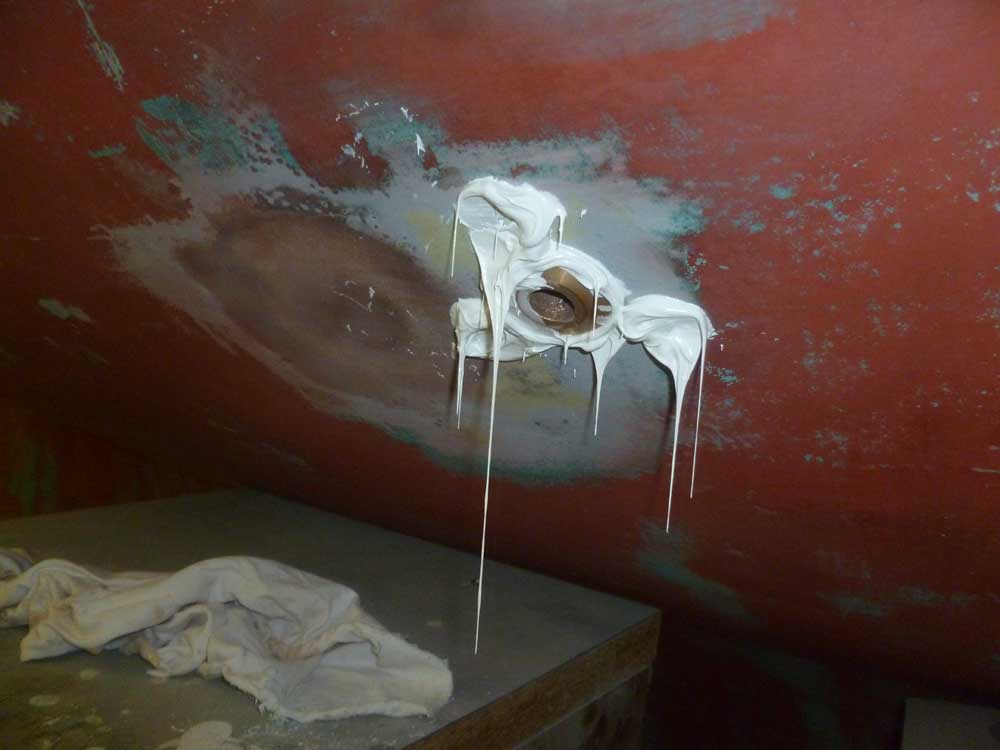
I installed the through hulls and fittings with 3M 4200
polyurethane sealant. Outside, I began with the mushroom
fittings, which I heavily coated with the sealant and
inserted into the hull. 4200 is stiff enough to
hold the fittings, but I installed a strip of tape to be
sure they wouldn't fall out while I was working inside. |
 |
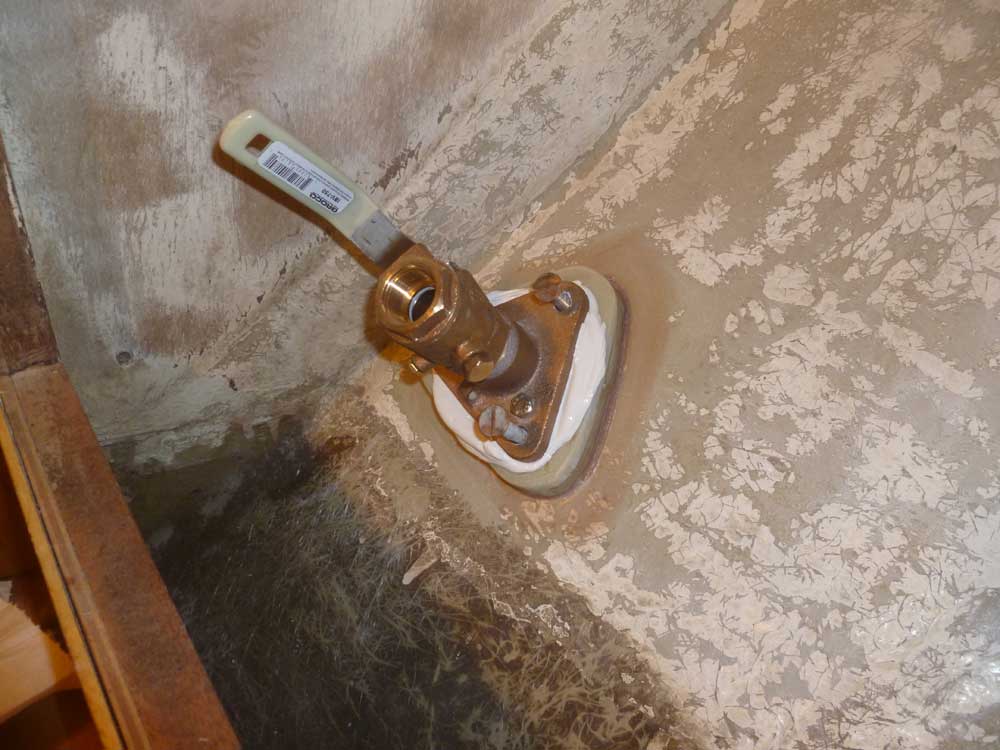
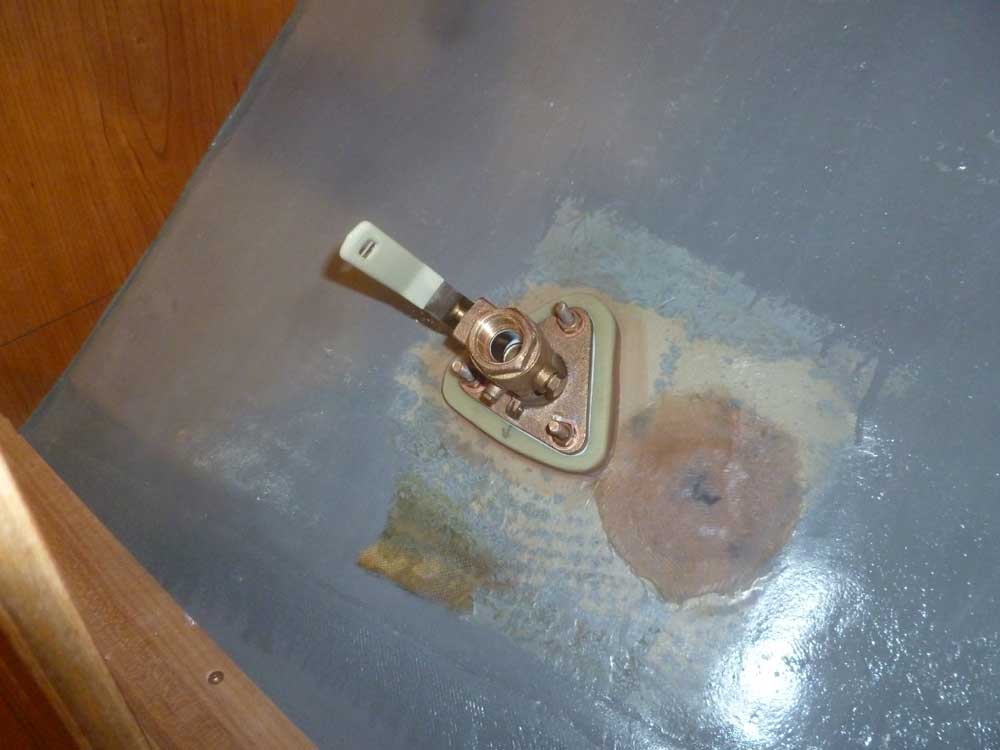
Inside, I applied additional sealant around the
protruding stem, around the bolt holes, and generally
around the perimeter of the flange fitting. I
threaded on the fittings, then aligned the bolt holes
and inserted, from inside, three place-holder bolts to
keep the flange in place while I tightened the mushroom
from outside, for which I used a special tool. |
 |
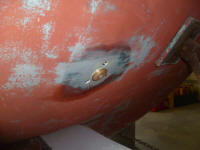
Then, I gooped up the bronze through bolts and inserted
them from outside, before heading back into the boat to
install nuts and washers and tighten things up. |
 |
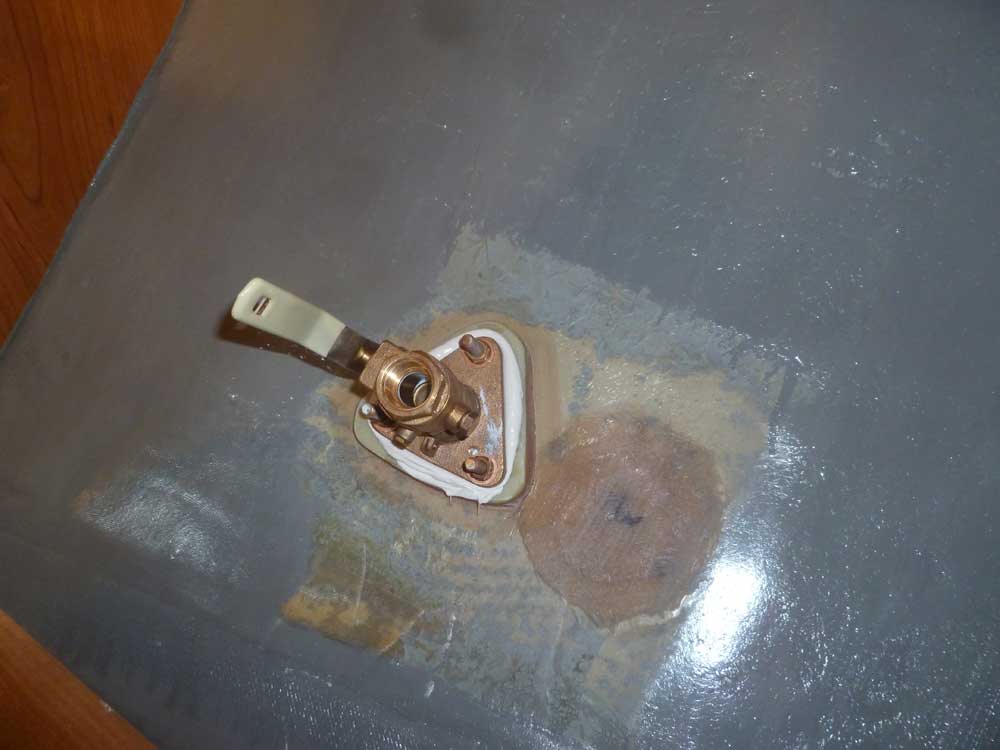
Afterwards, I cleaned up the excess sealant inside and
out. Later, I came back and cut off the excess
bolt length inside (no picture of this at this time,
sorry). |


|
Total Time Today: 1.25 hours
|
<
Previous |
Next > |
|
|