Project Log: Sunday, October 23, 2011
I worked on several galley-related details, beginning
with the cover/hatch/lid for the refrigerator
compartment. When I built the countertop, I saved the
cutout from this area, and could have used it as is to
fill in the open space. However, since we'd be
opening this frequently, I thought it would be nicer if
I trimmed the edges of the plywood with solid cherry, so
we'd see cherry wood instead of plywood grain when
lifting the hatch.
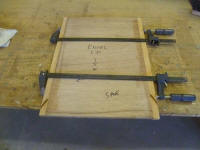
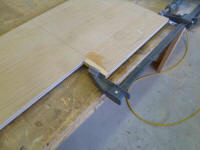
On the table saw, I removed 3/4" of material from each
long edge of the plywood, then glued on 1/2" thick x
3/4" wide pieces of cherry stock. While the glue
was curing, I milled and installed two cleats inside the
refrigerator compartment to support the hatch when
closed. |
 |
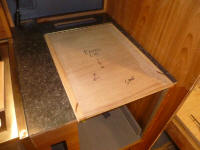
Once the glue cured, I trimmed the ends and installed a
section of stainless steel piano hinge to the back edge,
then took the hatch into the boat and temporarily
secured the hinge to the back edge of the countertop at
the opening to test the fit. This was challenging,
since the hatch opened barely far enough for me to get
drill bits, screws, and drivers into the angled space
between the hinge leaves, but there was enough room to
get it done. |
 |
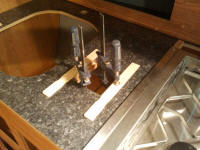
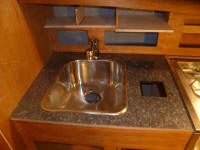
Meanwhile, I cut a 4-1/2" square of plywood for the
scraping block opening near the sink, and rounded the
corners for a close fit. I cut two cleats, which I
secured beneath the countertop with glue, leaving a 1/2"
cleat surface exposed inside the opening. |
 |
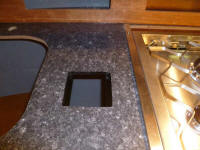
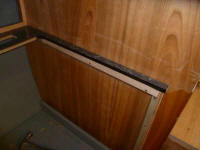
Later, when the glue had dried enough for me to remove
the clamps, I painted the exposed edges of the plywood
inside the opening with black paint, just to minimize
the appearance of seams when the lid was installed.
I did the same thing at the refrigerator opening. |
 |
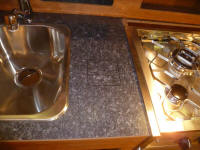
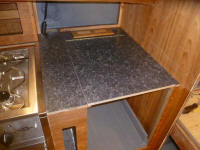
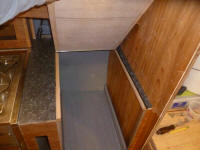
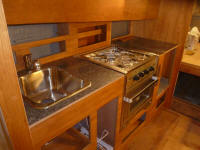
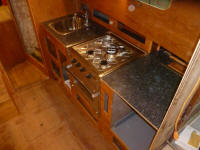
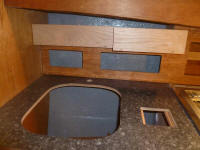
With all the prep work complete, I applied contact
cement to these two new pieces of countertop, and
installed more of the same Formica on each, after which
I installed the new sections. Later, I'd install
ring pulls to operate each hatch, but I hadn't yet
ordered the ones I wanted. |
 |
The other significant project of the day was the plate
storage rack. Having mulled over the interference
factor between the plate rack and the faucet beneath for
a couple days, I thought about cutting a dogleg in the
cantilevered part of the platform, as only the large
dinner plates required the full width; the other plates
were much smaller, and there was no need for the full
overhang.
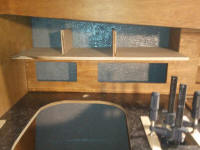
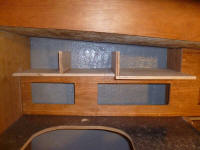
I put the shelf in place with a couple temporary
vertical dividers (which would separate the three
storage areas) and visualized the cut, and how it would
look in the end, and decided to make the cut.
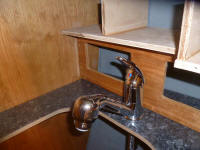
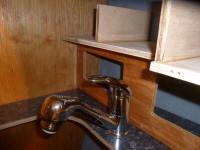
Making this cut would reduce significantly the overhang
above the faucet, leaving it in the clear for ease of
operation, installation, and removal, should it become
necessary. |
 |
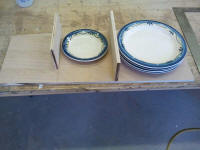
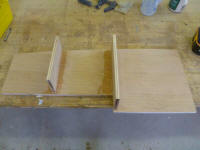
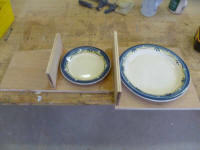
I determined the position of the cut by laying out the
plates, then took out about 2-1/2" of the shelf along
the forward section, leaving about 11" of full width to
support the dinner plates. At the short end of the
dogleg, I overcut by 1/2" so I could install some solid
cherry to cover the plywood edge here, as the solid trim
I planned for the front of the sections wouldn't cover
this area. I glued the edge band in place. |
 |
From solid cherry stock, I milled what I needed for the
face of the storage rack, which would hide and withhold
the plates within. I cut a rabbet on the lower
edge to allow the trim to slip over the edge of the
plywood. With this trim temporarily screwed in
place, I installed the vertical dividers between the
three storage areas, using glue and screws from beneath. |
 |
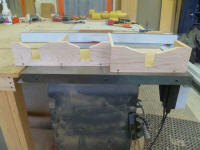
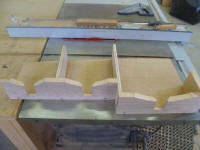
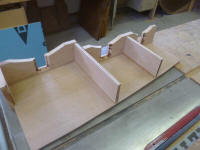
Later, I laid out and cut the slots in the front of each
trim section, which would allow one to grab the dishes
and pull them out one by one. On the inside of
each slot, I cut a large chamfer, which widened the
access to the plates inside without enlarging the
slotted opening. The photos below show all the
cuts in their "just happened" state, before any sanding,
cleaning up, or additional profiling.
I'd really hoped to get a bit further with the
construction of the plate rack, but frankly I was rather
burned out after a long weekend or progress, so I
decided to call it a day around 1500 and go try and fit
a weekend's worth of "other" chores into what remained
of the afternoon. |
 |
Total Time Today: 5.5 hours
|
<
Previous |
Next > |
|
|


