Project Log: Saturday, October 29, 2011
There were a number of odds and ends in the galley that
I wanted to take care of. To begin, I installed
flush ring pulls in the scraping block and refrigerator
locker covers; I chose these pulls specifically because
they installed in a 2" diameter round hole, which was
easy to mill. I didn't feel like chiseling out
rectangular openings, particularly through the Formica
countertop. Although these pulls were cheesy
chrome-plated zinc, which I normally avoided, they'd do
the job adequately, and would be easy to replace if they
started to fall apart. |
 |
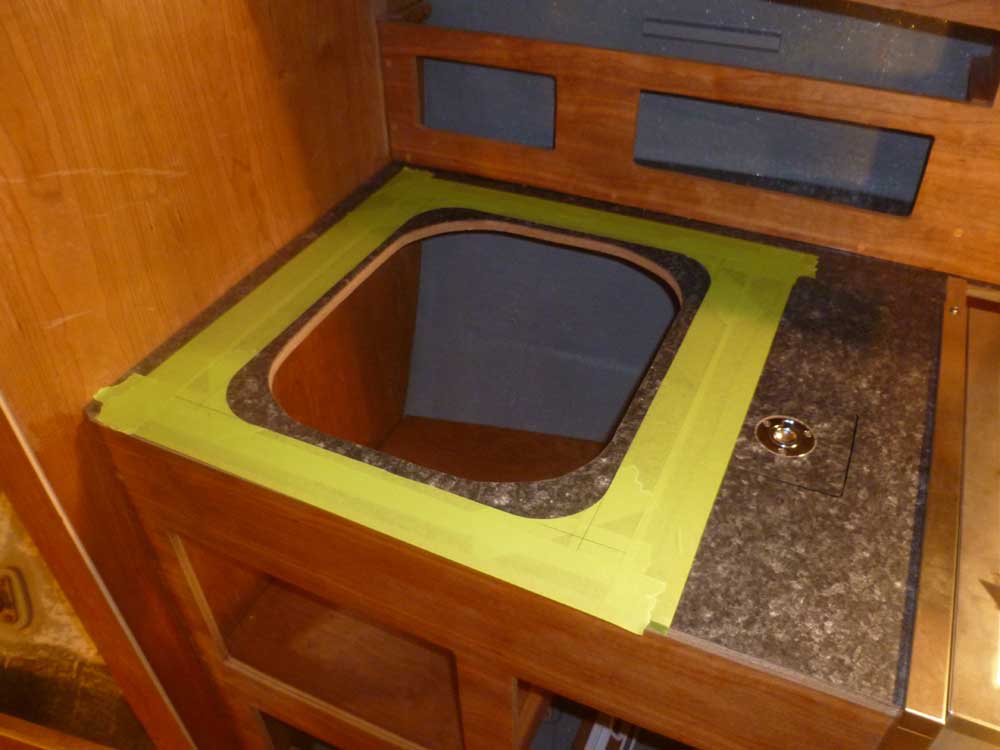
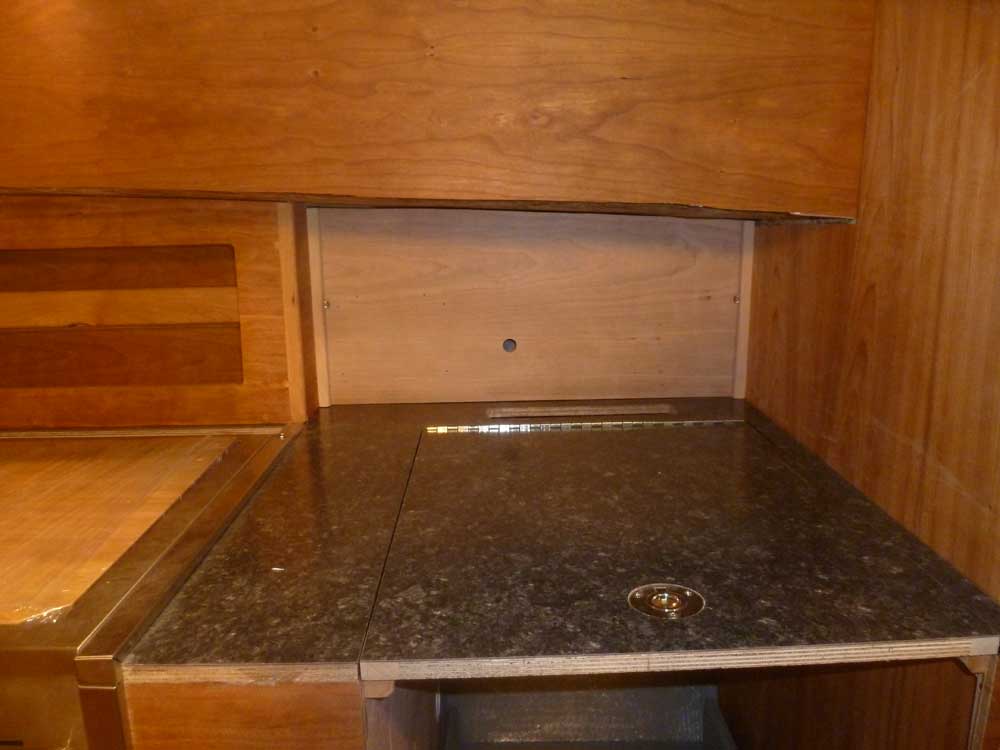
In addition to the central single-lever faucet at the
galley sink, which would be served by a pressured
system, I prepared for the installation of a pair of
simple telescoping manual faucets--one for fresh, one
for salt--which would be serviced by the foot pumps in
the cabinet below. After determining where the
faucets should go, I bored 7/8" holes through the
countertop and tested the fit. Afterwards, I
removed the faucets till a later time. |
 |
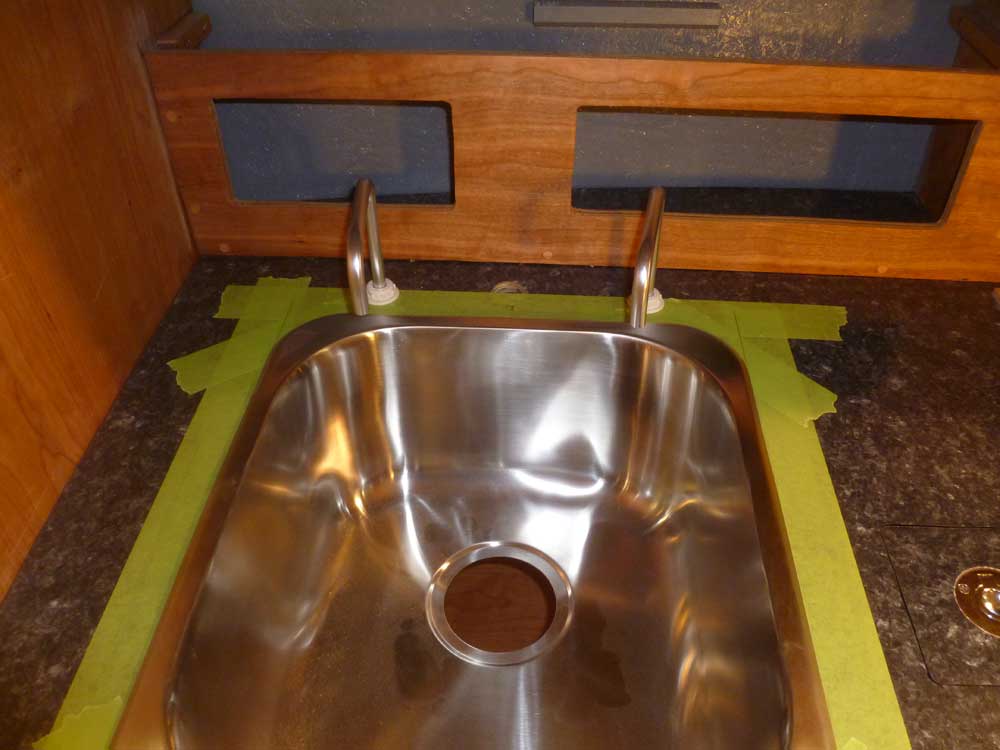
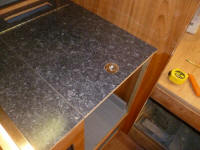
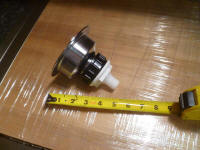
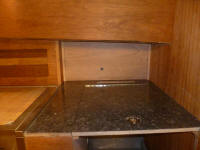
There was no reason to postpone installing the galley
sink; I could reach all areas of the cabinet beneath
with it in place, and thought I had completed the major
installations there anyway. I masked around the
sink opening, then placed the sink in place and cut out
the tape beneath the flange. |
 |
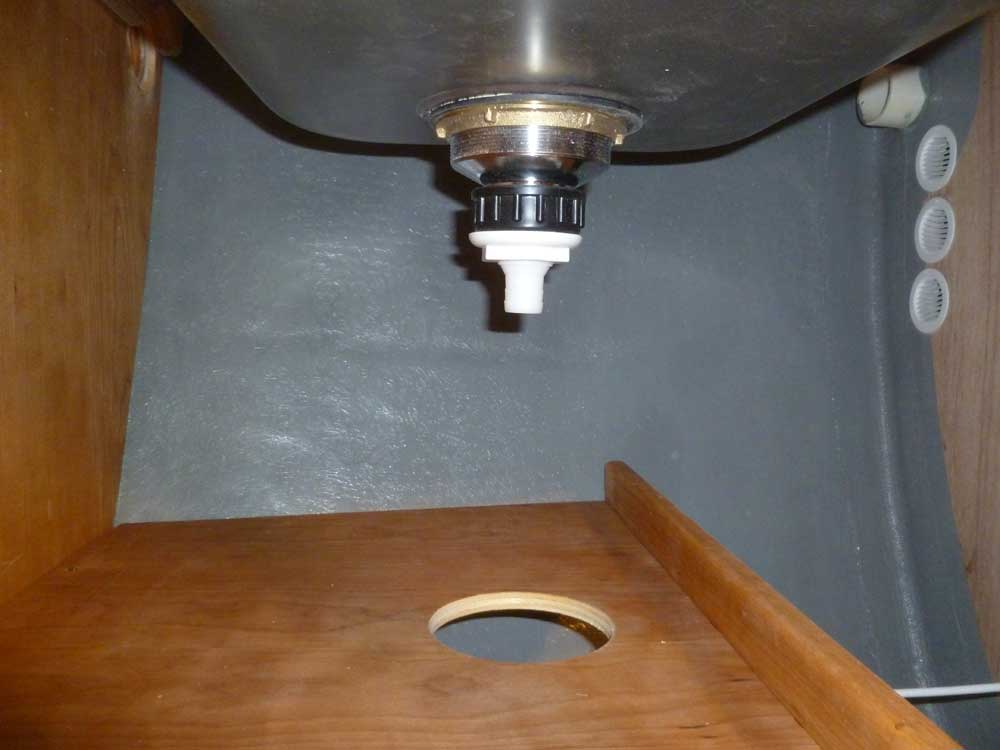
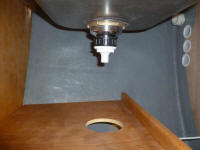
I assembled the drain fitting along with a special
adapter to conjoin the standard household-type sink
drain threads (1-1/4", I think) with a barbed plastic
hose fitting for 3/4" hose; this obviated the need to
use any sort of household tailpiece and unreliable
plastic washers, which combination never suit these
installations well.
After installing the drain assembly in the sink, I
secured the sink in place with sealant, weighting it
down with several toolboxes to hold it while the sealant
cured. I used a black polysulfide that I had on
hand, and because it matched the countertop. Once
the sealant cured sufficiently, I'd remove the excess
and masking tape. |
 |
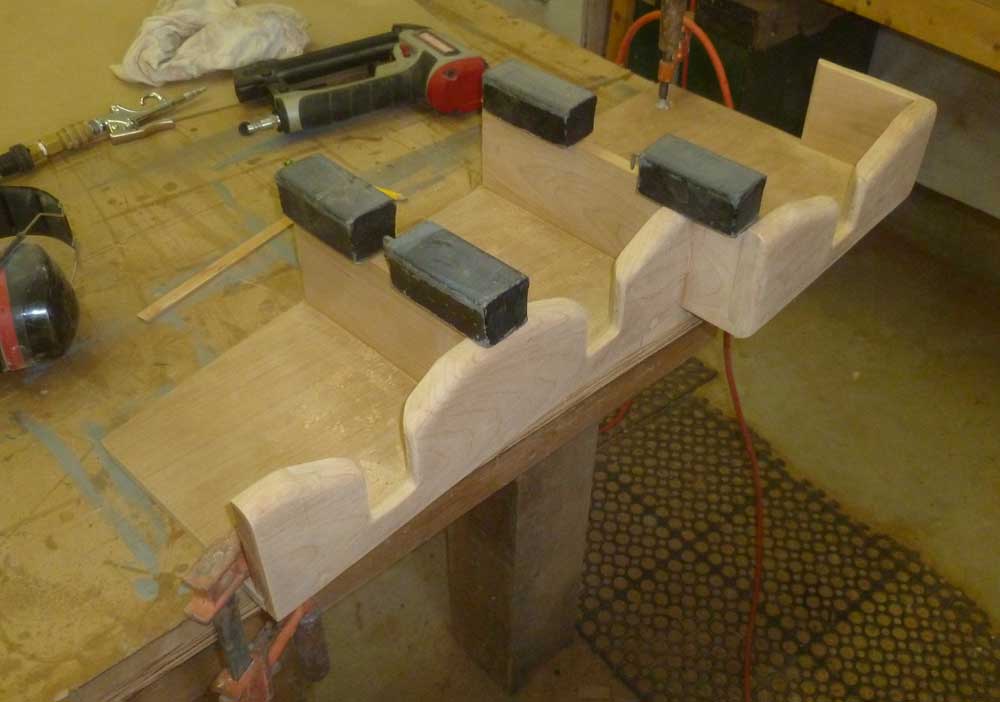
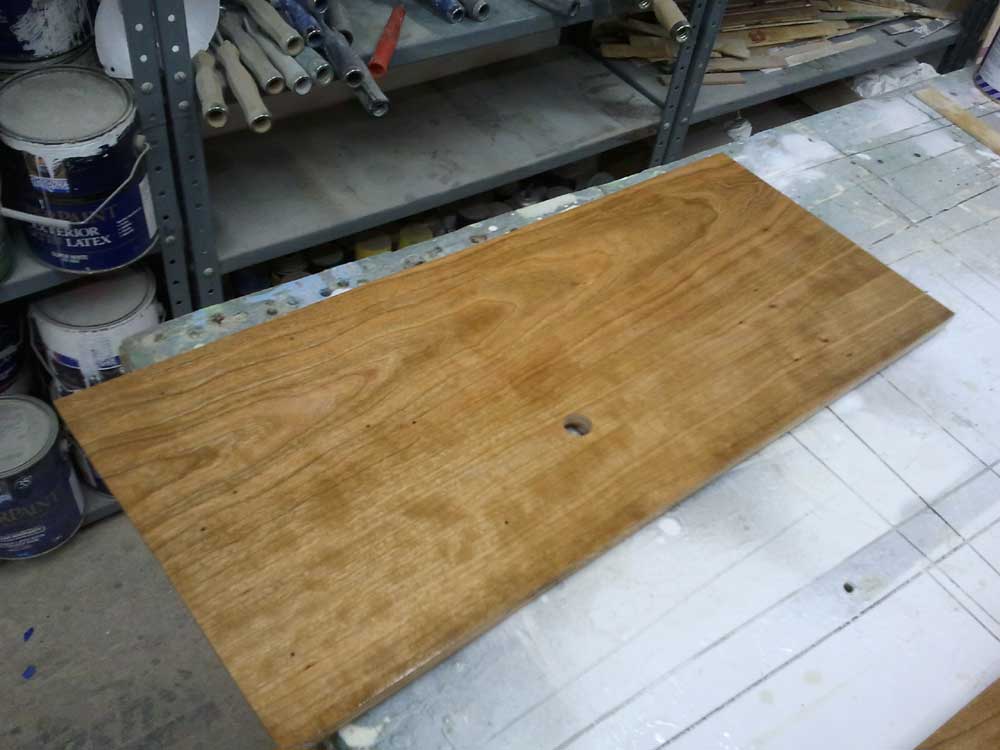
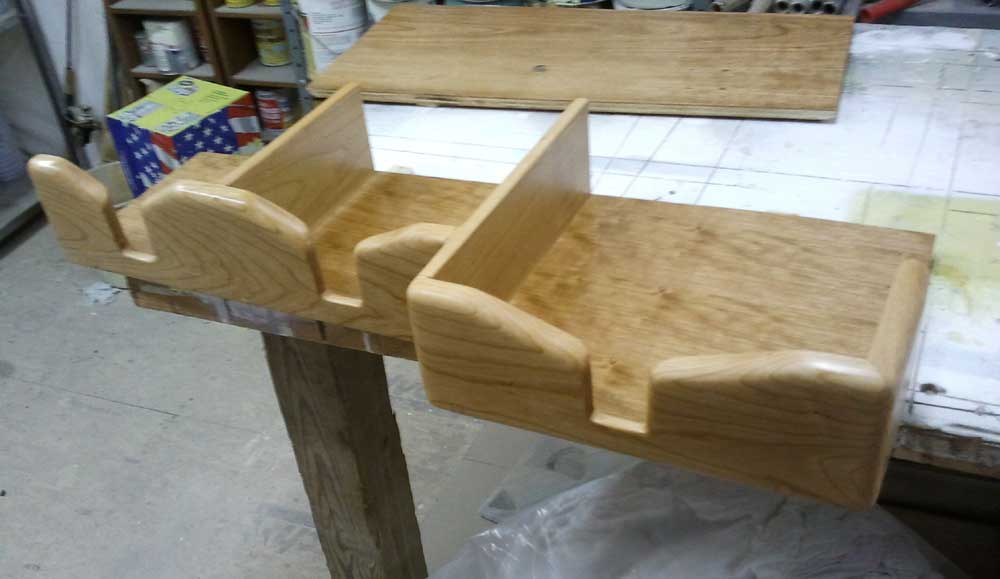
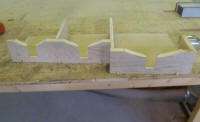
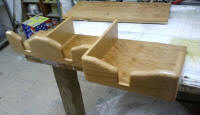
The plate storage rack required additional work to
complete. To begin, I sanded the back sides of the
solid front trim to remove tool marks and otherwise
prepare the surfaces. I left sanding and
shaping for the front, exposed side of the trim till
later so that I could properly contour all the pieces
together as need be.
This meant the next step was to permanently install the
trim, which I did with glue and screws as needed,
covering the screw holes with cherry bungs. |
 |
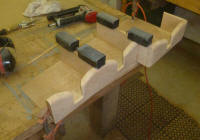
Once the glue had cured sufficiently, I milled a 1/2"
roundover profile on the top edge of the trim, and
sanded everything smooth, creating additional rounded
profiles with the sander in places the router couldn't
reach. I rounded the vertical edges of the large
plate overhang as well.
I milled thin, narrow strips of solid cherry to cover
the top edge of the plywood compartment dividers, which
I'd intentionally left just a bit shorter (about 1/8")
than the solid trim for this reason. I glued these
in place, holding them with weights till the glue cured. |
 |
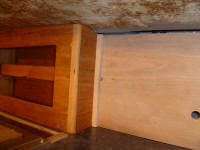
Meanwhile, I worked on some trim and a means of securing
the removable panel covering the wire chase area in the
galley. The existing contours of the after
bulkhead had meant that I needed to cut the piece a bit
short to ensure ease of removal. I decided the
easiest way to cover the gap, as well as make the panel
easy to remove, was to create trim pieces that would
also hold the panel in place. To this end, I
milled some basic 1/2" softly rounded trim, which I
secured tightly against the panel with knurled fasteners
into the adjacent bulkheads. This held the panel
in place, and also secured the trim. Removal would
be a matter of unwinding the two screws, which I could
do by hand.
While I had the panel out, I located two propane system
placards and the propane control board and drilled screw
holes (for the placards) and a wiring access hole (for
the control panel), leaving room for the required MARPOL
trash disposal placard in the remaining part of the
panel, a fine example of which I ordered. I'd
install all these components once I'd varnished the
panel. |
 |
Once the glue securing the edge banding on the plate
rack had cured, I finished up the sanding, then
solvent-washed the piece and applied a sealer coat of
varnish, along with the wire chase panel. |

 |
To round out the day, I began the engine room sound
insulation. I thought this would be a job best
divided into several parts, one piece at a time rather
than attempting to get it all done in one sitting, and I
was right.
To begin, I created a paper pattern of the bulkhead I
planned to insulate, in this case the port engine room
bulkhead. With kraft paper, I created an offset
pattern in my usual way; the studs I'd installed on the
bulkheads earlier worked in my favor, as they helped
hold the pattern paper. |
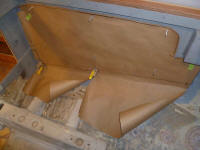 |
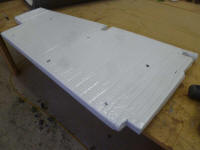
With the pattern made, I transferred it to a piece of
the sound insulation. This insulation was heavy
and unwieldy, at two inches thick with a heavy (3/16"
thick) layer of vinyl between the foam. I found
the best way to cut it was with a jigsaw, surprisingly
enough; the vinyl was otherwise challenging, though a
sharp serrated knife also worked when necessary.
Once I'd cut out the shape, and drilled holes for the
studs, I test-fit it and made minor modifications before
wrapping all the edges in the 4" wide tape supplied for
the task, which matched the white Mylar top surface of
the insulation. |
 |
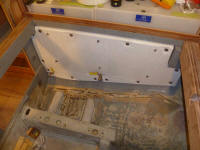
Next, I installed the sheet. Again, the studs made
this pretty easy and held the insulation in place.
I did not use any adhesive, but installed a number of
long screws with large washers to help hold the
insulation between the studs as needed.
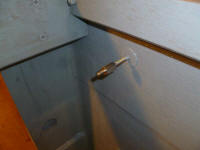
On each stud, I installed a stainless steel standoff,
threading them tightly onto the studs; the standoffs
featured a 1/2" long threaded stud at the end, which I'd
use to secure plywood panels over the insulation to
support various engine room components. The body
of the standoff would prevent the plywood from pressing
into the insulation while allowing me to tightly secure
the panel. |
 |
With my learning curve on the first sheet, the total
installation, from pattern to the end, required about
two hours. I hoped the remaining pieces would go a bit
more quickly.
|
Total Time Today: 6.25 hours
|
<
Previous |
Next > |
|
|