Project Log: Thursday, September 29, 2011
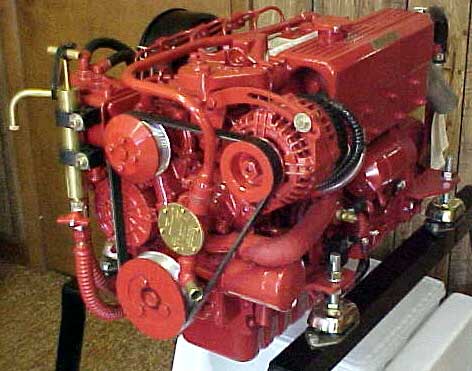
After additional research into my engine options, and
the input of Joe at Sound Marine Diesel, I decided to
install the Beta 38 instead of the 43. I'd been
leaning this way for a few weeks despite my earlier
direction featuring the 43, but in the end there seemed
no particular advantage to going with the larger,
heavier Beta 43; the boat needed nowhere near that much
horsepower in a theoretical sense, but translation of
the available power to the water efficiently was what
would be important.
With Joe's help and advice, we spec'd the new engine
with a 2.83:1 transmission turning an 18x13 3-blade
propeller, which combination would be effective at
maximizing engine power to the water.
Advantages to the choice of the 38 vs. the 43 were that
the 38 was a bit shorter in overall length, and, more
importantly, nearly two inches less tall, which meant
that it would be a clean, easy fit in the engine room,
with ample clearance beneath the floorboards and
insulation. I would have made the 43 work if it'd
been the right choice, but was happier to have
additional room to play with. Additionally, the 38
was approximately 150 lb. lighter.
I placed the order for the engine, along with an
upgraded alternator and belt system, remote coolant
header tank, remote oil filter, Adverc alternator
controller, and sundry additional options. It'd
probably be 8 weeks before delivery. I was excited
to have it on its way, however slowly. |
 |
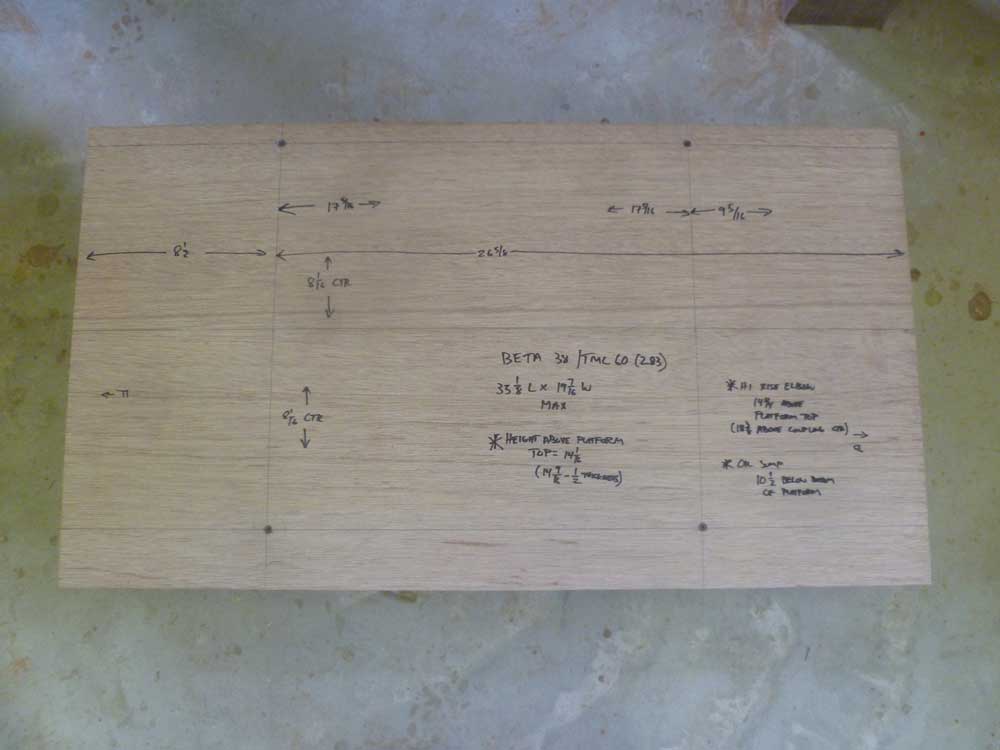
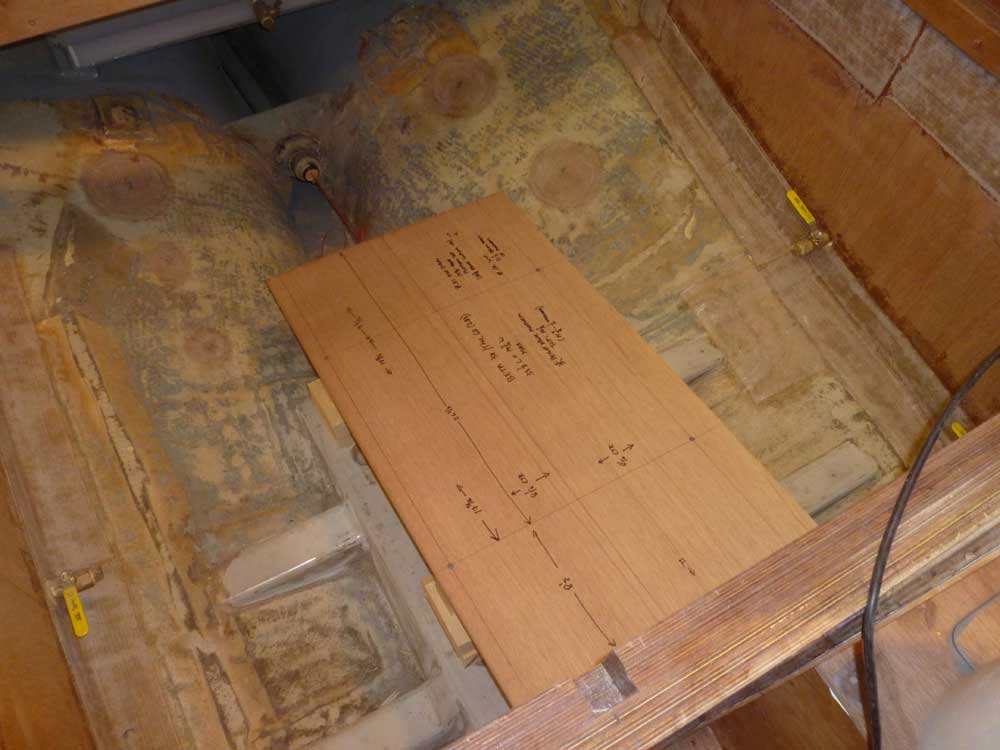
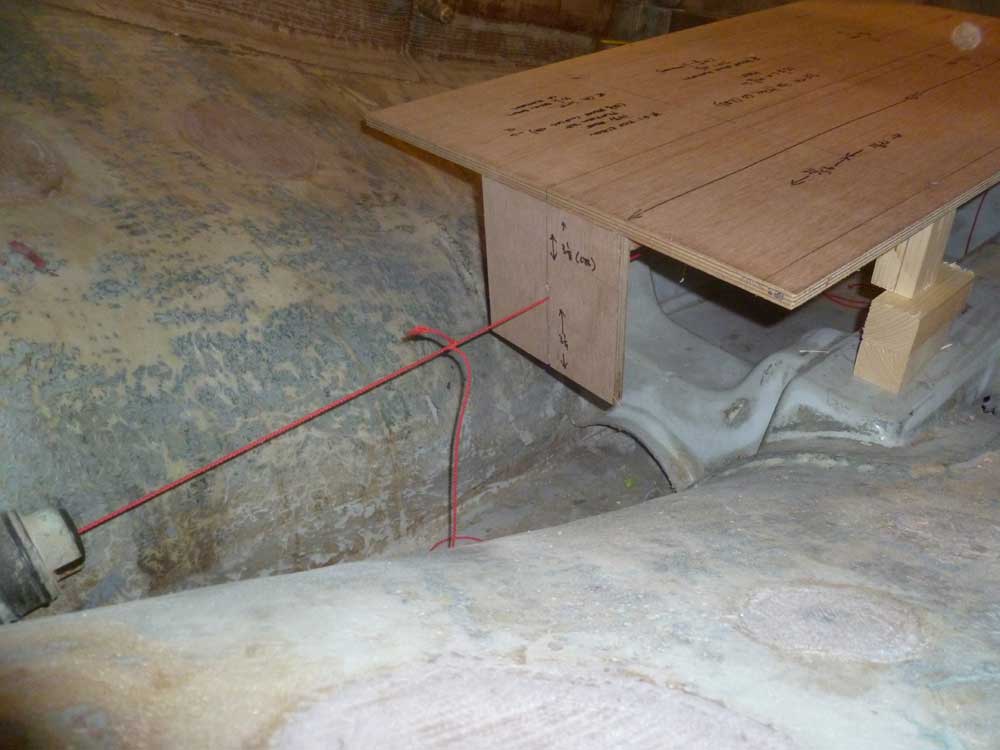
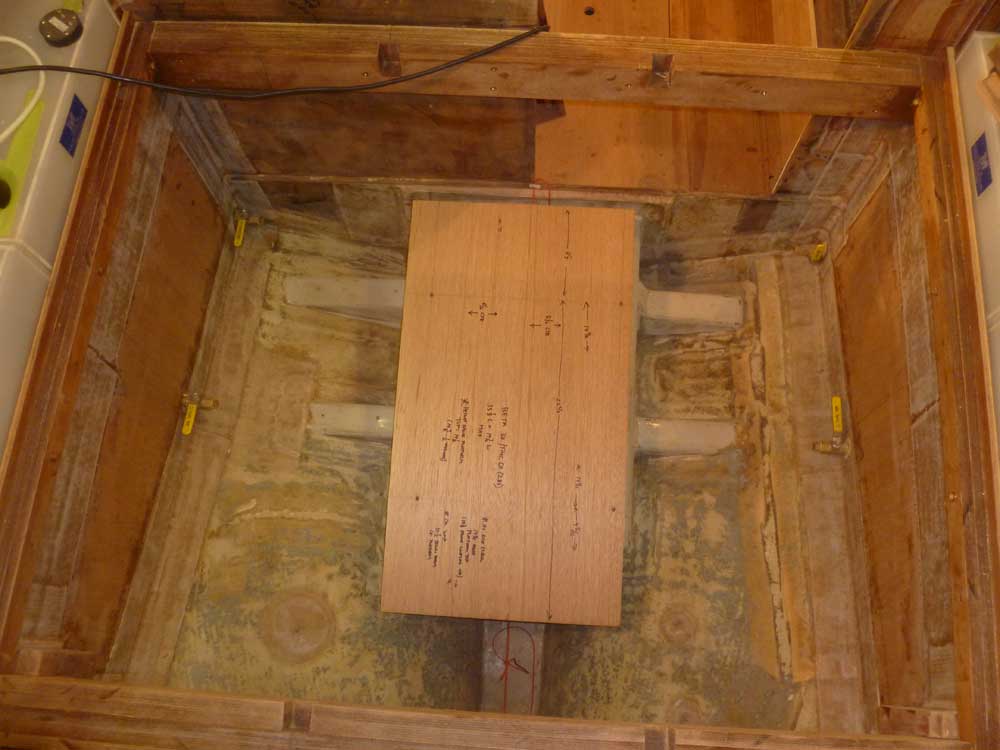
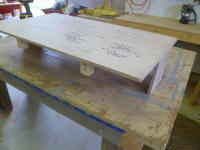
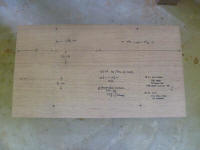
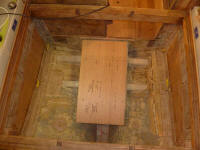
With this decision made, and the new engine on its way,
I constructed a new template to aid in the engine
installation. I already knew the engine would fit
in the engine room and on the engine foundations (with
modification to their height, as determined earlier), so
at this stage of the game building the template was more
of an academic exercise, though I'd use it later for
critical measurements in modifying the foundations and
engine placement. |
 |
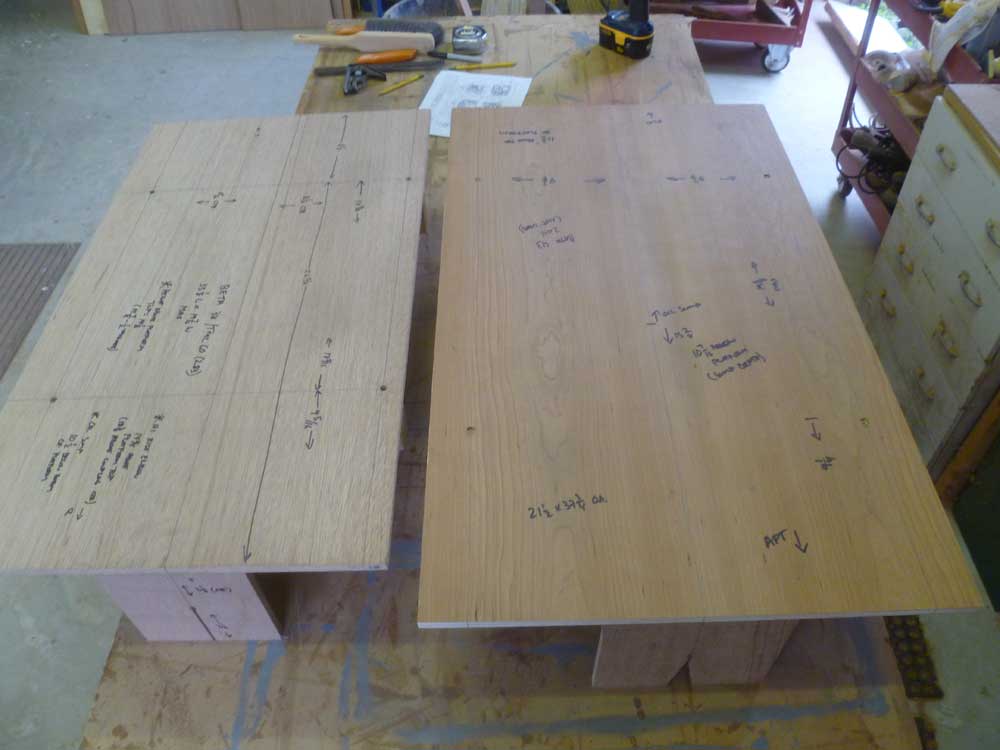
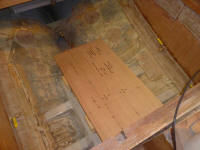
These photos of my two templates--Beta 43 (right) and
Beta 38 (left)--show the clear length and width
differences between the two engines, though the height
and weight reduction of the 38 were the most important
differences for this particular installation. |
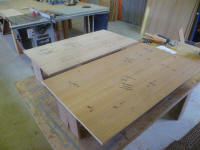
 |
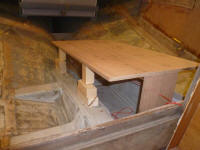
The 14.5" height of the
"engine" above the top of my template fit clearly
beneath the support beams for the pilothouse sole. |
 |
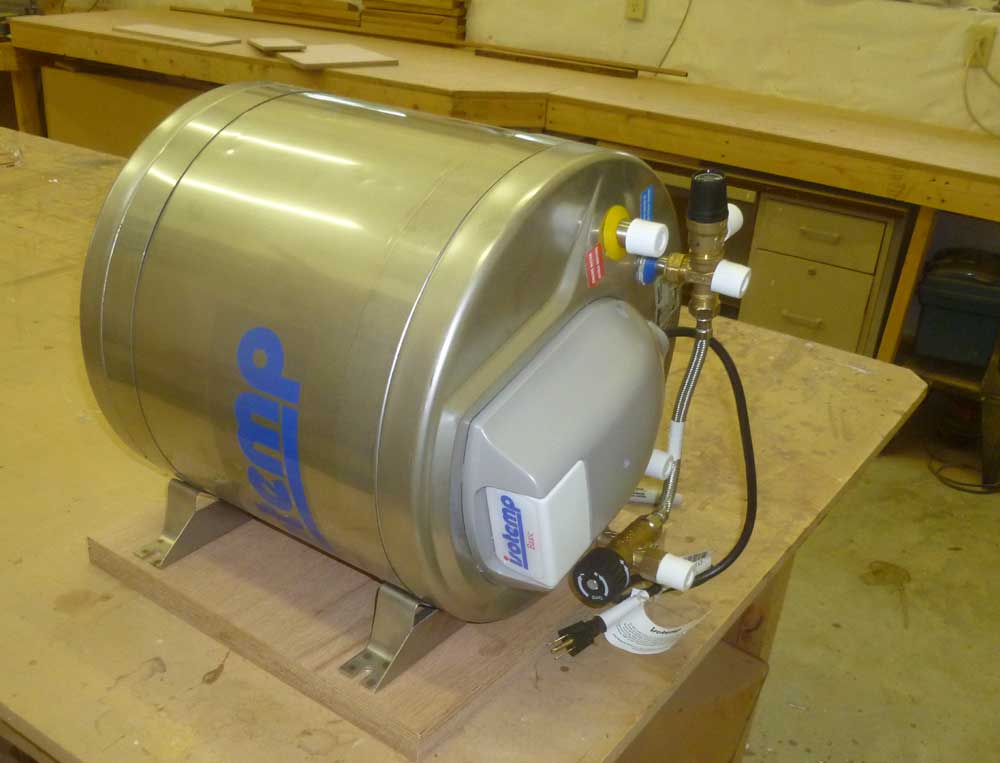
I set the template aside for later use, and, while I was
in the engine room, turned to the water heater, which
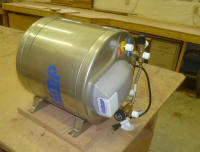
I'd ordered recently and had on hand. I chose an
Isotemp Basic 24,a 6.4 gallon unit fired by internal
coils plus AC electrical power (if available). |
 |
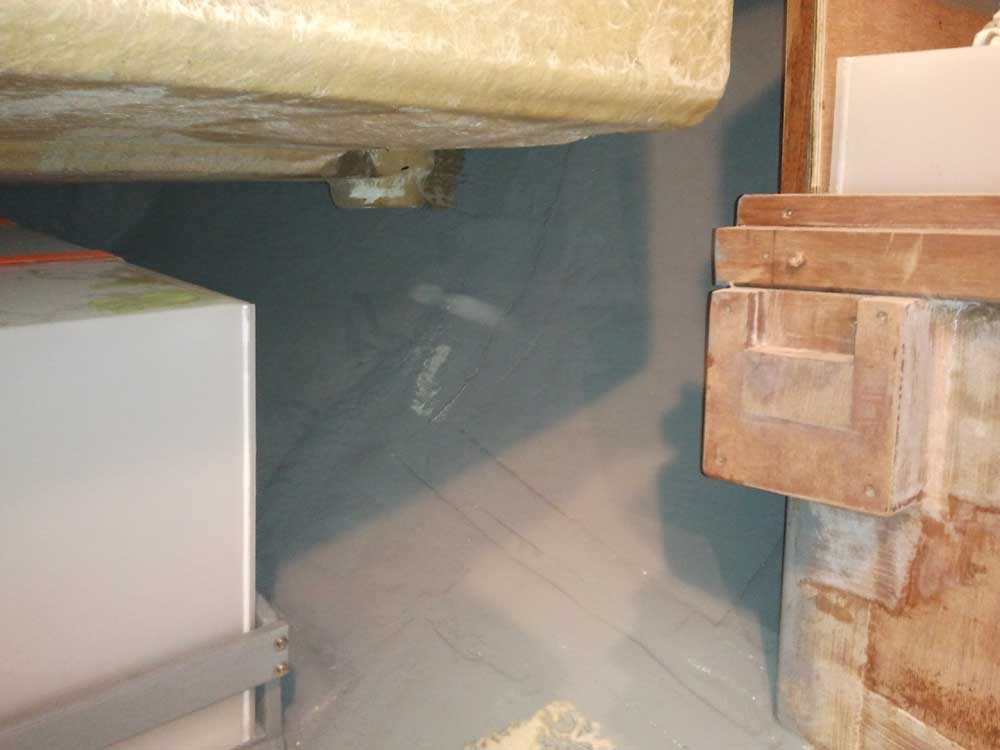
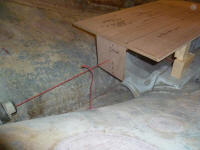
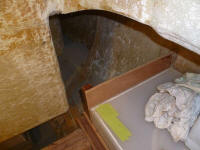
Discovering how realities work in three dimensions,
versus dimensional information and drawings, is
frequently eye-opening. I'd carefully measured the
space available for the water heater (an open area on
the port side of the engine room, aft of the saddle
tanks) on several occasions, and the space itself
offered plenty of room. And there was no clearance
issue maneuvering the tank into the space. Where
things went south, however, was the realization that if
I built a horizontal platform to support the tank, the
platform itself would impede maneuvering the tank into
or out of position. Not only did I need to get the tank
in in the first place, but I also wanted to ensure I
could remove it someday if needed. |
 |
This caused me several moments of consternation as I ran
through my options. One thing I'd been considering
since the tank arrived, however, was mounting the tank
vertically on the aft bulkhead of the tankage space;
vertical mounting was possible with this tank and its
rotating brackets. Indeed, the tank fit in this
space fairly well, and this offered the additional
advantages of being easier to install and remove, and
also obviated the requirement for an additional
structural platform.
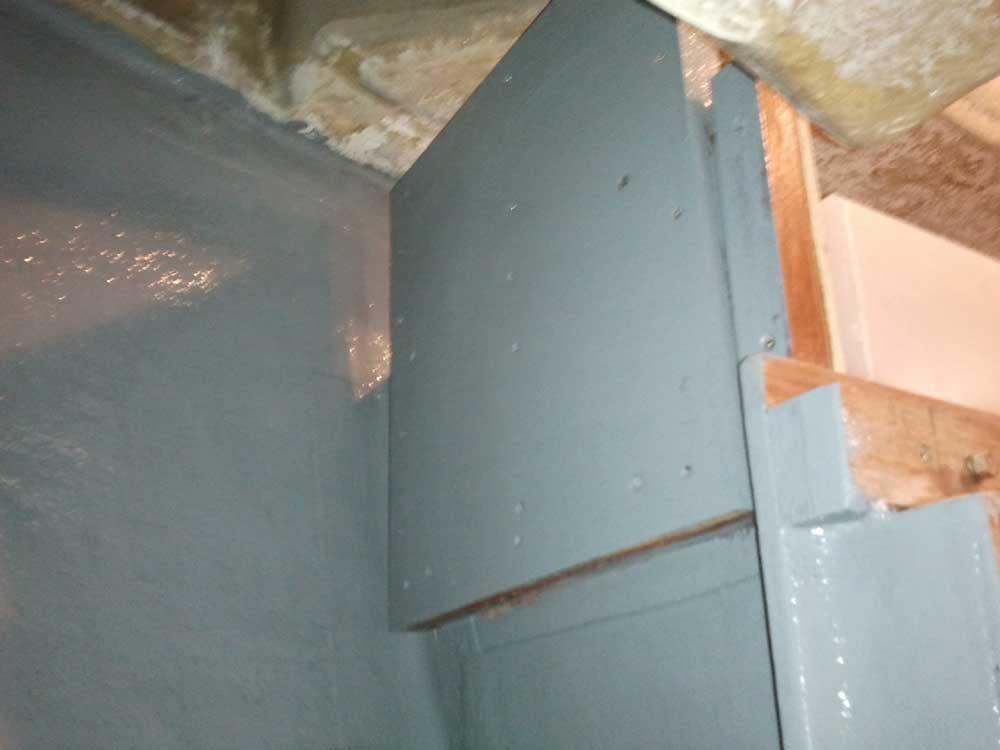
The disadvantage was that this option mounted the tank a
little higher than I might have liked. I was
trying to keep the tank as low as possible, which would
ensure the most options for mounting the engine's remote
coolant tank (which was required to be the highest point
in the coolant system). This was assuming, of
course, that I'd use the engine to heat the water tank
in addition to my (still in planning stages) separate
diesel-fired hydronic heater.
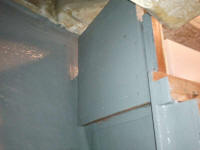
Eventually, and seeing no particular option that I
liked, I elected to move forward with the water heater's
installation on the vertical bulkhead. To optimize
access to the various connection points on what would
become the bottom of the tank once it was in its final
position, I rotated the brackets something over 90° from
their original, factory position (as seen in the photo
of the heater above).
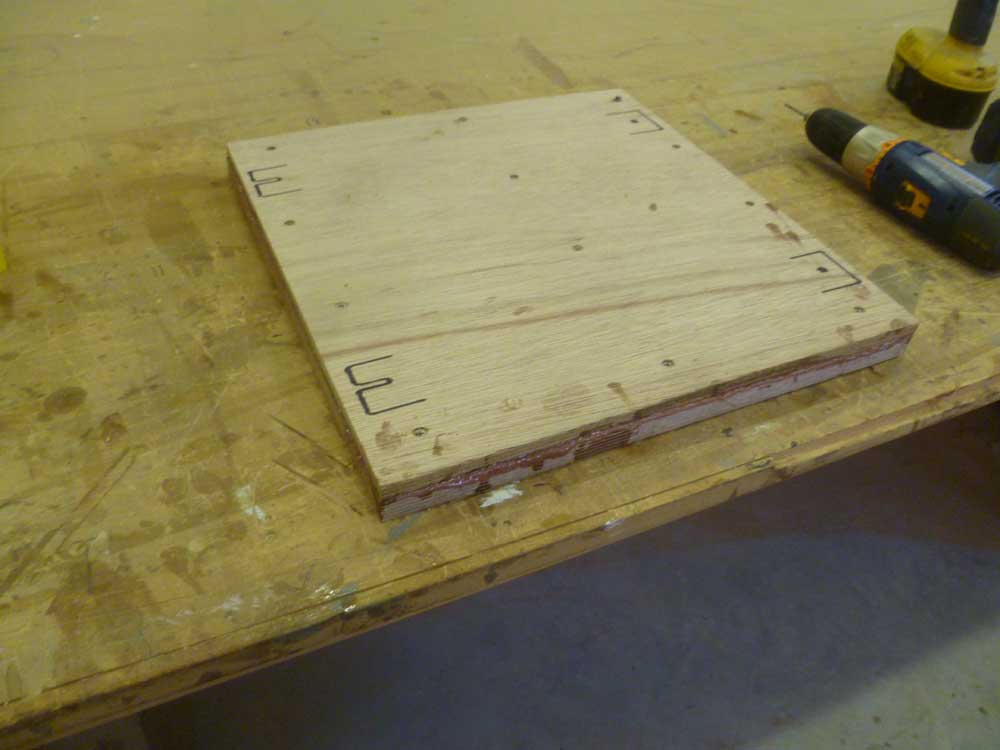
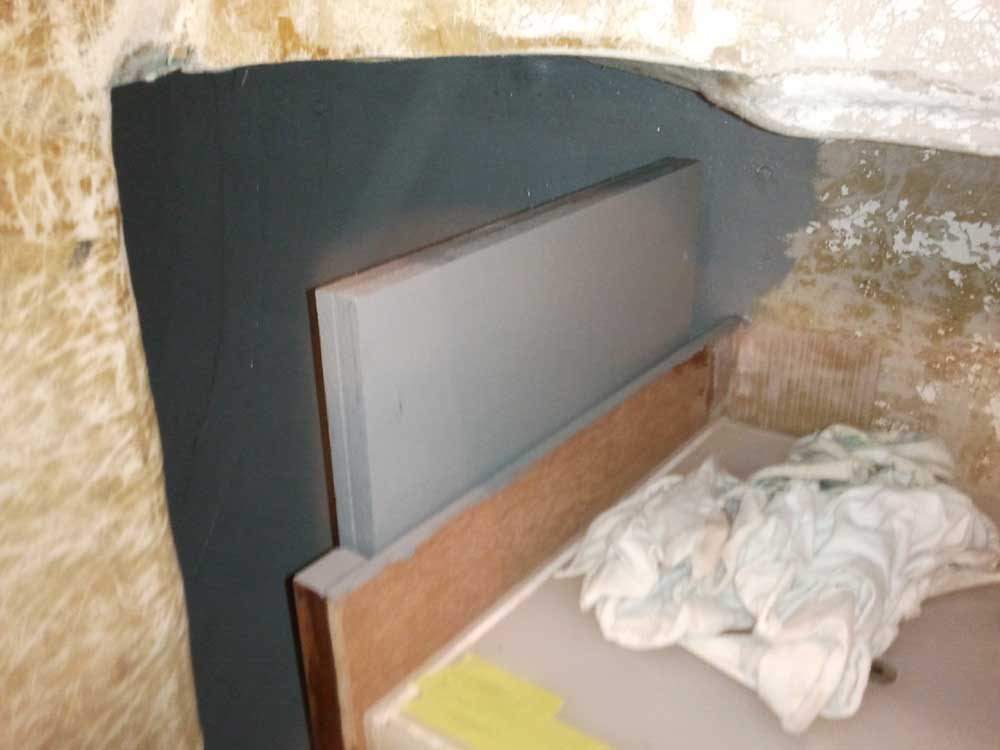
The bulkhead was only 1/2" (12mm), and there was a cleat
on the inboard edge that was in the way of the tank, so
to add strength, thickness for fasteners, and provide
the support the water heater needed I built a laminated
plywood block from a layer of 18mm and 12mm plywood
glued and screwed together with epoxy. I marked the
water heater's base locations on the surface, and
drilled small pilot holes for later reference. |

 |
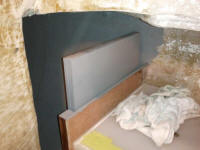
I installed the new support on the existing bulkhead
with more epoxy and screws, then painted out this final
area so I could continue with the water heater
installation in the immediate future; I saw no reason
not to secure it in place now and get it out of the way
on the shop floor. I planned no permanent
installations that would impede access to or removal of
the tank for servicing later. All in all, the
final position seemed an acceptable compromise given the
intricacies of the situation. |

 |
| |
Total Time Today: 4.25 hours
|
<
Previous | Next > |
|
|