Project Log: Sunday, April 1, 2012
Earlier in the week, my new propeller shaft and coupling
arrived, and as time allowed during the week I made a
few advance preparations for their installation.
The shaft was 1-1/4" diameter and 60" long.
My new engine came with a sacrificial plastic coupling,
but I'd never liked the design of that particular brand
of coupling, so I purchased a Globe Drivesaver in the
appropriate size. I like to use sacrificial
couplings not only for the modicum of protection the add
to the drivetrain, but also because they allow complete
galvanic isolation (my own preference versus galvanic
bonding) and also, frankly, make shaft and coupling
installation (and future removal) much easier. |
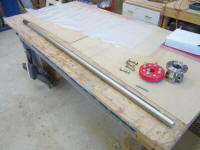 |
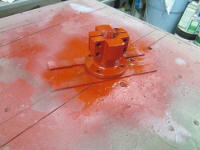
The steel coupling looked pretty and shiny now, but that
wouldn't last, so I sprayed on primer and red paint to
help protect the coupling against rust. |
 |
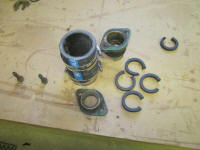
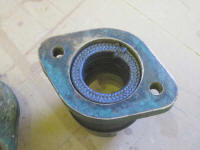
The original two-piece bronze stuffing box was in good
condition, and I'd always intended to reuse it.
Half of the stuffing box was already--and essentially
permanently--connected to the inside of the shaft log at
a small transverse bulkhead in the bilge, and the second
half, containing the packing itself, fitted into
corresponding ears on the permanently mounted side.
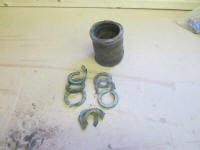
The old packing and stuffing box hose were of course
worn and ready for the junk heap, so I removed all the
old packing--seven rings, suggesting that over the years
more and more packing had been added as the original
compressed, but without ever removing the old--and
cleaned up the inside of the housing to accept new
packing. |
 |
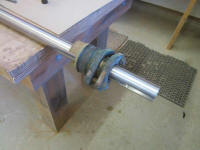
I chose graphite-impregnated Ultra-X packing, previous
experience with which had proven it to be effective and
nearly drip-free. There was room for four rings of
5/16" packing. After installing the packing, I
slipped the stuffing box over the shaft to "set" the
packing in place and compress it slightly around the
shaft.
|
 |
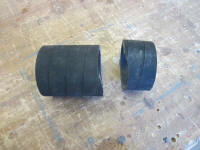
The design of the stuffing box, with its interlocking
ears, required a specific length of stuffing box hose;
the stock section I purchased was about an inch too long,
so after marking the correct length on the hose I
prepared to cut away the excess. I considered
striking some tape around the hose to ensure that I cut
correctly, but foolishly decided I could easily keep my
new, sharp hose knife straight as I cut around the hose.
Wrong. Not only did I make a bad, angled cut, but
worse, I ended up with a little flap of hose where the
two misaligned cuts passed. Sometimes I hated
myself. I knew better, and had ignored my
instincts. This rendered the hose useless, as far
as I was concerned, and while it wasn't wasting the hose
that bothered me, it was the fact that now I'd not be
able to completely and permanently install the shafting
and coupling on this day, as I'd need to order a new
hose. It was dumb, I was quite unhappy, and I
don't want to talk about it any more. |
 |
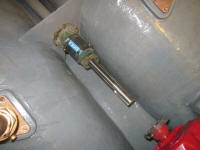
In the event, I could at least use the ruined hose
temporarily so that I could install the shaft and align
the engine properly to it, which was the main part of
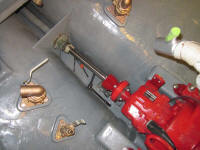
the job anyway. So I temporarily installed the
stuffing box and slipped the shaft in, and temporarily
installed the steel coupling so I could check--and
adjust, if needed--the engine alignment. |
 |
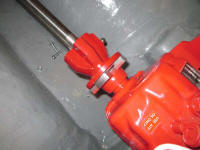
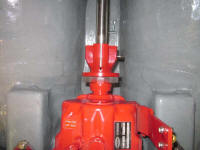
The alignment was nearly spot-on from the beginning, but
I thought I could tweak it just a bit. Somewhere
along the line, I made one adjustment or another, and
suddenly things were way off; it took the remainder of
the morning for me to get back to where it needed to be.
I should have left it the way it was initially; it was
that good.
This had not proved to be one of my more efficient work
days so far, but at least this job was basically done.
Once I got the new hose, I could button things up pretty
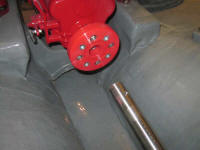
easily. With the alignment complete, I installed
the Drivesaver on the transmission coupling.
Afterwards, I disassembled the coupling and stuffing box
so I'd be ready for the new hose later. |
 |
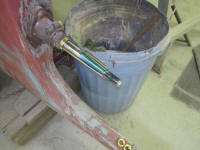
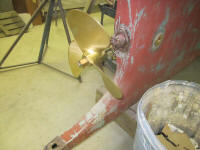
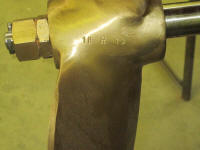
To clear another unnecessary box from my pile, and
expunge one more item from the to-do list, I went ahead
and installed the propeller, a thankfully
straightforward task. I applied a little
waterproof grease to the shaft taper and threads, then
installed the propeller as needed. |
 |
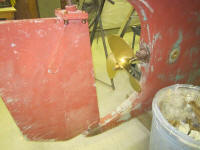
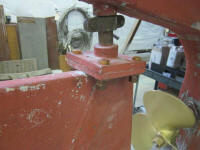
Afterwards, I permanently installed the rudder, securing
the two flanges together with new bronze bolts and nuts
and reinstalling the collar over the rudder post that
prohibited upwards movement. |
 |
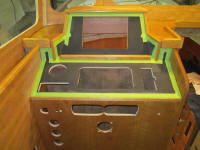
Working again in the engine room had reinforced the need
for some protective varnish on the new pilothouse
woodwork. All day, I'd been careful to avoid
touching the bare cherry, so clearly my next task had to
be beginning the varnish here. More than that, I
wanted to bring most of this area to its final coats of
varnish, as until then I couldn't move forward with many
of the boat's systems installations.
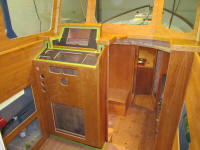
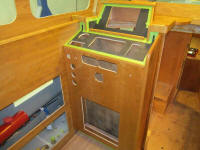
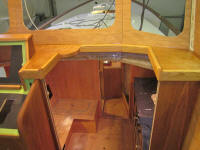
I masked off various areas of the console as needed,
cleaned up the wood, and applied a sealer coat of
varnish to all the bare wood in the console and dash
areas. The various bulkheads and panels had been
sealed earlier. I hoped to continue throughout the
week ahead and apply more varnish to all areas of the
pilothouse; while there was still plenty of trim to
conceive, mill, and install, those pieces, many of which
would be intentionally removable to serve as wiring
chases, would come later, and I'd finish all of them
separately off the boat. |
|
Total Time Today: 7 hours
|
<
Previous |
Next > |
|
|


