Project Log: Saturday, December 1, 2012
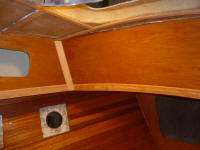
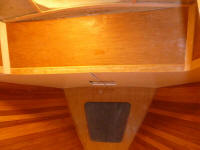
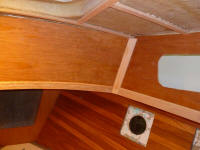
After some initial layout for the curved section of trim
in the forward cabin, I prepared templates from 1/4"
plywood to determine the overall shape and end angles of
the trim piece. I found that a straight edge on
one side of the template would indeed follow the curve
of the cabin trunk, but the lower edge featured a bit of
shape to accommodate the deck camber.
After several test-fits and related cutting to fine-tune
the two-piece template, I transferred the final shape to
a section of 1/4" thick cherry, and cut out the profile.
I left it slightly overlong for final fitting. I
found that bending the solid wood into the curve was
more difficult than the template process had suggested,
making the final test-fitting a bit of a challenge.
The curve was deceptive in its strength, so it was clear
I'd need to use epoxy to secure the trim. Knowing
the difficulty I'd had in bracing the cherry plywood
veneer that I'd installed on this section of the cabin
trunk, I decided instead to use screws to temporarily
clamp the trim in place; I'd remove the screws and bung
the holes once the adhesive was cured. The screws
went through the plywood veneer and into the fiberglass
for a secure grip. |
 |
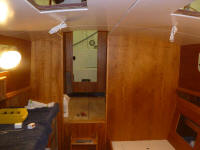
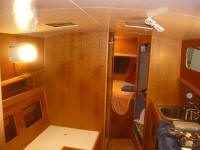
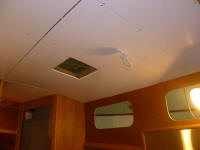
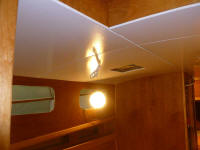
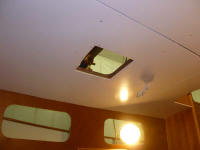
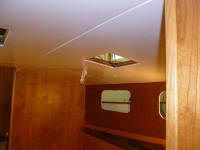
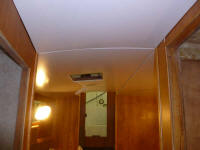
Next, I installed the sections of overhead in the main
cabin. There was no reason to wait for their
installation, and the panels risked damage being stored
down in the shop. First, I added a length of wire
to run between the two planned overhead fixtures in the
main cabin, leading from the port side over to the
companion fixture to starboard. I also
reconfigured and rebundled a couple sections of the wire
that had proven to be slightly in the way of the
overhead.
It was a relief to get all the overhead panels
installed, seemingly without ruining the paint finish or
trashing the adjacent varnish. |
 |
There were still panels to template and build in the
forward cabin--in the upper portion of the cabin
trunk--and in the pilothouse, and of course the various
seams and screw locations required their finishing trim
to hide them, all of which I'd continue working on in
the near future.
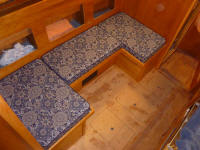
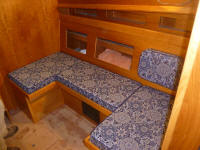
Meanwhile, my
upholstery contractor stopped by with some of the
completed interior cushions for the dinette, including
one of the backrest/locker door assemblies for a
test-fit before he completed the remaining two.
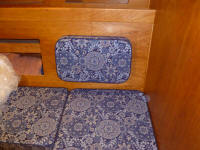
The cushions looked fantastic, and Jason did a great job
with the challenging fabric design. |
 |
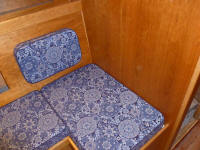
Along with the delivery and test-fit, we had to address
how to deal with the backrests against the ends of the
dinette, at the fore and aft bulkheads. I'd
designed the dinette with these backrests in mind,
incorporating room for a 10° angled back for increased
comfort. What I'd not considered, necessarily, was
how these cushions would interact with the backrests on
the locker doors.
|
 |
With Jason's input, and after tossing around a few
thoughts, we eventually decided that these backrests
should be similar to the lockers, and act as a sort of
continuation of that theme and appearance.
Shortly put, this meant that the end backrests would be
at the same height above the seat cushions, leaving the
slight reveal of the wood beneath, and also at the same
top level. This meant that the new backrests would
hang from the bulkhead. We discussed a couple
possibilities for the mechanical connection. The
backrest itself would still feature the 10° angle, sized
as if it had begun at the base cushion.
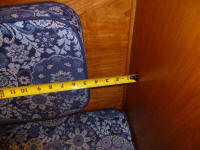
At the corner, we decided to maintain the same reveal
between the corner trim and the cushion as that on the
existing backrest. This happened to be 4-1/2". |
 |
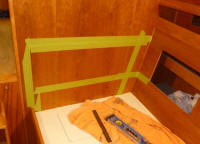
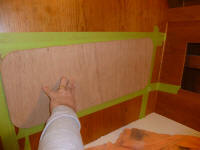
With a plan in place, after Jason departed I built two
plywood panels that he'd use later to build the
backrests, in much the same way as those over the locker
openings. I laid out some basic measurements on
the after bulkhead, striking level lines with the
adjacent locker opening to determine the final size of
the plywood substrate, and marking of the 4-1/2" reveal
at the corner.
Note that the masking tape is not the layout; it's just
there so I could draw pencil lines on the finished
bulkhead. The masking tape is neither aligned nor
straight, but the layout marks can be faintly seen. |
 |
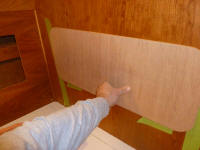
From 12mm plywood, I constructed a pair of panels to the
correct size. I found that the length of the
forward bulkhead was 1/4" different from the aft, and
sized the blanks accordingly. I incorporated the
same 2-1/4" radius on the corners as on the other
backrests (this essentially matched the radius of the
aluminum ports in the boat, which is why I chose it). |
 |
I'd get these off to Jason soon, and the remaining
interior upholstery should be done in due course. |
| |
Total Time Today: 5.5 hours
|
<
Previous |
Next > |
|
|


