Project Log: Friday, January 6, 2012
I'd achieved what I need to for the moment with the helm
and electronics console mockups, so I removed them from
the boat and removed most of the temporarily-installed
components for safekeeping. I maintained the
wooden mockups for later use.
One purpose I'd had in creating the helm mockup was to
determine whether the pilothouse fan heater--part of the
hydronic heating system--would be better situated in the
console, or whether it was even possible. My
exercise had proven that there was room for the fan in
the console, but no particular benefit to installing it
there; indeed, it would have made things more
complicated within the console once the actual
installations began, and with no particular requirement
to install it there, I decided to stick with my original
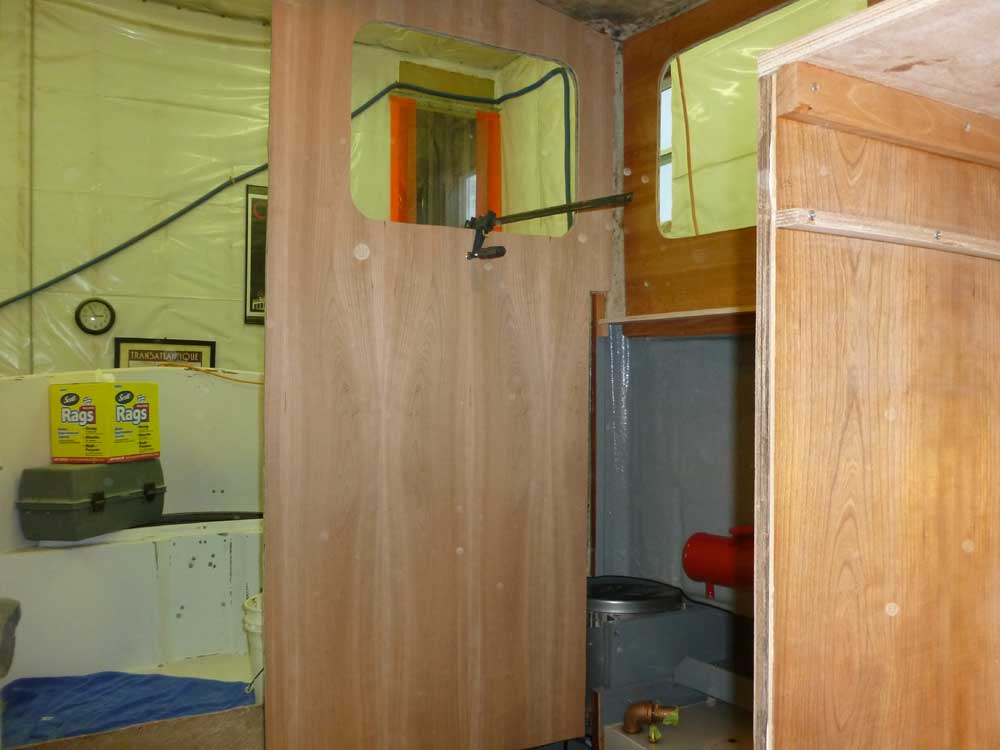
location on the aft end of the port bulkhead. I
went ahead and cut out the opening that I'd laid out
earlier.
For now, I decided not to build any small storage
cubbyholes in the bulkheads. I could easily do it
later, as any storage units I'd build would be things
I'd insert from the outside anyway (and therefore didn't
need to be built before final installation of the
bulkheads), and for now, I didn't want to commit myself
to something that I later regretted.
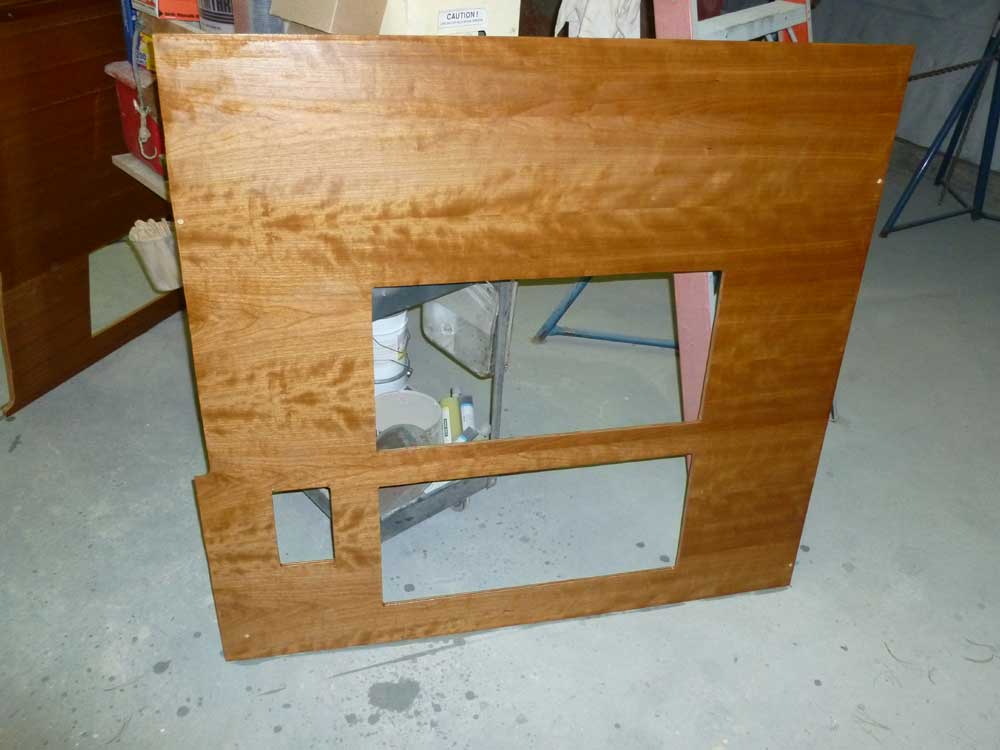
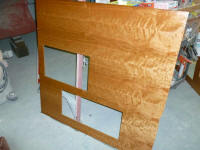
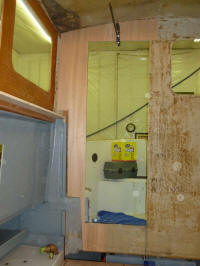
Afterwards, I lightly sanded the two bulkheads to clean
the surfaces and remove any final pencil marks, then
applied a sealer coat of varnish to both sides of the
bulkheads, the final step leading up to their permanent
installation. The new opening for the fan heater
can be seen in the right-hand photo. |
 |
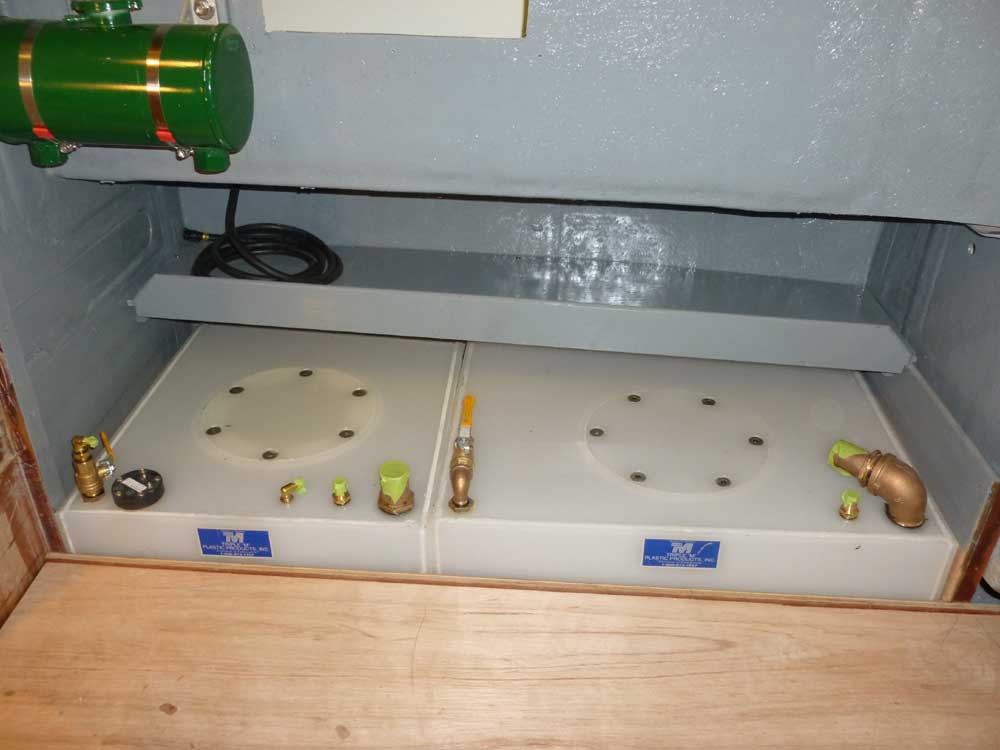
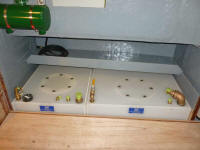
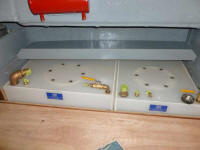
I installed the newly-painted utility shelving in the
tankage spaces outboard of the engine room, securing
each shelf with several screws driven into the support
cleats. This would allow the shelves to be
unfastened and moved if better access to the space
beneath was required in the future. |
 |
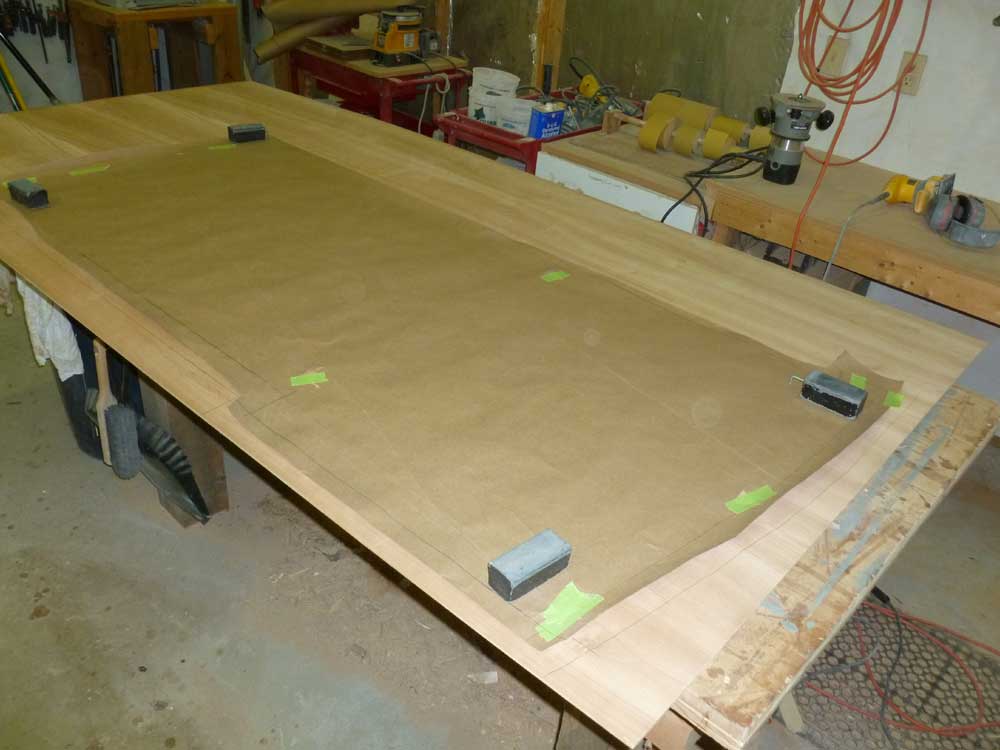
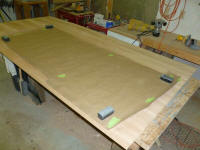
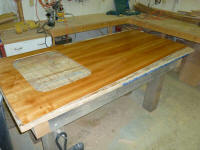
Working from basic paper patterns that I made a couple
weeks earlier, I prepared the 1/4" cherry plywood
paneling for the aft bulkhead in the pilothouse, the
final surfaces on board to be so covered.
Beginning with the larger port panel, I cut to the
required outline, leaving excess material in the
pilothouse doorway opening for later marking and
trimming. With the sheet clamped in place, I
marked the window opening and doorway on the back side,
then refit the panel for a final test. |
 |
To maintain the best access to the space beneath the
cockpit in the future, I intentionally left the aft
bulkhead covering short. Since the pilothouse sole
was several inches below the cockpit sole, extending the
aft bulkhead all the way down would have impeded access
to the aft fuel tank and other areas, as it did in the
original construction that I'd removed. I'd
planned the whole engine room and pilothouse
construction to maintain the best access possible,
including the large removable support beam at the aft
end of the sole. I'd eventually cover the gap at
the aft end with a removable piece of trim. |
 |
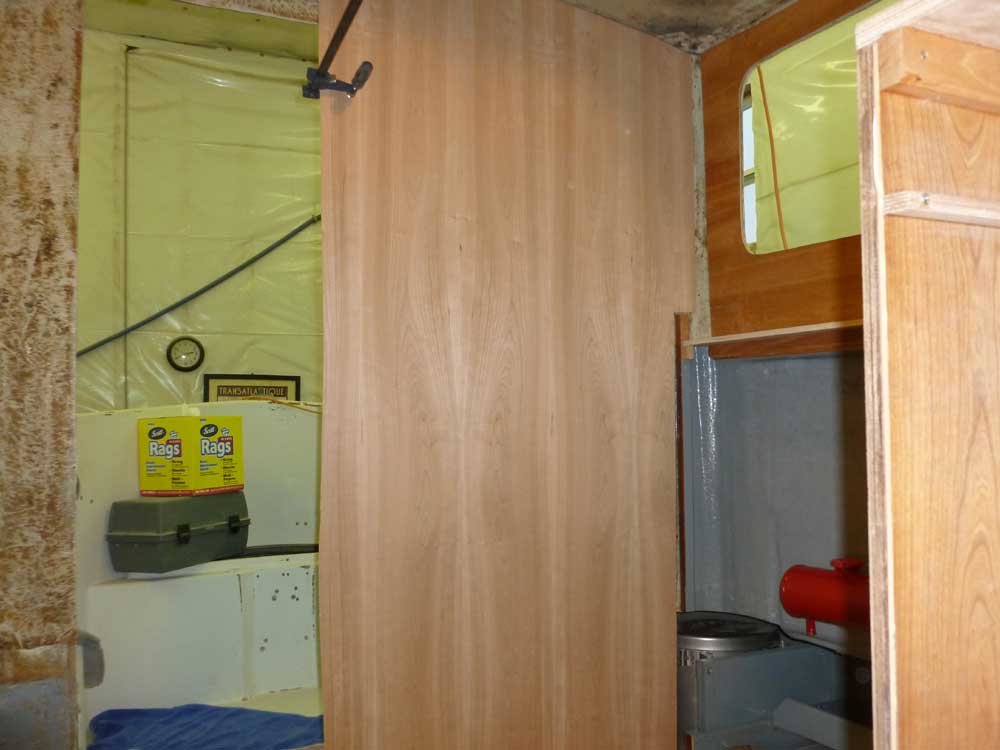
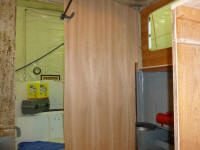
The pilothouse was too wide for a single sheet of
plywood to cover, so there'd have to be a seam where the
two pieces met. I chose to locate the seam inline
with one side of the door opening, where I could later
cover it with trim. With this in mind, I cut and
fit the smaller starboard panel section to fit, leaving
it clear of the lumpy-bumpy mess at the bottom of the
bulkhead where the forward end of the cockpit propane
locker was glassed in place. I couldn't eliminate
this area, and couldn't cover it with a simple panel, so
I'd figure out some trim to cover this area later,
probably incorporating a hose run within.
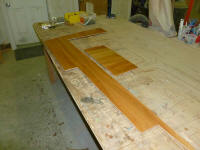
The sheet of plywood I used for this section--an offcut
leftover from something else, and the last piece large
enough that I had in stock--wasn't wide enough at the
bottom to span the entire door opening, so I cut a small
piece to cover that area, with its seams located at the
edges of the door opening to later be covered by trim.
I removed the small section seen at the bottom of this
test fit in favor of the new piece. |
 |
After lightly sanding the new panels, I coated the back
sides (bonding surfaces) with epoxy resin, then, resting
the backs on plastic spacers, turned the pieces upright
and applied a sealer coat of varnish to the exposed
surfaces. |
|
Total Time Today: 5.5 hours
|
<
Previous | Next > |
|
|