Project Log: Sunday, January 15, 2012
Now that the newly laminated engine bed extensions had
cured overnight, I water-washed as usual, then sanded
the surfaces as needed to remove any ridges left over
from yesterday's work, and also ensured that the top
edges and aft corners were smoothly contoured.
After cleaning up, I was ready to proceed. |
 |
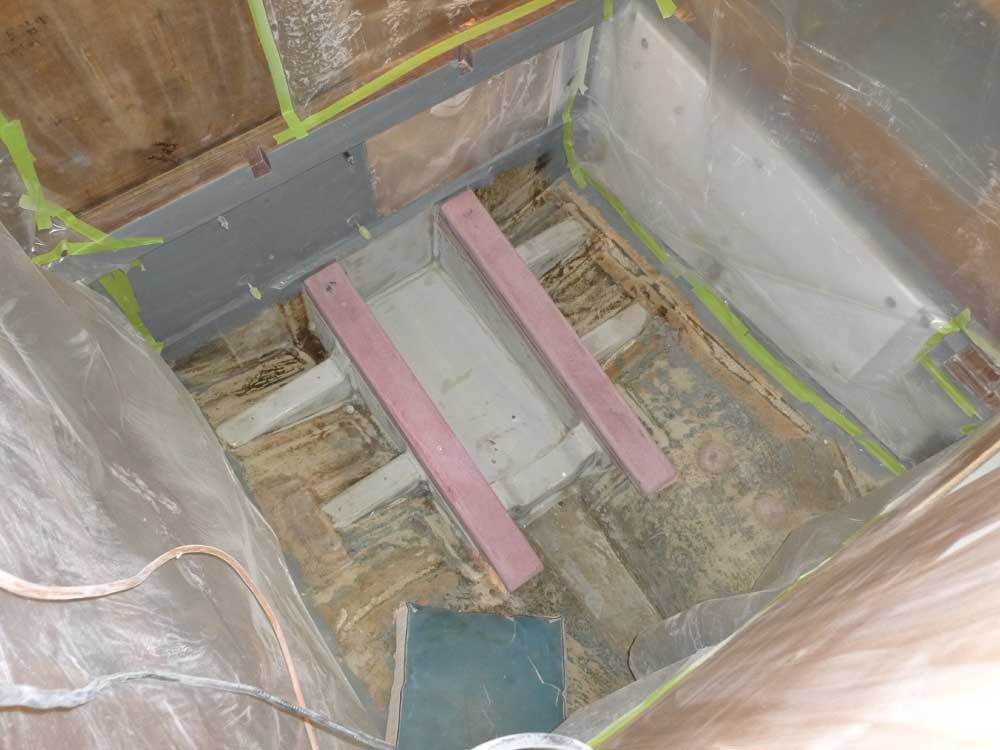
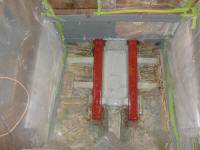
I prepared two layers of heavy biaxial material to
encapsulate each side and tie in the new material with
the existing foundations, trimming the fiberglass as
needed to fit properly over the new foundations. I
extended the material all the way to the base of the
drip pan in the center, and nearly to the hull on the
outboard sides, leaving room to keep the existing
limbers clear. The pieces were identical
(except reversed) for each side, so once I'd made one
pattern I could use it to cut the other three pieces as
needed.
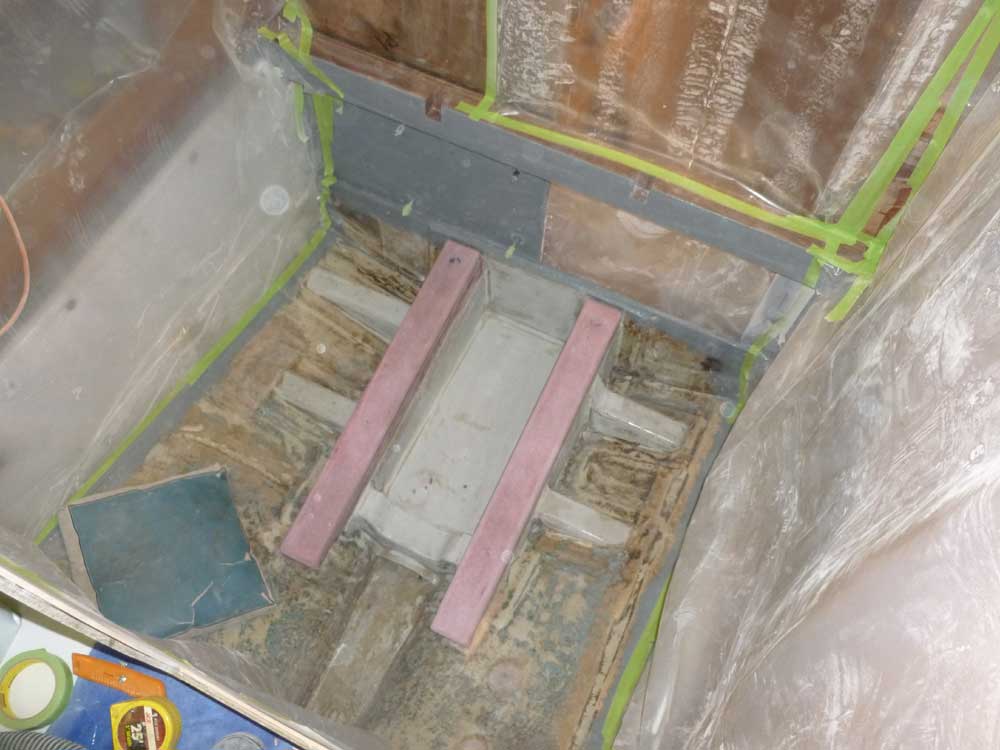
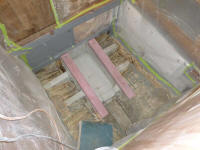
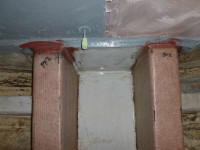
Before continuing with the tabbing, I took care of a
couple small details. At the forward end of the
foundations there existed a small gap next to the
forward bulkhead. Thinking that this gap would be
a constant debris catcher if left alone, I mixed up some
filler and applied it to the gap, forming a smooth
transition between the engine beds and the bulkhead.
This was for purely cosmetic reasons. |
 |
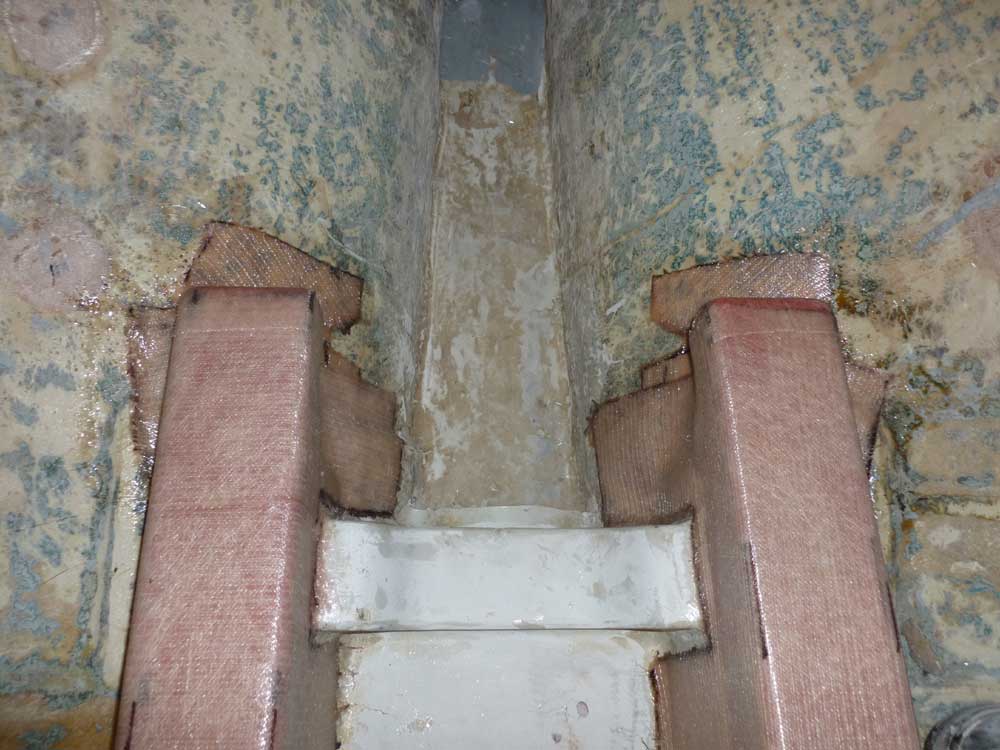
At the aft end, I started with a small piece of separate
tabbing, which I cut and darted to fit around the aft
end as needed to close off this area. Because the
foundations were solid fiberglass, there was no
particular need to ensure full encapsulation (as with
wood), and this small bit of tabbing was not intended to
provide much in the way of structural support, but for a
clean appearance and to avoid dark corners to catch
debris, I needed to close off the remaining gaps where
the aft end of the foundations died off into the hull.
I'd filled some of this gap with an epoxy fillet during
yesterday's lamination, but the gap was too large on the
inboard side, and filling the entire area solid seemed
wasteful. Instead, I let the tabbing run over the
gap and down to the hull, providing the first layer of
what would end u being a little fiberglass wall.
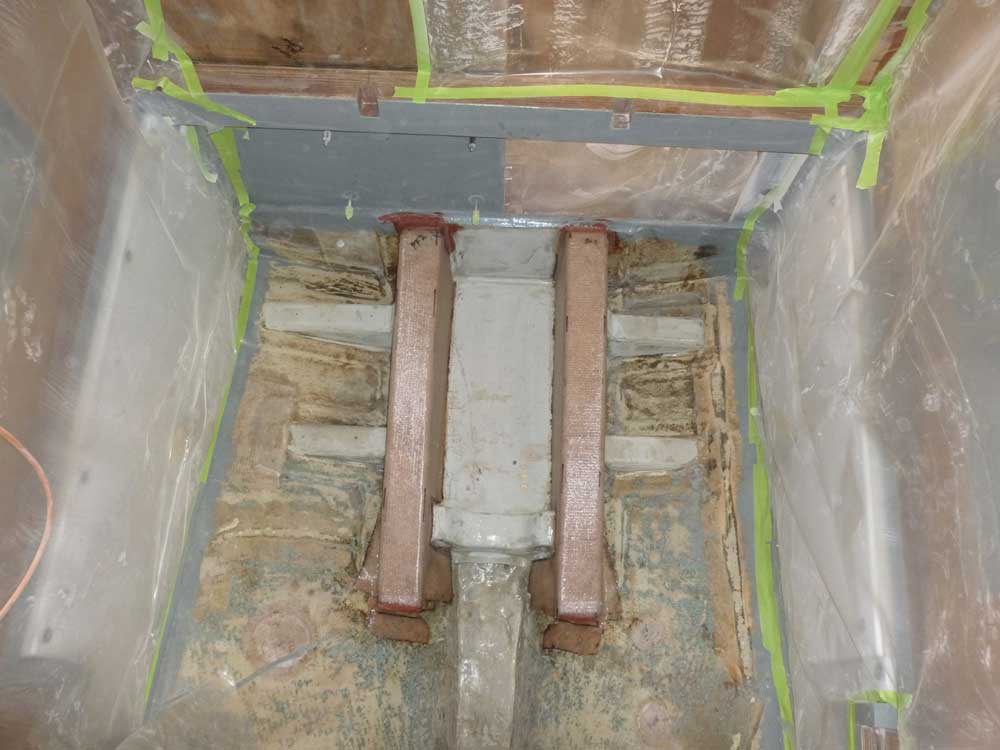
Finally, I precoated the foundations with plain resin.
This, along with the nicely rounded top edges, would
help the fiberglass overlay stick to these contours when
installed. |
 |
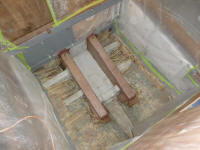
After allowing the resin coat to tack up during lunch, I
returned to the shop and, one side at a time, wet out
the two layers of fabric on a table, then installed them
on the foundations, draping the material over the top of
the extensions and down the sides as need be.
There was no problem keeping the material well stuck to
the rounded top corners. |

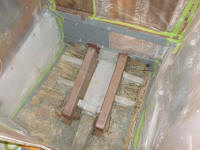 |
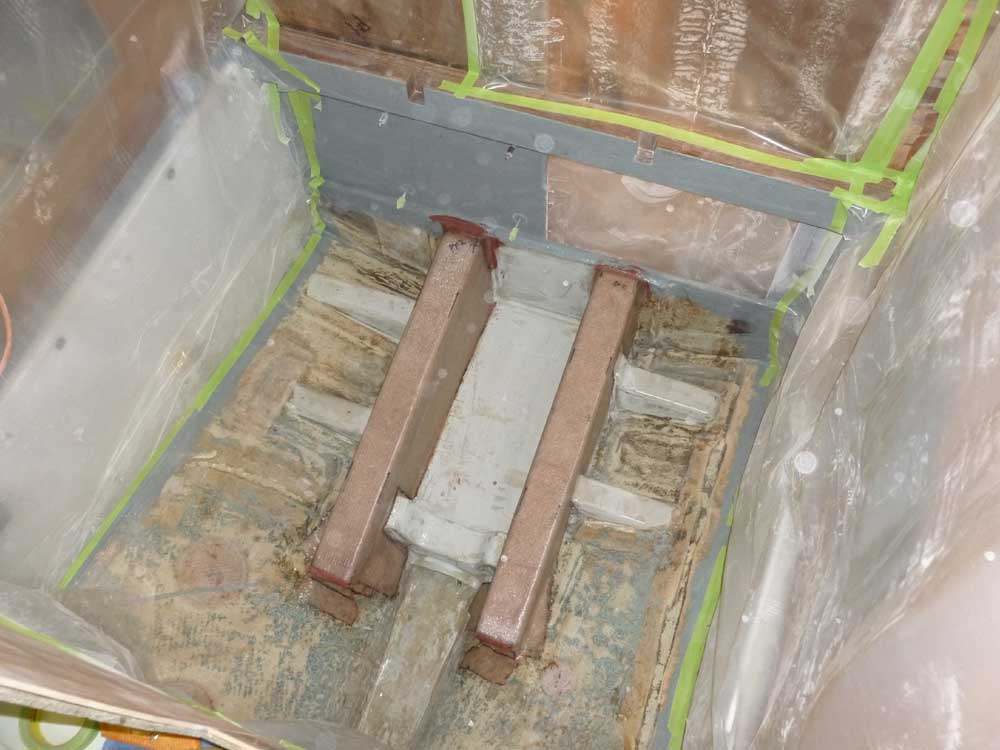
To complete the fiberglass work on the foundations, I
installed small pieces of lightweight cloth over the
very ends, to ease the transition between the new
structural material and the forward bulkhead (with the
fillet I'd created earlier) and the short vertical aft
ends. I installed this light material for purely
cosmetic reasons. |
 |
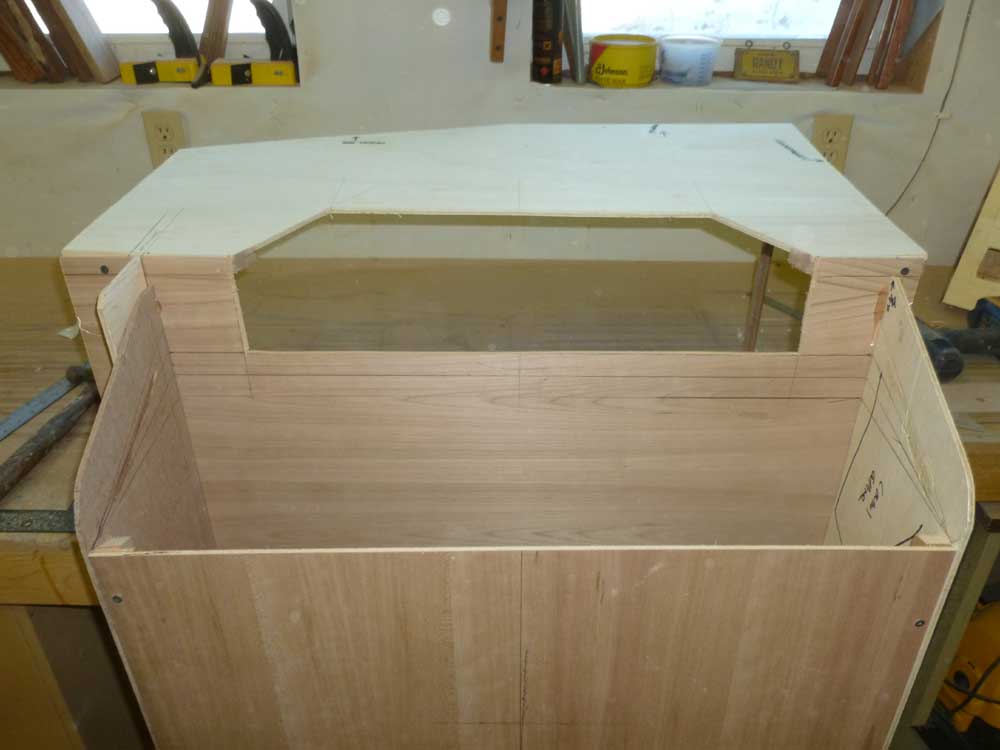
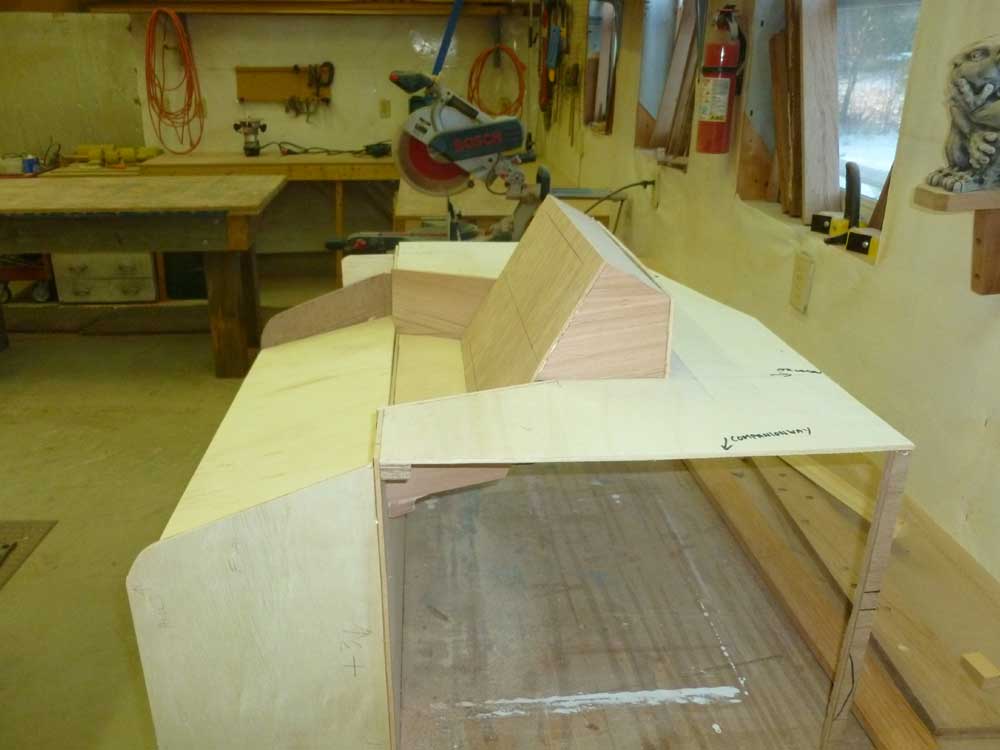
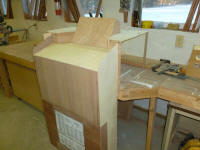
I turned to the helm mockup once more. Picking up
where I left off earlier, I continued various layout,
conception, cutting, and design-on-the-fly to slowly
ease my way towards the vision in my head, all subject
to constant change in the face of harsh reality.
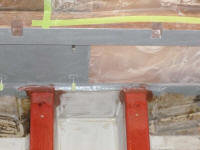
My idea was to partially recess a reduced version of the
electronics pod to minimize its bulk while retaining
practicality. I had to operate within the confines
of the 5" deep space that existed beneath the horizontal
dash on the boat, between the dash and what would
eventually be the saloon overhead (as previously defined
by the plywood support cleat I'd installed on the
bulkhead). |
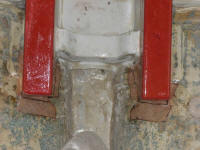
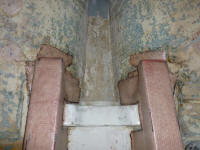
This cleat shows the vertical space
available
beneath the dash
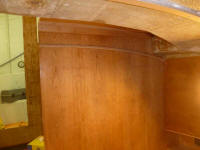 |
An old photo from 6/21/11 showing the
open space beneath the dash
that I had to work with
 |
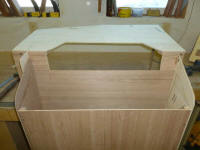
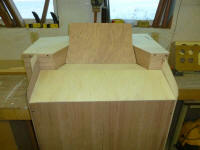
Please bear with the numerous inelegancies of the
mockup. There was still work to do and changes to
make. The build process turned out to be highly
fluid, so the results were necessarily raw. At
this point, I was looking to prove to myself a concept,
rather than an accurate template for later use; once I
got to a point that I could deem successful, I'd likely
build an accurate mockup version based on the
experience.
The focal point of the helm had to be the large
navigation display. This needed to be front and
center, easily viewable, and easy to use without
obstruction. Next in the hierarchy of importance
was, of course, the helm and engine controls themselves.
From here, I felt most of the desired features could be
manipulated and relocated as need be.
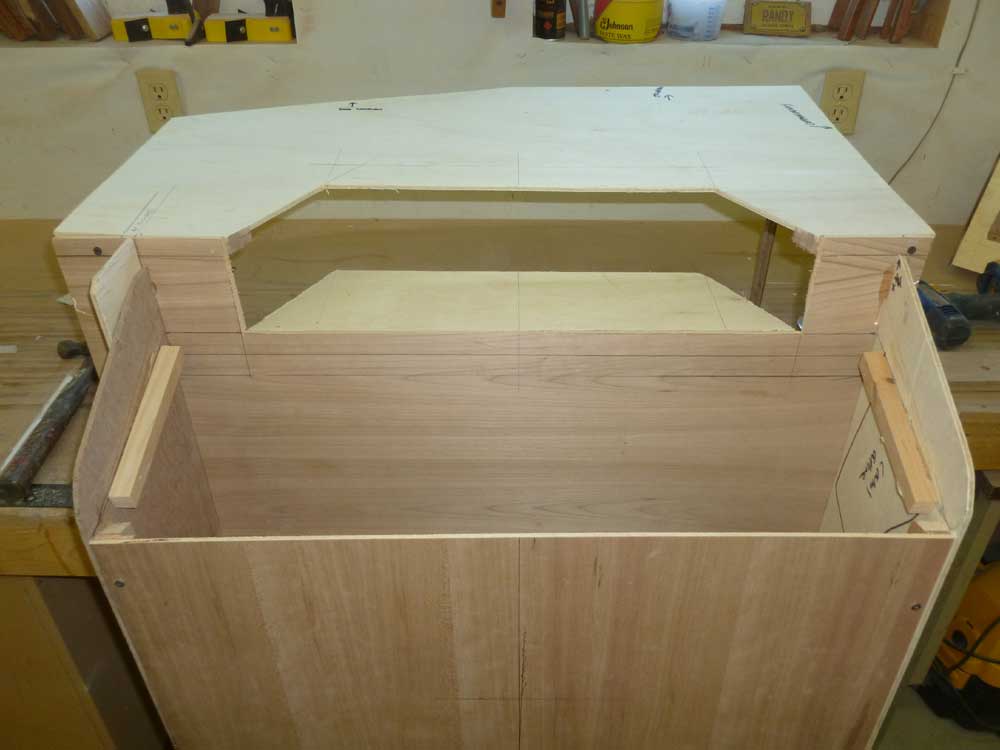
Working towards this vague concept, while staying within
the bounds of reality, I made a cut in the bulkhead and
dashboard, then used the cutoff to create a new "floor"
for the recessed area. |
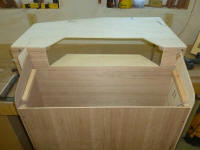 |
I couldn't begin to explain the various thoughts and
measurements and steps that led me forth, but over the
next couple hours my design continued to morph into
something that slowly gained potential. I made
various changes to my early cuts, and eventually managed
to piece together a very rudimentary form of the
concept, though already I was formulating ideas for
improvement and other changes. |
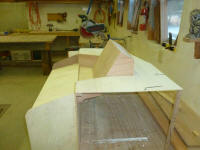 |
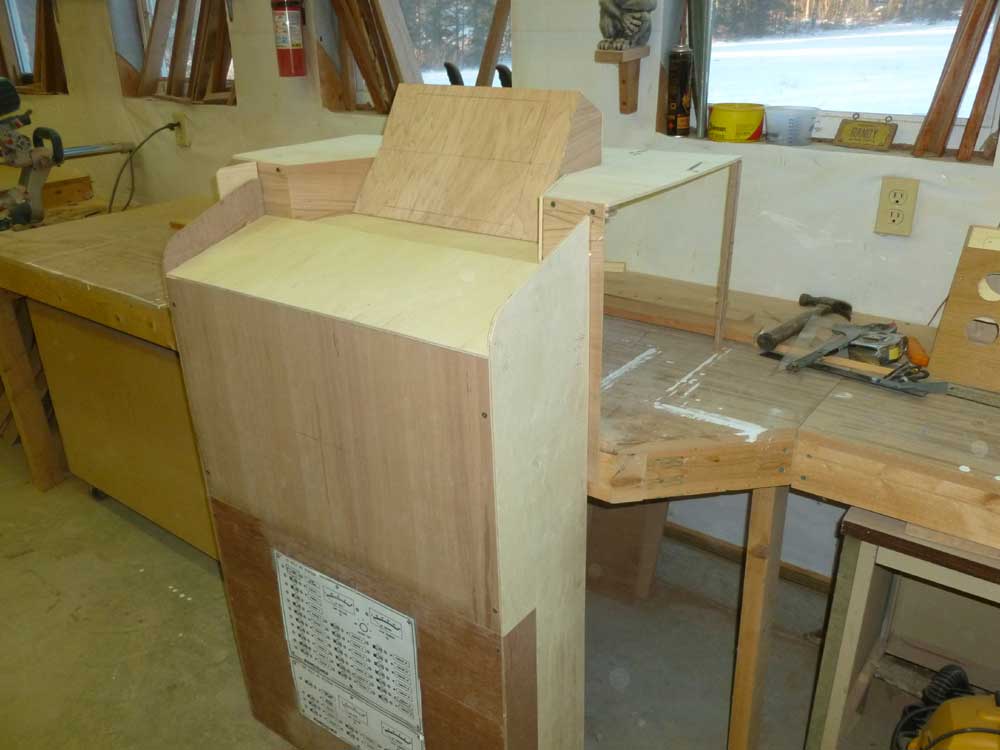
Design in three dimensions requires the ability to
change on the go. For the moment, it looked like
I'd managed to create a fine podium, but though I'd run
out of time for now, I looked forward to fine-tuning the
ideas into something even more workable. There
were a few constants in the layout that I'd have to work
with no matter what, but the exercise had moved me
closer to a final version. Among the manipulations
I had in mind was to more smoothly integrate the raised
portion of the box with the remainder, and to return the
angle of the lower dash--the engine control/instrument
panel--to the 20° I'd used in the original version. |
| |
Total Time Today: 6.25 hours
|
<
Previous |
Next > |
|
|