Project Log: Saturday, January 14, 2012
As determined earlier, I needed to raise the existing
engine foundations by about 3" to accommodate the new
engine. This job would have been minor a year ago,
when the boat was still mostly a shell, but although the
job itself was still relatively minor, preparations for
the work would be a bit more involved.
The problem, or complication, was that I needed to
prepare the existing surfaces for bonding new material.
Long ago, during my bulk surface prep stage, I'd sanded
the gelcoated original engine beds, but only to scuff
them. At that time, I'd had no idea that I'd have
to modify them. Back then, I did some basic
measurements as a reality check, and determined that the
existing beds were the correct width/distance apart, and
also that there'd be headroom for the engine, but it
wasn't till some time later that I actually built a
specific engine template that highlighted the
required modification.
The modification was simple. I planned to laminate
three 1" thick pieces of solid prefabricated fiberglass
on top of the existing foundations, then tab the
additional height into the existing structure.
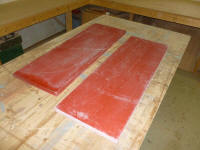
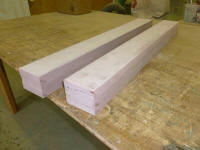
Beginning with two pieces of material, 12" wide by 36"
long, I prepared the raw pieces by sanding the factory
surface off each side, then prepared three blanks for
each side of the engine room, each just under 4" in
width to match the existing width. |
 |
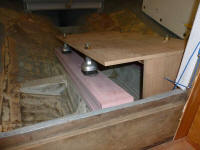
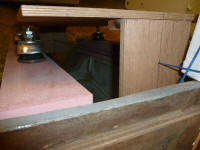
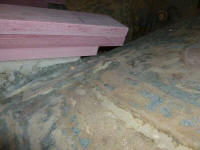
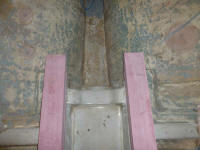
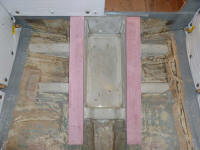
Up in the boat, I performed a reality check by putting
the new pieces in place and testing the engine template
with the alignment string. The three inch height
was correct; the final height would actually end up a
bit more, once I installed fiberglass over the top, but
there was plenty of adjustment room in the flexible
mounts, as intended, and the lower the engine ended up
on the studs, the better when all was said and done.
Remember that I'd "built in" this adjustment room by
choosing a mid-point in the mounts' adjustment for
templating purposes. I made some marks on the tops
of the new foundations to show where the mounts might be
located, leaving ample room fore and aft for the final
position; these marks would play a role in one of the
installation steps. |
 |
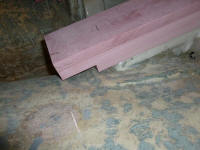
The bottommost piece of fiberglass needed to be cut a
bit shorter to avoid interference with the hull's
curvature at the aft end. The 36" length of my
extensions was several inches longer than the existing
beds, and earlier I'd decided to run the full length for
added stability. The engine would still be mounted
ahead of the aft extension, but it didn't hurt to keep
the extra length and spread the engine loads/vibrations
over more of the hull structure. After
a measurement, I cut 3" off the bottom piece on each
side, which improved the fit. |
 |
Next came the part I'd actually been dreading:
preparing the area. It wasn't the grinding I
dreaded; though I would stop short of suggesting I like
grinding, I actually don't mind it that much in the
scheme of things. But in this case, as I intimated
earlier, the relatively simple chore of grinding the
gelcoat off the existing foundations (to provide a
better bonding surface for the new material) was
complicated by the need to protect other parts of the
boat from the dust.
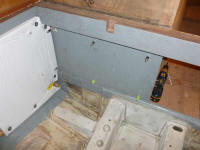
To begin, I removed the small section of sound
insulation from the forward bulkhead. The new
foundation work would be in close proximity to this, and
I didn't want to damage it. |
 |
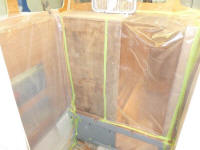
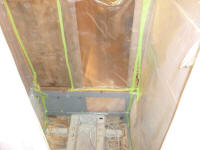
Feeling rather like
Dexter, I sheathed the engine room in plastic,
concentrating on the sides and companionway to prevent
the spread of dust into the tankage spaces and
relatively finished interior. Never my favorite
task, the day took a truly negative turn when I was
finishing up the final plastic over the companionway.
Working from on deck outside of the pilothouse (with the
pilothouse sole removed for the work, I couldn't reach
this high from inside the engine room), I taped up the
companionway, then set a fan up on the dash to help draw
the dust up and out of the engine room while I was
working. Somehow, the fan lost its balance and
fell, taking down much of the plastic I'd just secured.
This displeased me, but I managed to re-do the work and
move on. |
 |
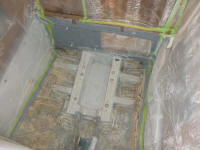
Preparations complete, I ground the old foundations to
remove gelcoat, particularly on the top surface, but
also the sides, where I'd be laying tabbing later. |
 |
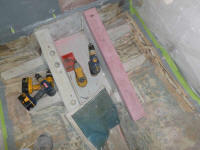
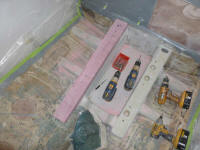
After cleaning up, I made final preparations for
laminating the new fiberglass in place. To hold
the layers securely while the epoxy adhesive cured, I
drilled and tapped each layer (in succession) for two
machine screws, which would be enough to hold each layer
in its adhesive bed. The screws would remain in
place when all was said and done, but served no
structural purpose. I avoided putting the screws
in the sections I'd marked off earlier, so that I'd not
have the unpleasant discovery of a stainless steel screw
right where I wanted to drill holes for the final engine
mounts.
Preparing and installing the screws was a surprisingly
laborious process, but eventually, first the starboard
than the port side was done. I disassembled the
pieces, milled a 1/2" radius roundover on the edges of
the top piece (to allow fiberglass to lay over the
edge), and cleaned all the bonding surfaces with
acetone. |
 |
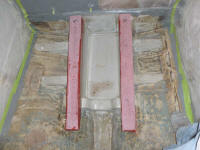
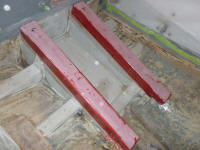
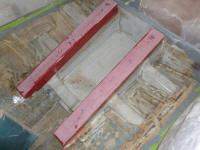
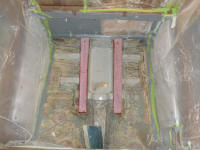
Finally, I laminated the new pieces in place, securing
each layer with adhesive and the machine screws before
continuing with the next. The final installation
was relatively quick and easy. I left the
laminations to cure before continuing; later, I'd
prepare new tabbing to tie the new material in with the
old. |
 |
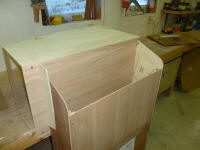
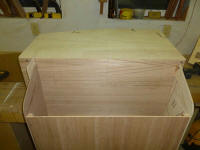
Since the interior of the boat was off-limits because of
the plastic sheathing everywhere, I decided to work some
more on the helm mockup. I had some additional
ideas that I wanted to play around with. At issue
was my hope to reduce the bulk of the first layout,
without diminishing user-friendliness and utility.
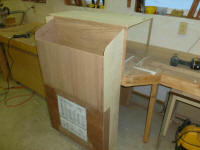
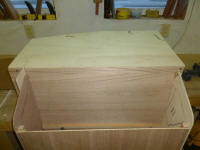
Using a template of the horizontal pilothouse dashboard
that I'd made earlier, I mocked up the applicable corner
of the pilothouse down on the bench--including the
dashboard, companionway opening (or at least the port
edge of it), and the vertical bulkhead, with the console
mockup secured in its appropriate position behind.
Because I was planning some changes to the mockup, but
wanted to reserve my original version as well, I removed
some of the pieces of the original version and replaced
them with new pieces that I could modify to my heart's
content. |
 |
With lots of hard thinking and occasional reference to
some photos I'd collected, I made some basic layout
marks on the console/dash template, which, along with
the basic construction, consumed the remainder of the
afternoon. I'd continue the work--and description
of my intentions--next time |
 |
| |
Total Time Today: 6 hours
|
<
Previous | Next > |
|
|


