Project Log: Saturday, March 10, 2012
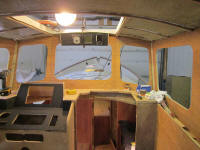
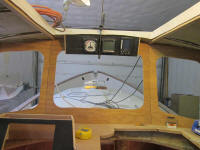
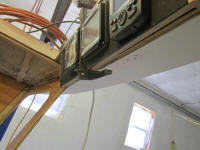
Picking up where I left off earlier, I prepared the
final layout and cut the holes for the instrument
displays going in the overhead electronics box. I
temporarily installed the instruments to ensure that
there'd be no interference behind the panel (there
wasn't), and to see how it would look. |
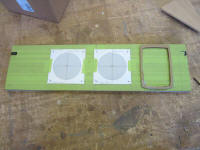
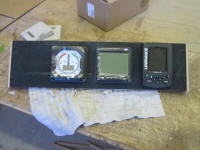
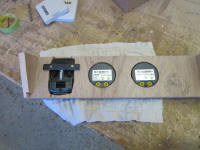 |
This was about as far as I could go on this project, I
realized, since I had plans to replace the center
pilothouse window; the original just didn't work very
well. I'd need to modify the overhead box a bit to
allow for the inside window frame, but without the
actual window on hand I clearly couldn't proceed with
that. there was no point using the old window
frame if I was going to replace it with something
different. So I advanced in my mind the need to
spec and order the new window, something I'd looked at
before but hadn't acted upon.
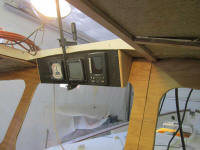
In any event, the main work was done. The overhead
box was simple in concept and execution, and to install
it I'd need to install some support cleats on the
overhead and forward pilothouse bulkhead, to which the
side panels could be attached. At the narrow
bottom of the angled box, I left room for a thin panel
to cover the edge grain of the front panel, and close
off the minimal opening between the panel and the window
frame, wherever that ended up. |
 |
I spent the remainder of the day working on fussy trim
pieces around the helm console. Truth be told, I
was well into the construction of the existing area--too
far to turn around--when I vaguely remembered that I'd
conceptually intended to build it from solid wood, which
would have brought its own difficulties but would have
obviated the need for some of the trim I now required.
Considering this was the first custom, recessed helm
console I'd ever built on a Fisher 30 (or, come to that,
any boat), such clarity of hindsight was inevitable.
The continuing challenge of self-improvement was one
reason I enjoyed these projects. The time will never
come when I can't do better "next time", but if it does
I don't know what I'll do with myself.
In the event, I spent inordinate amounts of time
finishing off the main areas of the console with trim,
severely testing my limited patience from time to time.
I kept the trim as simple as possible, and typically the
conception of how to build and shape the trim took far
longer than actually milling it, so it seemed I spent
more time cogitating than actually working.
I wanted to allow for future reconfiguration or
electronics replacement without a need to completely
rebuild the console, so where needed I installed trim
without glue so it could be pried up to allow removal of
the main panel. These panels would not be removed
routinely and were essentially permanent, but in 10 or
20 years or whenever, should changes or upgrades be
desirable, the area could be dismantled with minimal
trauma.
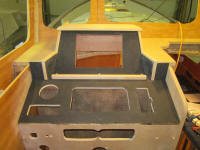
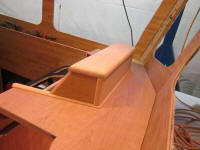
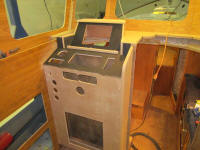
In addition to trim bits that covered the plywood end
grain and provided transitions between the console and
the surrounding dashboard, I also added a small fiddle
to the flat area just aft of the main nav display,
thinking this would be a good place to hold pencils,
sunglasses, or whatever, as well as to cover the seam
between two pieces of the console material. I left
the ends open so I could more easily keep the area
clean. |
 |
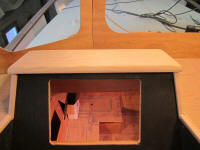
For the top of the recessed console, I milled a solid
piece of cherry, incorporating a 60° on the side facing
the console (to match the angle of the panel itself) and
large radii on all the exposed corners. In these
photos, this piece is only dry-fit.
|
 |
I'd continue work on the helm and pilothouse trim next
time. My immediate goal was to get the console and
surrounding areas to the point where I could complete
the varnish work, so that these areas would be ready for
final installations at a time of my choosing.
|
Total Time Today: 6.75 hours
|
<
Previous | Next > |
|
|


