Project Log: Saturday, May 12, 2012
Beginning the day with an assessment of what I should do
next, I decided it was high time that I returned to a
job that I first talked about
some time ago, but never actually did anything
about, as once I got working on interior trim details I
simply kept going. That job was reconfiguring the
pilothouse floorboards and support system as needed to
accommodate the helm console. Not exactly the most
exciting direction to turn, but necessary nonetheless.
This job would have been a bit simpler had I been able
to build it as required when I first laid out the
pilothouse floor eons ago, but without a firm plan at
that time for the console, there was no way of knowing
how exactly the are should be configured. As it
was, it wasn't exactly difficult, but with more stuff in
the way and more finished surfaces, it required a bit
more care in execution.
I already had a scrap of paper with the basic
measurements at hand, and after confirming the notes I
got started. My basic plan was to build a support
extension off the existing support structure, allowing
room for wiring and cabling to pass to and from the helm
console and engine room, and providing a new support for
the floorboards once I cut out the sections now covered
by the console.
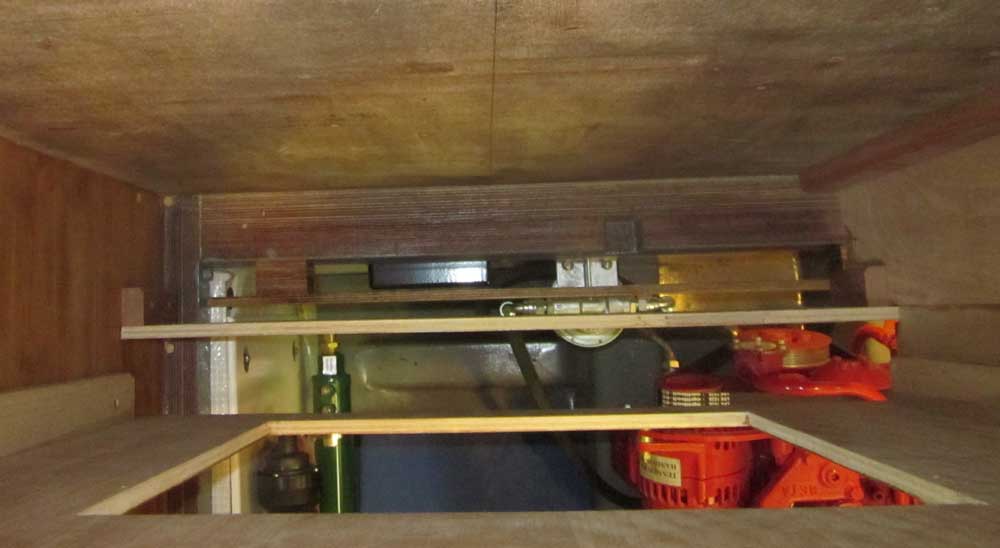
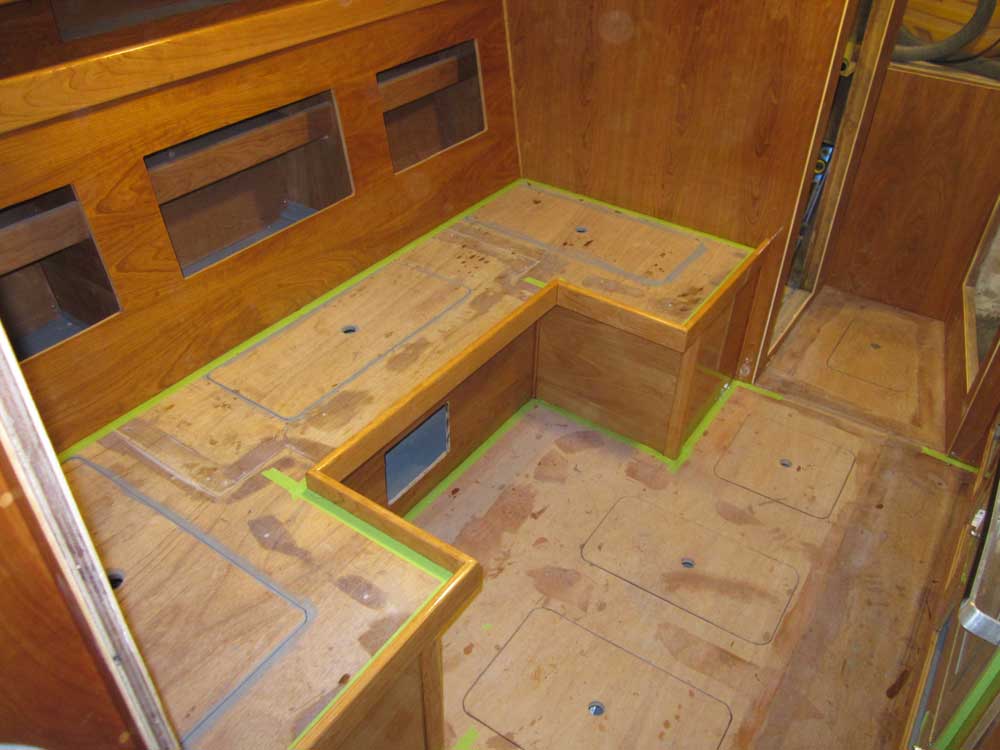
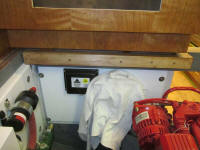
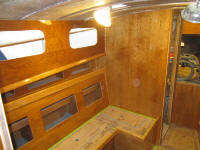
This photo from February 2012, at the very beginning of
console construction, shows the affected area. |
 |
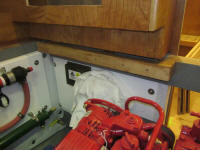
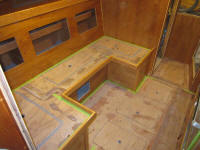
To provide a landing point for the port longitudinal
beam and forward end of the port floorboard, I needed to
attach the new laminated beam with spacers to keep it
away from the existing forward support beam on the
bulkhead, as I'd need the passage for wires and so
forth. There were probably other ways to
accomplish this, but I chose so install a couple small
spacer blocks, which would also form the main attachment
points for the whole arrangement. Starting with
the spacers, the whole arrangement would be laminated in
place, piece by piece, with plywood and epoxy resin.
Building it in this incremental way allowed various
attachments with screws along the way, before the
overall thickness exceeded the lengths of my available
fasteners.
I prepared the bonding areas by removing the paint from
the existing beam as needed, then secured the support
blocks with epoxy and screws before attaching the first
lamination of the new plywood beam directly to the
blocks with more epoxy and screws.
Here, a minor error, one that I could correct later if
needed, arose: I'd cut the plywood beam
laminations a bit shorter than I needed to because when
I measured them, I was allowing for a nearby bolt head,
but the support/offset blocks moved the whole thing away
from the bolt, obviating the requirement for clearance.
I couldn't just slide the beam over since I'd cut it so
the inboard (starboard) side would be flush with the
support/spacer block. If needed later (i.e. for
additional support), I could easily epoxy a small block
into the space to make a final connection with the port
side support beam, though offhand I doubted it'd be
necessary; I'd never counted on the side beam for
support anyway, but seeing the space now brought it to
mind as a possibility. |
 |
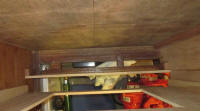
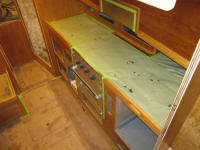
The pocket left over from the longitudinal support beam
gave me one more strong attachment point, so I cut the
required length off the original beam and epoxied it in
place in its original pocket, and screwed to the
beginnings of the plywood beam behind. Immediately
afterwards, I added two additional plywood laminations
to the first one, screwing them in place to secure them
while the epoxy resin between the layers cured.
This brought the aft face of the new beam about even
with the bottom of the console toekick. |
 |
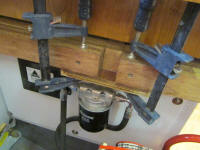
To complete the beam, I added two additional laminations
of 3/4" plywood, leaving a pocket to accept the newly
shortened longitudinal beam (which, after all, was the
whole point of this exercise). To support the
bottom of the beam, I added a plywood bottom, which I
epoxied and clamped in place. I left the completed
arrangement to fully cure.
|

 |
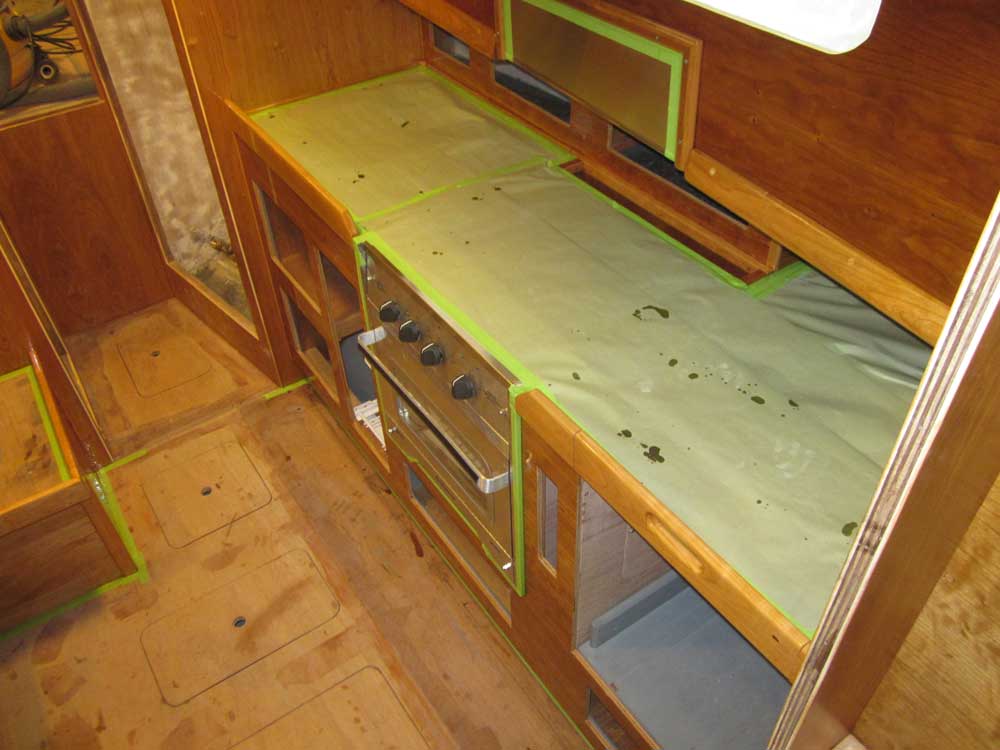
In the afternoon, I sanded the main cabin varnish,
cleaned up, and applied another coat of gloss base
varnish. |

 |
| |
Total Time Today: 6.5 hours
|
<
Previous | Next > |
|
|