Project Log: Saturday, May 19, 2012
While I wanted to do other things also, the main focus
of the day and weekend was continuing the varnish work
in the main cabin. This project had dragged on
over several weekends, since I'd found it impossible to
find the time to do any coats during the week; each coat
required over 3 hours between sanding, cleaning, and the
actual application, so it was tough to squeeze that in
at any time other than the weekend.
With that in mind, I began with sanding and vacuuming
the main cabin to get that out of the way before I
started anything else.
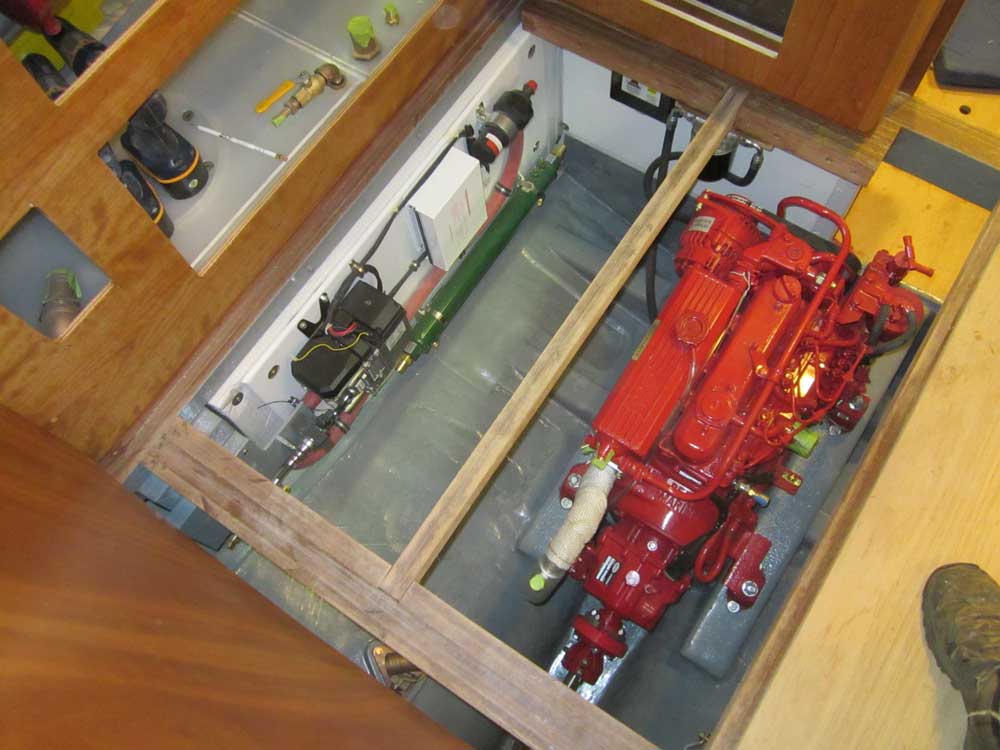
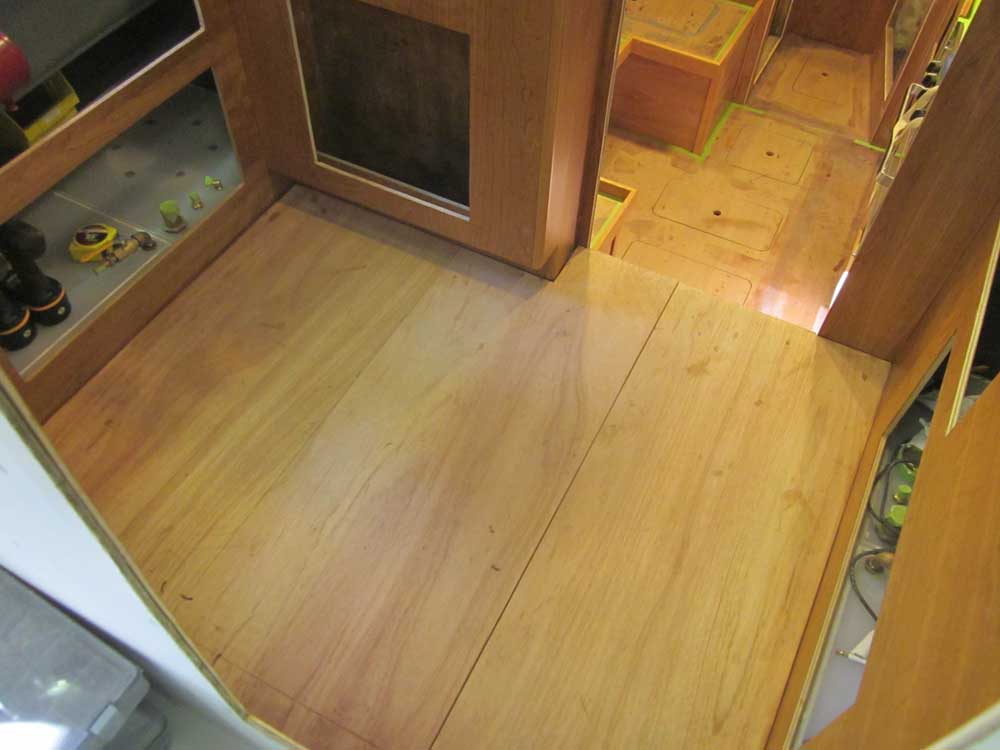
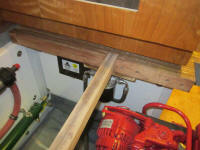
Afterwards, I returned to the pilothouse sole to
complete the modifications I began earlier. Now
that the new support system at the port forward side was
in place, I cut the removable support beam to its new,
shorter length and installed it. |
 |
The hatches required modification as well, to avoid the
console and enable them to be removed for routine
access. I'd already made the layout marks as
required, so my next task was to cut the hatches as
needed to fit around the console. With the hatches
in place, the new structure provided the openings
beneath the console for wires, hoses, and cabling as
needed. |
 |
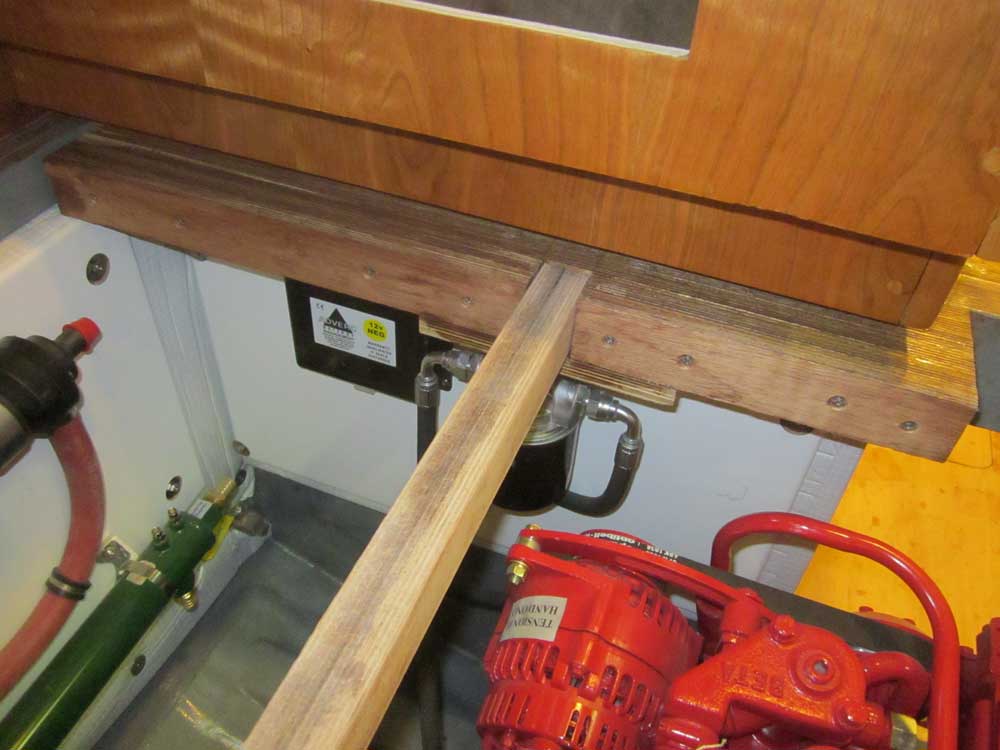
I had one more modification to make to the hatches.
To allow for unhindered access to the after part of the
engine room and beneath the cockpit, I'd redesigned the
supports to allow the aft end to be removed, as the
original setup had hung several inches down below the
cockpit sole and made access that much more difficult.
I wouldn't need this access all the time, but the
removable beam had already proven invaluable.
But the sole had to extend aft past the beam, and this
was not practicable going forward, in part because I'd
need to build some trim to cover the gap between the
sole and the molded aft end of the pilothouse above the
sole. I'd get to that in due course, but it was
time to cut the hatches off at a point roughly midway
through the width of the aft support beam, making the
forward sections well clear of the aft end and eventual
trim.
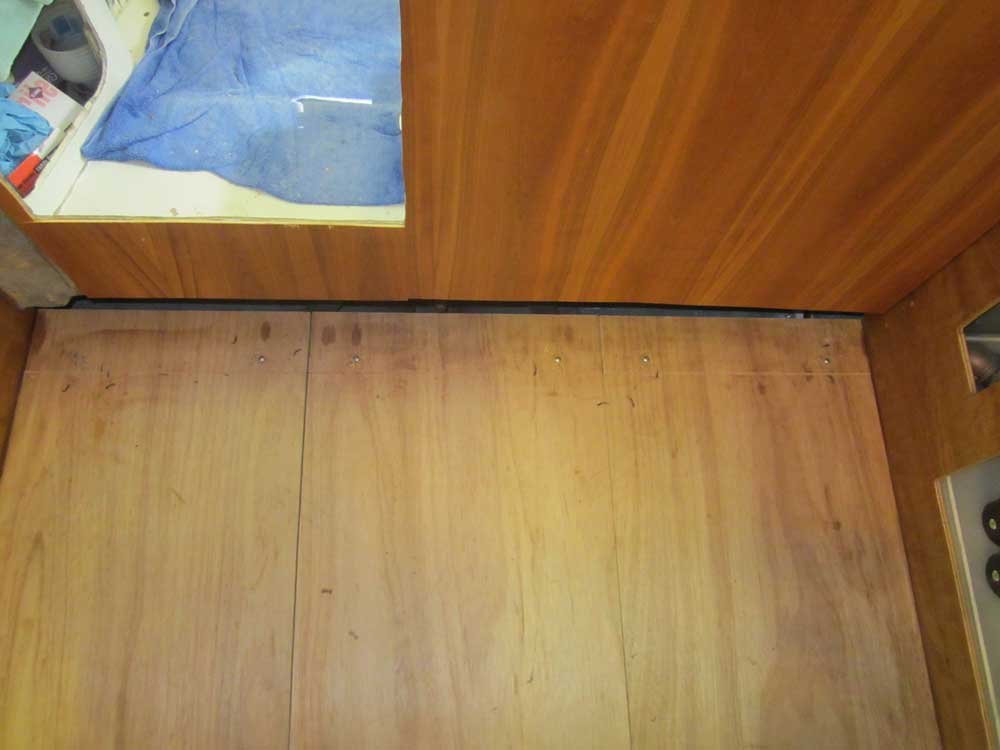
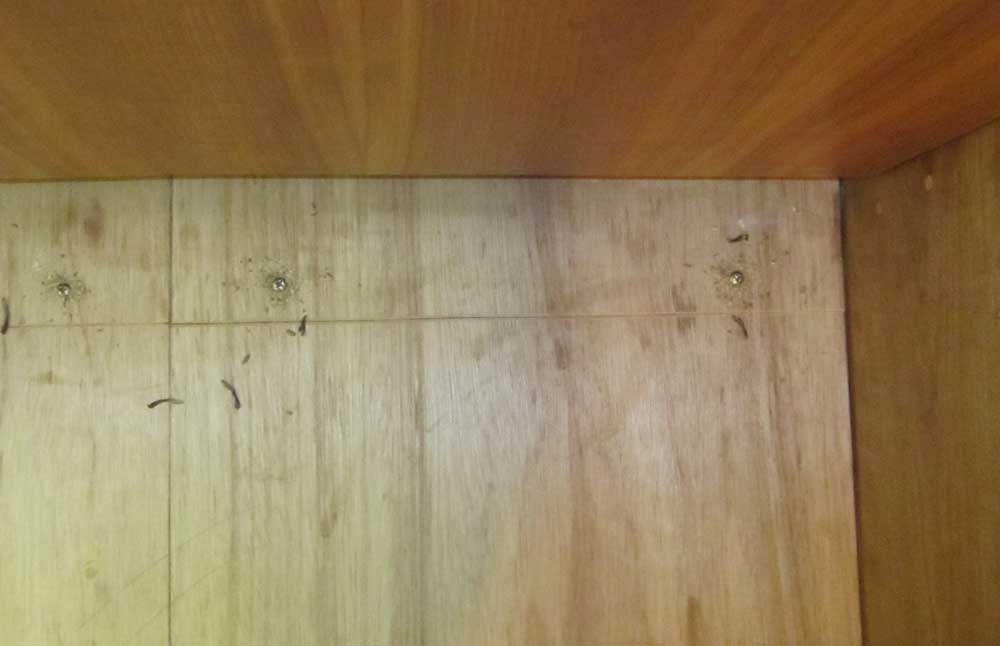
After making layout marks as required for the cuts, I
took the panels down to the shop and cut them off along
the layout lines. Then, I screwed the
short pieces to the after support beam (temporarily
using the screws shown; final installation would depend
on several factors), which provided a natural stop for
the removable panels and wrapped up the major work on
the pilothouse sole. |
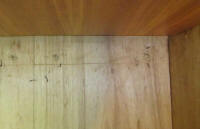 |
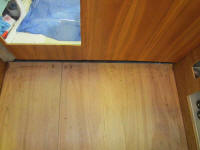
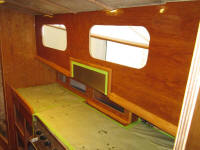
At this point, mid-morning, I decided to go ahead and
apply the next coat of gloss varnish to the main cabin.
I didn't want to leave it to the end of the day, lest I
get tired and tempted to postpone it. With four
coats of gloss on all surfaces, this would be the last
of the build coats before switching to satin varnish for
the final finish.
|

 |
After a pleasant and extended lunch break, the varnish
had tacked enough that it alleviated my concerns about
continuing work in the pilothouse, so I started on a few
of the installations in the console. My immediate goal
was to install the electrical panel and get it out of
its box in my office, but before I could do that it made
sense to take care of some of the other installations
first.
Because access would get more difficult the more I
installed in the pre-cut holes, I tried to work
logically through the process. To begin, I
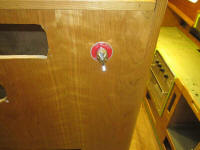
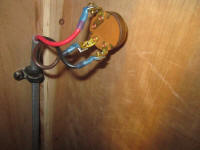
installed the bilge pump switch, access to which would
be made more difficult once I installed the engine
controls nearby. I pre-wired the switch with a
length of 3-conductor bilge pump cable, which I'd
eventually attach to a terminal block in a convenient
place within the console, awaiting final connection to
the bilge pump when I got to it. I noted the
terminals and wire colors for each, for later reference,
and ignored the fact that the colors weren't exactly
what they should be. More on all this later.
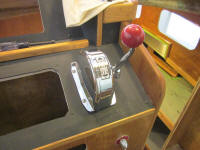
I greatly dislike the appearance and function of
standard 3-position bilge pump switches on the market,
and a while back found this nice rotary switch that I
liked much better. The only downside is that the
switch can't be wired from the front and installed from
there, which is why I took the time to pre-wire it now. |
 |
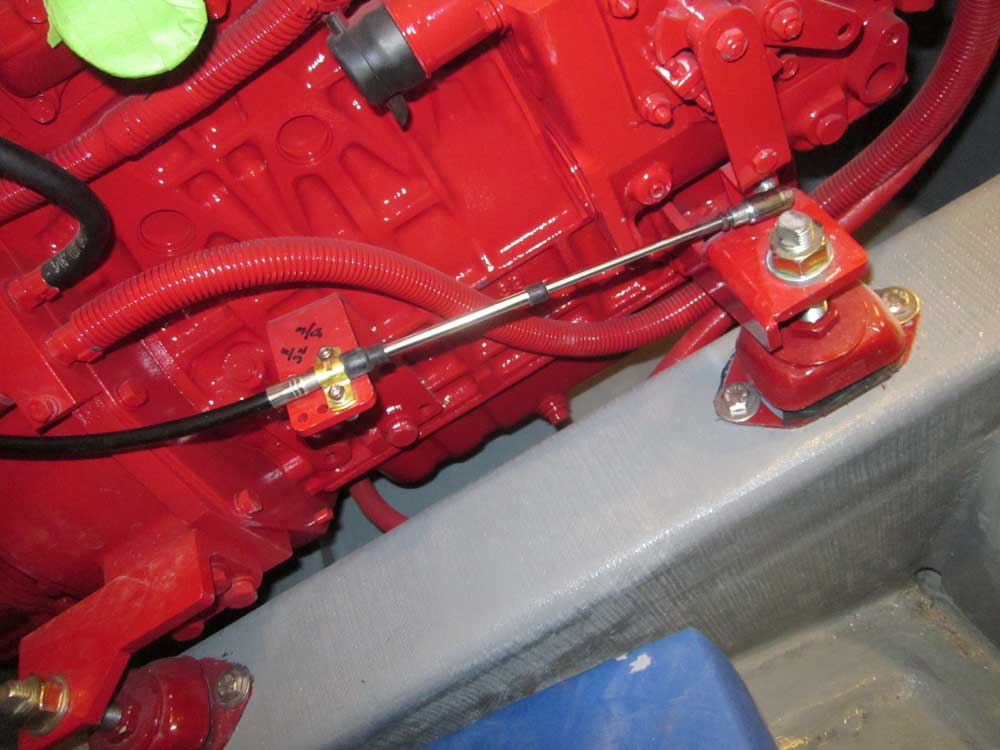
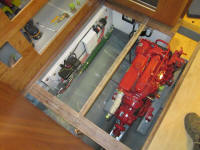
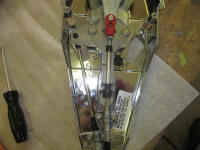
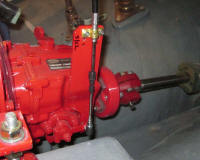
Next, I turned to the engine controls. Down on the
bench, I installed cables inside the control,
reassembled the housing, and, up in the boat, fed the
cables through the console and to the engine, connecting
the transmission and throttle controls respectively as
needed. |
 |
This process took longer than I'd hoped since I found
that while the control operated both transmission and
throttle properly in forward, I couldn't move the
control properly in reverse; the problem turned out to
be a combination of cable end adjustment coupled with an
internal throw adjustment within the control housing
itself, and eventually I got it sorted out and bolted
the housing in place. |
 |
Taking a break outside, I decided to move the masts from
where I'd stored them out to a more convenient location.
There was still some hardware that I needed to remove,
and other preparations to make as painting the spars was
on the list for the summer, good projects for nice days
when I wanted to move the boatwork forward without being
stuck indoors. |
 |
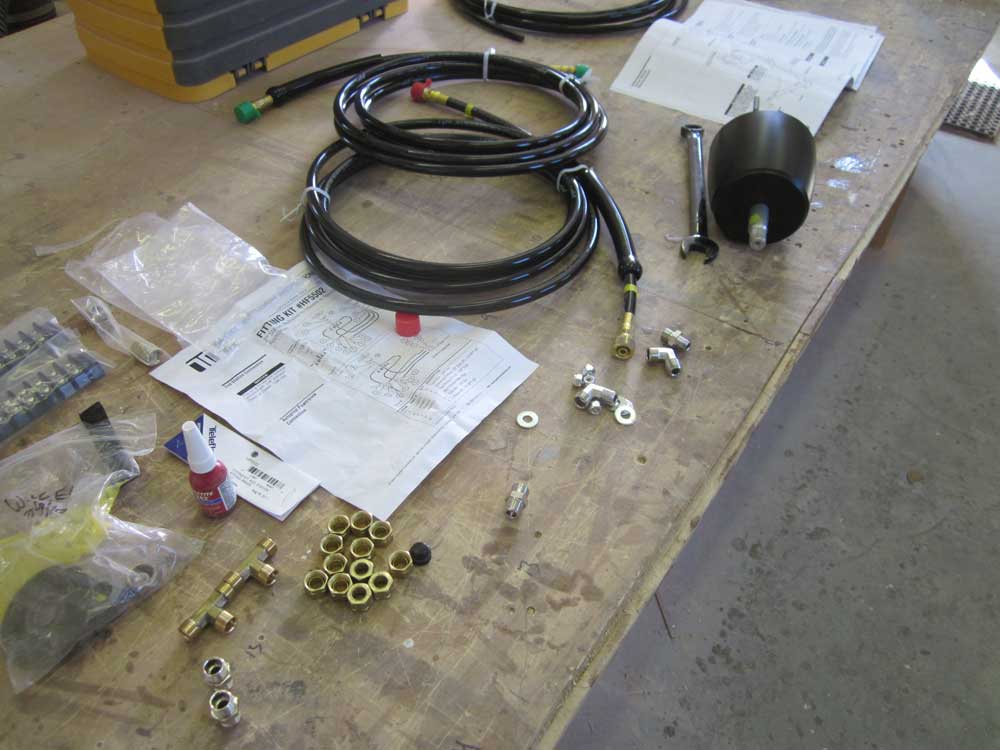
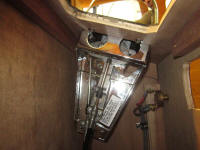
Later, back in the shop, I turned to the steering
pump/helm unit, the next item that logic dictated I
install. Before bolting the helm in place, I
removed the blank-off plugs from the appropriate ports
on the back and installed the required fittings for my
hoses. Once the helm was in place, I ran three
hoses: the two main Kevlar hoses for the steering
cylinder, and a third, compensating hose required for
the eventual autopilot pump hookup, which I made
up from standard nylon steering hose.
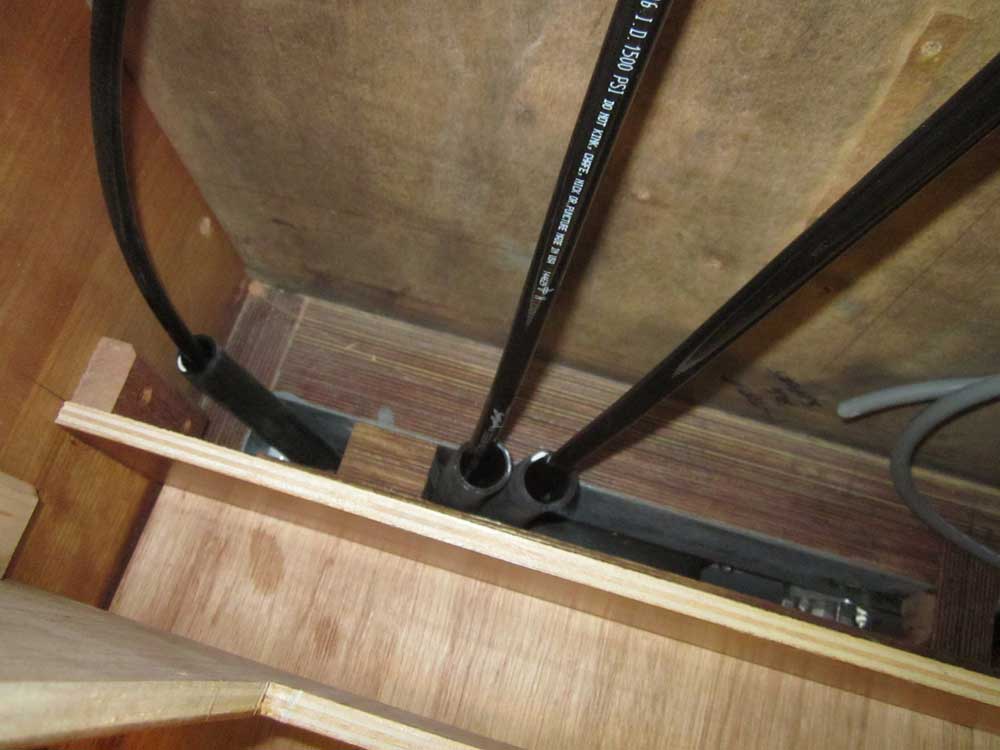
To protect the hoses from chafe where they ran through
the bottom of the console, I installed lengths of hose
through which the lines could run. For now, I just
led the hoses into the engine room, as it was late in
the day, but soon I'd secure them and continue their
runs aft as needed. |

 |
| |
Total Time Today: 8.25 hours
|
<
Previous | Next > |
|
|