Project Log: Sunday, January 6, 2013
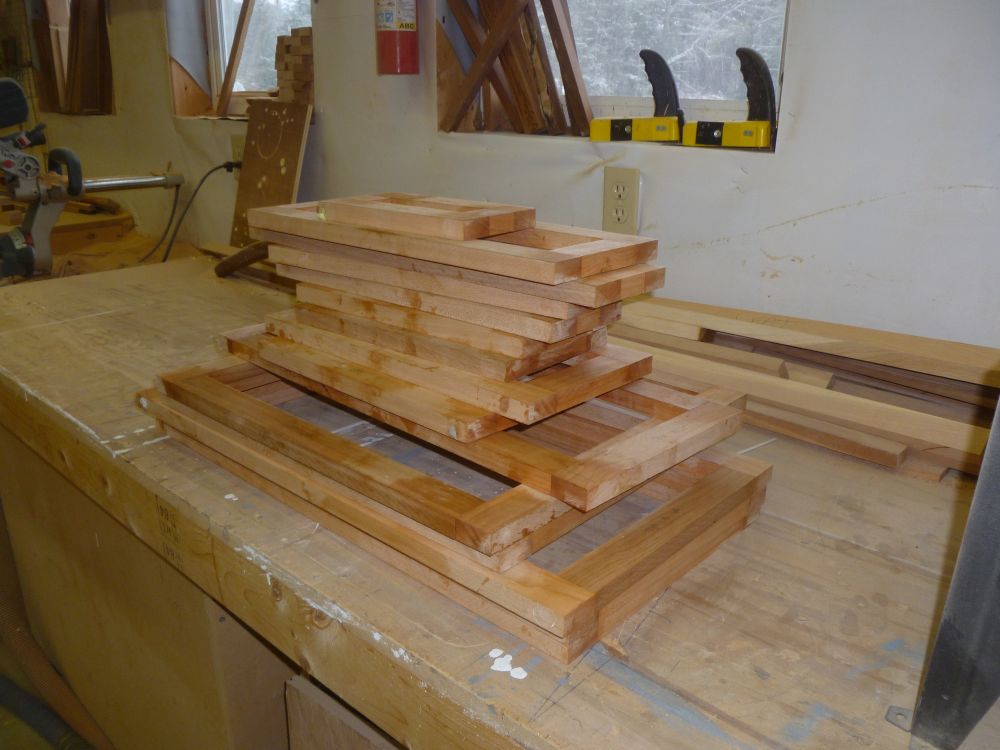
First, I unclamped all the cabinet doors I glued up
earlier, and set them aside for later attention.
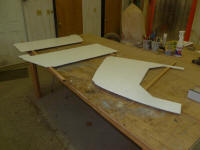
There'd be a number of milling and sanding operations on
the frames before I could varnish them. |
 |
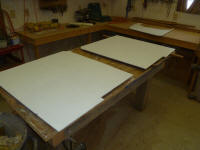
Next, I applied a coat of primer to all sides of the
final overhead panels. |
 |
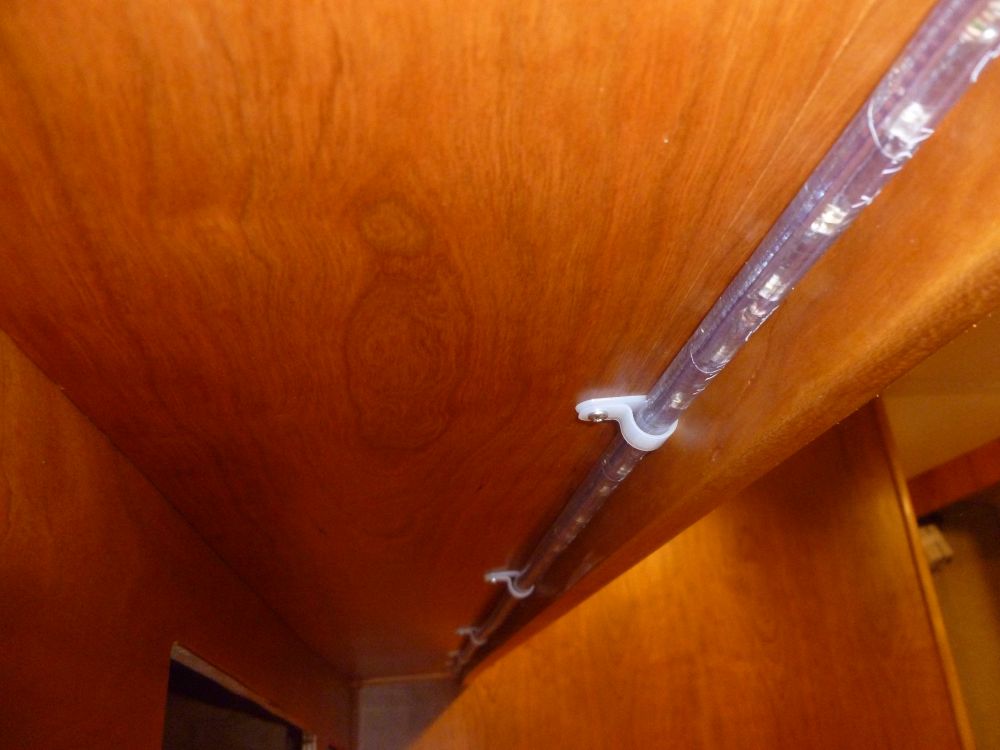
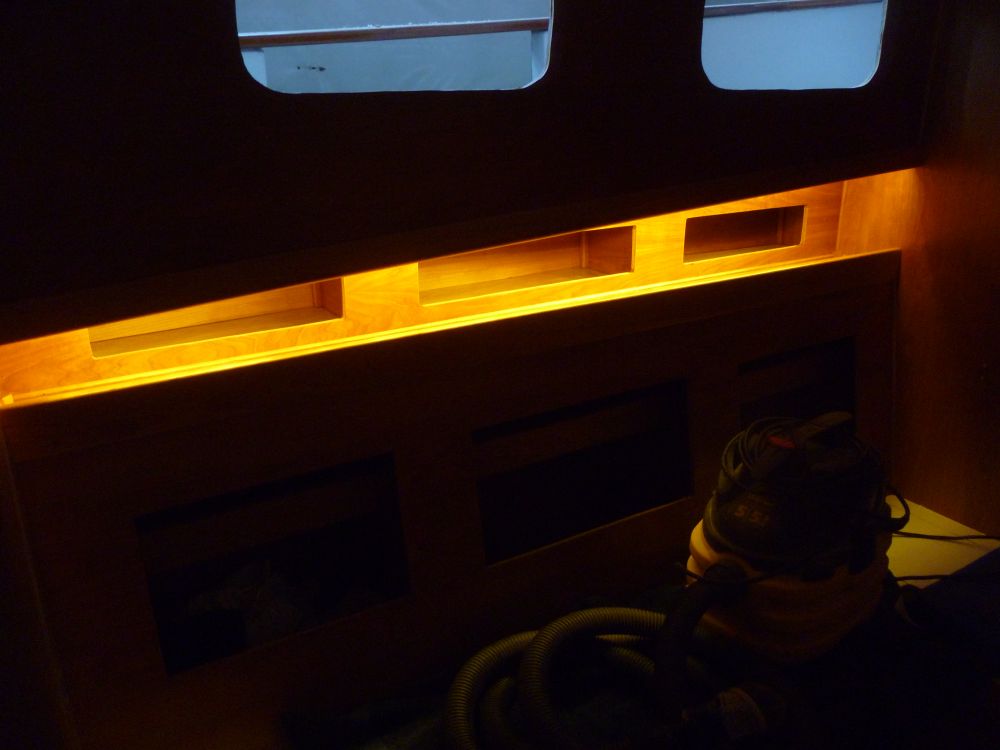
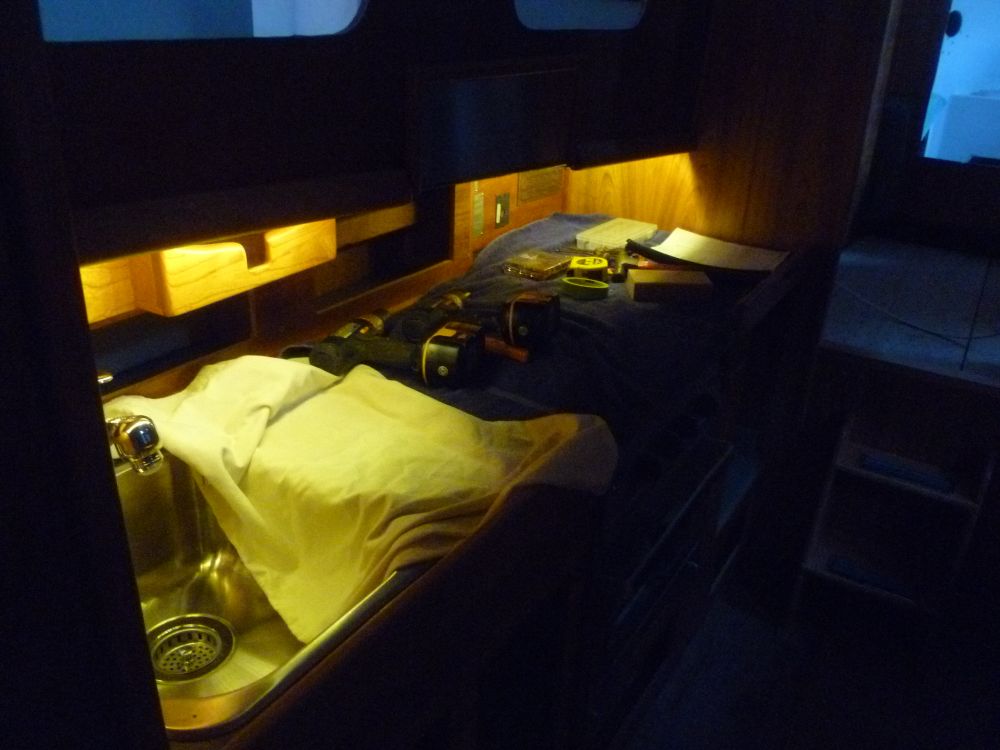
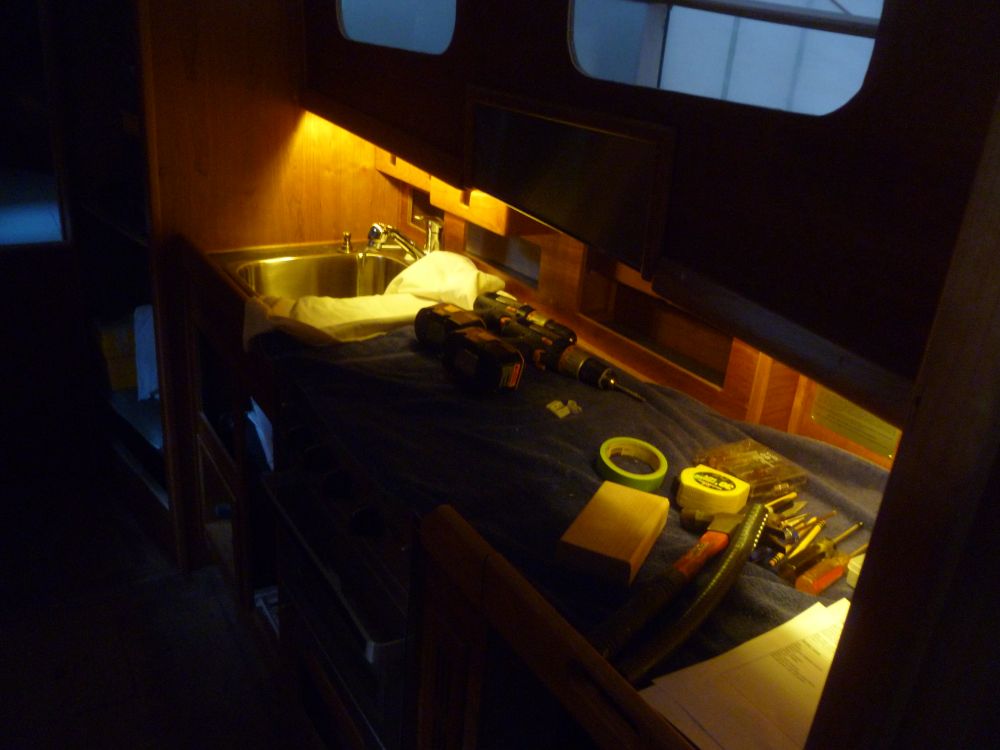
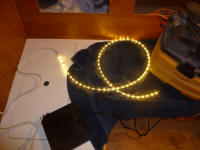
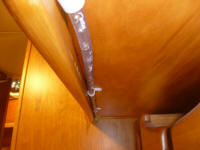
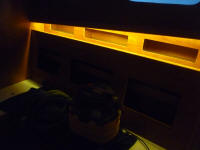
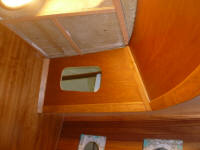
In the cabin, I worked with the newly-arrived LED rope
lighting, to be installed behind the purpose-built
moldings on each side of the main saloon. I began
with the port side, which required a full-length section
of the light strip behind the molding above the dinette.
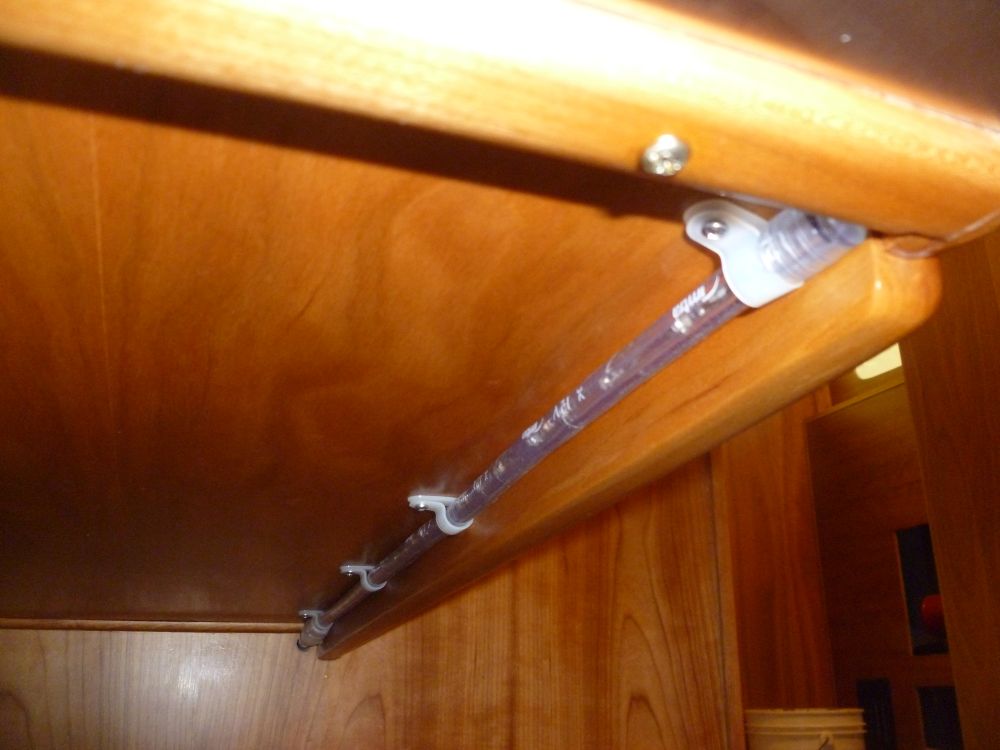
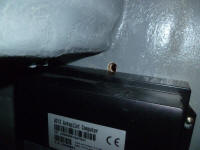
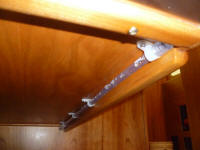
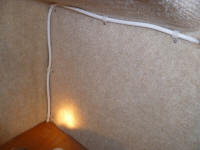
In order to run the power to the lights, I drilled a
hole through the after bulkhead, entering the utility
space above the tankage. Studying the area before
drilling, I worried that the autopilot computer, which
I'd previously secured to the bulkhead, would be in the
way, but I just managed to squeak in the 3/8" hole
required for the lighting wire. |
 |
Allowing for the wiring connector at the aft end, I
determined the proper length for the rope light and cut
it as required. This particular brand of rope
light featured safe cut marks every 3" or so, so I chose
the one just shy of the marked length.
Attaching the power supply--a length of 2-conductor
cable with the appropriate fitting at the end--was
simple. The only complication, as it were, was
that the LED rope light was polarity specific, so one
had only a 50% chance of attaching the connector to the
correct end of the rope section since there was no way
to tell from looking at the rope light assembly;
swapping the rope end for end would correct this issue
if it occurred. In order to conform that I'd made
the connection correctly, I dug out a 12V AC/DC power
supply that I had around and connected the wiring for
testing. Of course my first connection was wrong,
and the rope didn't light, so I swapped the connector to
the other end and the rope light lit. I installed
an end cap at the other end, and prepared to install the
length.
|
 |
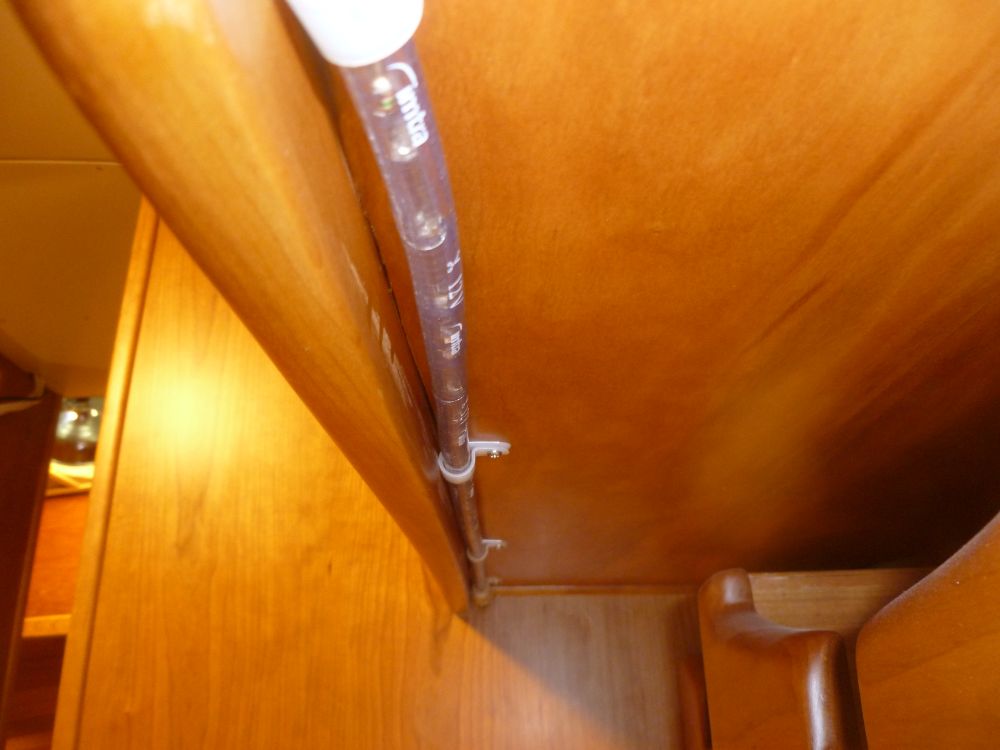
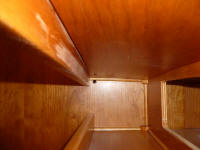
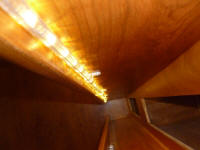
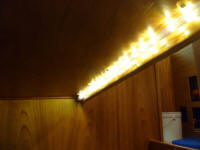
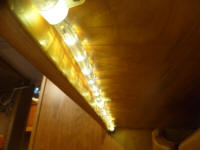
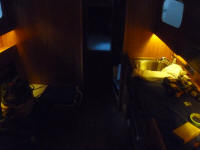
Installation was straightforward, though the tight space
available between the dinette shelf and the overhang
above made working in the after end of the space
difficult. I led the power supply through the
bulkhead, then secured the length of rope light with
3/8" nylon clamps, which I attached with #4 x 3/8"
screws to the paneling above. I supported the
lighting about every 10".
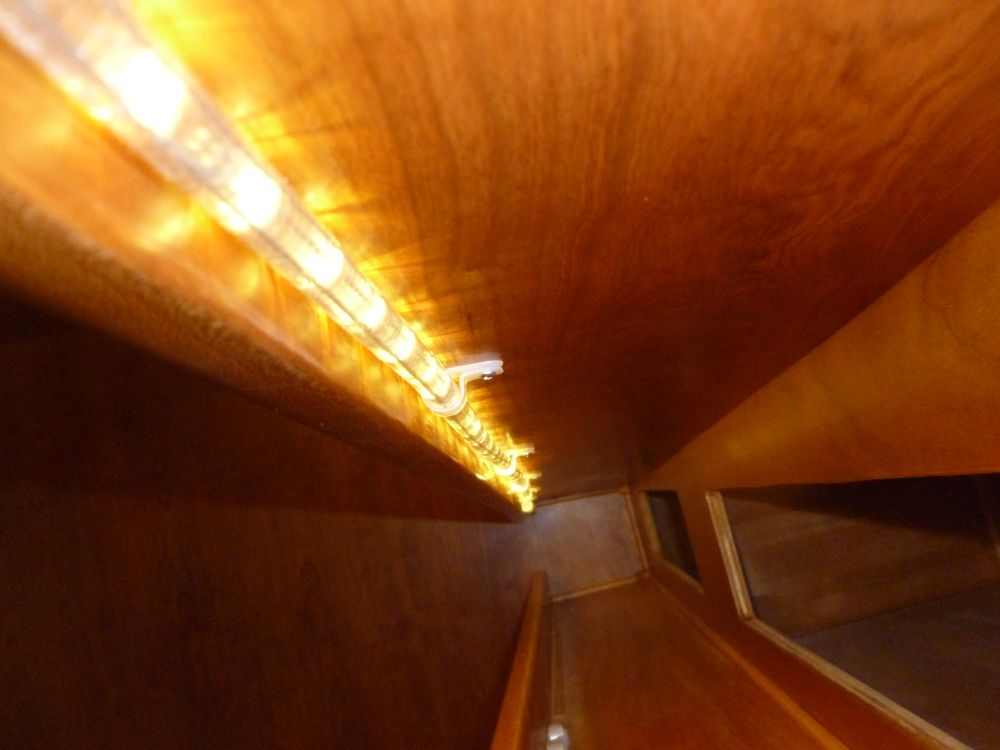
After installation, I hooked up the power supply again
to check it out. |


 |
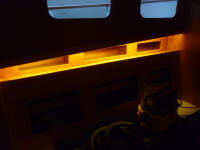
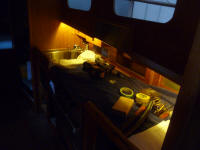
On the starboard side, I needed two separate sections of
the lighting strip, since the stove heat shield
bifurcated the space. To hide the wires, this
meant that I had to lead the wires for the forward
section in from the storage locker forward of the
galley. For each of the two sections, I
repeated the process as on the port side, checking each
strip with the AC/DC power supply to ensure that I had
the wires inserted into the correct end.
I ran a longer wire from the starboard tankage space
forward through the wire conduit behind the galley and
into the forward locker, where I connected it with the
forward length of LED lighting. |
 |
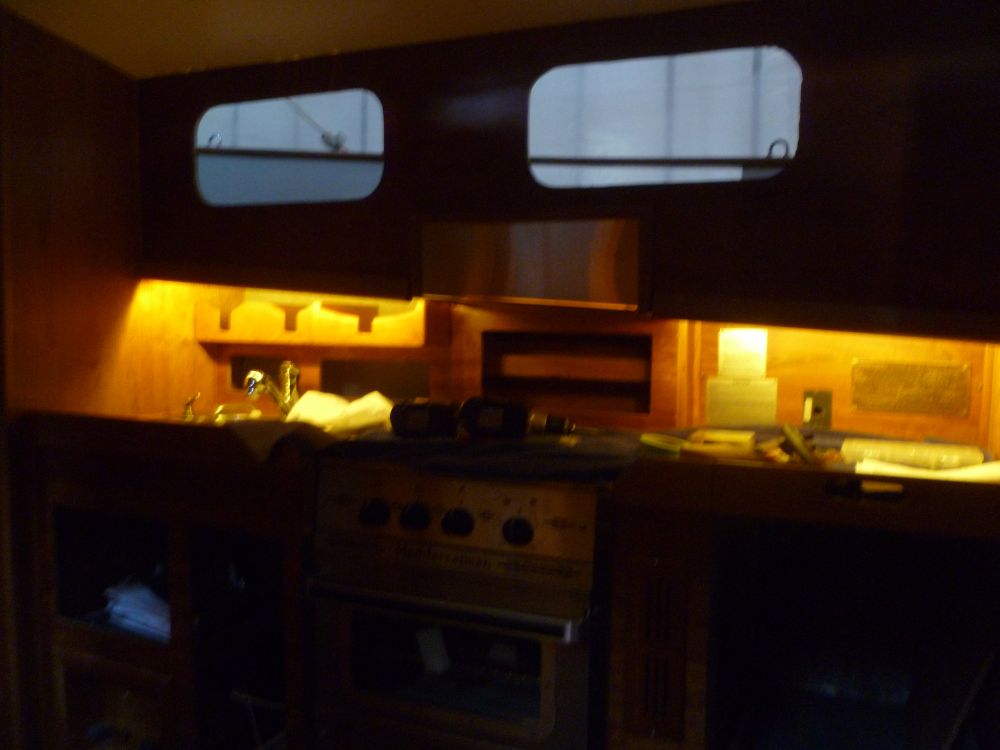
For now, I didn't make the final connections in the new
wiring, as I'd do that in concert with running several
additional lengths of wire forward for other needs in
the near future, but I had to interconnect the three
power supplies so I could test all the new lighting with
the shop lights off. |


 |
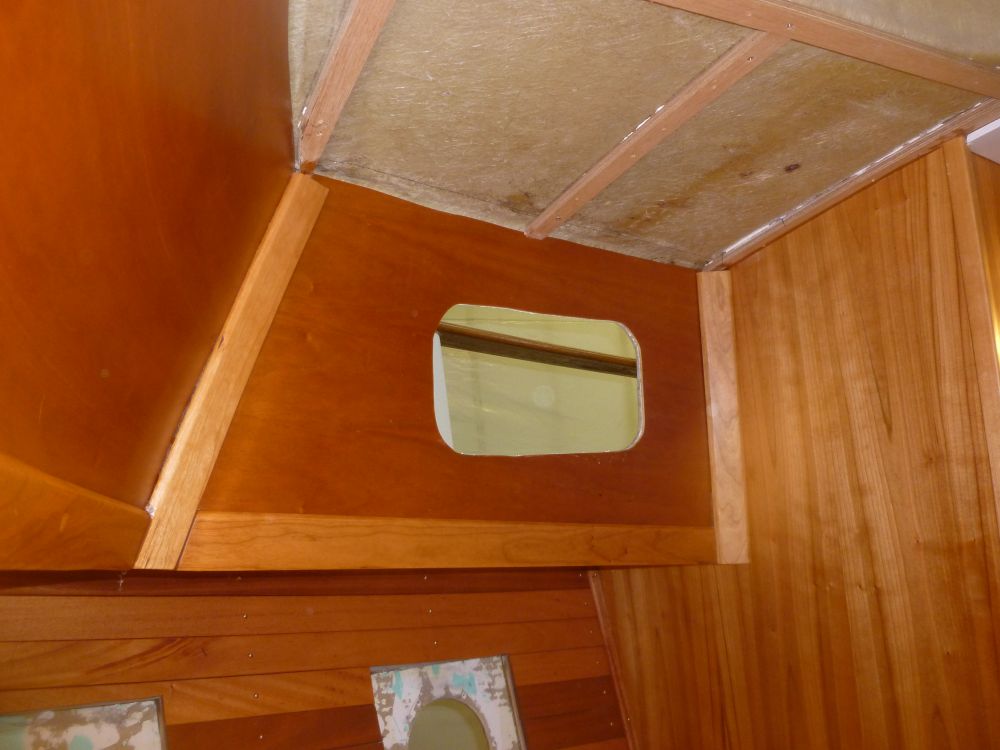
Finally, I removed masking tape from the forward cabin,
as I deemed the varnish work complete. |

 |
| |
Total Time Today: 5.5 hours
|
<
Previous | Next > |
|
|